
Elementary OS is a Linux distribution based on Ubuntu LTS. It promotes itself as a thoughtful, capable, and ethical replacement to macOS and windows. Elementary Inc develops and maintains the operating system’s desktop environment known as Pantheon and accompanying applications. The human interface guidelines for the elementary OS focuses on immediate usability with a gentle learning curve rather than full-fledged customization.
Elementary OS developers set three core rules during the development of the system. These rules were; concision, accessible configuration, and minimal documentation. The operating system has received both praise and criticism since its inception for its design. It was claimed that it closely resembles macOS visually and in user experience. However, its developers maintain that any similarities are unintentional. The Pantheon desktop environment is built on top of the GNOME software base. It allows for multiple workspaces to organize the user’s workflow.
The elementary OS distribution started as a set of themes and applications designed for Ubuntu, which became its own Linux distribution. Since elementary is based on Ubuntu, it is compatible with its repositories and packages. Before version 0.4 Loki, it used the Ubuntu software center to handle software installation/ uninstallation. After the release of version 0.4 Loki, Elementary bundled their app store known as the AppCenter, whose user interface is intuitive for new users without consuming excessive resources.
The Operating system is based on Ubuntu’s long-term support releases, in which the Ubuntu developers actively maintain bugs and security even as development continues on the next phase.
Elementary OS 6 Odin is the latest version from its developers. It was released on 10th August 2021 and is based on Ubuntu 20.04 LTS (focal). It is the most significant update to the platform yet with multi-touch, dark style, app sandboxing, and an all-new installer. The operating system empowers you to be in control and express yourself, continues to innovate with new features, and is easier to get and more inclusive than ever.
Creating a bootable USB drive of any Operating System is easy. You will need an appropriate software and ISO or Raw IMG file of the Operating system that you want to install. In this case, you will need Elementary OS 6 ISO file. Compared to CDs or DVDs, using a USB offers convenience, long life, reusability, compactness, and portability.
Recommended System Specifications
While Elementary OS does not have a strict set of minimum system requirements, it recommends at least the undermentioned specifications for the best experience:
- Intel i3 or comparable dual-core 64-bit processor
- 4GB of system RAM
- A solid-state drive (SSD) with 15GB of free space
- Internet access
- Built-in or wired mouse/touchpad and keyboard
- 1024×768 minimum resolution display
- USB flash drive at least 4GB of storage for installation
Advantages and Disadvantages of Etcher (balenaEtcher)
Advantages
- Etcher allows you to burn the Operating installation system into SD cards and USB flash drives, making it convenient.
- Etcher has a modern and intuitive user interface. It becomes simple to learn and use, even for beginners.
- Etcher downloads and burns the Operating System image faster than any other ISO burner tool. You won’t have to wait for a long time to finish your work.
Disadvantages
- Etcher does not allow you to configure as much as you want when downloading Operating system images and burning. Thus, flexibility is a dilemma in Etcher.
- The software does not display the local drives when you choose the destination to burn.
- Etcher only supports a few image file formats. If you want more file formats to select, you will need to choose another program instead of balenaEtcher.
- Etcher is only available in Windows, Linux, and macOS. It can’t be used on iOS and Android devices.
How to create an elementary OS Live USB drive using the Etcher app on Windows
1. Download Etcher
An etcher is free software available for all popular operating systems such as Windows, Linux, and macOS. Go to Etcher’s official website and download the software as per your Operating system to get the application. For this case, you will download Etcher for Windows (x86|x64) (installer).
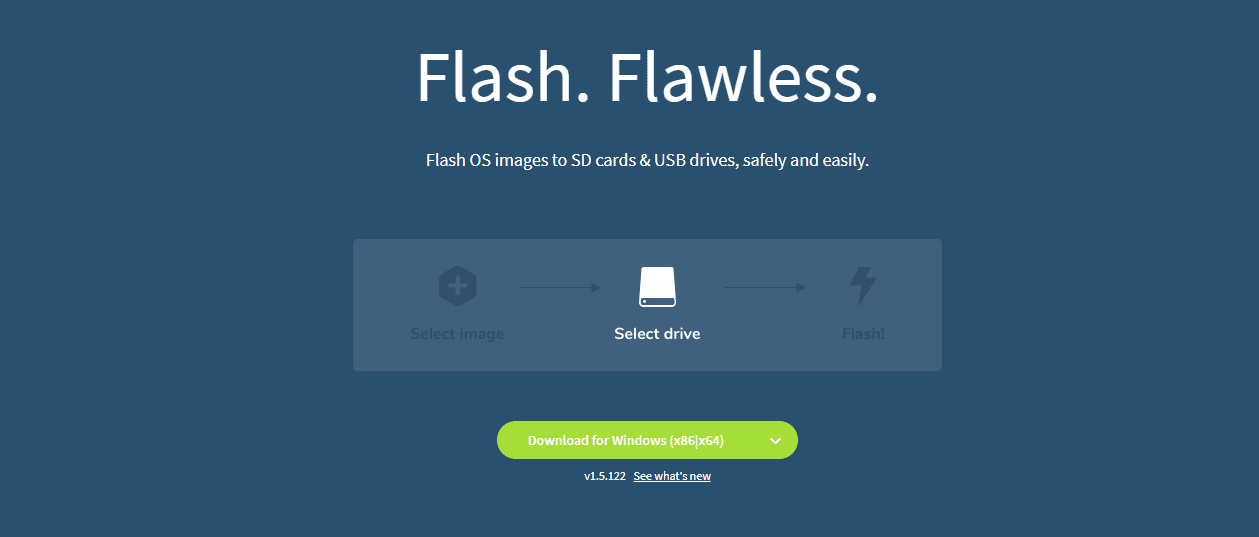
download balena etcher for windows
2. Download Elementary 6 OS ISO file
You will require the Elementary OS ISO file to create a bootable USB drive. To acquire this ISO file, I got to Elementary’s official website and downloaded it.
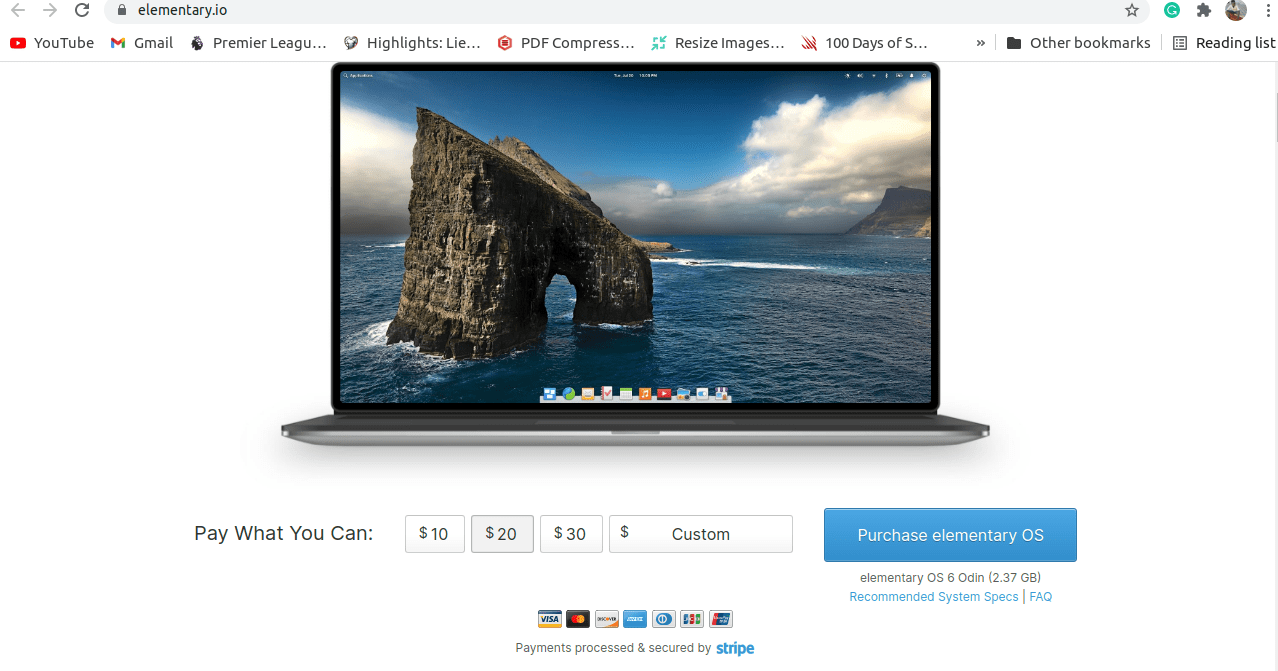
elementary official website
Note: Do not panic if you see the “purchase elementary OS” button after visiting the link above. All you need to do is click on “Custom,” then change the value to “0,” and you will see the “Download elementary OS” button as shown in the image below:
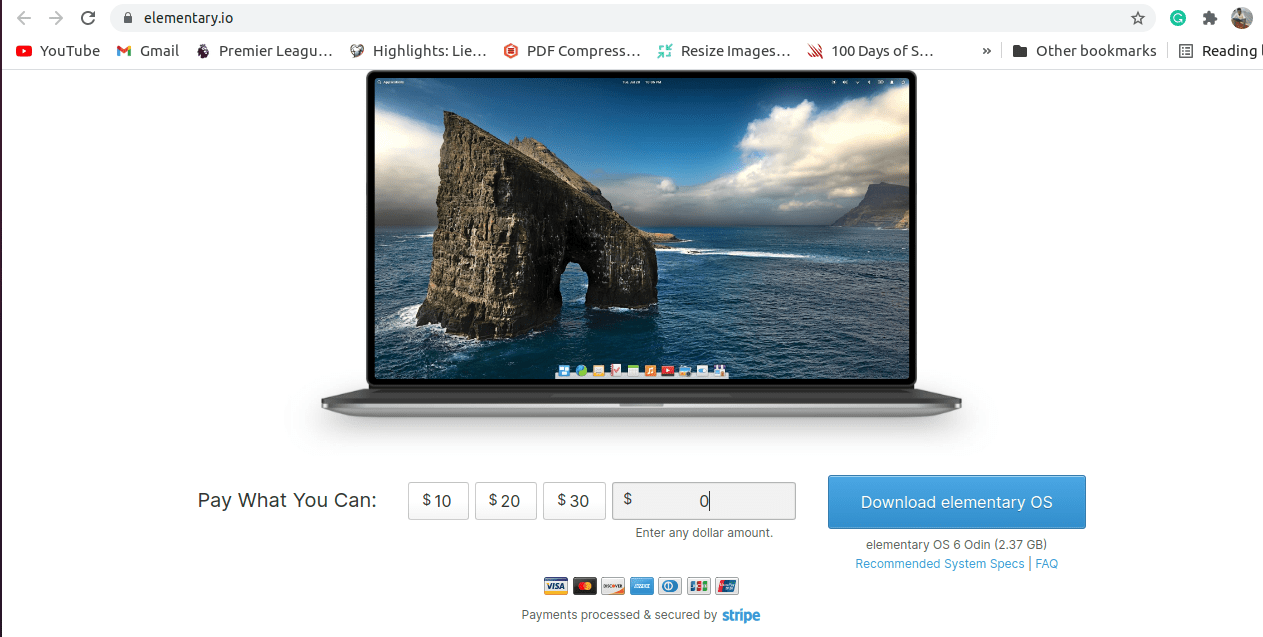
elementary os download button
3. Run Etcher and add ISO image
Run Etcher on windows then:
- Click on the “Flash from File” Option
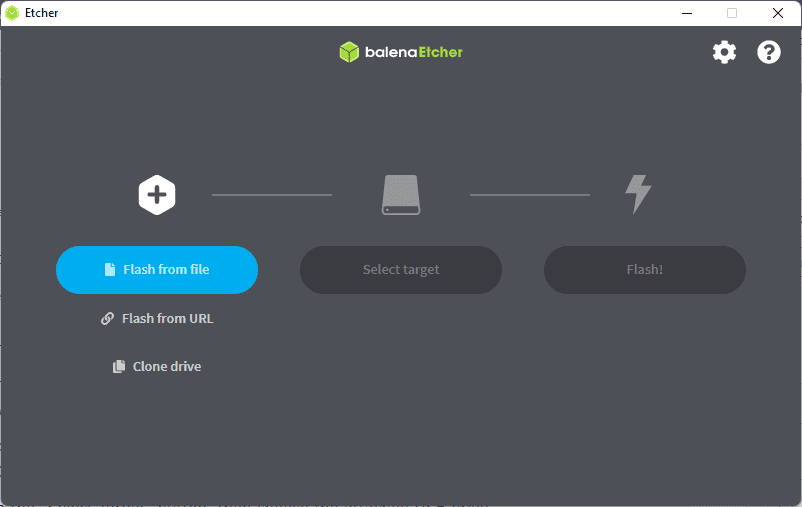
click flash from file
- The windows file manager will open then choose the Elementary OS 6 ISO image you had downloaded earlier from the folder where you had saved it
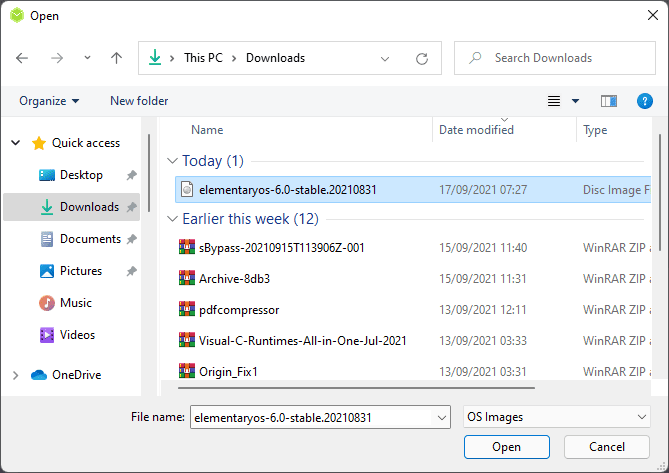
select the downloaded iso file
- Connect the USB thumb drive that you want to make bootable. The USB should be at least 4GB in size.
- Next, click on the “Select Target” button, then choose the attached USB drive

to select the target USB drive.
- Click on the “Flash” icon and wait until the writing process is done.
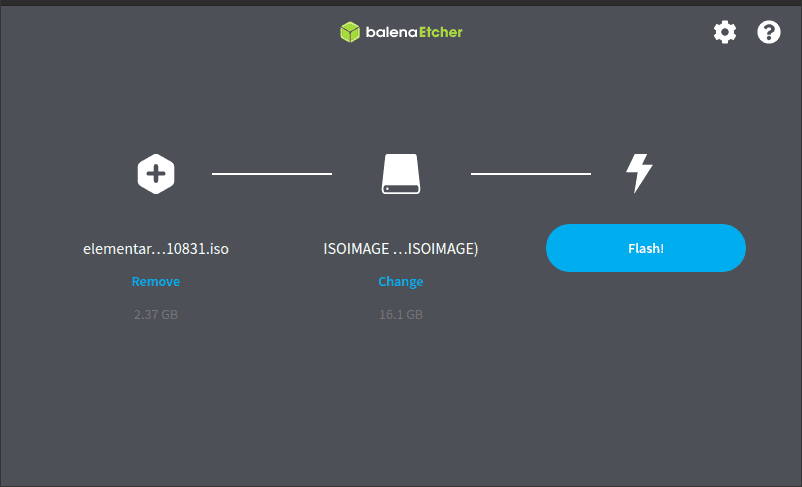
Click the flash button.
Once the entire writing process is complete, safely eject the USB drive and insert it in the system where you want to install this Operating syNext, power Power on the System and, with the help of Del, Esc, and F9, etc., depending on your motherboard manufacturer and BIOS, open the boot menu and select the attached USB drive as a booting source.
How to create an elementary OS Live USB drive using the Etcher app on Linux
1. Install Etcher on Linux Ubuntu
Etcher, also known as balenaEtcher, is a program to copy ISO files to USB drives and SD cards to create bootable drives for various operating systems. Installation of balenaEtcher is quick and easy. After the setup, you can run the program either from the applications or directly using the command-line interface. The steps used in this tutorial were carried out on Ubuntu 20.04 LTS focal fossa. However, you can use them on earlier versions such as Ubuntu 18.04, including Linux Mint, Zorin OS, and Debian.
Two fronts shall be used to download and install the balena etcher application to our operating system:
- Downloading the AppImage from Etcher’s official website
- Using the terminal
Method 1: Downloading the AppImage from Etcher’s official Website
Step 1: Downloading the AppImage from the official website
This process is relatively straightforward compared to method 2. visit Etcher’s official website. Download the Linux AppImage.
Note: Ubuntu 20.04 supports 64-bit architecture only; therefore, you will be required to choose the x64 version.
Step 2: Extracting the downloaded AppImage .zip file
- Locate the download location containing the downloaded AppImage file:
Note: If you have not altered your folder permissions and location, your default download folder should be the “Donwloads” folder.
- After locating the download AppImage file, right-click on it and select the “Extract Here” option.
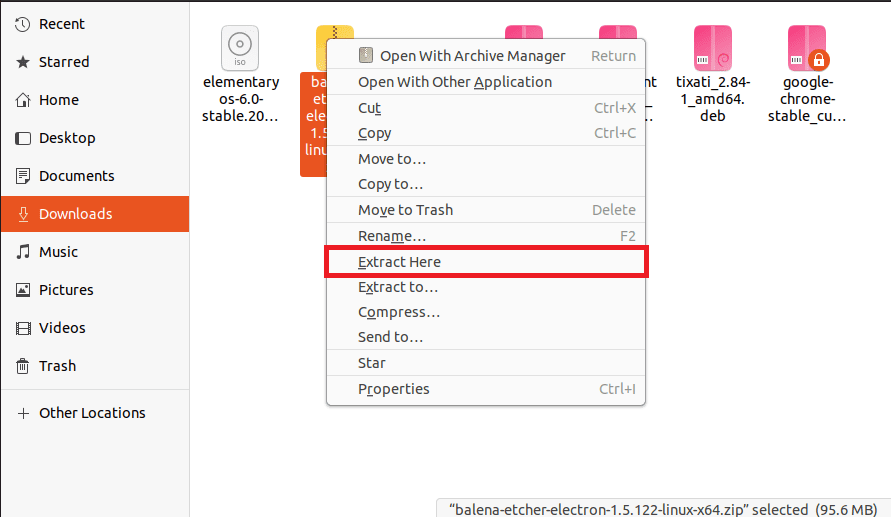
balena etcher select, extract here
Give it few minutes, depending on your processor speed, for it to complete the extraction process. Once done, navigate to that folder.
Step 3: Assigning the AppImage file Execute permissions.
- Open the folder containing the extracted AppImage. Right-click on the file and select the “Properties” option, the last option on most occasions.
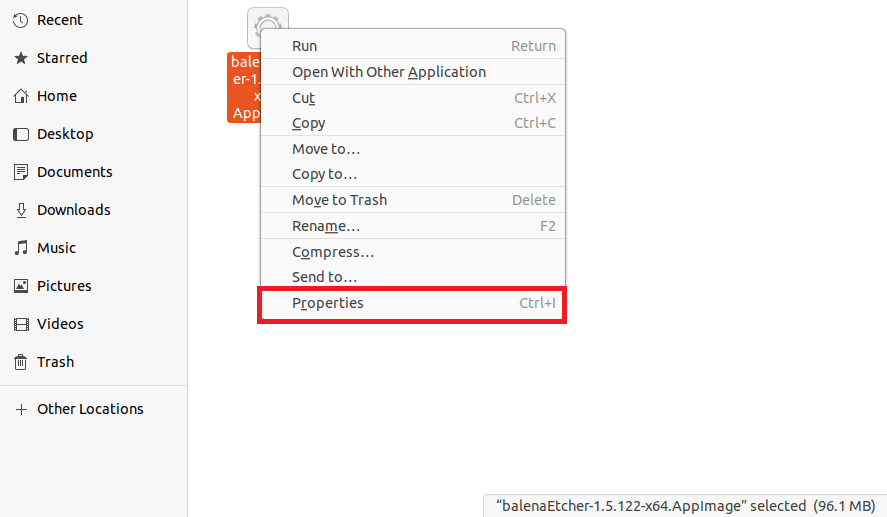
balena etcher select, properties
- Under the properties windows, click the “Permissions” tab.
- Here we shall grant the AppImage execute permission by allowing the file to be executed as a program. to do this, scroll down and click the check box before “Allow executing file as program.”
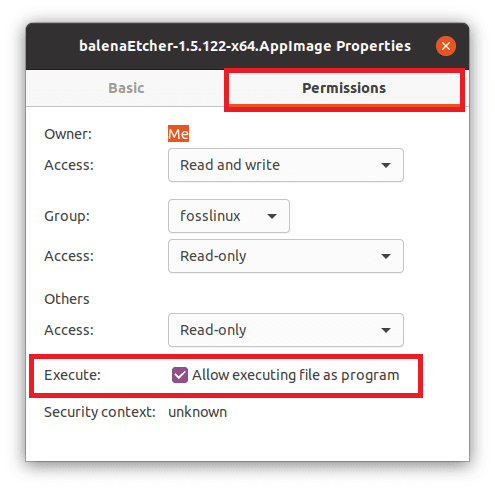
balena etcher allow executing as a program
Now we are good to go, close the properties dialogue box and proceed to the next phase.
Step 4: Run the AppImage
Now proceed to run the AppImage after granting it execute permissions that we did in the previous step. Locate the folder containing the AppImage application and double-click it to run the Echer app as shown in the image below:
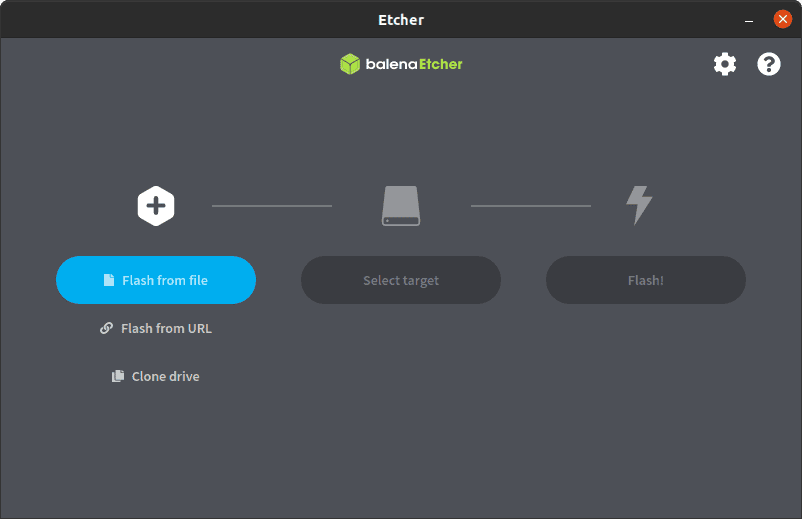
balena etcher application
Method 2: Using the terminal
- Open the Terminal
Use CTRL+ALT+T or go to Application and search Terminal to open the command terminal.
- Add Etcher repository on Debian or Ubuntu.
We will not use AppImage because the official repository of the balenaEtcher is available to add to our Debian-based Linux systems. Copy and paste the following command:
echo "deb https://deb.etcher.io stable etcher" | sudo tee /etc./apt/sources.list.d/balena-etcher.list
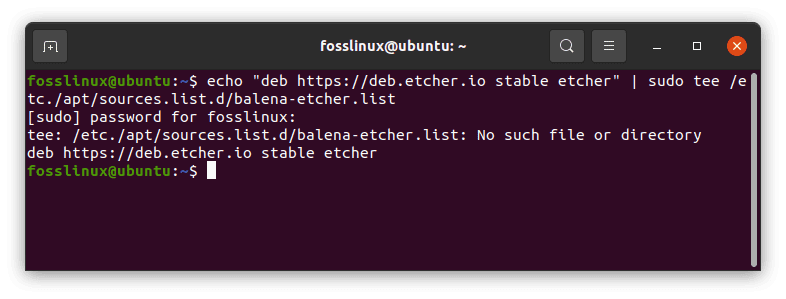
add etcher repository
The above command will create a separate list of repos under the sources. list.d directory. This ensures that the file used to incorporate the official repo links will be safe and intact.
- Add GPG key of Bintray.
Bintray is a universal software distribution service and distributes the balenaEtcher packages as well. The system needs to trust it, and for that, we have to add its GPG key. This will ensure that packages we receive are from the source and weren’t altered by someone. Use the following command:
sudo apt-key adv --keyserver hkps://keyserver.ubuntu.com:443 --recv-keys 379CE192D401AB61
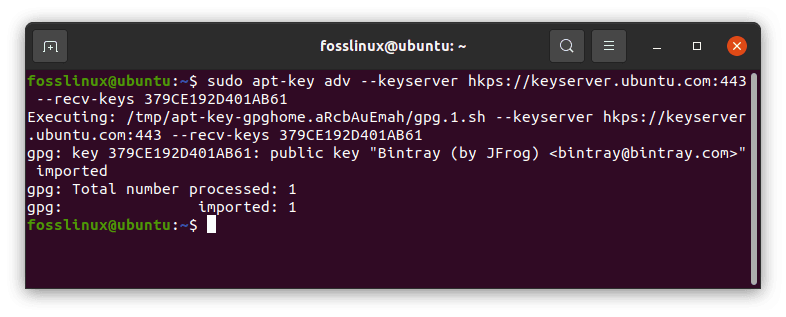
add gpg Bintray key
- Install balenaEtcher on Ubuntu 20.04
First, add the Etcher Debian repository
To do this, run the command below:
curl -1sLf \
'https://dl.cloudsmith.io/public/balena/etcher/setup.deb.sh' \
| sudo -E bash
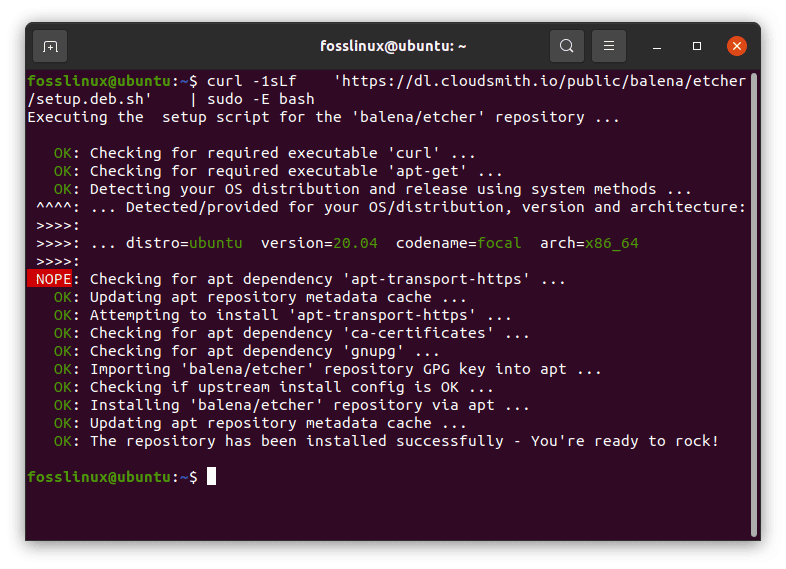
add etcher Debian repository
Now execute the system update command to flush the APT cache and rebuild it again to recognize the added repo. Once that is done, run the install command to download and install all the required packages and dependencies.
sudo apt update
sudo apt-get install balena-etcher-electron
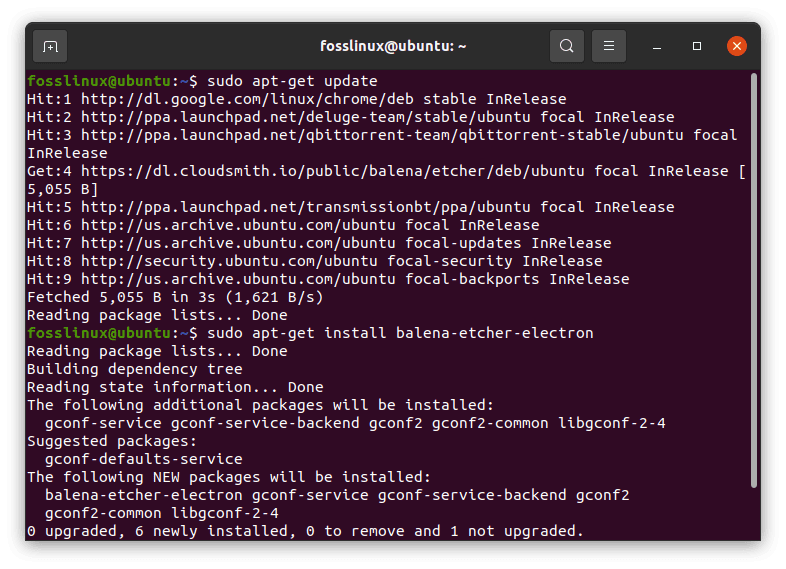
update and install balena etcher application
2. Download Elementary 6 OS ISO file
You will require the Elementary OS ISO file to create a bootable USB drive. To acquire this ISO file, go to Elementary’s official website and download it as previously done.
3. Using the Etcher on a system to create a bootable drive
Since Etcher is cross-platform, whatever steps we will use here will be common for all operating systems. Use the steps below to create a bootable USB stick:
- To flash a disk image, first, you will need to connect the USB drive to your system
- Now run the Etcher program

balena etcher application
- Select the elementary image file you had downloaded earlier from the folder you had saved it. It can be in IMG or ISO formats or as a compressed ZIP file
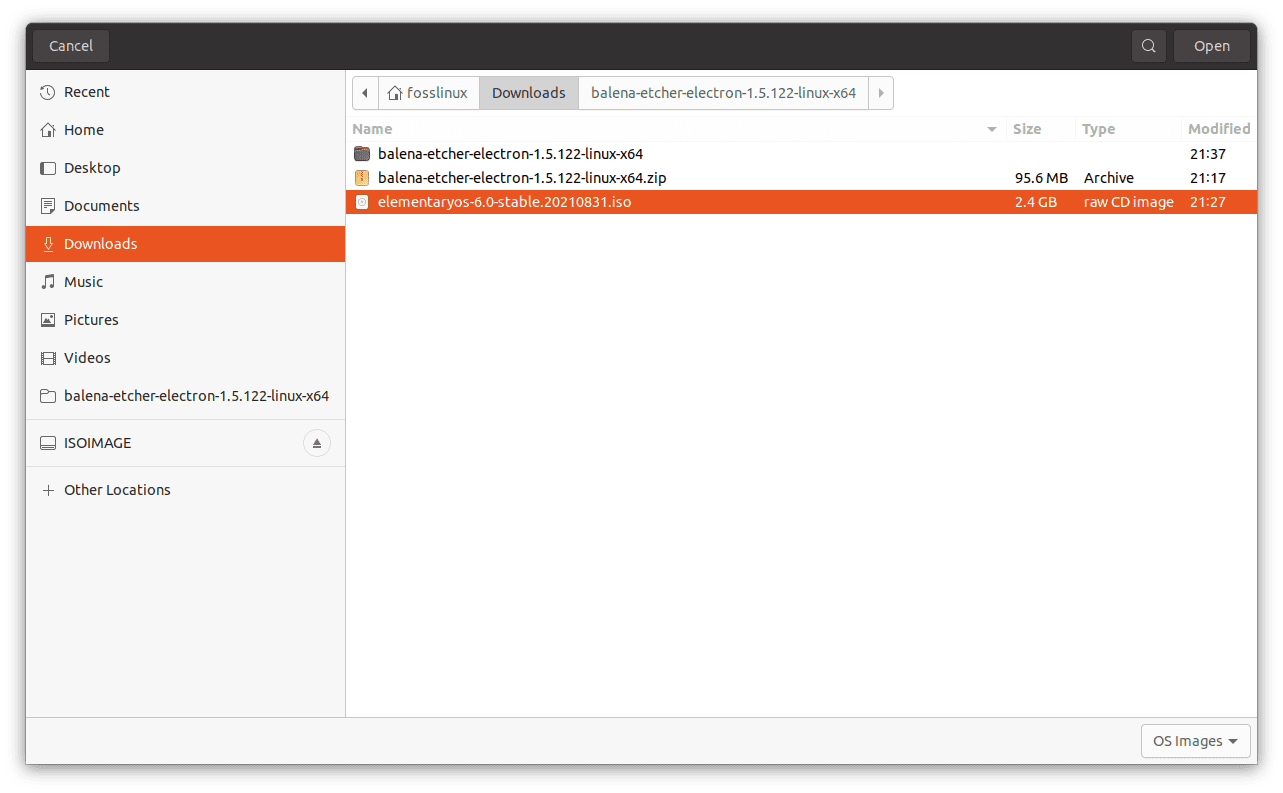
select the downloaded iso
- Select the USB stick. If you have only one connected device, the program will automatically select the USB stick. In addition, the internal hard drive installed on the system will show on the Etcher software. Hence, it will prevent you from accidentally selecting the wrong drive and deleting it during the copying process.
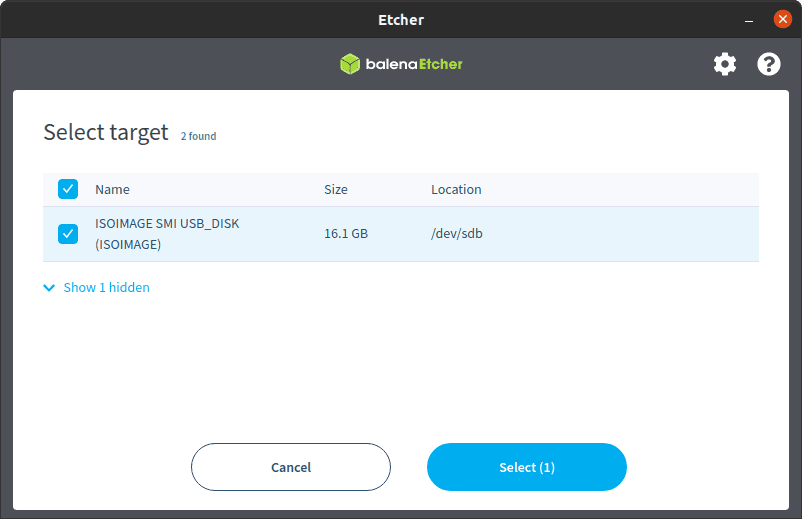
select the target USB drive
- Now start the flash process by clicking on the Flash Button.
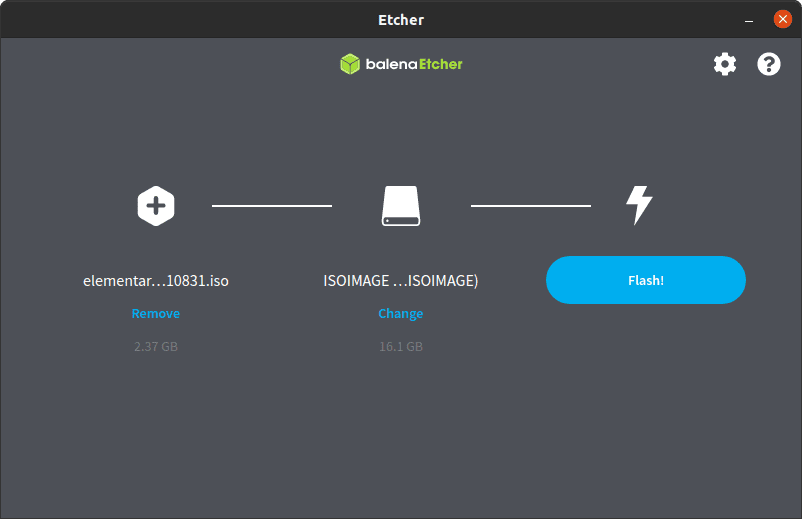
Click the flash button.
- The Etcher will then check the copied data for errors and issues a message if necessary. This way, you will ensure that the image has been transferred to the data carrier without errors.
Conclusion
This article has discussed ways to create an Elementary Live USB drive using Etcher on Windows and Linux. Hopefully, this article helps you know better about the Etcher program, including its advantages and disadvantages. In case of any queries about Etcher and creating bootable live USB drives, feel free to use the comment section to get in touch with us, and we will reach out to you.