
TeamViewer is a perfect software solution for users seeking reputable remote desktop and access solutions. Team Viewer parades itself with five useful mantras: Connect, Engage, Support, Enhance, and Manage. If your remote desktop and access solution checks these five boxes, then you have found a haven.
With a TeamViewer suite, you can achieve customer-first engagement, augmentative reality, IT management, and remote connectivity solutions. Any device connection is possible. Any user and process support are also possible regardless of the time zone and location configuration.
What TeamViewer offers
Several useful modules exist under TeamViewer: cloud platform, global access network, and prebuilt integrations. In addition, its loud platform remote connectivity accommodates the means and techniques for secure remote access regardless of the device in question, the operating system platform, the location, or the timezone.
Under the global access network module, TeamViewer guarantees fast and performant connections whether you are dealing with robots. Computers, servers, smartphones, IoT devices, or any other smart and performant hardware. It can stretch its outreach to low bandwidth environments and even outer space.
TeamViewer’s prebuilt integration caters to its remote access maneuvers, supported platforms, app flexibility, and scalability through hosted software solution suites. These milestones make it a favorite destination for popular business and IT applications.
TeamViewer installation on Ubuntu
All Ubuntu users adhere to TeamViewer’s freemium-like model as soon as they agree to its installation and usage. TeamViewer is freely accessible to everyone. The availability of its impeccable functionalities depends on the targeted mode of use. Most users tend to go for nonprofit and personal use, while the business-oriented users prefer TeamViewer for professional use cases.
Whichever mode of use you choose to go with, TeamViewer’s pricing would give you a better hint on what you need. To get TeamViewer up and running on your Ubuntu-powered machine, you need to consider two installation approaches. The first approach is through a TeamViewer DEB package and the second one is through the TeamViewer’s repo. The repo approach has several manual installation steps.
For this article tutorial to meet the needed objectives, we will be considering TeamViewer installation for personal or nonprofit use.
TeamViewer installation through a Deb package
This approach is straightforward. First, visit TeamViewer’s homepage and scroll down to the site section similar to the following screenshot.
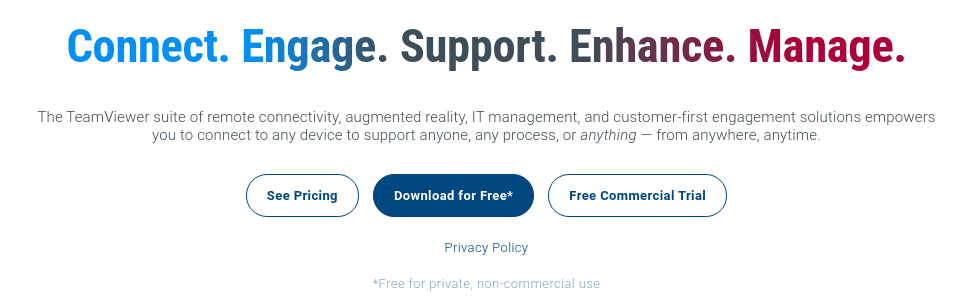
TeamViewer Deb file download section
Next, click on the highlighted “Download for Free” menu button similar to the above screenshot. You will be redirected to a “TeamViewer for Linux” page if you access it via a Linux PC. The web page automatically recognizes your device, including Windows, Chrome OS, Android, etc., and redirects to the corresponding page. A caption of how the page looks like is highlighted by the screenshot below.
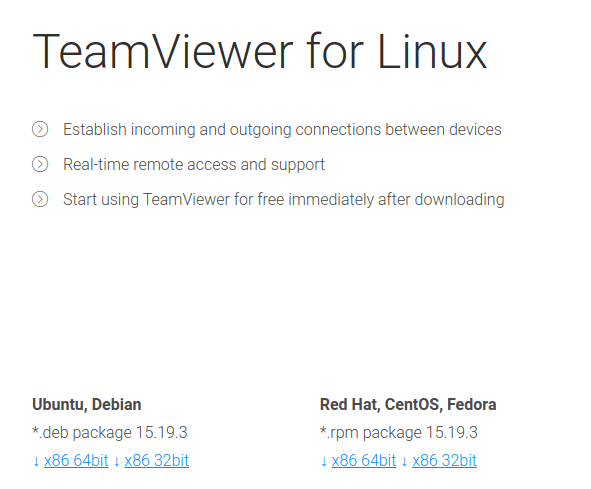
TeamViewer for Linux download page
As you can see, there is an “Ubuntu, Debian” section somewhere on this page with a “*.deb package” together with some version number emphasized. Then, depending on your machine architecture, either click on the “X86 64bit” link or the “X86 32bit” link. The TeamViewer download should promptly begin.
The TeamViewer installation file you downloaded will have a “.deb” extension. To run this file, right-click on it with your computer mouse and click on the “Open With Software Install” menu option.
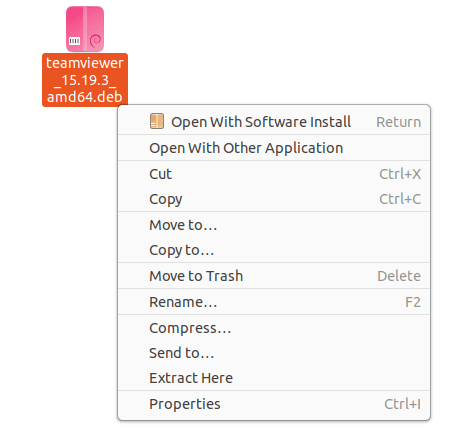
TeamViewer Deb file installation
You will be redirected to an interface similar to the one below.
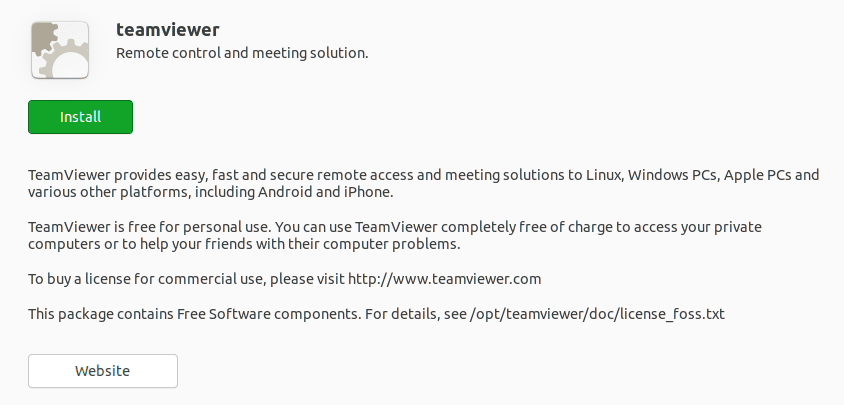
TeamViewer software installation interface
Click on the “install” menu button and wait for the software installation to complete. A successful installation will lead to the following interface.
TeamViewer successful installation
To access this app, click on the “Show Applications” icon at the bottom left corner of your Ubuntu OS screen.
Ubuntu Show Applications icon
It will lead to another interface with a search grid. Key in “TeamViewer,” and your app’s icon will show up for you to launch it.
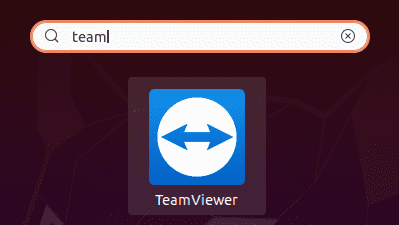
TeamViewer app launch
TeamViewer installation through a package repository
This approach is for the Ubuntu nerds that love to play with the command-line interface of their operating system. The first TeamViewer installation approach covered a lot of hidden installation steps that will be exposed here.
The first step is to add the TeamViewer repo manually and, afterward, leave the remaining installation hurdle to the APT package manager. Before we do anything, the TeamViewer GPG key needs to be added to our Ubuntu system. We can achieve this step by executing the following command. Open your command-line interface and execute the following command.
curl -L https://download.teamviewer.com/download/linux/signature/TeamViewer2017.asc | gpg --dearmor | sudo apt-key add -Since we are after the latest GPG key, the “.asc” key file we will be accessing will need to pass through some conversion sequences before being handled by the “apt-key” command segment. The above command explains this implementation in a clearer fashion. The expected command-line behavior is depicted in the following screenshot.

adding the TeamViewer GPG key through the Ubuntu OS command-line
The next step is to run a system update command on your Ubuntu terminal.
$ sudo apt update
As you will note, this system update command leads to the automatic configuration of the TeamViewer APT repo. For example, take a look at the following screenshot.

TeamViewer automatic repo configuration during the system update
If the TeamViewer repo on your end was not automatically added, you can take the manual approach and add it with the following command sequence.
$ sudo sh -c 'echo "deb http://linux.teamviewer.com/deb stable main"
 >> /etc/apt/sources.list.d/teamviewer.list'
You should then follow this command with the Ubuntu system update command for the implemented configurations to take effect.
$ sudo apt update
Finally, we can now comfortably install our TeamViewer app.
$ sudo apt install teamviewer
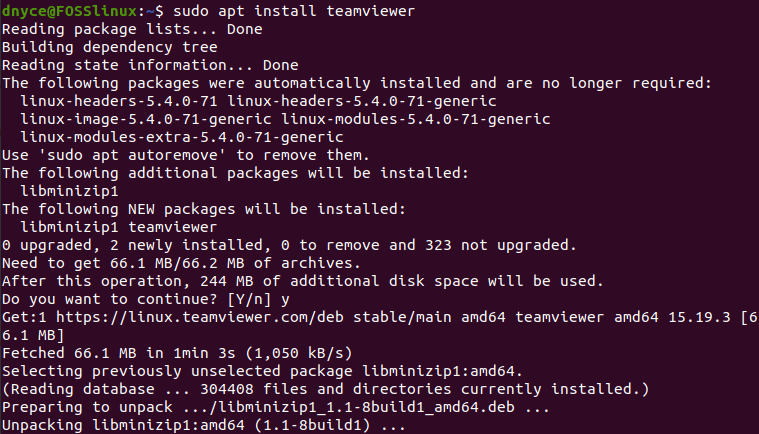
TeamViewer installation process from the Ubuntu command-line
When this command correctly finishes its execution, TeamViewer will be installed on your machine and ready for launch and usage.
Using TeamViewer
By clicking on the “Show Applications” menu icon discussed under the first approach of installing TeamViewer, you should be able to key in the name of this app on the search grid and launch it by clicking on its resulting app icon.
Another way to launch this app would be to type “teamviewer” on your OS terminal.
$ teamviewer
The first interface of TeamViewer to launch will be the “TeamViewer License Agreement” window.
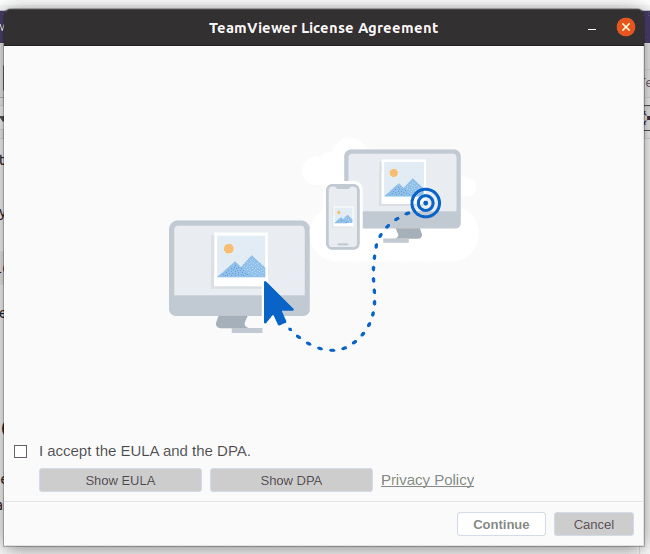
TeamViewer License Agreement window
Check the box before the phrase “I accept the EULA and the DPA,” then click continue. You will then be granted access to another main window. This window will display temporary user credentials in the form of user ID and password. The significance of these credentials applies to other remote users that will need access to your machine. In such a case, you will need to are these credentials with them.
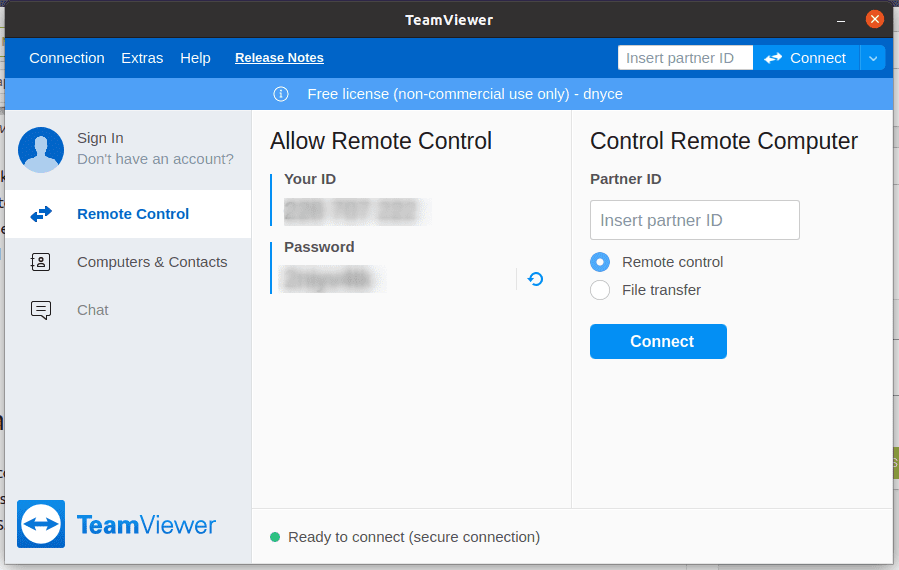
TeamViewer primary window
For instance, if we want to make a remote desktop connection to another machine, we will need a “Partner ID” as highlighted on the “Control Remote Computer” section of the above screenshot. The “Partner ID” is the “Your ID” on the TeamViewer interface of the machine we are trying to access.
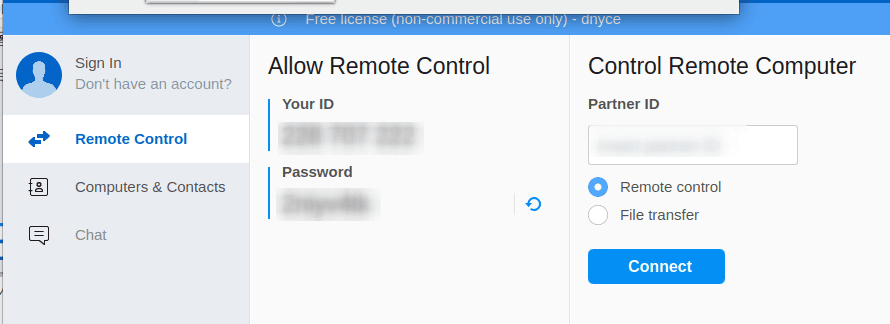
Using TeamViewer Partner ID to make a remote computer connection
Afterward, click on “connect” below the “Control Remote Computer” section. Another prompt will now as for the “Partner Password” associated with the “Partner ID” you used to initialize the remote connection.
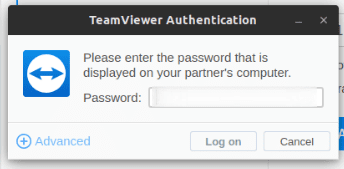
Using TeamViewer Partner Password to make a remote computer connection
And just like that, you will have gained control and access to the targeted remote machine and be able to move around within its GUI and also interact with its operating system applications and icons.
The “Extras” menu item on the header section of your TeamViewer app window leads to the “Options” submenu, which effectively editing a TeamViewer’s client behavior.

TeamViewer options submenu
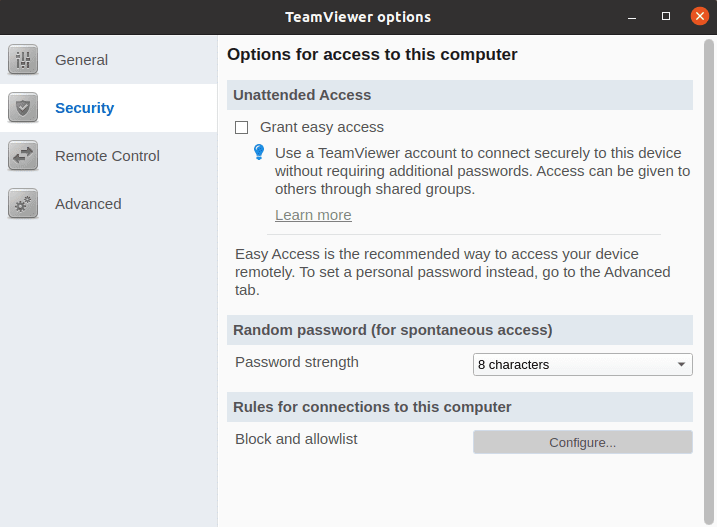
On the same “Options” submenu, the “security” section deals with connection access configurations, password strength configuration, and connection rules on who or which machines should be allowed access to the host computer.
TeamViewer options security menu
The “Advanced” section of TeamViewer’s “Options” submenu deals with other miscellaneous configurations, which you might also find useful.
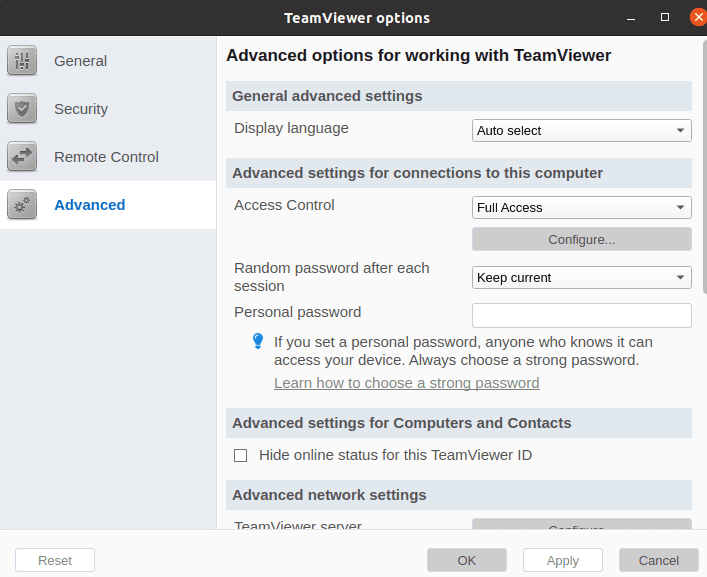
TeamViewer options advanced menu
With this last screenshot, you have managed to learn and master two ways of installing TeamViewer on your Ubuntu operating system environment. In addition, you also benefited from a crash course on how to familiarize yourself with the TeamViewer app interface and usage quickly.
TeamViewer is a fusion of power and simplicity in terms of its configuration and usage. Another thing for you to look at is the TeamViewer account. It grants you the flexibility of managing multiple device connections under a single interface. You should now be able to offer a friend or a colleague some immediate assistance whenever the need arises.
Final note
The continued use of TeamViewer has brought numerous customer successes to the spotlight. The app is now associated with big companies like Philips, Siemens, Doro, Leitner Ropeways, Trimble, and CNES.
Philips makes use of TeamViewer in remote maintenance of its information systems and digital displays. The app has produced significant milestones for xPick, Siemens’ vision-picking solution in the energy sector. After Doro’s merge with TeamViewer, seniors embrace active and independent lifestyles to close the underlying digital gap.
Ropeways operation time is now optimizable through AR-based support after Leitner Ropeways embraced the use of TeamViewer. In addition, overall image quality is improving in SPACE operations concerning monitoring medical equipment teleoperation through TeamViewer. Finally, Trimble users have witnessed higher efficiencies of precision agriculture after considering the use of TeamViewer.
If this remote desktop software can bring such great testimonials from global companies, then it’s only a matter of time before an ordinary Ubuntu user like yourself grows towards such company ambitions and strides through TeamViewer.