
Several applications often set themselves to start immediately after you sign in to your elementary PC desktop. At times you might want to add your favorite programs to the startup process, too, and do away with others, which is quite a great idea of improving your experience with your PC.
Have you been in this dilemma for a long time? You need not worry since this article has you well covered.
Linux ships with a Startup Applications manager that helps users manage startup programs. You may be unlucky not to find the “Start-up Applications” in the default installed applications in some OSs. However, this does not limit you from downloading the application from the software center.
About applications booting up automatically, we are not talking about essential programs such as network manager here. Instead, some of the apps we are talking about include skype, slack, Transmission torrent clients, and other regular programs.
Startup applications are often a perfect way to save time and extend the usability of your Linux system. However, it would be best if you were cautious not to have too many startup programs on your machine, as it may negatively impact the responsiveness of your system when you log in to it.
In this elementary OS guide, we will show you how to manage startup applications. Some of the crucial areas you should be able to comprehend at the end of the article include:
- Knowing how to remove a program from the startup applications list so that you boost your PC’s performance.
- Learning how to add almost any program in the startup applications list to initiate them spontaneously.
Managing startup applications in elementary OS
By default, elementary ships with an Applications Start-up utility that we will use in this article. Alternatively, you may also make use of a third-party application like Stacer for managing the startup programs.
Add a program in the startup applications
Some but not all applications provide the “autostart” option in their settings. This option automatically enables you to add them to the list of startup applications easily. To add an application to the startup menu, you will right-click on the target app and select the “Autostart” option. One of the applications that do not support this auto-option is the Transmission or torrent clients. However, this does not matter much as it is only a shortcut to add an application to the startup menu quickly.
This tutorial will display two methods of adding applications to start up during every boot process. With that being said, let us get started with the first method.
METHOD 1
Step 1: Open the startup application
In this method, we will make use of the default Startup software in our elementary system. To do this, go to the applications button on the left corner of the desktop and click on it. Once you have clicked, several apps will pop, but since the startup application is not among them, go ahead to the search button, type startup, and click on it to open.
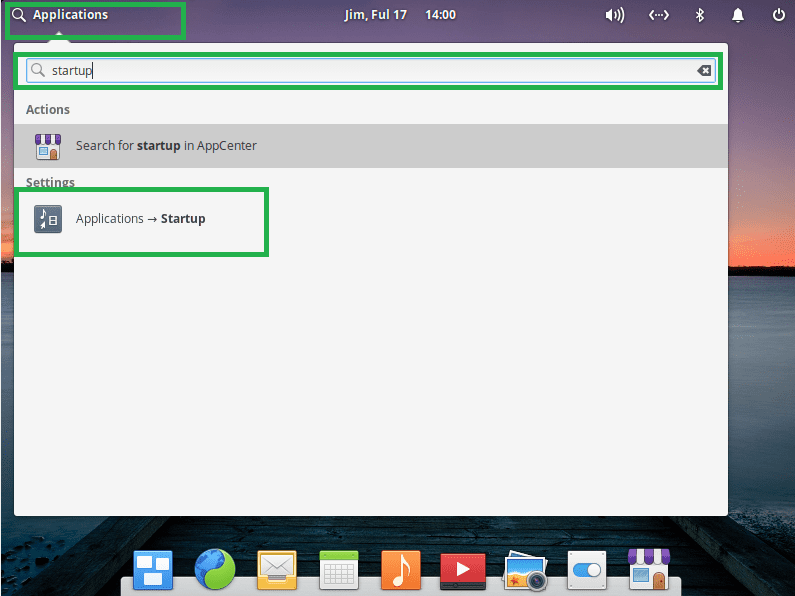
startup button
Step 2: Adding applications to the startup software
Immediately the startup utility software fires up; you will see a bunch of applications on the startup menu depending on the applications set to start during the boot process; in our case, there are only two (Epiphany and Files)
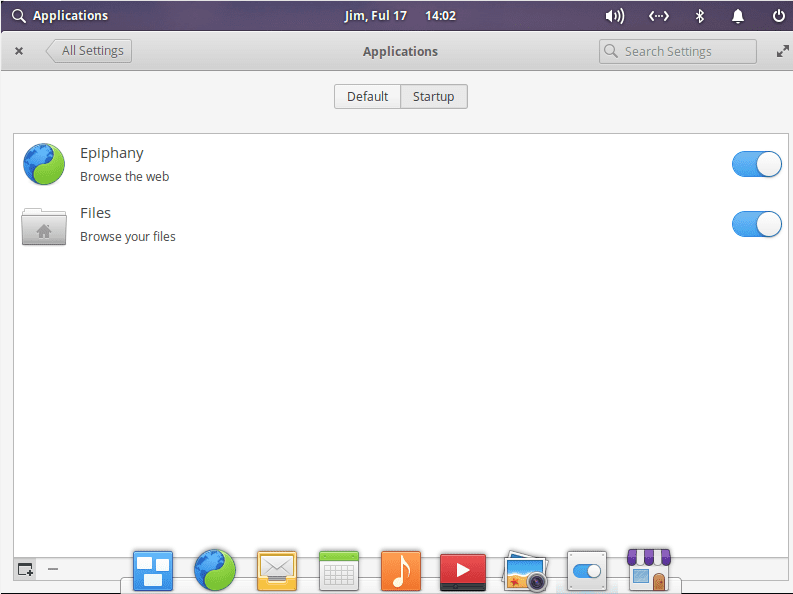
starting applications
To add an app to the software window, locate the (+) button on the left corner of the application window and click on it.
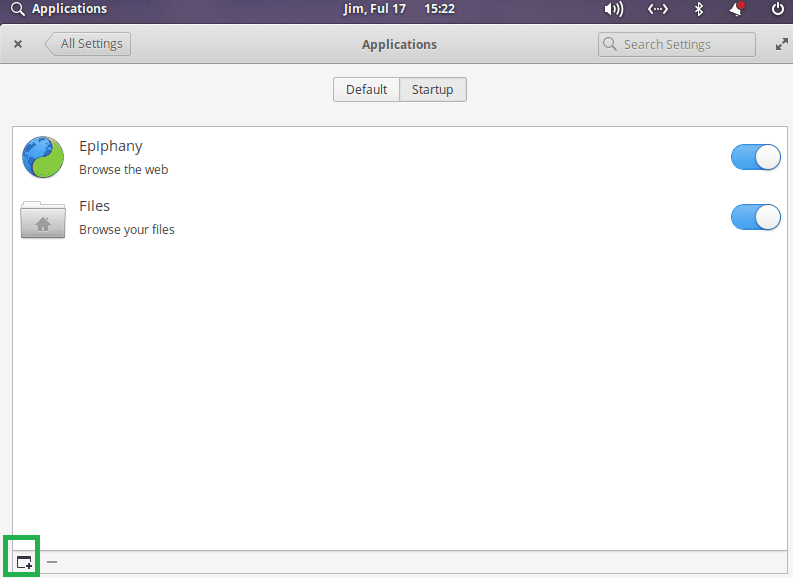
select the + button
Immediately you click on it, a search menu button will appear with several apps. If the application you want to add is not visible, just type, and it will appear. For our course, we will type Skype. Once the application appears, click on it, and you are done.

select skype
The final window of the startup applications software:
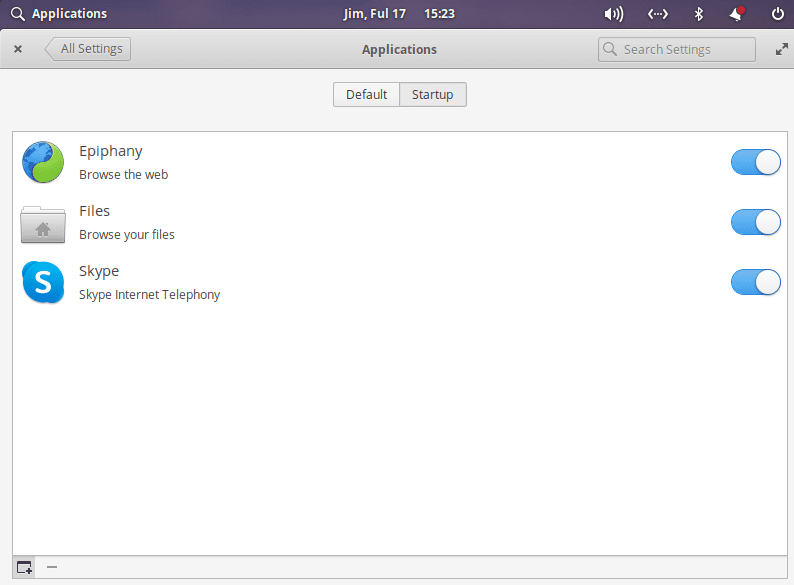
finally added skype
To add on, we will show you a neat trick that you can use to autostart almost any application.
METHOD 2
Step 1: Installing alacarte
This section will use the alacarte menu editor for the GNOME desktop environment to add applications to the startup menu. Alacarte is a tool manager containing all the application software installed on your machine. However, You may find some desktops lacking this feature. To get the app on your device, you can look for it in the software center by searching for “Main Menu” and installing it or instead, making use of the following command to install the software:
sudo apt install alacarte
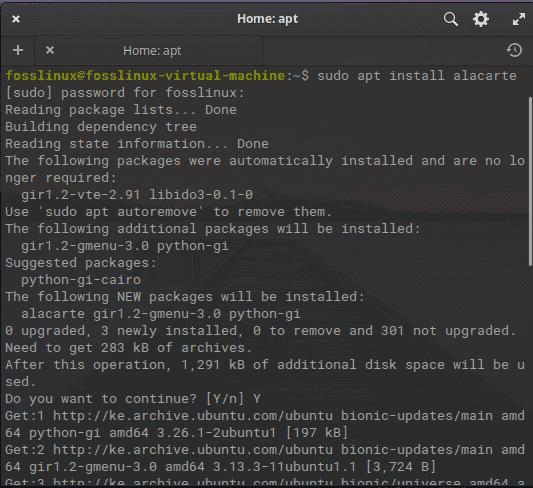
install alacarte
Once the software is set up, go to the Applications button and search for Main Menu.
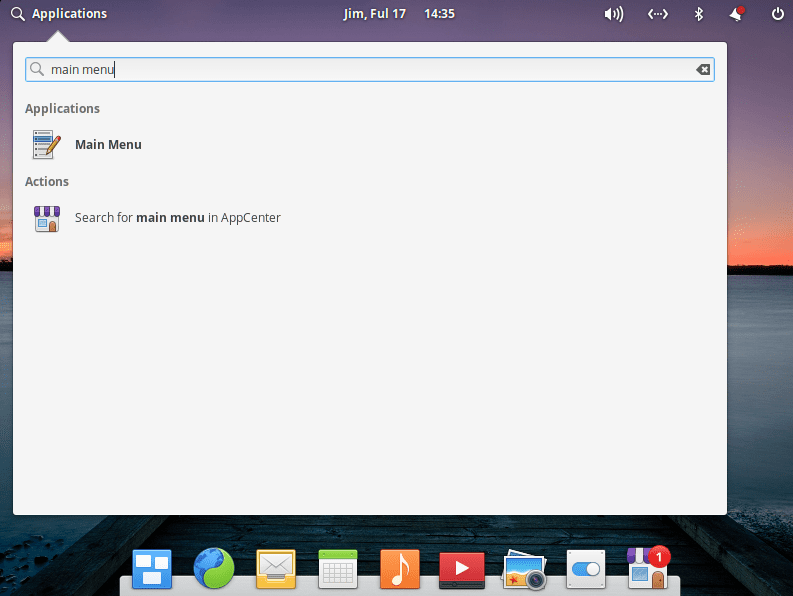
Search for the main menu
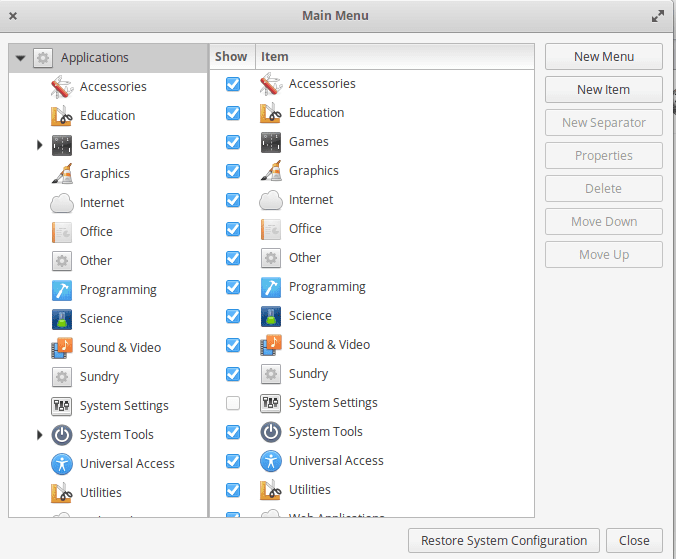
Upon opening, you will realize that the app contains all the programs installed on your system.
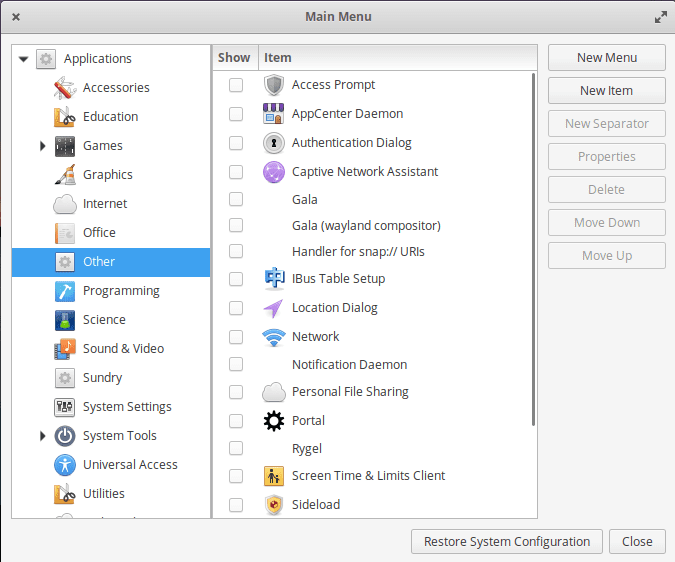
main menu
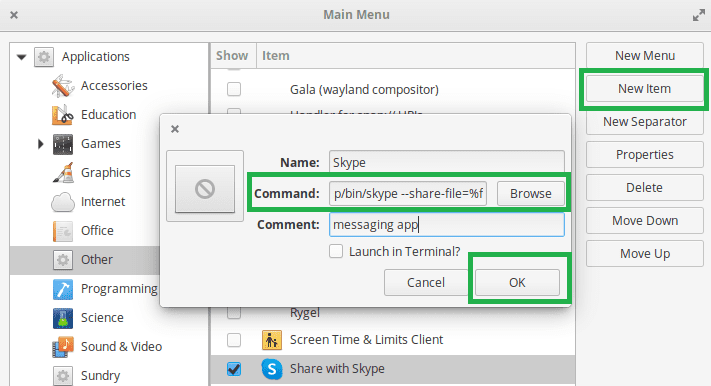
Here, you will select the application you want to add and click on the Properties button located on the right side of the screen to see the command that runs this application. For instance, if we want to run skype on the startup, here is what we have to do:
We will select the target application(skype) and click on properties to see the command that runs skype.
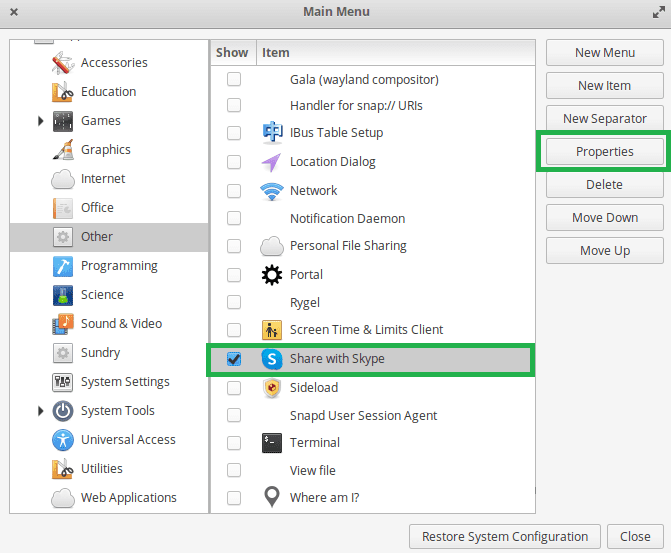
select skype and click on properties
The command running the skype application:
command running skype
Now we will use the same info(command) to add skype in startup applications.
Step 2: Adding Skype to startup
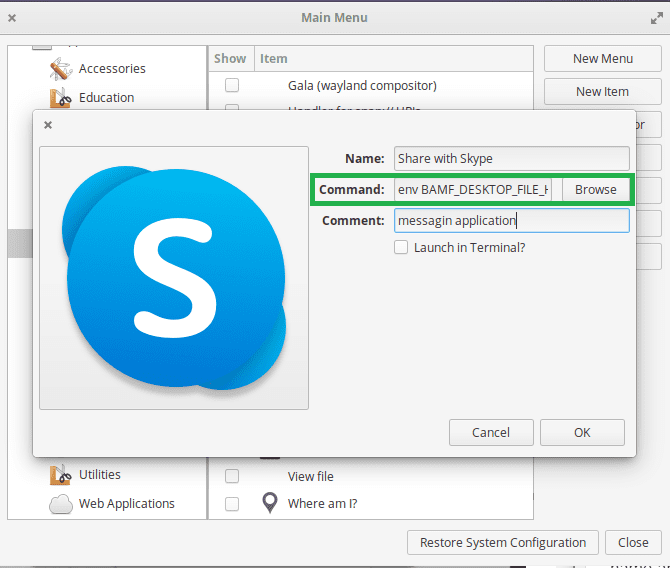
The first step is going back to “Startup Applications” and clicking on “New item.” After opening the properties, the main menu window will query you to enter a name, a command, and an optional comment in other cases.
select the new item
A comment is generally the description of the application. However, the most paramount here is the command. You can use whichever name and the comment you like, but you ought to be keen when it comes to the command section.
Use the command you got from the previous step and paste it on the command section before clicking “OK.”
And that is it. In the next bootup, skype will start up automatically. This is all you need to do for an application to start up during the boot process in elementary OS.
Remove startup applications in elementary OS
This section is up to you to figure out what you need and what you don’t. In our case, skype (video telephony, videoconferencing, and voice calls up) is no longer needed as a startup app. So we will disable it. You can cherry-pick to either disable it or altogether remove it from the list of startup apps. To disable a startup application, you will click on the activate-like button at the end of the application, and you are done.
However, to eliminate a program from the startup applications list entirely, select it and click on the (-) button at the left bottom of the startup settings window.
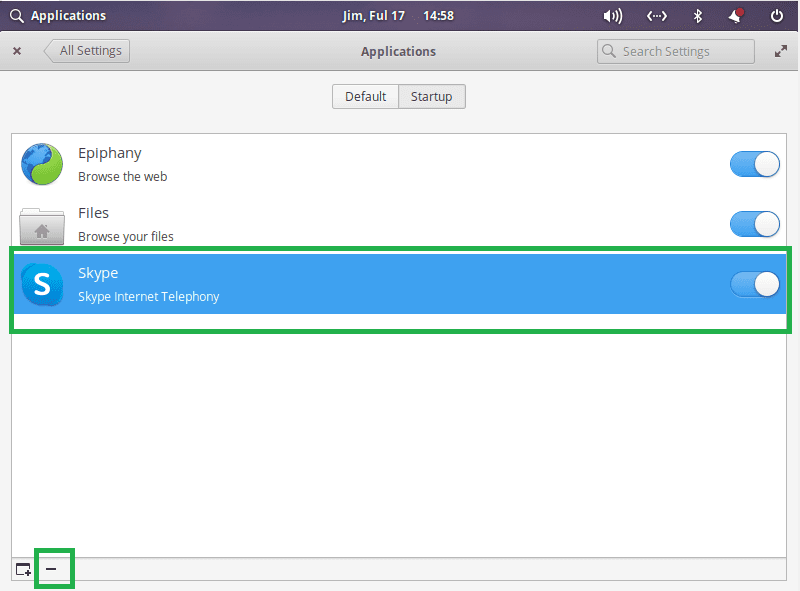
select skype and click ( )
Startup menu window after removing skype:

After removing skype
Bonus tip: How to see hidden startup programs in elementary OS
Until now, we have gone through applications that are visible in the startup menu. However, many more services, daemons, and programs are not visible in the startup applications.
In this part, you will see hidden startup programs in elementary OS and manage them more easily.
To look at all the services running at startup, open the terminal and paste the subsequent command:
sudo sed -i 's/NoDisplay=true/NoDisplay=false/g' /etc/xdg/autostart/*.desktop
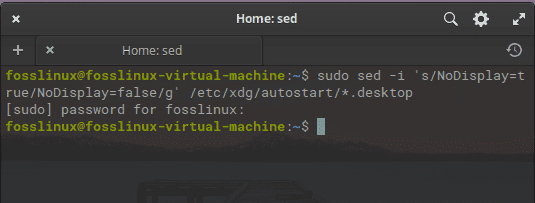
startup applications command
This is just a quick find and replace command statement whose work is to change the NoDisplay=false with NoDisplay=true in all programs in autostart. Upon doing this, and opening the startup applications again, you will see an increased number of programs.
increased number of startup applications
Final Thoughts
Hopefully, this elementary tutorial helped you comprehend and manage startup applications. Feel unrestricted to reach us through the comment section, so we know your thoughts. Thanks for reading! And do not hesitate to reach out in case of anything.