
MX Linux is an operating system based on the Debian stable. The system is generated from a cooperative venture between the AntiX and former MEPIS communities. This is a mid-weight Linux distro designed with a nice look, an efficient desktop with simple configuration, and greater solid performance.
It also has basic tools like a graphic installer that generally handles the computer’s UEFI, a GUI-based method to change a Linux kernel, and other core programs.
After that brief introduction of MX Linux, let us go through the system’s installation process on our VMware workstation. We will channel our concentration from the normal setup to installing the OS with the disk encryption option.
Note: You can diversify your MX Linux knowledge on its features since we also have another article that has covered all the MX Linux features. The latter will take you through a video guide of its features.
How to install MX Linux
Below are some of the minimum system requirements needed by the MX Linux.
- A minimum of 512 MB RAM.
- At least AMD or intel 1486
- 5GB of hard disk space
If your system meets the above minimum requirements, then you can go ahead and download MX Linux’s latest ISO image.
Step 1: Download MX Linux
Before installing MX Linux, the first thing we need is an ISO image. A point to note is that you should understand the nature of your hardware to choose a suitable operating system. This ranges between (32-bit or 64-bit) so that you don’t download an incompatible ISO file.
Note: Are you looking for a place to download the image? MX ISO download has all you need to get your system-compatible images.
Step 2: Installing VMware
After downloading the ISO image compatible with your system, we can now start up our VMware workstation for those who already have it. Nonetheless, if you have not installed it, you can visit the official VMware download to get your system-compatible VMware workstation.
Note: Those users who prefer virtual box over VMware can install the virtual box by following our other article installing the virtual box on MX Linux.
Step 3: Running VMware workstation and creating MX Linux VM
- Open your VMware workstation: Upon opening your VMware workstation, you will see a New Virtual Wizard. You will go with the typical(recommended) configuration type. Thereafter, click on the ‘Next’ button.
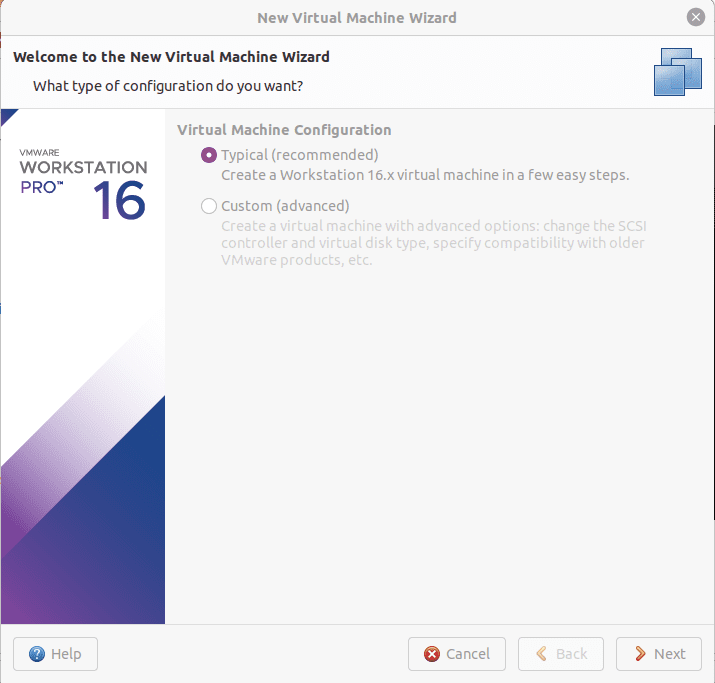
configuration type selection
2. In this section, you will see a guest operating system installation selection. We will select the “Use ISO image” option. At the end of the “Use ISO image” is a browse option that will allow you to select your ISO image. After selecting the image, click on the “next” button.
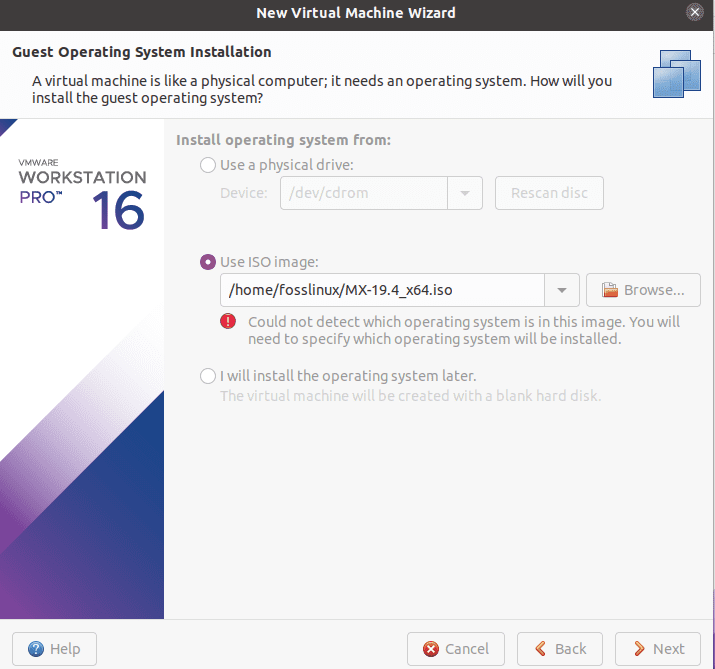
selecting the iso image
- Select the type of your ISO file. In our case, we will select Linux. Thereafter, click on the “Next” button.
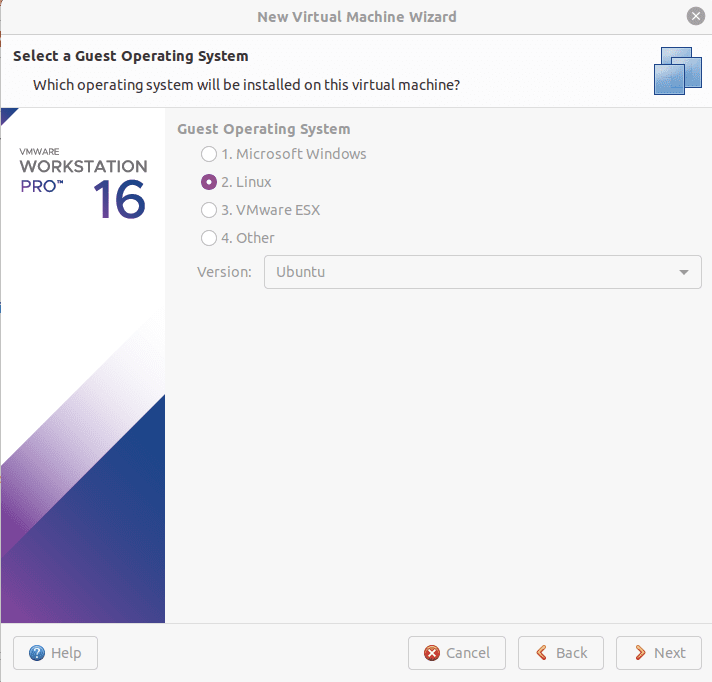
selecting your iso file type
- In the next window, you will be allowed to name your virtual machine. For our case, we will leave it in default. After that, click on the “Next” button to proceed to the next step.
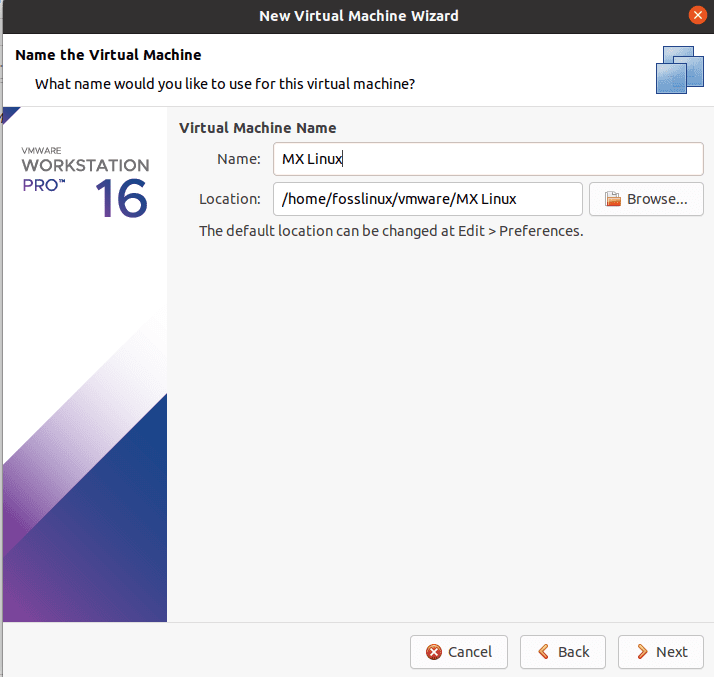
naming your virtual machine
- Next, you will see a disk sizing window, where you will select how large you want your virtual machine to run on your hard disk. As for us, we will go with 20GB. Thereafter, click on the “Next” button.
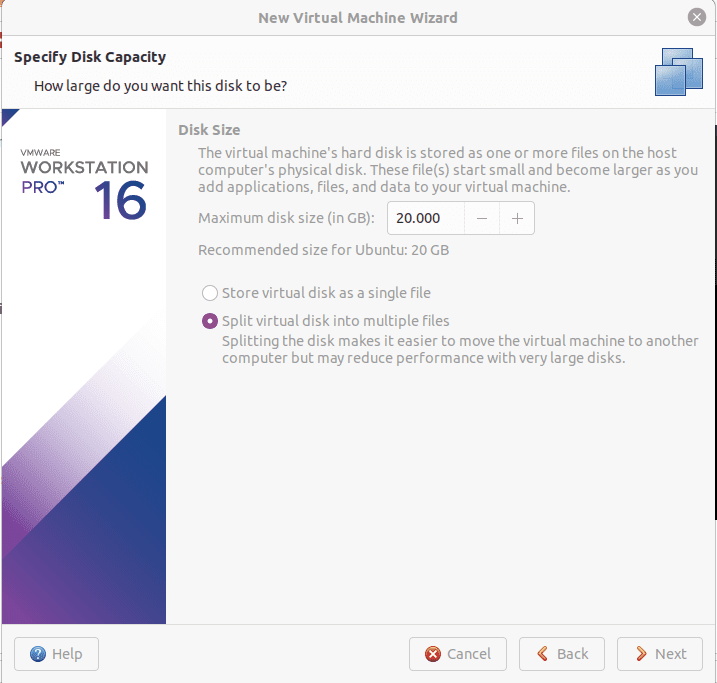
disk sizing
6. In this window, you will see the ready to create a virtual machine, which is the last option of creating our virtual machine. To complete the setup, click on the finish button.
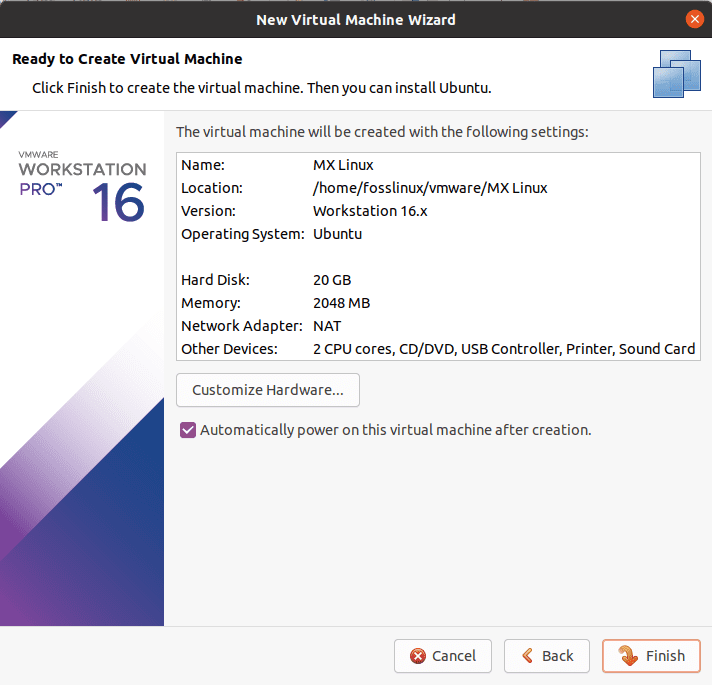
click on finish
7. At the end, you will see “Virtual machine created successfully,” which shows your machine has been configured well. Here you will click on the “close” button, where your machine will automatically boot up.
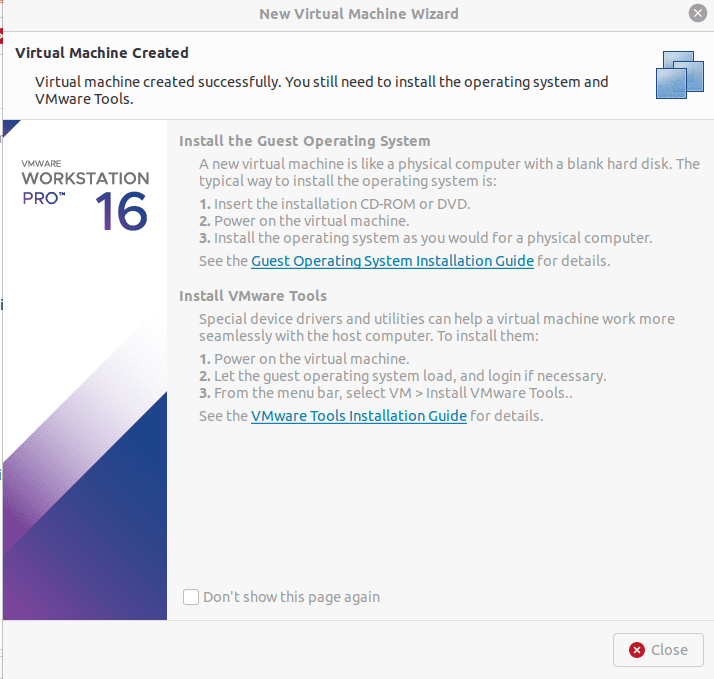
successful virtual machine creation window
Step 4: Start MX Linux VM
Once the machine successfully boots up, you will see such a boot menu.

boot menu window
- Here, you will click on the first option (MX-19.4×64(March 31, 2021), and the setup progress window like the one shown below will appear.
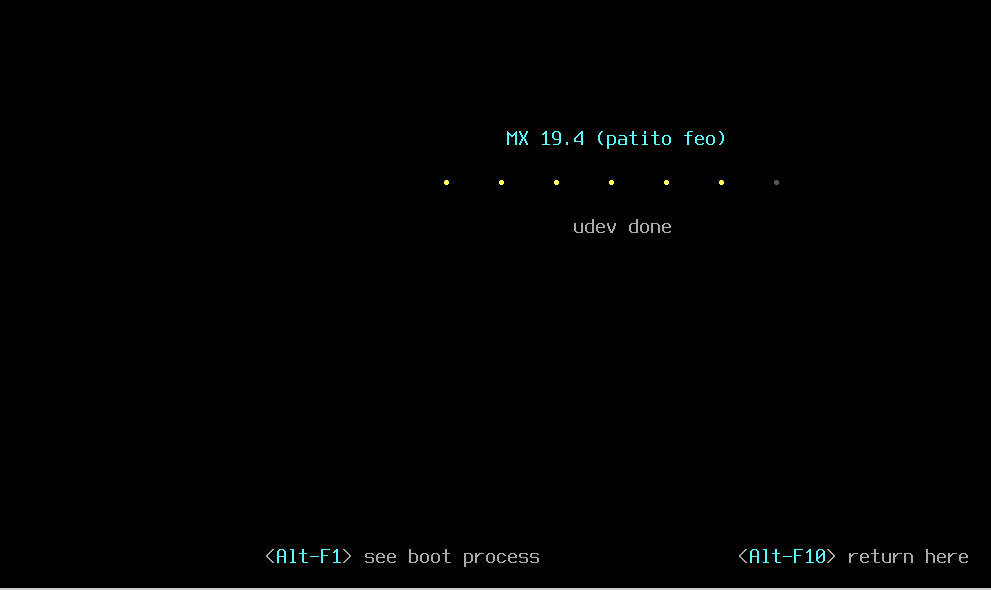
ongoing installation
2. Thereafter, you will see an MX Welcome window that says, “Welcome to MX Linux, a fast, friendly, and stable OS loaded with amazing tools and supported by a great community. Here, you will click on the “close” button to go to the OS’s desktop.
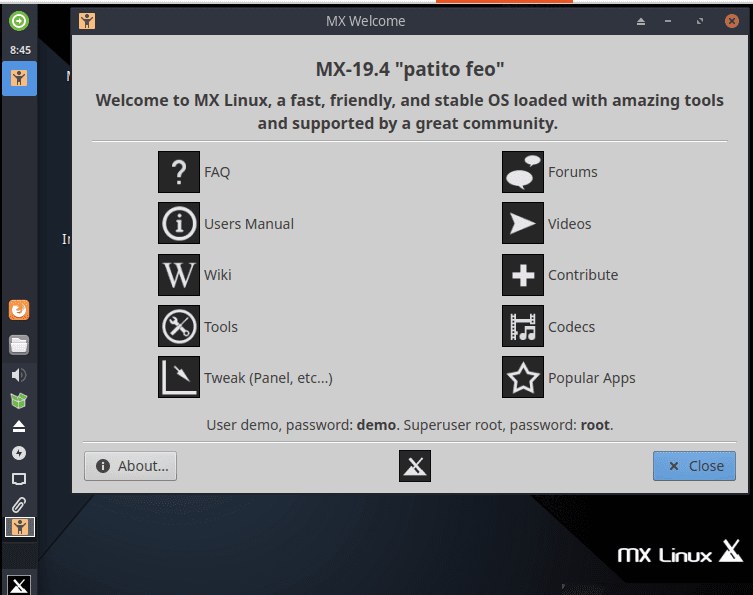
MX welcome window
Step 5: Starting installation
Once you get such a live screen of the OS, click on the installer icon on the desktop to initiate the installation process.
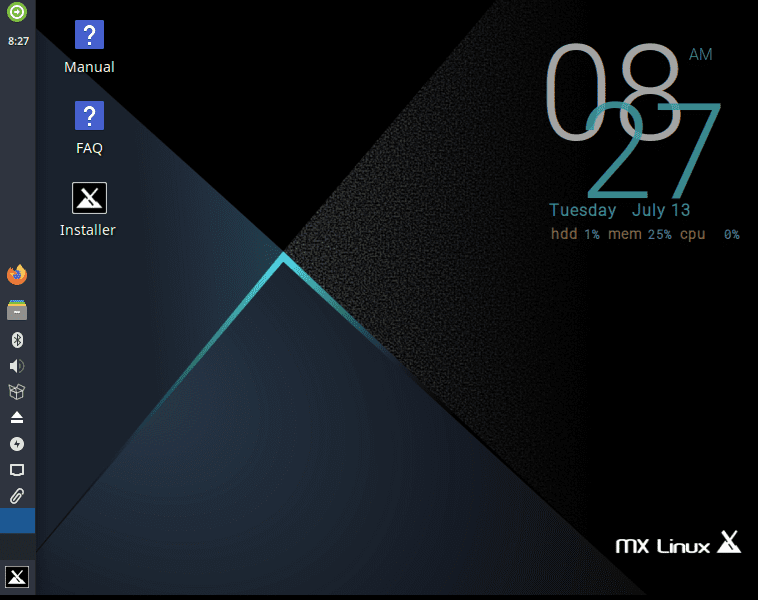
installer option
Step 6: Keyboard layout
After clicking the installer icon, a keyboard layout window will appear. Here, we recommend that you don’t alter anything since the installer will automatically set the keyboard layout for you. Just click on the “Next” button to proceed.
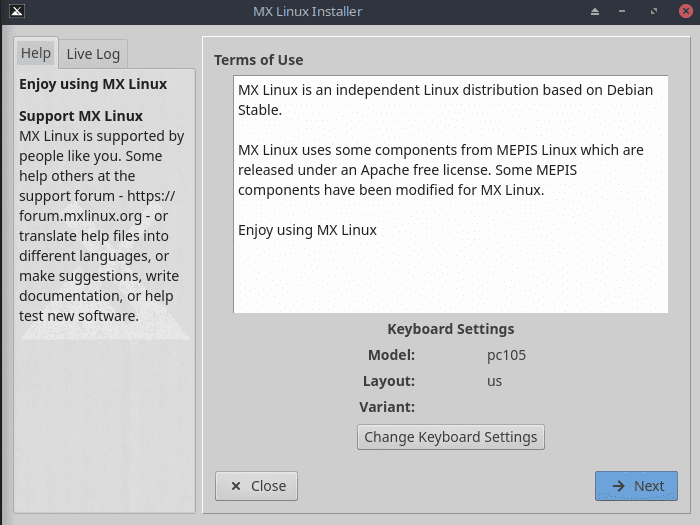
keyboard layout
Step 7: Encryption option
The next window is a “Rearrange disk partition(optional) “. Beneath it is a “modify options” with the Run partition tool. Below modify partitions, you will see a select type of installation with two options (Auto-install using entire disk and encrypt), but since our article focuses on the MX install with disk encryption, we will check the encrypt option.
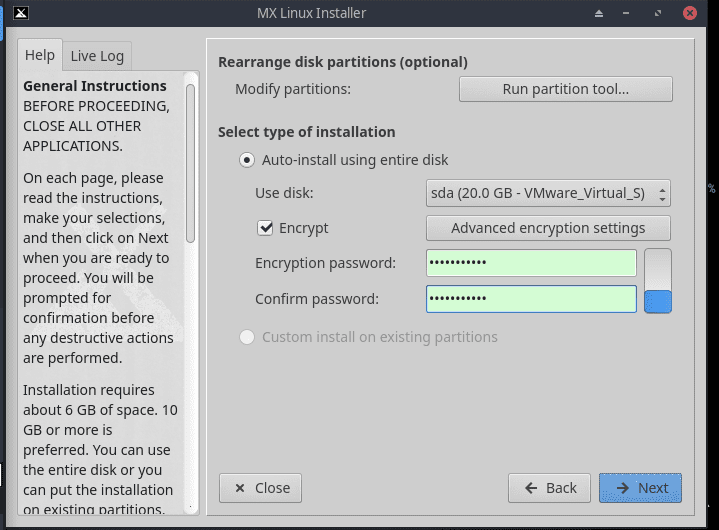
installer setting up encryption
After checking the encrypt button, encryption password and confirm password input fields will appear. Upon creating your encryption password and confirming it, hit the “Next” button to proceed.
Step 8: Choose partitions
In this section, you will specify the root and swap partitions you need. If you need to create a separate partition for your home directory, you need to specify it here. However, you can leave /home to be set as your root.
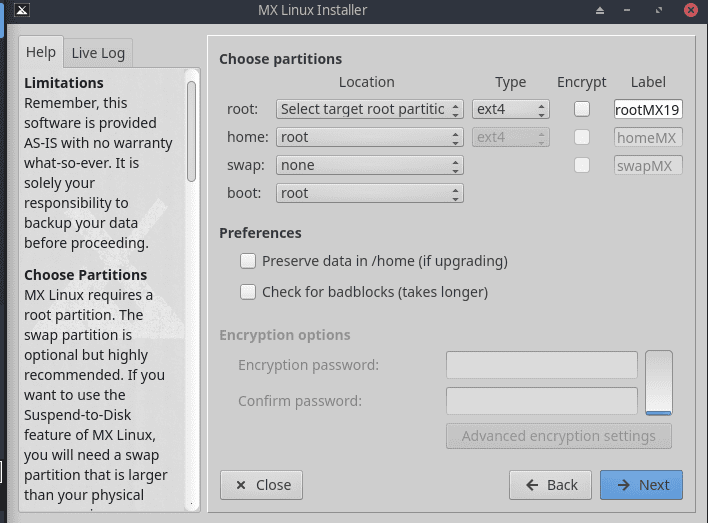
installer in search for the partition choice
If you select the Auto-install using the entire disk in the encryption section, you will not see the above window.
Precautions:
- The user’s /home folder will be inside the same root partition where MX is being installed.
- It is a precautionary measure to set your home folder in a different partition than that of the (/root). This is to act as a safety measure if there is a problem with the installation partition or a total replacement of the installation partition because your users’ settings will not be tampered with.
- Unless you are using encryption or you are well aware of what you are doing, leave your boot set to root like in our case.
Preferences:
- You can check the “preserve data in /home” if you are upgrading and already have some existing data in the home partition. This option is not generally recommended because of the risk of incompatibility between the old installation and the new installation. Nonetheless, this option is quite useful in situations such as repairing an installation.
- Do you want to carry out a scan for physical defects on the hard drive during formatting? If yes, select the “check for bad blocks” to achieve this.
- Alternatively, you can change the label of the partition of your installation location, for instance(to “rootMX-29 Installation Test)
- Another preference is that you can select the type of file system to use on your hard drive. The system comes with ext4 as the default, which is highly recommended in MX Linux if you have no particular choice.
- To finalize, you can make use of the “Advanced Encryption Settings” button at the bottom to fine-tune your cipher settings, or you can go with the default like in our case.
Step 9: Copying the main system
As the main system is being copied to your hard drive, you can go ahead and click on the “Next” button to clear some additional configuration info that is vital in system encryption.
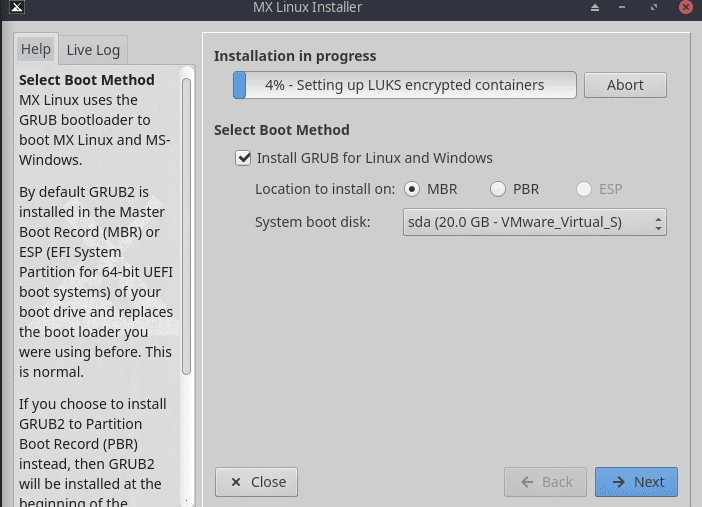
installer asking about the boot method
Step 10: Computer network names
Upon clicking the “Next” button, you will receive the Computer Network Names window that will allow you to change the computer name and computer domain.
However, many users will love to go with the defaults, and there is nothing wrong with that. Better still, you can use any of your preferred names like in our case; we will go with “fosslinux.” After that, click on the “Next” button to proceed.
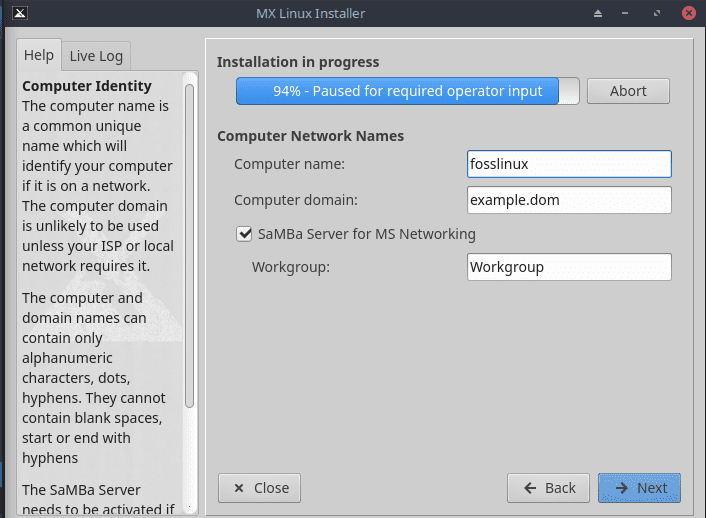
creating a computer fosslinux name
Step 11: Samba server
If you are not going to host shared network folders on your computer, you can disable samba. This does not affect your PC’s ability to access shares hosted elsewhere on your network.
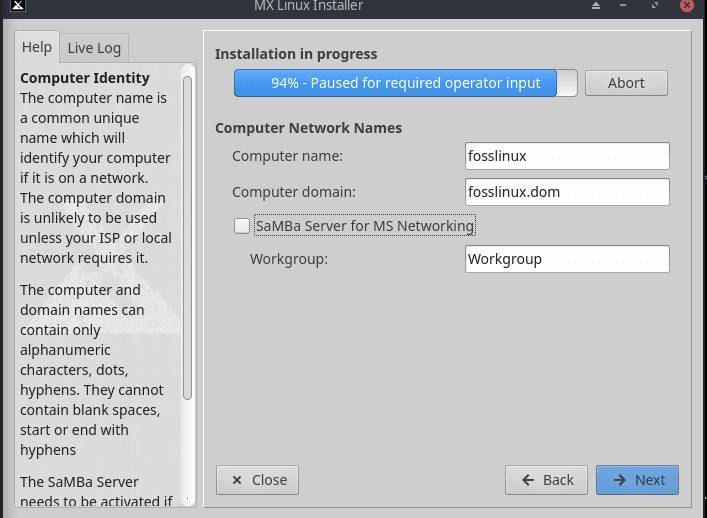
unchecking the samba option
Step 12: Localization defaults
After that, the next window will allow you to change the location and time.
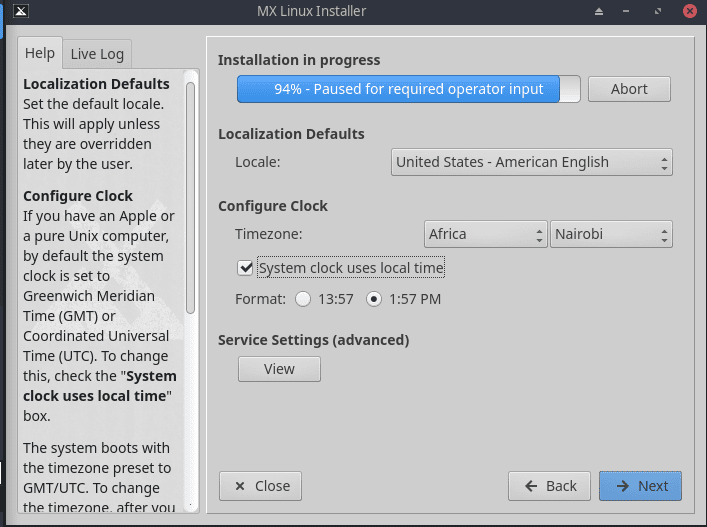
setting the time and location zone
Step 13: MX Linux dialog installer
After that, a dialog box from the MX Linux Installer saying “OK to format and use the entire disk(sda) for MX Linux?” will pop up. Here, you will select the yes button.
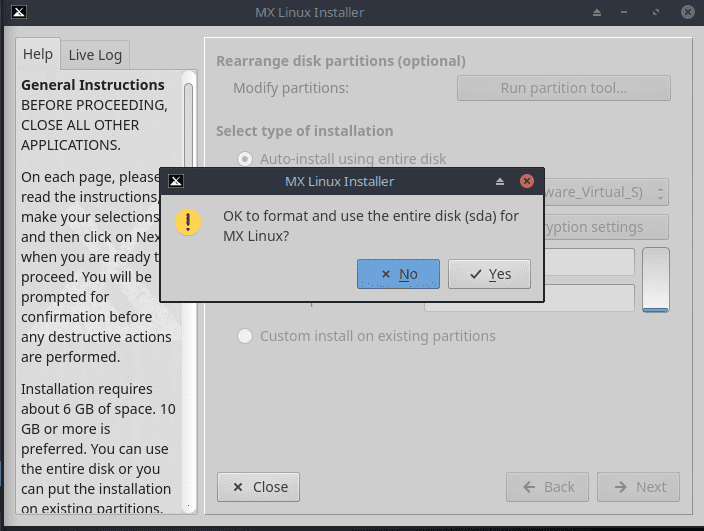
MX installer dialog box
Step 14: Common services
Once you are through with that step, you will be directed to the services window. Here, we recommend you use the default settings offered to you. Additionally, you can change these settings once you have booted into Xfce.

services to enable
Are you asking yourself what services are? Services are just applications and functions associated with the kernel, and they provide abilities for upper-level processes. In case you are not familiar with a service, we recommend that you leave it on defaults.
Step 15: User account
In the User Configuration section, which is next, you will be allowed to set the passwords of your PC. Your PC’s security depends on the type of password you set here. If you check the Auto-login option, you can bypass the login screen and even speed up the boot process.
The flaw of this choice is that anyone who can access your PC will log in directly into your account without being requested to enter any authentication info, which is not a good thing. Nonetheless, you can change this option if you used it in the setup by going to the “Options” tab of the MX User Manager.

system user details
You can also transfer any of the changes you make to your Live desktop. You can get this by checking the last box named “Save live desktop changes.”
Recommended: Struggling with how to install google chrome on your MX Linux OS? struggle no more since our other article on how to install google chrome on MX Linux has everything you want.
Step 16: Installation complete
After the system completes copying all the required info, an installation screen with “Installation Complete” will appear, and you will be good to go.
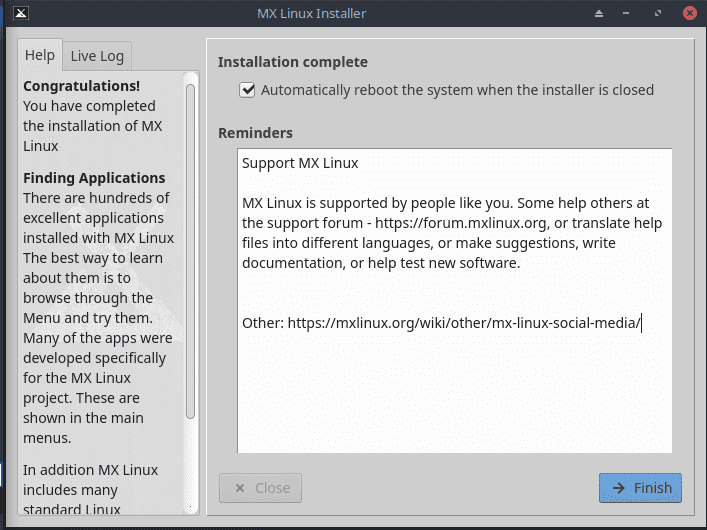
Click on the finish button
Step 17: Bypassing the reboot option
Another procedure that many people like bypassing is the reboot process after completing the installation. For those who don’t want to reboot their system after completing the installation, you can uncheck the automatic reboot option before clicking the “Finish” button.
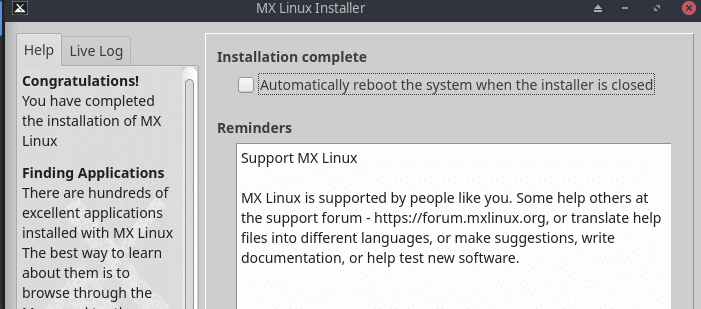
unchecked reboot button
Step 18: The login MX Linux
Upon opening up the system, a login window will be displayed; here, you will enter the default user password you created while setting up MX Linux, and you can now start using this incredible encrypted Linux distro.
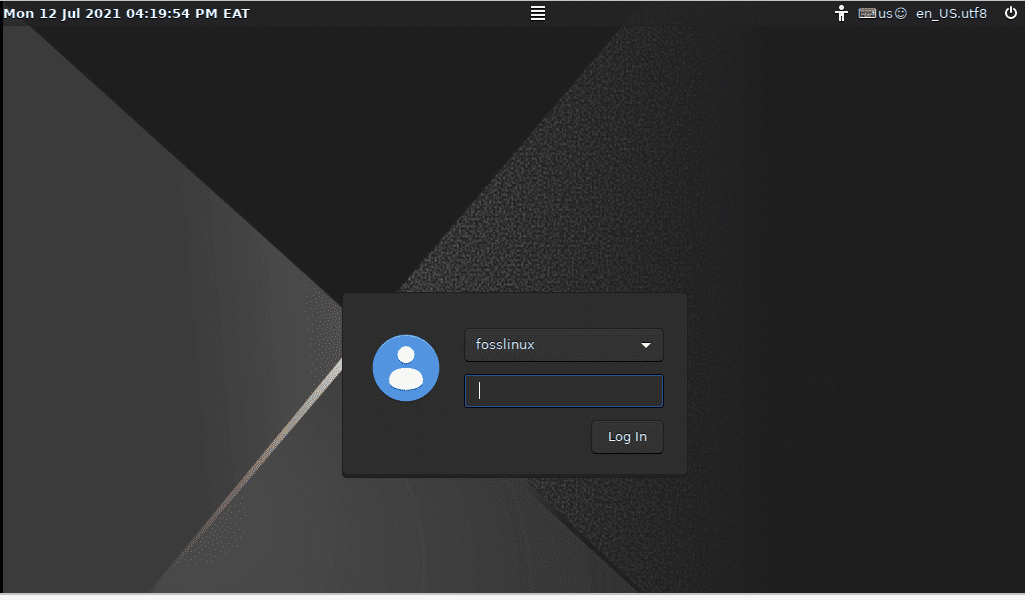
the login screen
After typing in your password, an interactive active desktop environment will be displayed, such as the screen shown below.
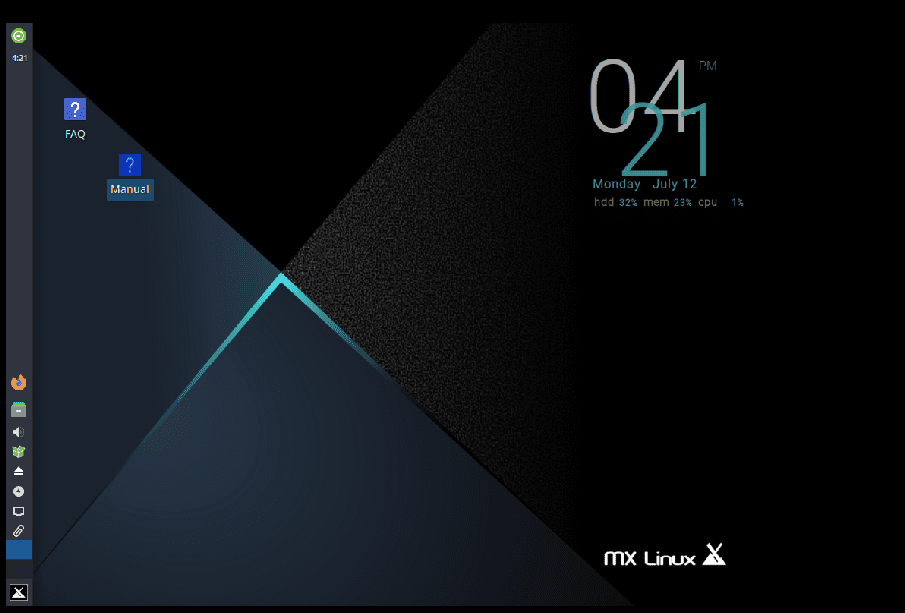
after logging in
Note: After logging in, you can check our other article on how to update MX Linux using the command line to ease the updating process.
Final Thought
The article has gone through many sections that will aid in the installation of the OS with disk encryption. First, we took a quick overview of what MX Linux OS is. After that, we looked at the installation process plus the disk encryption, which was the article’s key point. To this far, we hope the article has covered a lot in terms of installing this software with disk encryption that you should be aware of by now.
Have you tried installing this OS with disk encryption? If yes, how are you getting along with it? Please feel free to share with us in the comment section below.
Note: Are you looking for things to do after installing MX Linux? Worry no more as 15 things to do after installing MX Linux has all you need. Thanks for reading!
2 comments
I know your post is from 2021, but I thought I’d ask a question in case you are still checking your comments.
The TLDR question: I’m being prompted to enter an “authentication” password after I entered the encryption password. What is the authentication password? I don’t recall setting a password for this.
___
I set up full disk encryption, excluding the boot partition, for MX Linux 21 a while ago using a password. I also set-up passwords for me as a regular user and separately as a root user.
Recently I experienced a problem with my init file, which is missing, so the system won’t boot. It stalls after getting past the encryption. The error is missing “init” files.
I’ve successfully booted using my live USB. Upon trying to access my partition with stored files/data, I’m prompted to enter my encryption password. That’s a success.
However, and here’s the dilemma, I’m again prompted to enter an “authentication” password. I didn’t realize I have an authentication password. Anyway, I tried all three passwords that I mentioned (encryption, regular user, and root user) several times to be sure I wasn’t making any typos, but none of these passwords were accepted for “authentication.”
When I’d normally log on to my system — not using a live USB, I’d just enter the encryption password and my user password (and root password for sudo, when necessary). I was never prompted to enter an “authentication” password for anything.
Any thoughts about this “authentication” password and my dilemma?
Feel free to delete this comment and my prior comment that I submitted moments ago.
I found the solution at the MX Linux forums: the “authentication” password is just “demo.” I guess that’s the default password for the live USB.