
The world of programming is vast, especially when it comes to Javascript. There is an extensive range of ground to cover and various technologies to use. Developers create new tools daily, and some existing ones may lose their significance. It can be daunting to navigate this landscape, but there is something that can help: an Integrated Development Environment or IDE.
There are numerous IDEs available for developing your Javascript projects. Some of the most popular ones include VsCode, Sublime Text, Atom, Eclipse, Notepad++, and Webstorm. This post will focus on Webstorm IDE, developed by JetBrains. This company is also responsible for creating well-known IDEs such as IntelliJ IDEA for Java developers, Pycharm for Python development, and PHPStorm for PHP development.
WebStorm
Webstorm is an excellent IDE tailored for web development. You can use it to write your HTML, stylesheets, and Javascript code quickly. Unlike other IDEs where you would need to use plugins to work with different Javascript frameworks, Webstorm includes nave support for various Javascript libraries and frameworks like NodeJS, ReactJS, VueJS, Electron, Angular, and many more.
Other than the intuitive user interface that is easy to use and navigate, WebStorm supports a lot of other incredible features, including:
- Code completion: WebStorm autocompletes relevant keywords and symbols as you type your code. Some of these. features present in Javascript and Typescript are made possible using machine-learning algorithms. You can also use tools like postfix completion, live templates, and Emmet to improve your typing speed.
- Code quality analysis: WebStorm’s robust error detection, powered by numerous inspections, spell-checking, and integration with linters like Stylelint and ESLint, ensures a seamless coding experience by highlighting issues as you type and offering quick-fix solutions directly within the editor.
- Quick documentation: Accessing documentation for symbols is effortless within WebStorm – hover over the symbol or place the caret on it and press F1 to unveil a wealth of pertinent details.
- Built-in HTML preview: WebStorm offers a convenient feature that allows you to preview static HTML files directly within the IDE. Any modifications to the HTML file or its associated CSS and JavaScript files are automatically saved and promptly reflected in the preview, providing a seamless and efficient way to visualize your changes.
- Built-in HTTP client: Leverage WebStorm’s built-in HTTP client to test your web services effortlessly. Create, edit, and execute HTTP requests directly within the editor for efficient and streamlined testing.
- And many more code-editing boosters: WebStorm prioritizes developers’ productivity, offering various features to expedite coding. Experience enhanced speed with features like multiple carets, line editing actions, and automatic code reformatting – just a glimpse of what awaits you.
Installing WebStorm on Ubuntu
You can use two ways to install WebStorm in your Ubuntu system.
- Install WebStorm using Snap.
- Download the WebStorm installation package from the JetBrains official website.
This post will look at both methods. Let’s get started.
Method 1: Installing WebStorm on Ubuntu using Snap
Snap is a distribution-independent package management software available for various Linux systems. That means Snap packages can be used across different Linux distributions without modification. This is one of the key advantages of Snap. You can read more about distribution-independent package managers in this article – Snap vs. Flatpak vs. AppImage: Know The Differences, Which is Better.
Follow the steps below to install WebStorm on Ubuntu using Snap.
1. Execute the commands below to update your Ubuntu system. Running the update commands on Ubuntu before installing a new package ensures you have the latest package information, security updates, and dependencies, helping to prevent installation errors and maintain system stability.
sudo apt update
sudo apt upgrade
2. After successfully updating your system, run the command below to install the snaps daemon. The snapd daemon is a background service that manages the functionality of Snap packages on a Linux system. It is an integral part of the Snap package management system, allowing users to seamlessly install, update, and manage Snap packages.
sudo apt install snapd
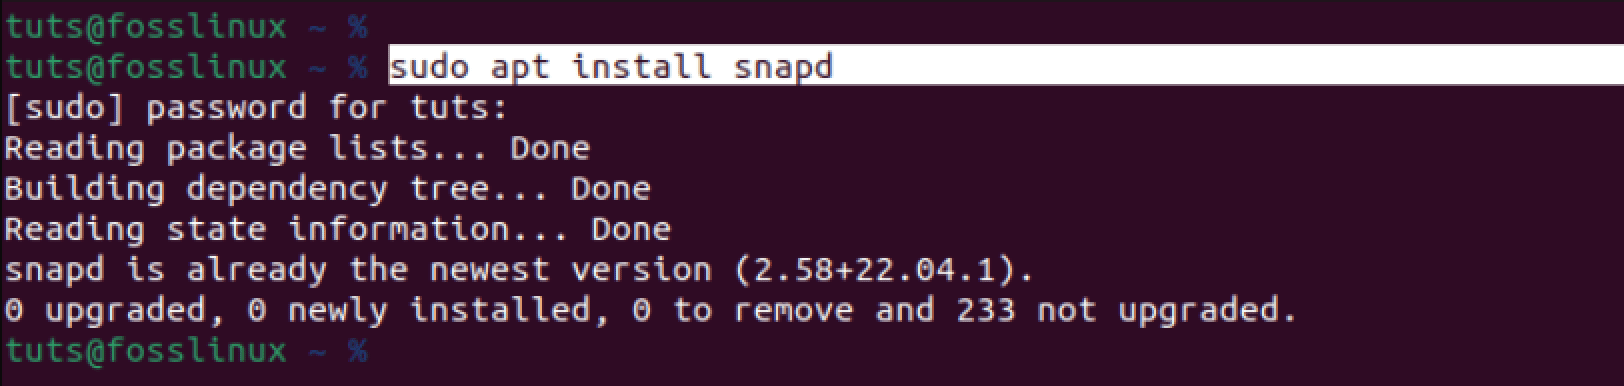
Install snapd daemon
From the image above, you can see that snapd is already installed in our system.
3. After successfully installing the Snapd daemon, you can install WebStorm on Ubuntu using the command below.
sudo snap install webstorm --classic

Install WebStorm
Please note that WebStorm is a big package, and the download process might take some time, depending on your internet connection. Please be patient.
After a successful installation, you can launch WebStorm from the applications menu below.

WebStorm
Method 2: Manual Installation of WebStorm on Ubuntu: Downloading from JetBrains Site
If you don’t want to install the WebStorm snap package, you can manually install it from JetBrains’ website. Although the installation process might be longer, it also has some benefits.
- Provides direct access to the latest version of WebStorm from JetBrains’ website.
- Offers more control over the installation process and location.
- It can be customized and configured based on your needs.
Follow the steps below.
1. The first step is downloading the installation file. Open a web browser and go to the JetBrains website: https://www.jetbrains.com/webstorm/. You will see a dropdown menu next to the download button, which allows you to choose either .tar.gz (Linux) or the .tar.gz (Linux ARM64).
- .tar.gz (Linux) is for a standard x86_64 Linux system. This is the most common type of Linux system and is what most people use.
- .tar.gz (Linux ARM64) is for a newer type of Linux system that uses the ARM64 architecture. This architecture is becoming more popular, especially for servers and embedded devices.
You can check the system information if you are unsure what architecture your system uses. On a Linux system, you can run the following command:
uname -m
This will output the architecture of your system. If it says “x86_64”, you should download the .tar.gz (Linux) file. If it says “aarch64, ” you should download the .tar.gz (Linux ARM64) file.

Check system architecture
In our case, we are using the x86_64 system architecture. Therefore, we will download the .tar.gz (Linux) file as shown below.
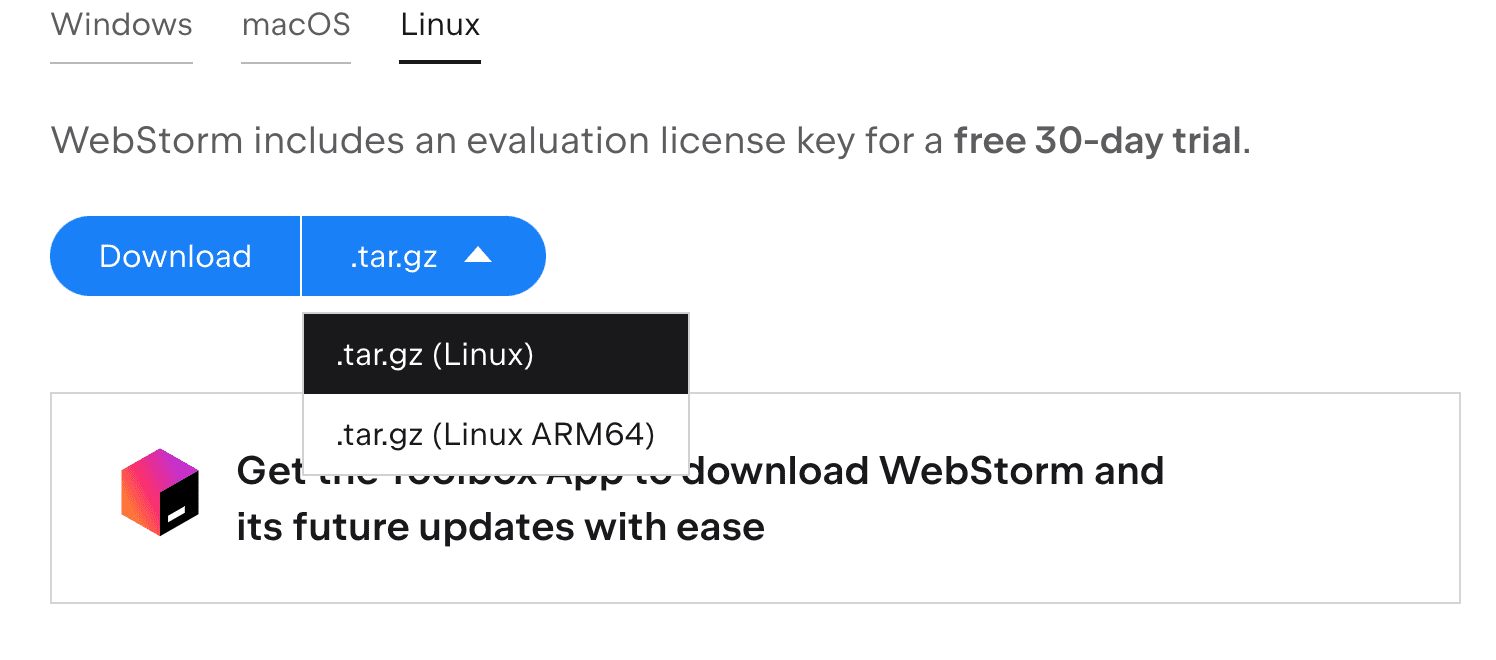
Download WebStorm
2. After successfully downloading the WebStorm installation file, launch the Terminal from the applications menu or use the Ctrl + Alt + T keyboard shortcut.
3. Use the cd command to navigate to the directory where the downloaded file is located. For example, our file is located in the Download directory.
cd ~/Downloads
4. The downloaded file has a tar.gz file extension. That means it is compressed.
Tip: The tar.gz is a compressed file format commonly used in Unix-like operating systems. You can check out our comprehensive post – The ultimate guide to untarring files in Linux, for a more detailed guide on using the tar command.
Use the tar command to extract the downloaded archive. Replace WebStorm-2023.2.tar.gz with the actual filename you downloaded:
tar -xzf WebStorm-2023.2.tar.gz

Extract WebStorm
5. After a successful extraction, you will see a new directory created in your working directory. Move this newly extracted folder to the /opt directory.
sudo mv WebStorm-232.8660.143 /opt
That’s it! You have successfully installed it. However, there is one more thing you need to do. Create a desktop entry for WebStorm to make it accessible from the Applications menu.
6. To do that, create a .desktop file in the /usr/share/applications directory. Execute the command below to create a file called webstorm.desktop.
sudo nano /usr/share/applications/webstorm.desktop
Add the following content to the file.
Tip: Please remember to adjust the file names accordingly.
[Desktop Entry]
Name=WebStorm
Exec=/opt/WebStorm-232.8660.143/bin/webstorm.sh
Terminal=false
Type=Application
Icon=/opt/WebStorm-232.8660.143/bin/webstorm.png
Categories=Development;IDE;
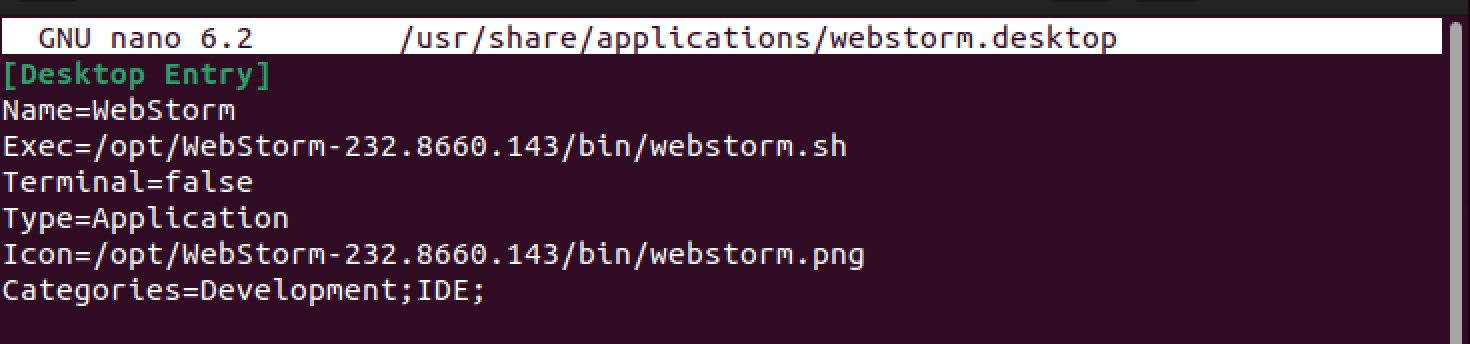
Create a desktop file.
Save and exit the text editor (in nano, press Ctrl + X, then Y, and Enter).
7. Next, you need to set executable permissions for the webstorm.sh script.Use the command below.
sudo chmod +x /opt/WebStorm-232.8660.143/bin/webstorm.sh
That’s it! You have successfully installed WebStorm on your Ubuntu system.
8. You can now launch WebStorm from the Applications menu or by running the following command in the terminal:
/opt/WebStorm-232.8660.143/bin/webstorm.sh
Using WebStorm on Ubuntu
When you launch WebStorm, you will see a User Agreement window like the image below. Tick the checkbox at the bottom and click “Continue.”
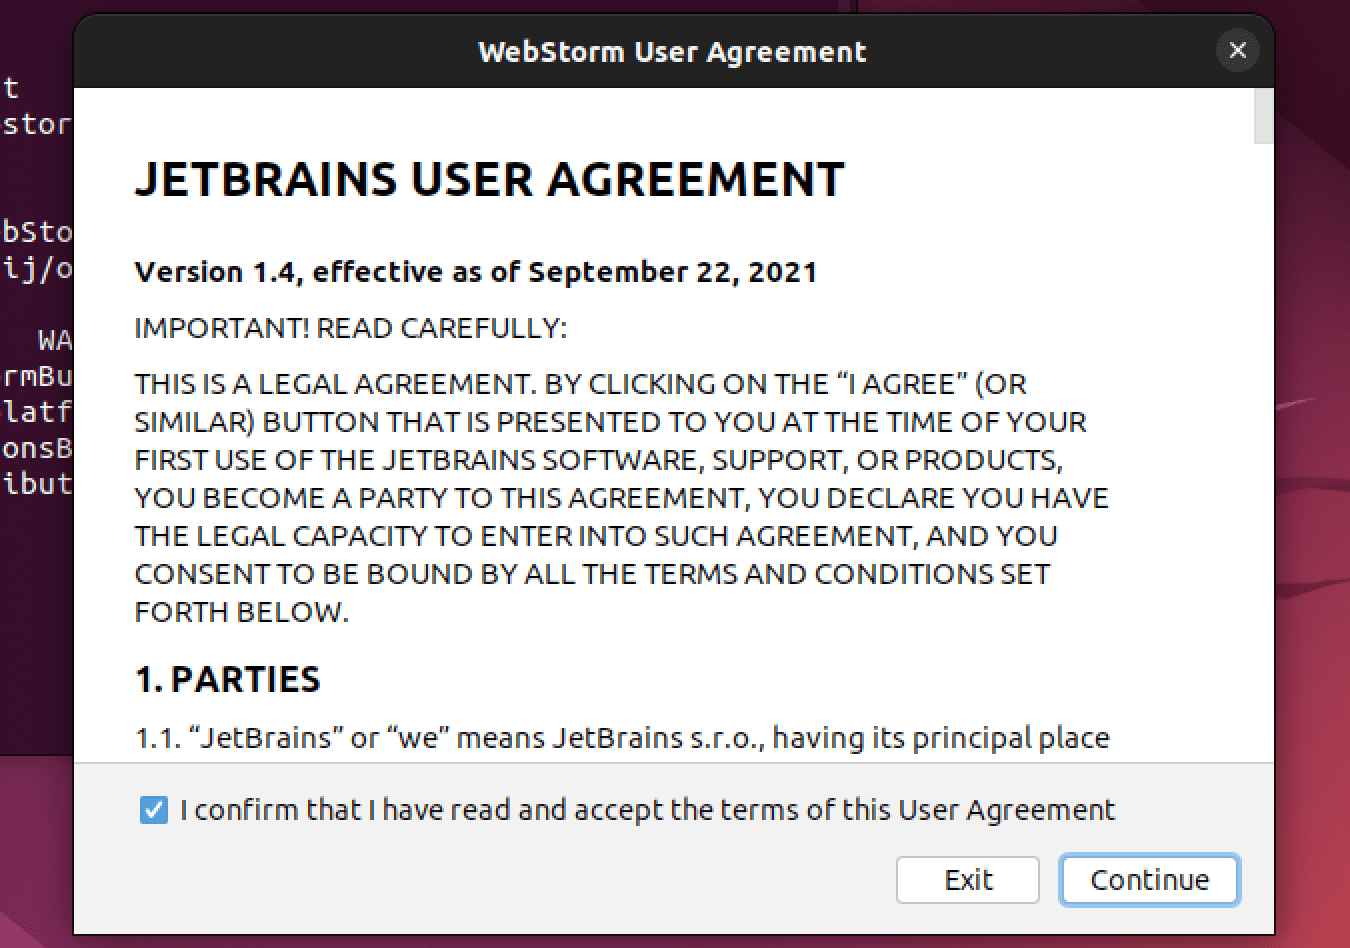
WebStorm EULA
Next, you will see the activation screen. You need to note that WebStorm is not free – it’s a commercial product. It offers a free 30-day trial period to use all of its features. After the trial period ends, you must purchase a license to continue using WebStorm.
You will see two options in the activation screen.
- Activate WebStorm
- Start trial

Activate WebStorm
For this post, we will go with the “Trial” version. However, select the “Activate WebStorm” option if you have the activation code.
Note: If you have the activation code or opt to use the Trial version, log in using your JetBrains account. Click the “Log in to JetBrains Account” or the “Register” option if you don’t have an account yet.
Once done, you will see the main WebStorm window, like the image below.
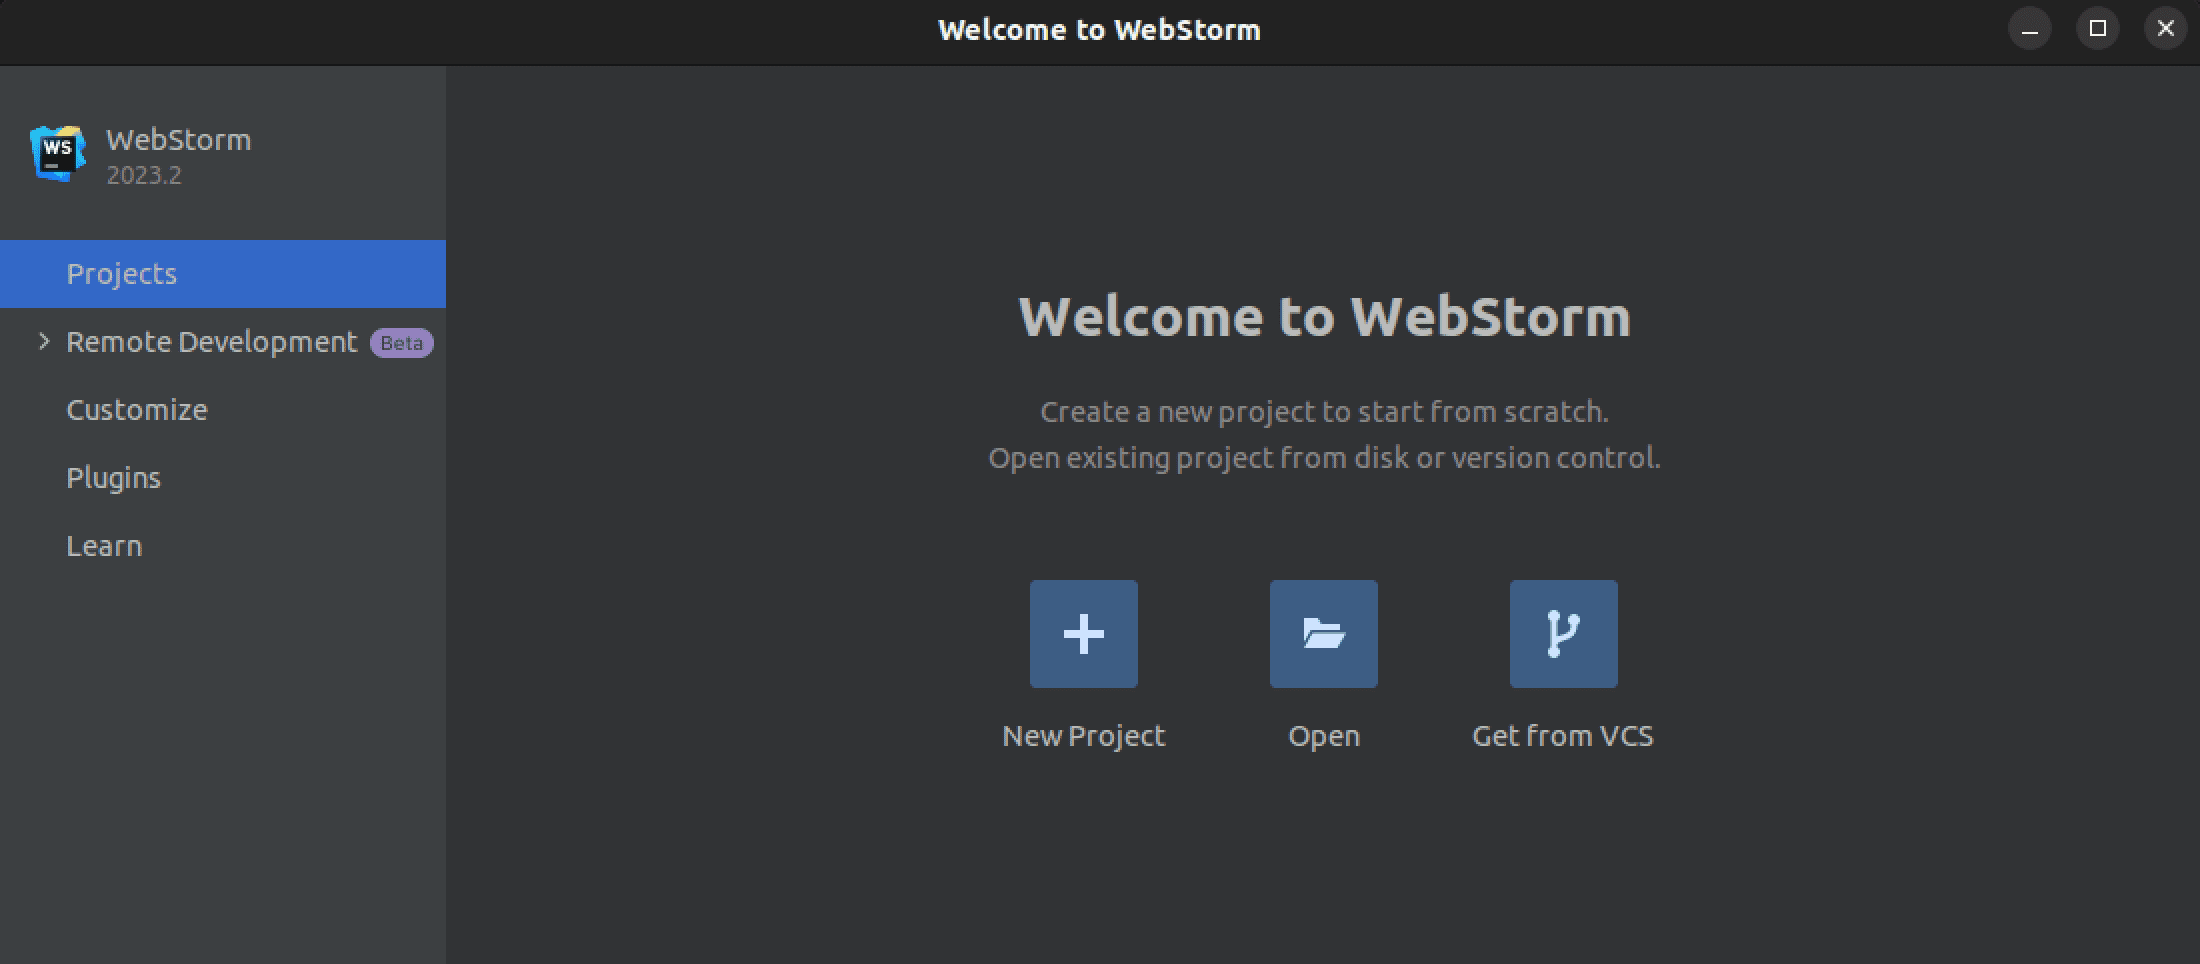
WebStorm
Navigating WebStorm UI
The WebStorm user interface is intuitive and easy to navigate. It features a sidebar on the left and a middle pane with various options.
The sidebar has the following options:
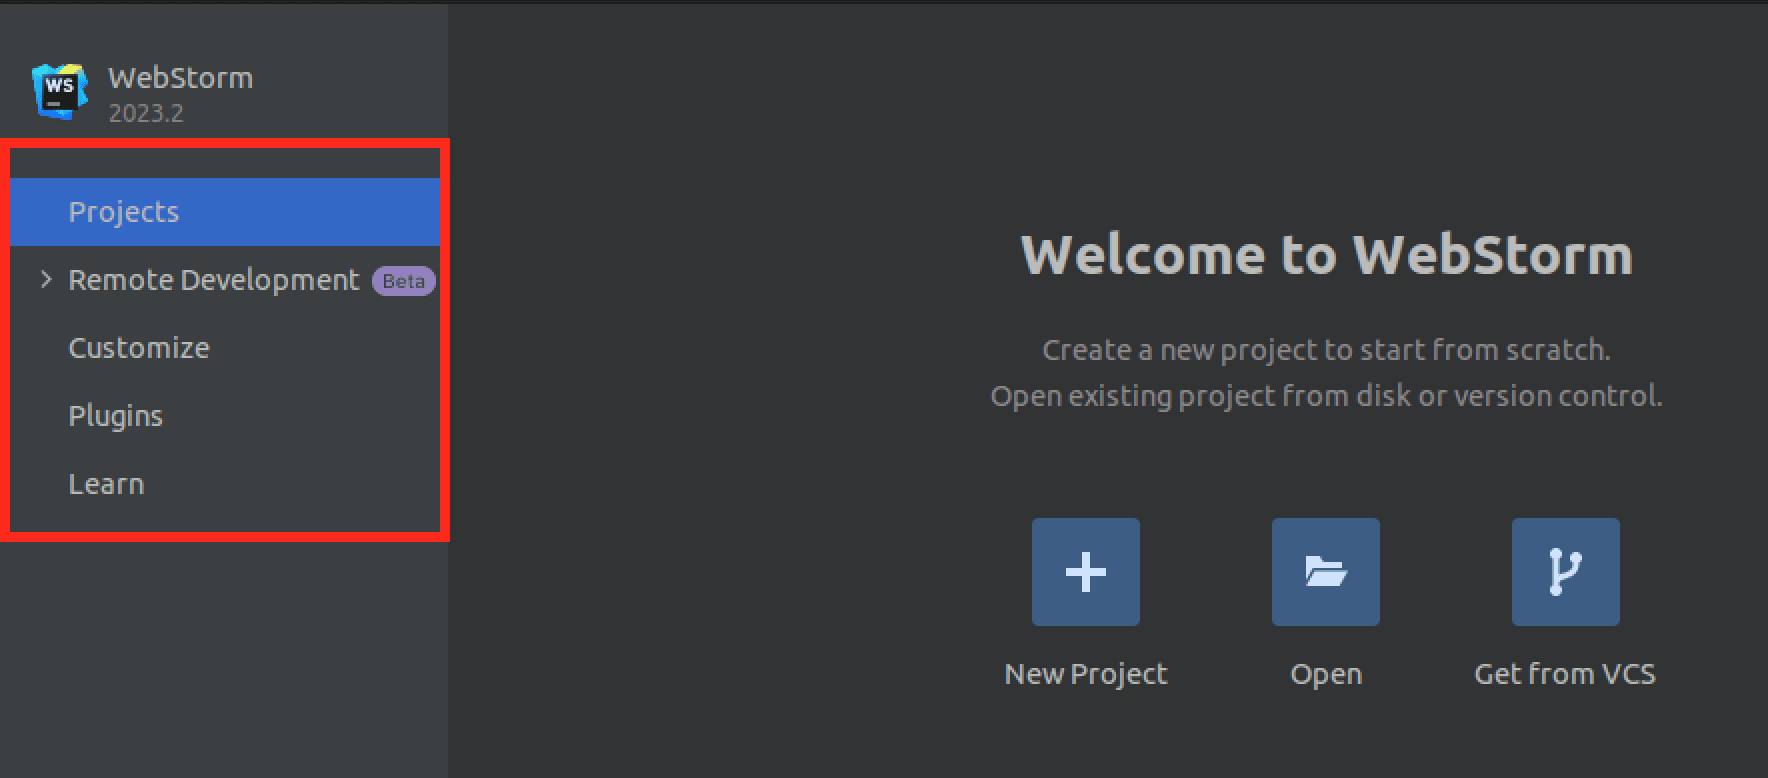
Left Sidebar
Projects: The “Projects” section provides an organized view of your current projects. It helps you manage and navigate through your different coding projects efficiently. You can easily switch between projects and access their files, making it convenient to work on multiple tasks without confusion.
Remote Development (beta): Currently in beta, the “Remote Development” option enables you to work on projects located on remote servers or virtual machines. It allows you to code as if the project were on your local device, enhancing collaboration and enabling you to utilize resources from different environments.
Customize: The “Customize” section empowers you to tailor WebStorm to your preferences. You can personalize your coding experience by adjusting settings, themes, keybindings, and more. This flexibility ensures that your workspace is comfortable and aligns with your workflow.
Plugins: The “Plugins” option extends WebStorm’s functionality by adding extra features or integrations. You can enhance your coding capabilities by installing plugins that cater to your specific needs, such as language support, version control, or project management, ultimately optimizing your development process.
Learn: The “Learn” section provides access to educational resources and tutorials that help you improve your skills and become more proficient with WebStorm. It offers a valuable learning hub directly within the IDE, making it convenient to enhance your knowledge and stay up-to-date with best practices.
The middle pane in WebStorm serves as a gateway to your coding projects.
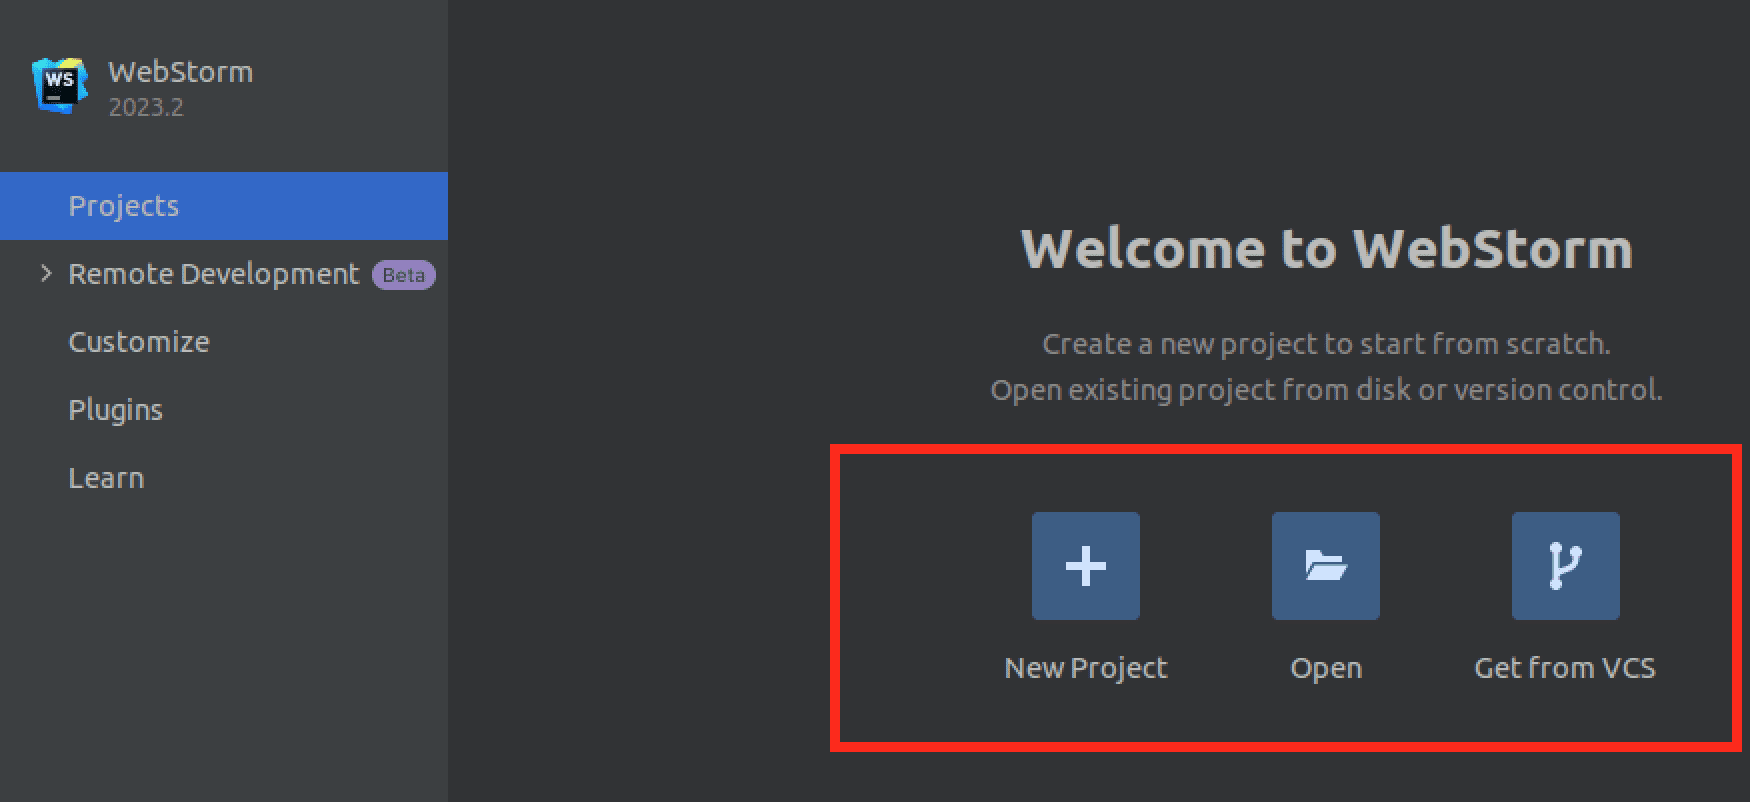
Middle pane
New Project: The “New Project” option lets you create a fresh coding project from scratch. You can define project settings, choose a template, and set up the necessary files and folders, streamlining the initial stages of project creation.
Open: The “Open” feature allows you to access and work on existing projects. You can navigate to a specific project directory and quickly resume coding where you left off, ensuring a seamless transition between tasks.
Get from VCS: “Get from VCS” assists in integrating version control systems like Git. It enables you to clone a project repository from a version control service, giving you direct access to the project’s source code and revision history for collaborative and organized development.
Creating a new project on WebStorm
Follow the steps below and learn how to start a new WebStorm project. For this post, we will look at creating a new ReactJS project. However, the procedure shouldn’t differ for other apps like Angular, NextJS, etc.
1. In the middle pane of WebStorm’s Welcome screen, click on the “New Project” option. This will open the “New Project” dialog.
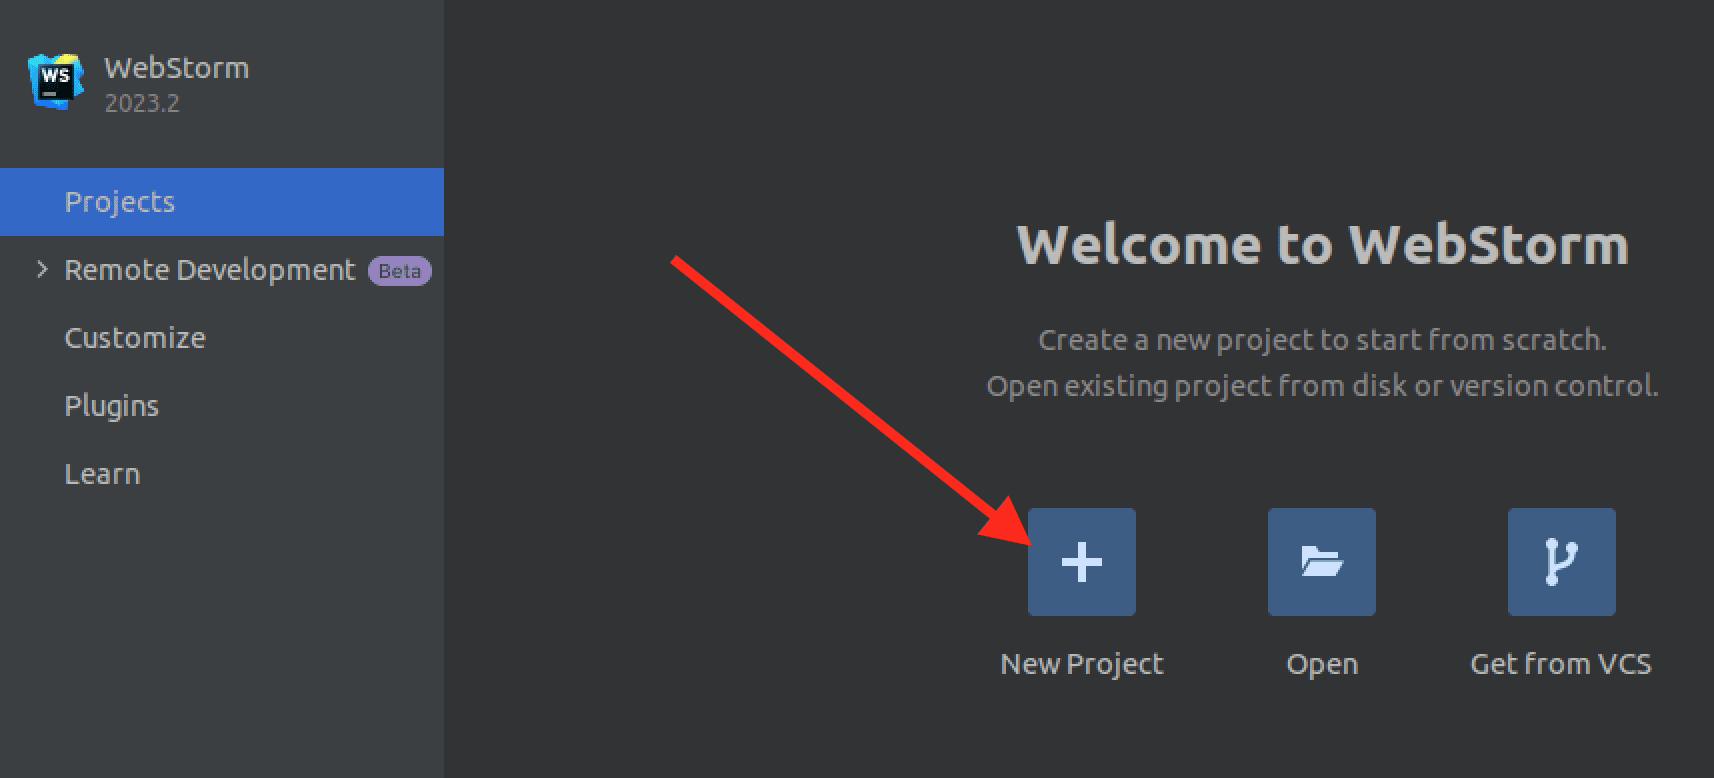
New project
2. In the “New Project” dialog, you’ll see a list of project types, including Angular, NextJS, NodeJS, ReactNative, etc. Look for “React” or “React App” (the exact name may vary based on your WebStorm version). Select this option.
3. Choose a location for your project by clicking the “…” button next to the “Location” field. Navigate to the directory where you want to create your React project folder, then click “OK.” Enter a name for your project in the “Name” field. This will be the directory name where your project files will be stored.
4. Select your preferred package manager for managing project dependencies. You can choose between “npm” and “yarn.” If you’re unsure, “npm” is a common choice.
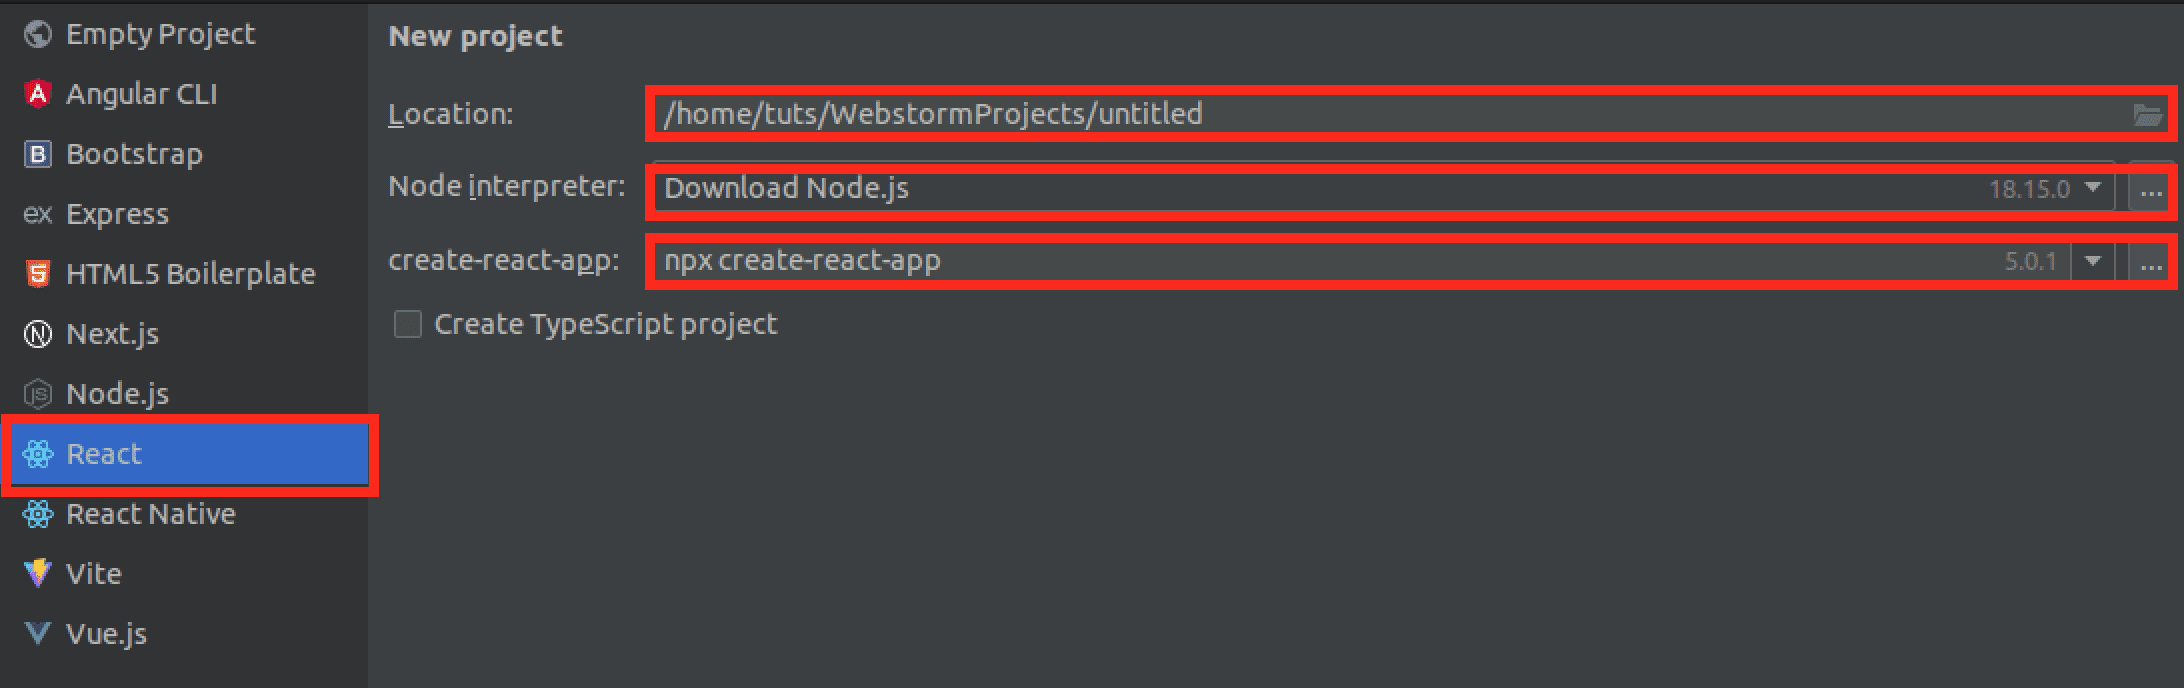
Create React app
5. Click the “Create” button after configuring your project settings. WebStorm will create the project directory and set up the initial files for your React project. WebStorm will automatically set up your project and install the necessary dependencies. This process may take a few moments, especially if it’s your first time creating a React project.
6. Your new React project is ready once the setup is complete. You can start coding by opening the project files in the editor and exploring the directory structure.
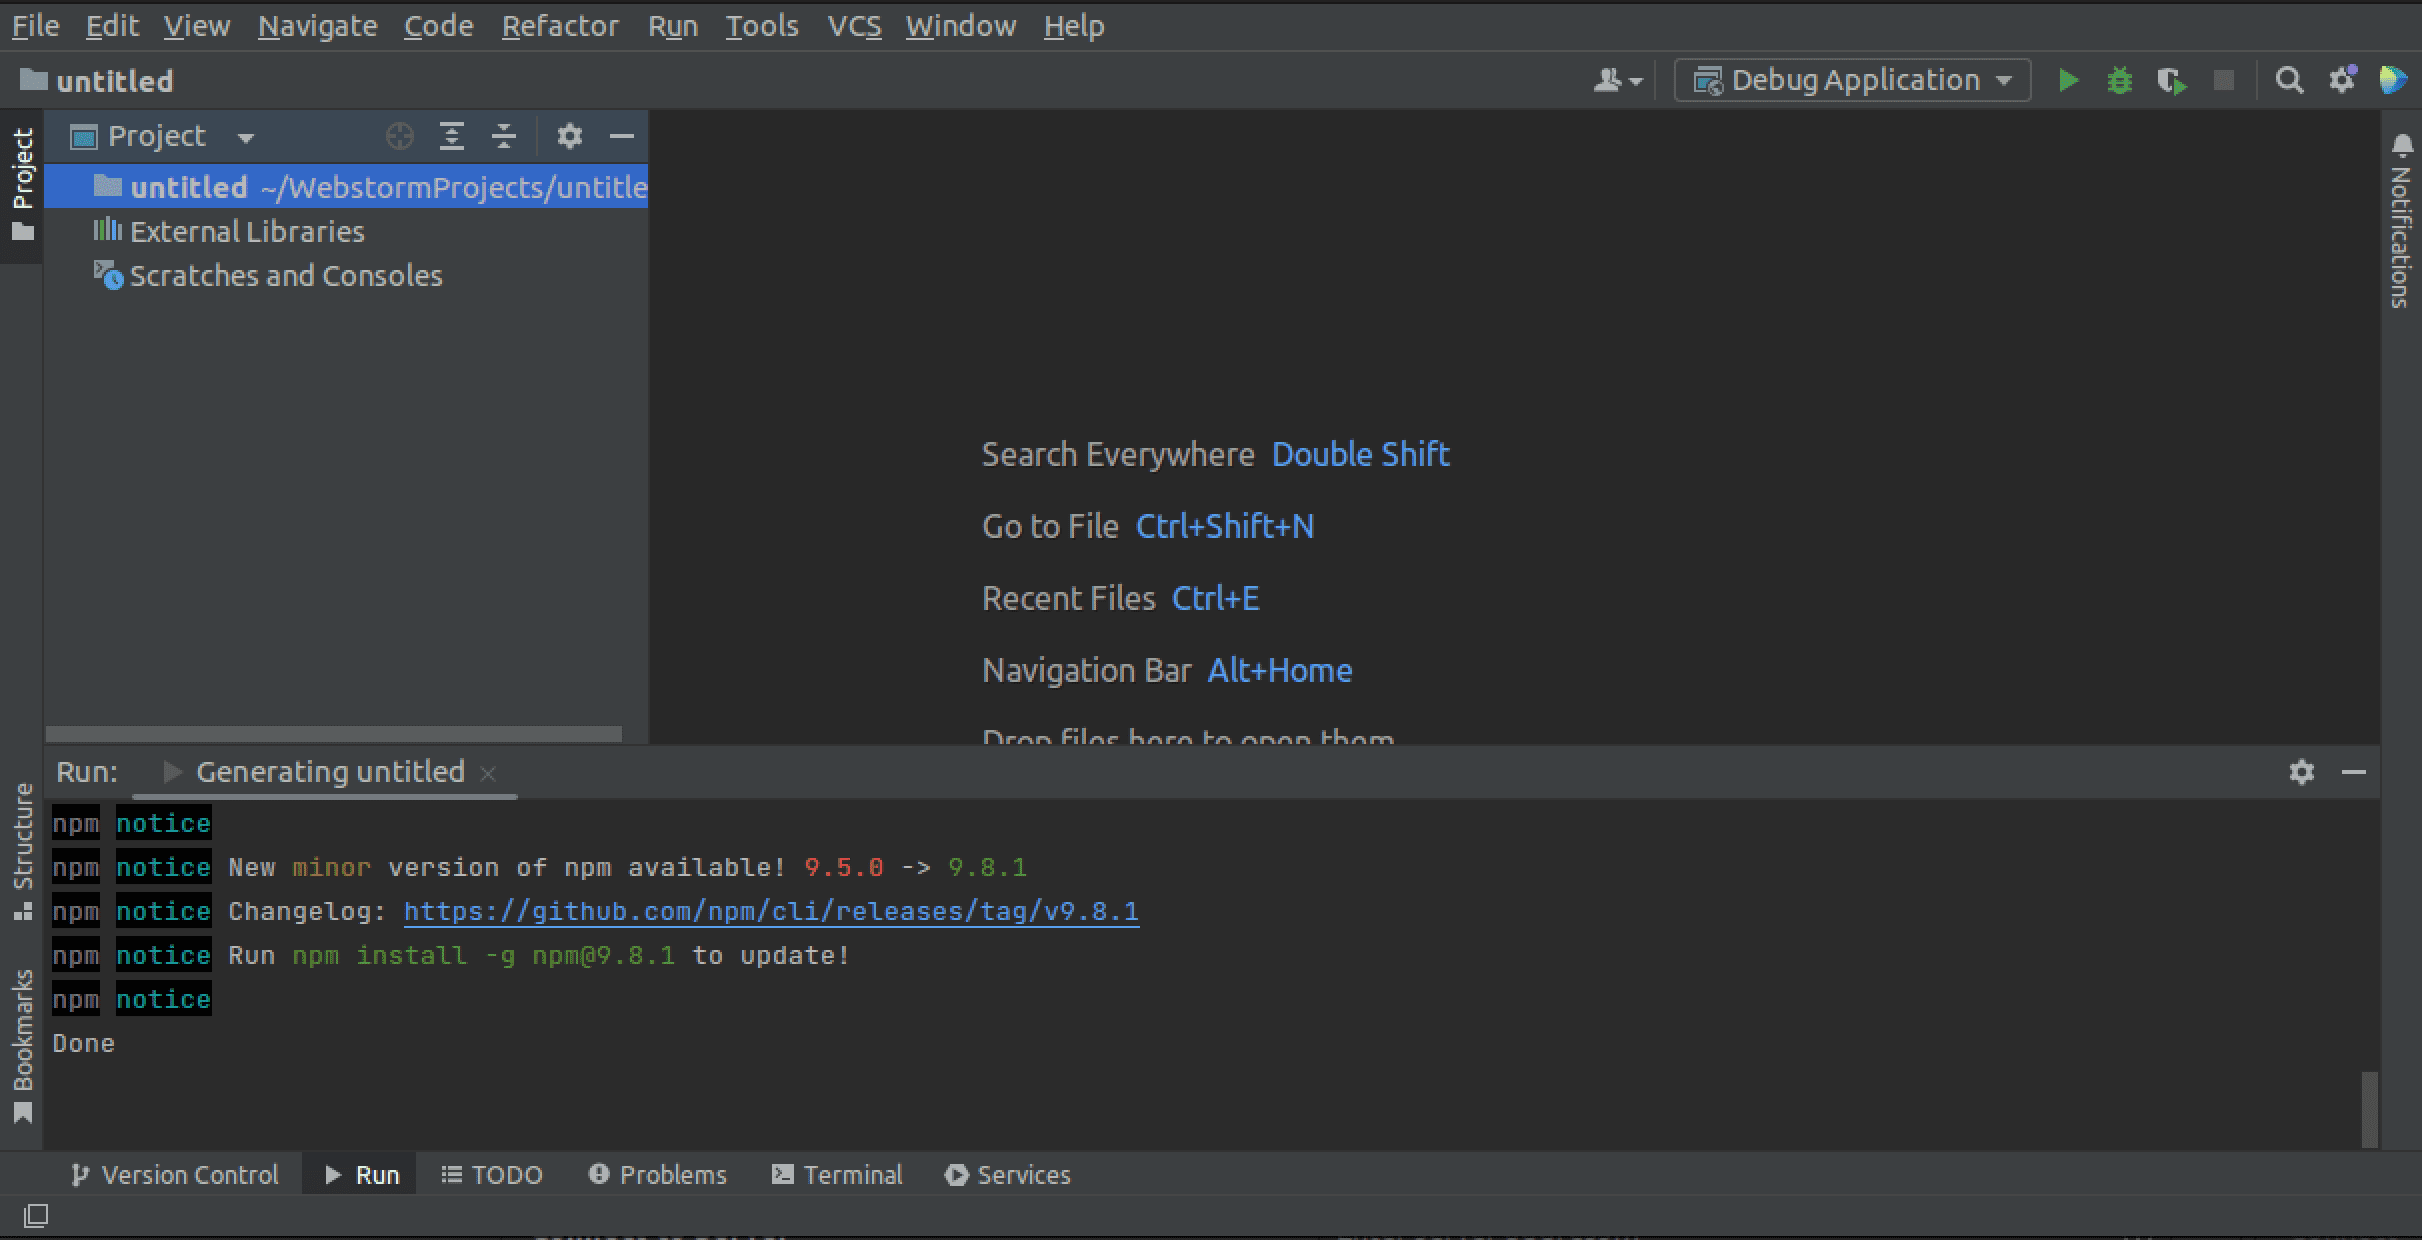
Code with WebStorm
Conclusion
In this post, we have provided a step-by-step guide on setting up WebStorm to enhance your web development skills. You have learned how to install WebStorm through various methods and explored its user-friendly features, including intelligent code suggestions and helpful tools like the built-in HTTP client. Additionally, WebStorm provides support for different Javascript frameworks and libraries. With WebStorm, you can confidently and efficiently tackle JavaScript development.