
PDF files have become one of the most critical file formats for data sharing, especially the data that is not altered regularly. This includes books, brochures, documents, forms, etc. One of the most iconic features of PDF files is that they are not easily alterable. Everyone knows this, and this is why PDFs are so popular in more than half the cases.
In light of all this, there are some situations, nevertheless, when you need to make changes to or annotate PDF files. It might be because you study using a book that is saved in the PDF format, or maybe because you found a silly mistake somewhere. For this, we recommend the program Okular.
Okular Features – Annotating PDF
Being a part of the KDE project, Okular is a popular PDF annotation program, especially on the Linux platform.
First and foremost, let us check out the annotating features of this app. The types of annotations and how to use them are as shown below:
1. Pop-up Note
A pop-up note is a note that appears like just a logo of note, and when it is clicked, the whole note shows up. It stays minimized until you click it. It is ideal for making long notes is a small space.
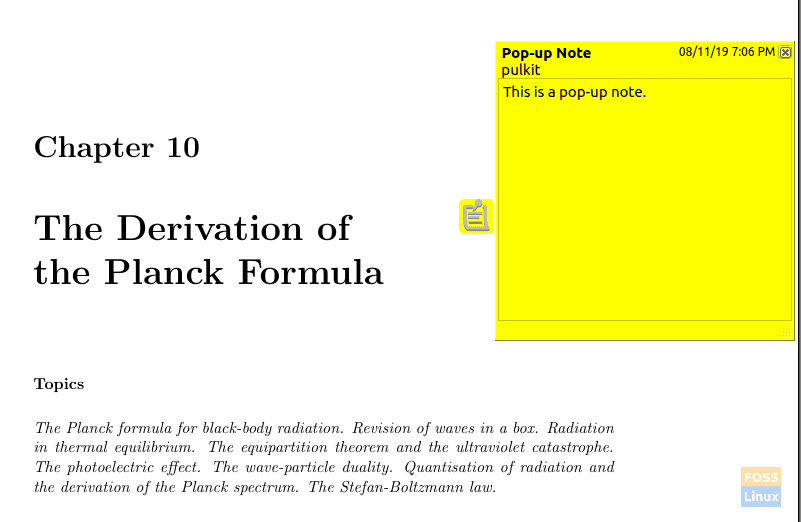
Pop-up note.
2. Inline Note
An inline note (as evident) is a note with no pop-up feature but stays there, with the text on display. It is ideal for a text string of about 17-18 characters.

Inline note.
3. Freehand Line
A freehand line is making a line by moving the cursor around (or a pen, if you have one, and your display supports it). It is represented by a green pencil and can be used anywhere. Here’s an example (sorry for the messy lines).
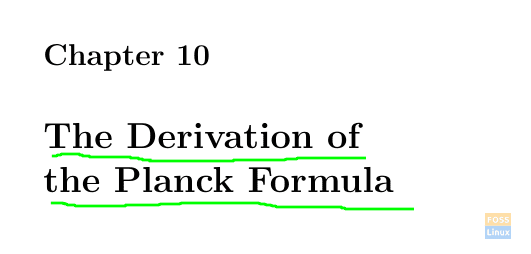
Freehand line.
4. Highlighter
Highlighter is a straightforward feature when the tool is selected, the text that you select should be highlighted in yellow color. It should look like the following image:
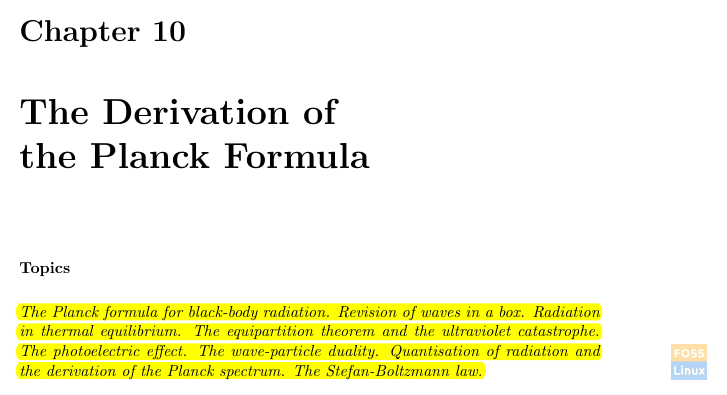
Highlighter.
5. Straight Line
This tool draws a straight line (of yellow color) between two points that you click on the screen. The following image shows it, and it is a simple enough feature to use.

Straight line.
6. Polygon Select
A polygon can be drawn with this tool by clicking the points between which the user wants the lines to be drawn. The lines drawn are blue on color, and it is quite a neat feature to have. This helps boxing of essential points and text or image areas in the file.
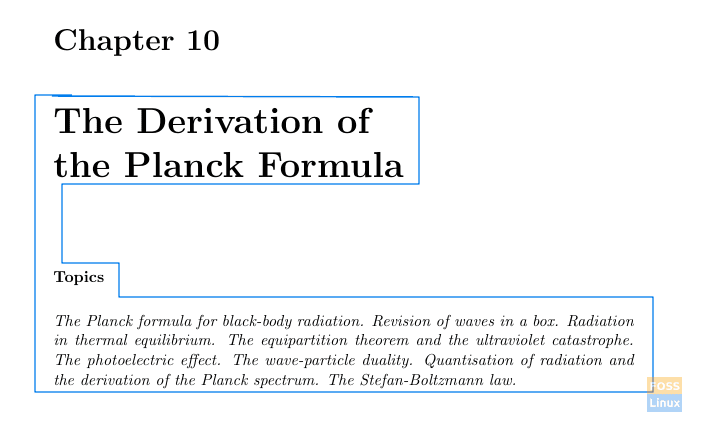
Polygon select.
7. Underlining
This tool is simple enough to use; when the tool is enabled, the text selected is underlined. The underlining color is black. This tool is hugely useful for any annotation made because underlining is the most used feature.

Underlining.
8. Ellipse
When the ellipse is to be drawn, a rectangle has to be selected, and the ellipse forms inside accordingly. The ellipse is formed in blue color, and the tool is a little challenging to use. The ellipse gets drawn over the text sometimes, which is why it gets inconvenient.

Ellipse.
The features other than these annotations are as the following:
9. Selection tools
There are three modes of selection:
- Area selection: The first selection tool allows users to select an area in which the options given are:
- Text can be extracted and exported
- Text can be used to make Okular speak it out
- The text can be copied to the clipboard
- Text can be searched on Google, Wikipedia, YouTube, or Yahoo. These search options can also be changed.
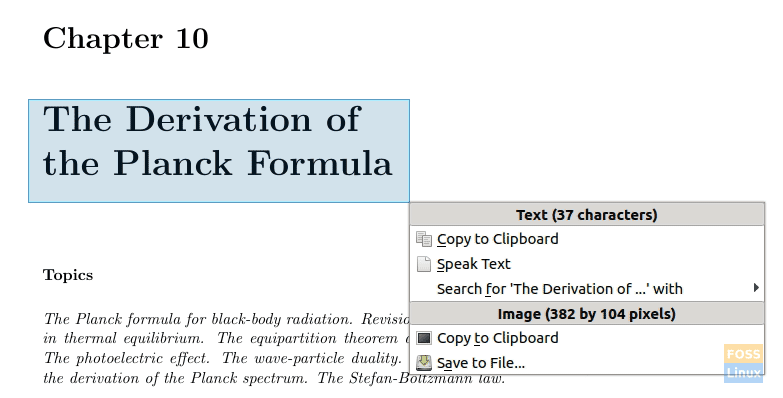
Area selection.
- Text selection: The cursor turns into a cursor and the text editing mode. After right-clicking the selected text, options available are to:
- Copy text.
- Speak the text out loud.
- Search using different search engines.
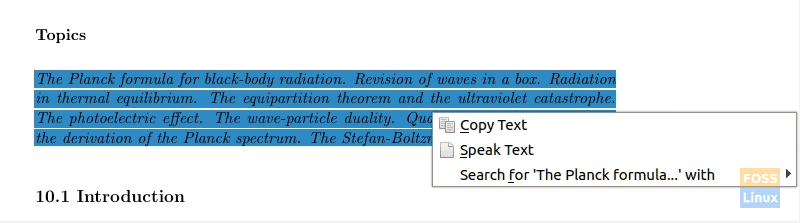
Text selection.
10. Speaker
There is an option in the ‘Tools‘ that allows the user to make Okular speak out the whole document. There is also an option to speak only the ‘current page,’ that is, the page that is in view.
11. Backends
The ‘Backends’ option provides users with the option to open documents other than PDFs to be opened using Okular. The options already available are to open MOBI files, .txt files, Open Document files, etc. Click ‘Settings can access that,’ then ‘Configure Backends.’
12. Okular configuration
Okular configurations can be accessed by clicking ‘Settings,’ then ‘Configure Okular.’ Some of the crucial options available are:
- General
- Toggle appearance of scrollbars
- Toggle appearance of hints
- Options for display in the title bar
- Custom background-color
- Switching to right to left reading mode
- Opening new files in new tabs
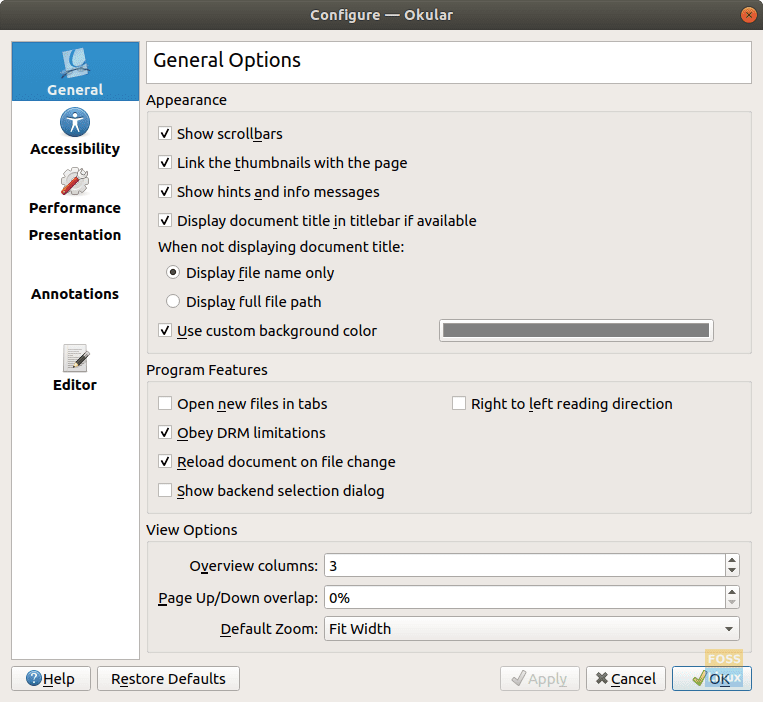
General configuration.
- Presentation
- Autoscroll advancing duration
- Users can choose whether or not to loop after the last page
- Toggle presence of progress indicator
- Placement of Okular window (for a multi-monitor display)
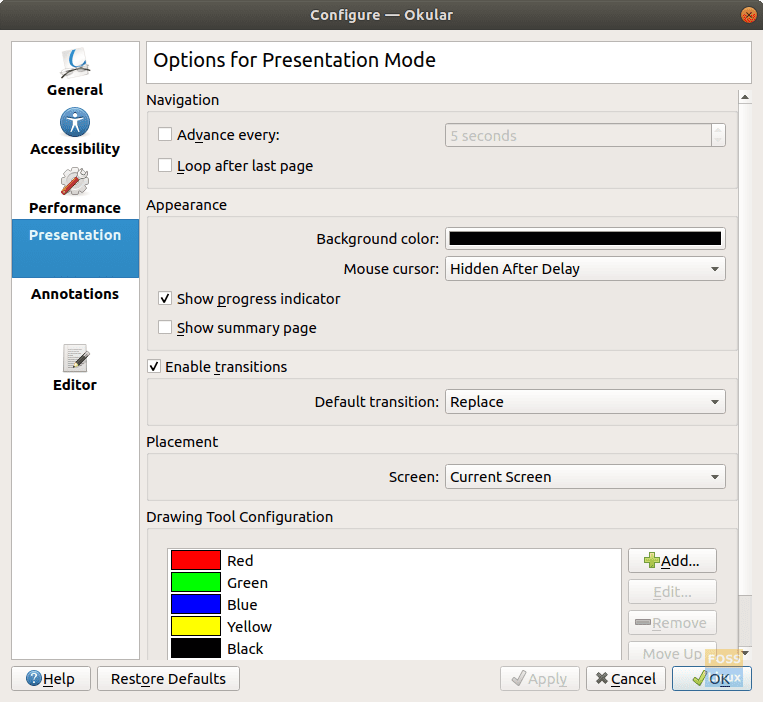
Presentation configuration.
- Annotations: This option enables users to change the color of the annotations. For example, users can change the color of the note icon, the freehand line, the underline, etc.
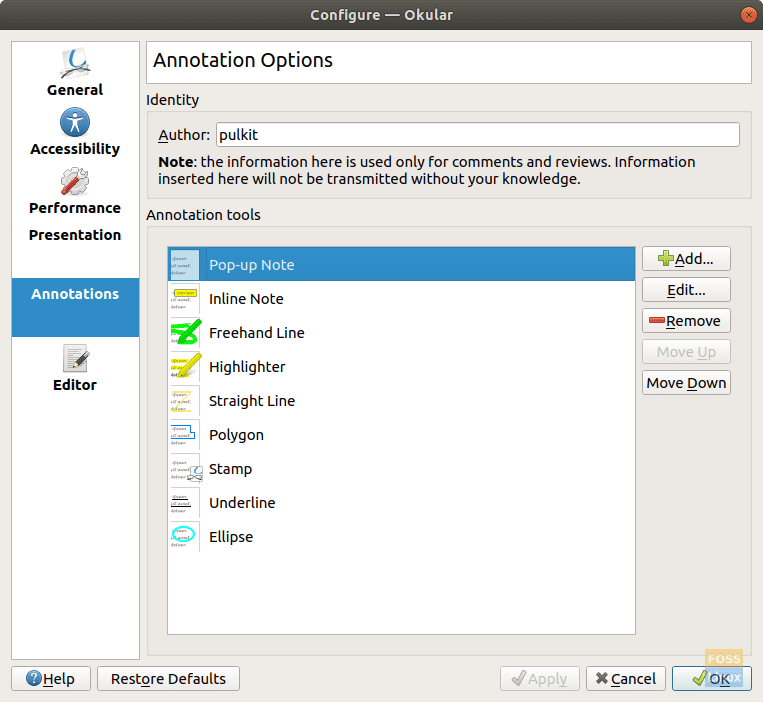
Annotation options.
How to use annotations
To use the available annotation tools, follow these steps:
- Open the desired article through drag-and-drop or the ‘Open…‘ option from ‘File‘ in the toolbar.
- Hit the F6 key, or check ‘Review‘ from ‘Tools‘ toolbar, to see the available annotation options.
- Click ‘Reviews‘ in the left panel.
Now you can see the annotation options as in the picture below.
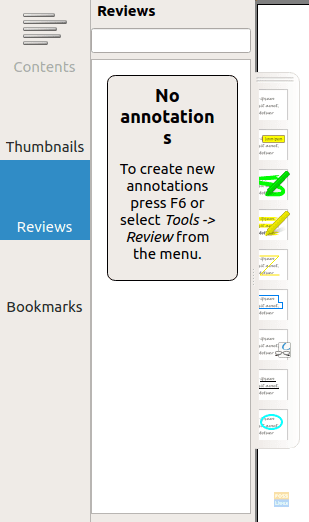
Annotation toolbar.
Installation
For Ubuntu, enter the following commands in the Terminal:
sudo apt-get install okular
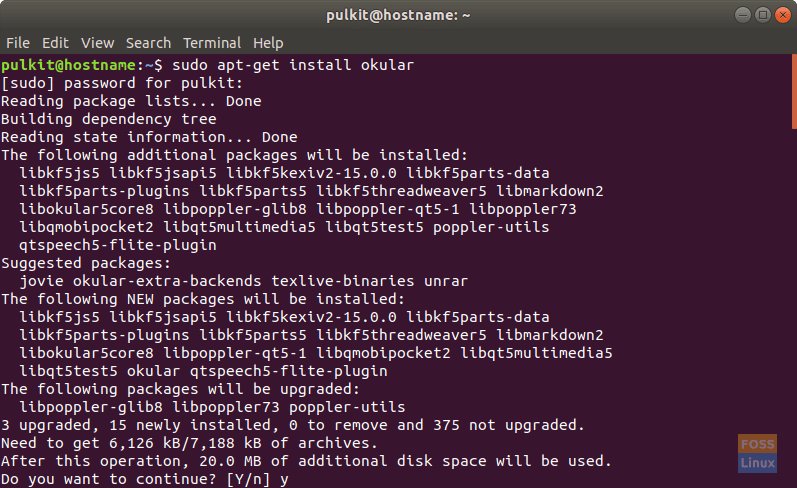
Okular installation.
For other distributions, information can be found on this page.
Other than that, you can always install from source using these commands:
git clone git://anongit.kde.org/okular
This downloads the files to your system.
cd okular
mkdir build
This makes a directory named build, which is used for the installation.
cd build
cmake -DCMAKE_INSTALL_PREFIX=/path/to/your/install/dir ..
make install
This finally installs the program on your system.
Conclusion
Okular was created as a mere PDF viewer for KDE, but because of it being a little laggier than some other PDF viewers, this was not generally preferred by the users. On the other hand, it became extensively famous for annotations and PDF editing. We’re confident that this program should do an excellent job of whatever note-making you require. For assistance or any questions, you can always use the comments section.
1 comment
Thanks pulkit for the article!
I was looking for a pdf viewer for highlights and annotation. Evince does not allow a simple save, have to save-as again as the same file.
After reading the article, I tried okular and really liked it.
Just a suggestion, You could put the F6 option (even installation command for that matter) at the begining. Or atleast hint that they are available at the end. I had missed them.