
Ubuntu is a popular open-source operating system that can be used for various applications, including as a media center. Turning your Ubuntu system into a media center allows you to organize and play all your media files, including videos, music, podcasts, and more, all in one place. With the right media center app, you can stream your media files across different devices, making it easy to access your media from anywhere.
Many great apps are available for setting up a media center on Ubuntu. Here are some popular options:
- Kodi: Kodi is an open-source media center app that allows you to organize and play all your media files, including videos, music, podcasts, and more. It also supports many plugins, skins, and add-ons, making it highly customizable.
- Plex: Plex is another favorite media center app that lets you organize and stream your media files across different devices. It also offers automatic metadata tagging, subtitle support, and parental controls.
- Emby: Emby is an open-source media server app that lets you stream media files to different devices. It supports various media formats, and you can access your content from anywhere, including mobile devices, web browsers, and smart TVs.
- VLC Media Player: VLC is a top-rated media player that supports various media formats, including DVDs, VCDs, and different streaming protocols. It also offers video conversion, subtitle support, and network streaming.
- OpenELEC: OpenELEC is a Linux distribution that turns your system into a dedicated media center. It comes with Kodi pre-installed and optimized for performance on low-power devices like Raspberry Pi.
Most media center apps also offer a wide range of customization options, such as skins, add-ons, and plugins, allowing you to customize the media center to your specific needs and preferences. You can also configure remote access to access your media center from different devices and locations.
Turning your Ubuntu system into a media center
In this guide, we will provide step-by-step instructions on how to turn your Ubuntu system into a media center using Kodi. Let’s get started.
Install Kodi media server
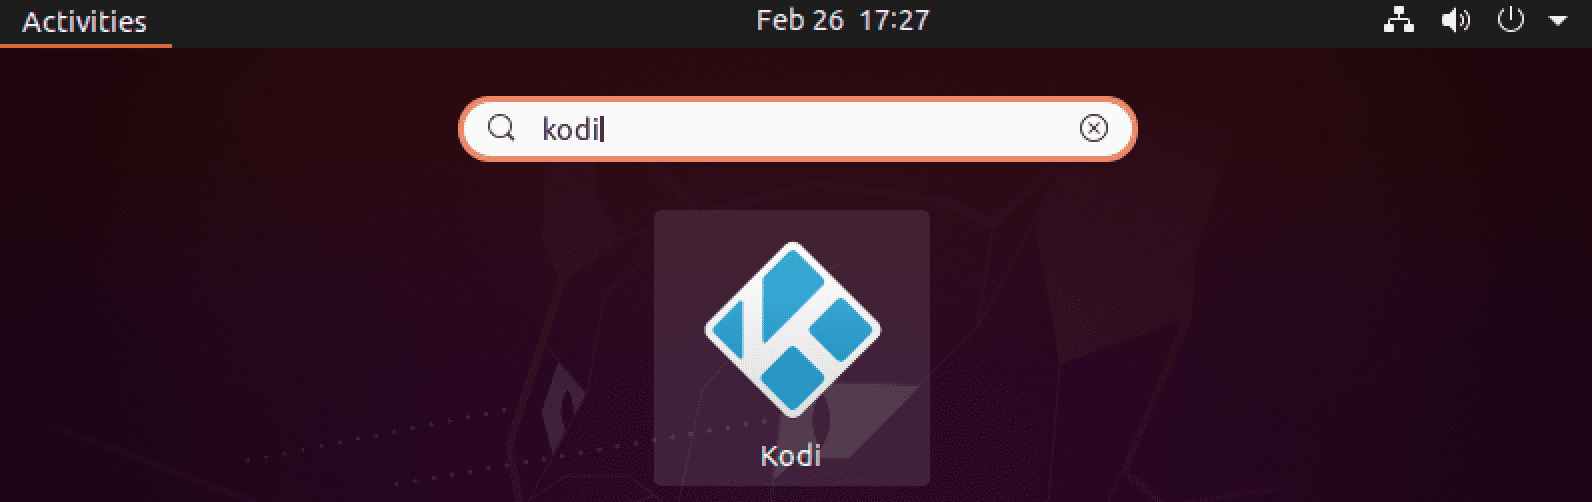
Open the Terminal on your Ubuntu system by pressing “Ctrl+Alt+T” or searching for “Terminal” in the Ubuntu applications menu.
Update your Ubuntu system’s package list by typing the following command and pressing “Enter”:
sudo apt-get update
Install the Kodi Media Server package by typing the following command and pressing “Enter”:
sudo apt-get install kodi

Install Kodi
Launch Kodi
After installation, you can launch Kodi Media Server by typing the following command and pressing “Enter”:
kodi
Alternatively, you can launch Kodi from the Ubuntu applications menu by searching for “Kodi.”
Launch Kodi
Kodi’s interface is designed to be user-friendly and easy to navigate, with various customization options available for users who want to personalize their experience.
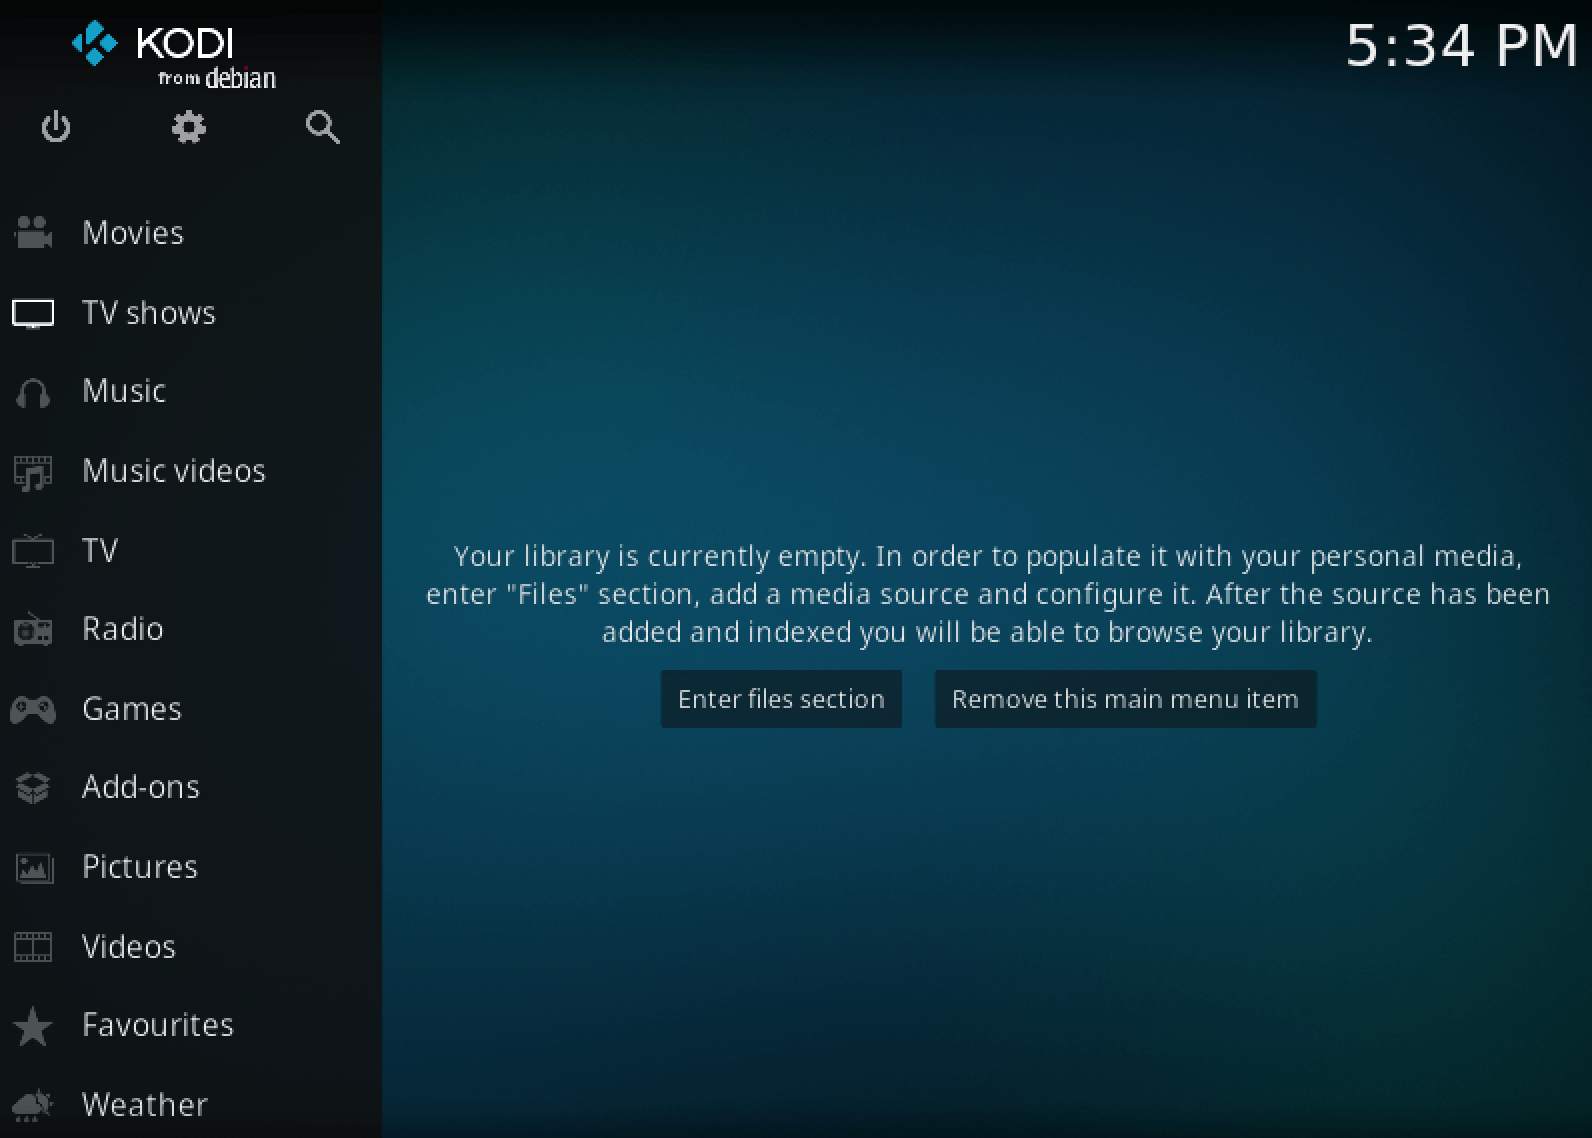
Kodi main window
The main menu of Kodi is organized into several categories, including “Videos,” “Music,” “Pictures,” “TV Shows,” “Live TV,” “Add-ons,” and “Settings.” In addition, each category contains several subcategories that allow you to navigate through your media files and customize your media center’s functionality.
Downloading add-ons on Kodi
Add-ons are additional software components that can be installed on Kodi to extend its functionality and provide other features and services. Kodi’s add-on system allows users to install various add-ons, including video and music streaming services, live TV channels, weather forecasts, games, and more.
Two types of add-ons can be installed on Kodi:
- Official add-ons
- Third-party add-ons
Official add-ons are developed and maintained by the Kodi development team and are available through the official Kodi repository. Third-party add-ons are developed by independent developers and can be installed from external sources.
Follow the steps below to download add-ons on Kodi.
1. Click the “Add-ons” tab on the left-hand side menu.
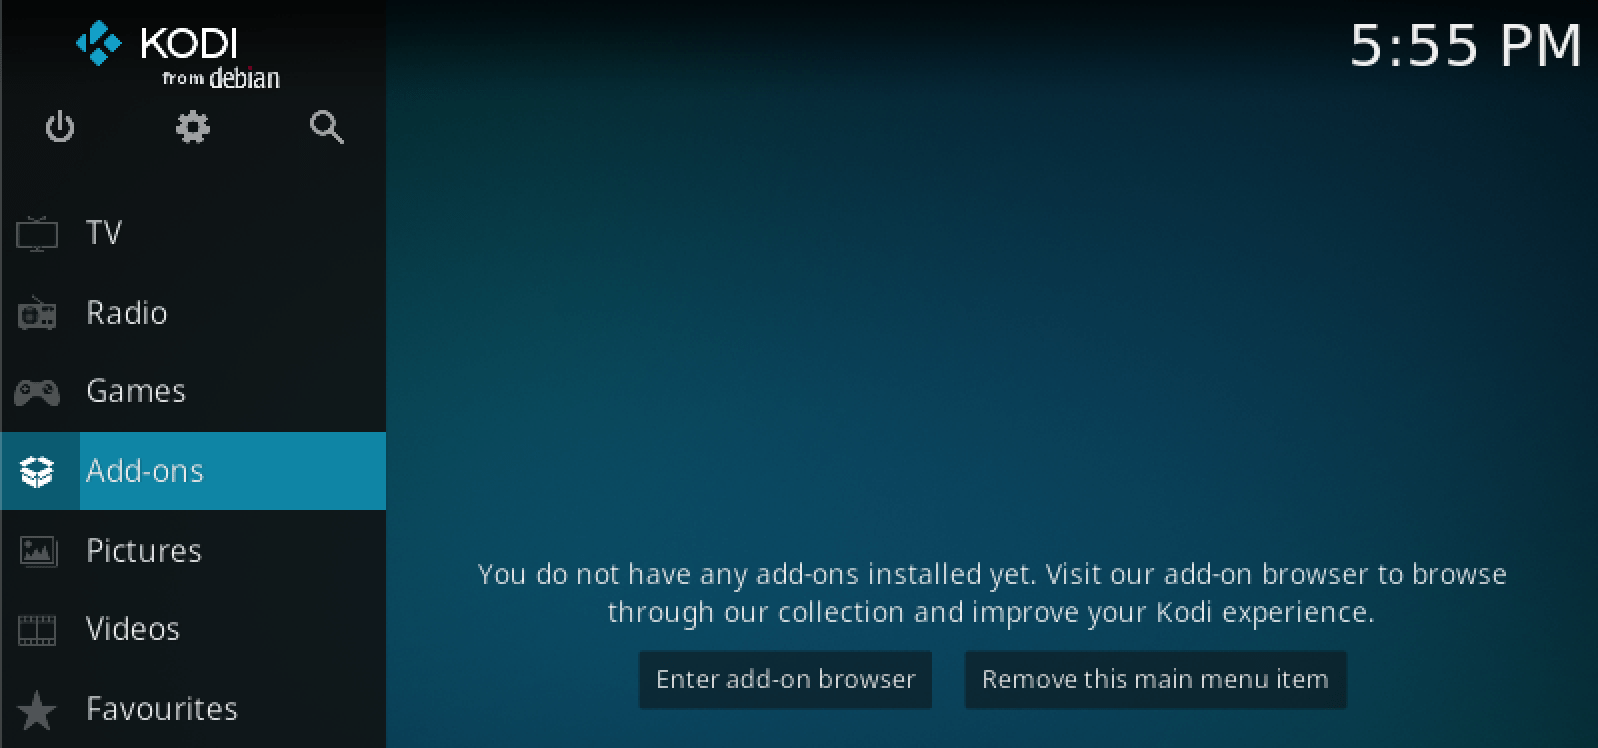
Kodi add-ons
2. You will see a screen that lists all your installed add-ons grouped into various categories, including:
- Video add-ons
- Music add-ons
- Game add-ons, etc.
Click on the “Download” button to download new add-ons on Kodi.
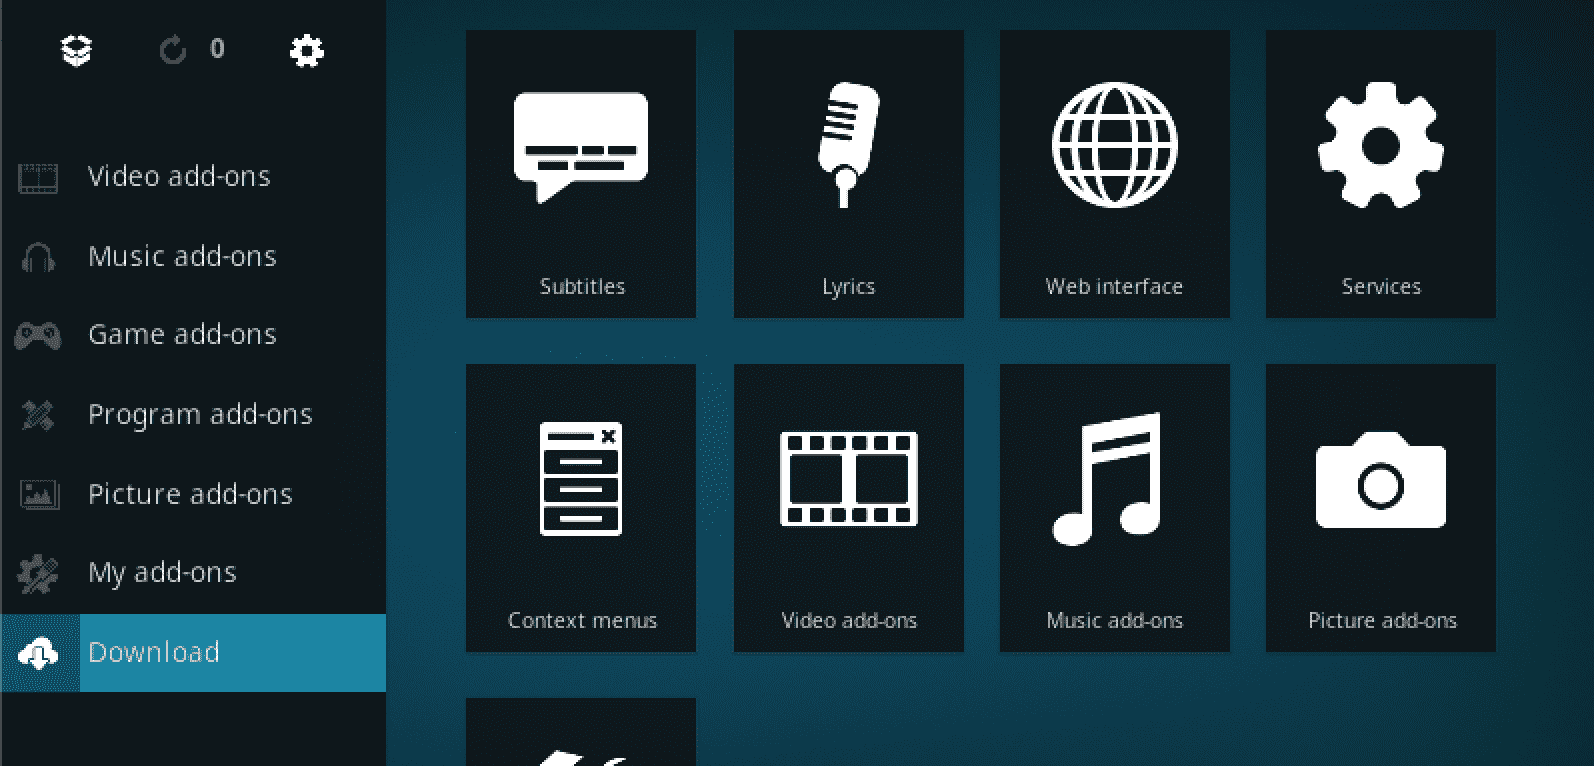
Download add-ons
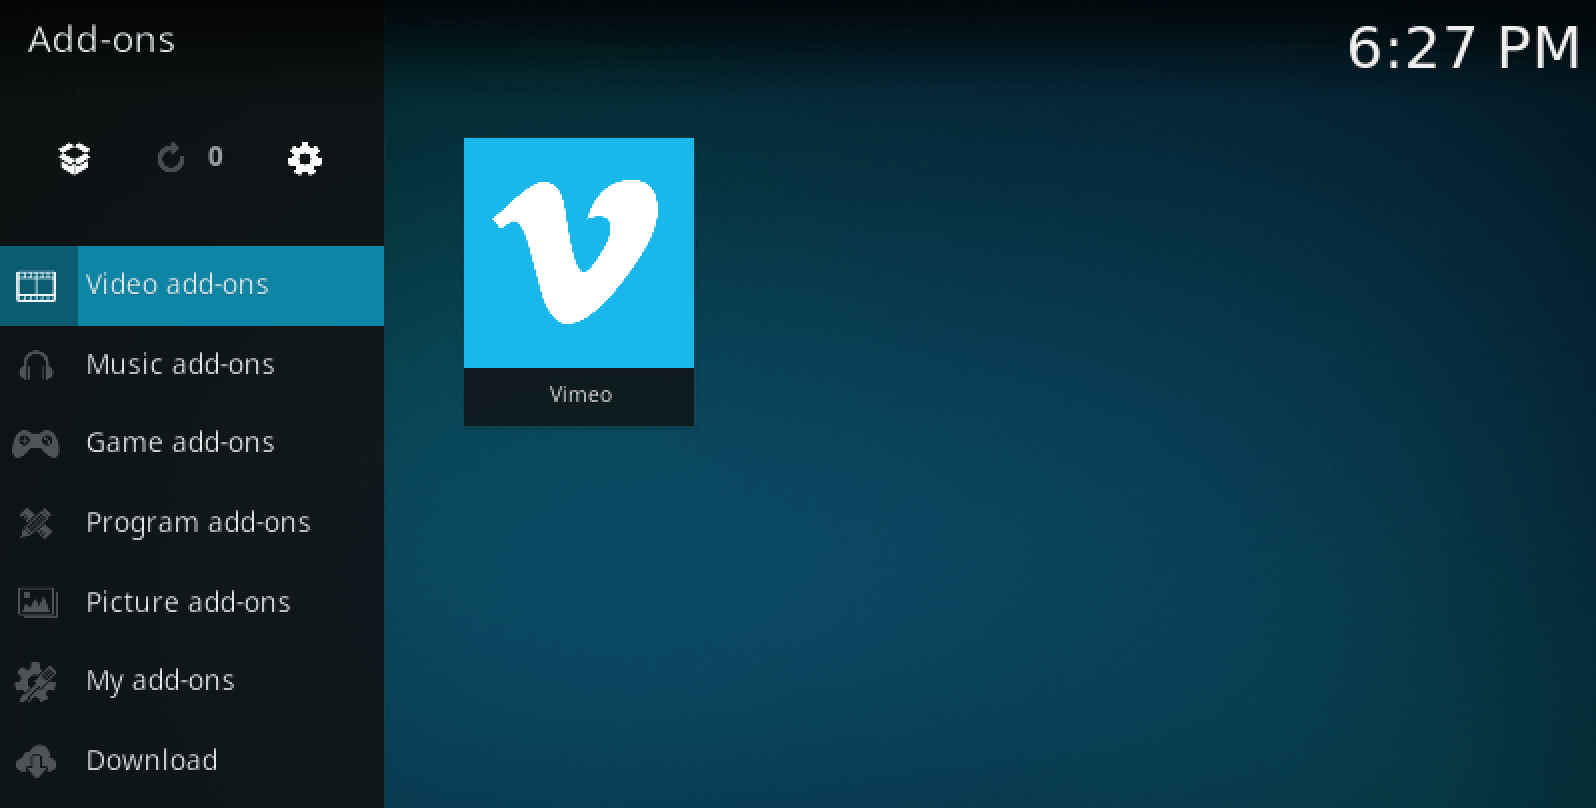
3. In this post, we want to install a video add-on that will allow us to stream videos. Select “Video add-ons” on the new screen that appears.
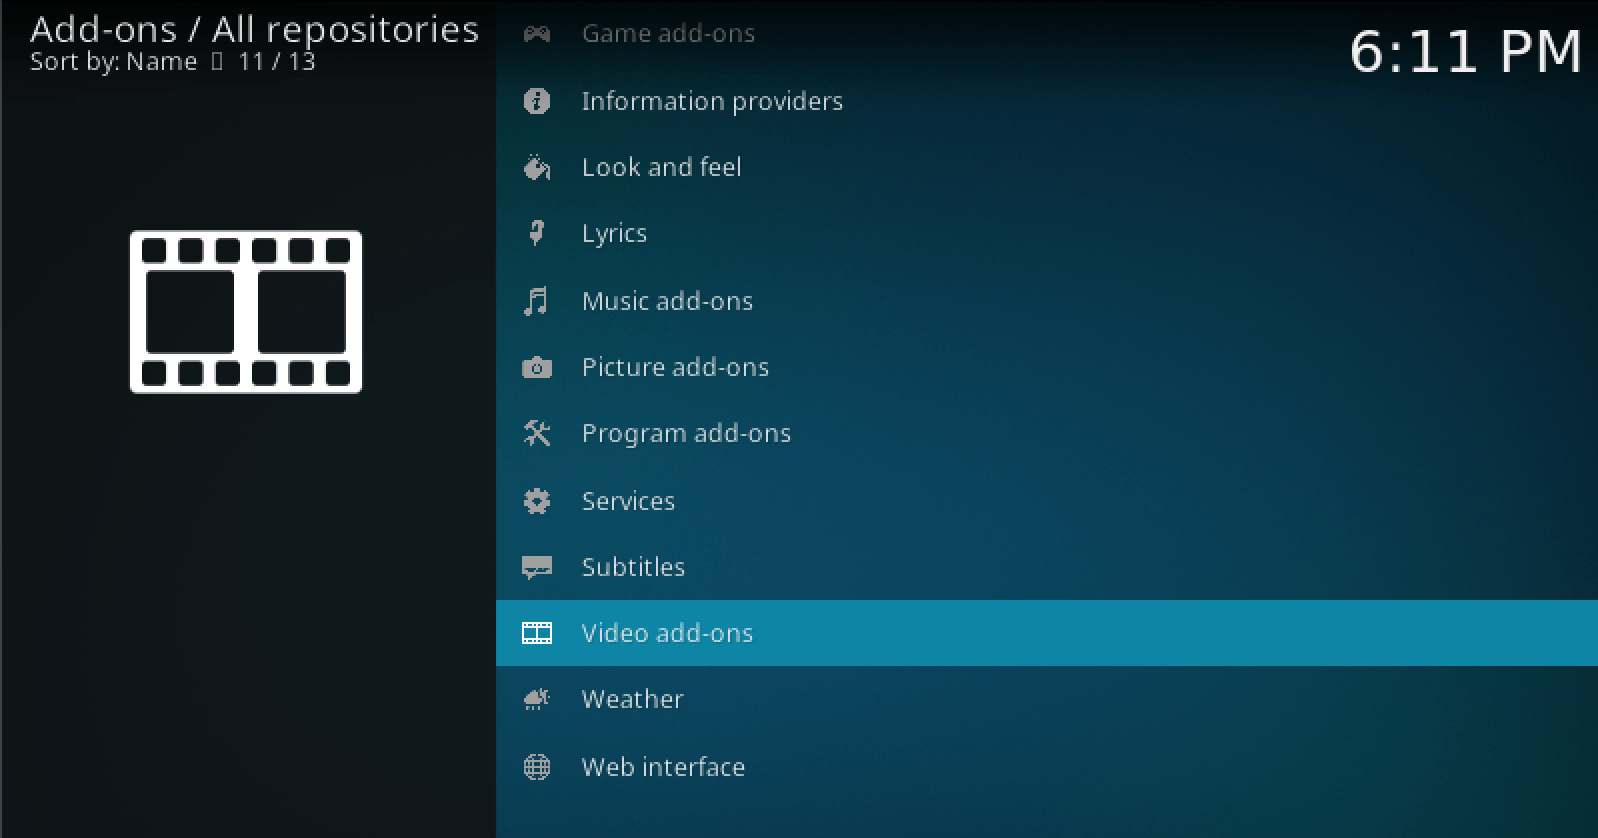
Video add-on
4. You will see a list of all available video add-ons arranged alphabetically. Scroll to the bottom and select Vimeo. Vimeo is a video hosting and sharing platform that allows users to upload, share, and watch high-quality videos online.
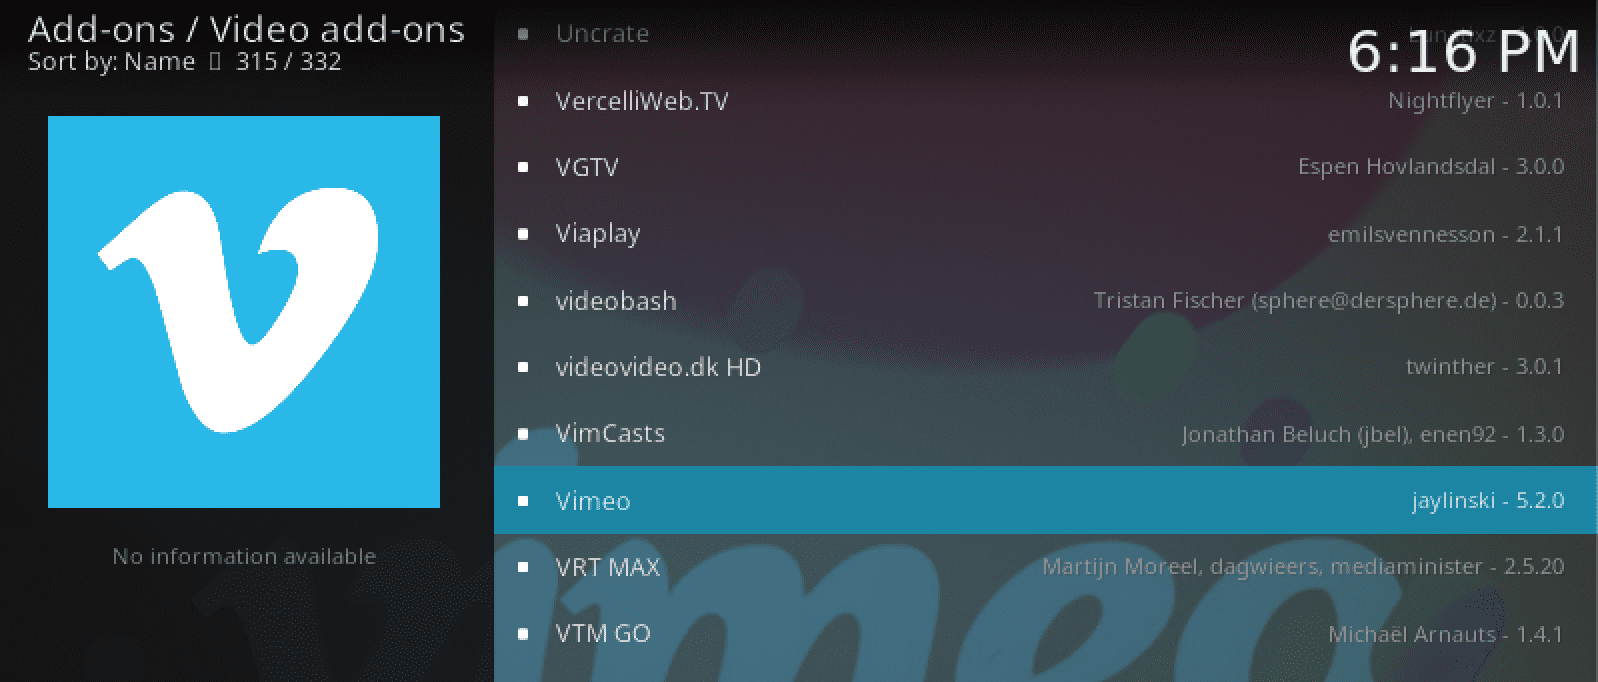
Vimeo add-on
5. On the next screen, you will see a prompt to install Vimeo. Click “Install.”
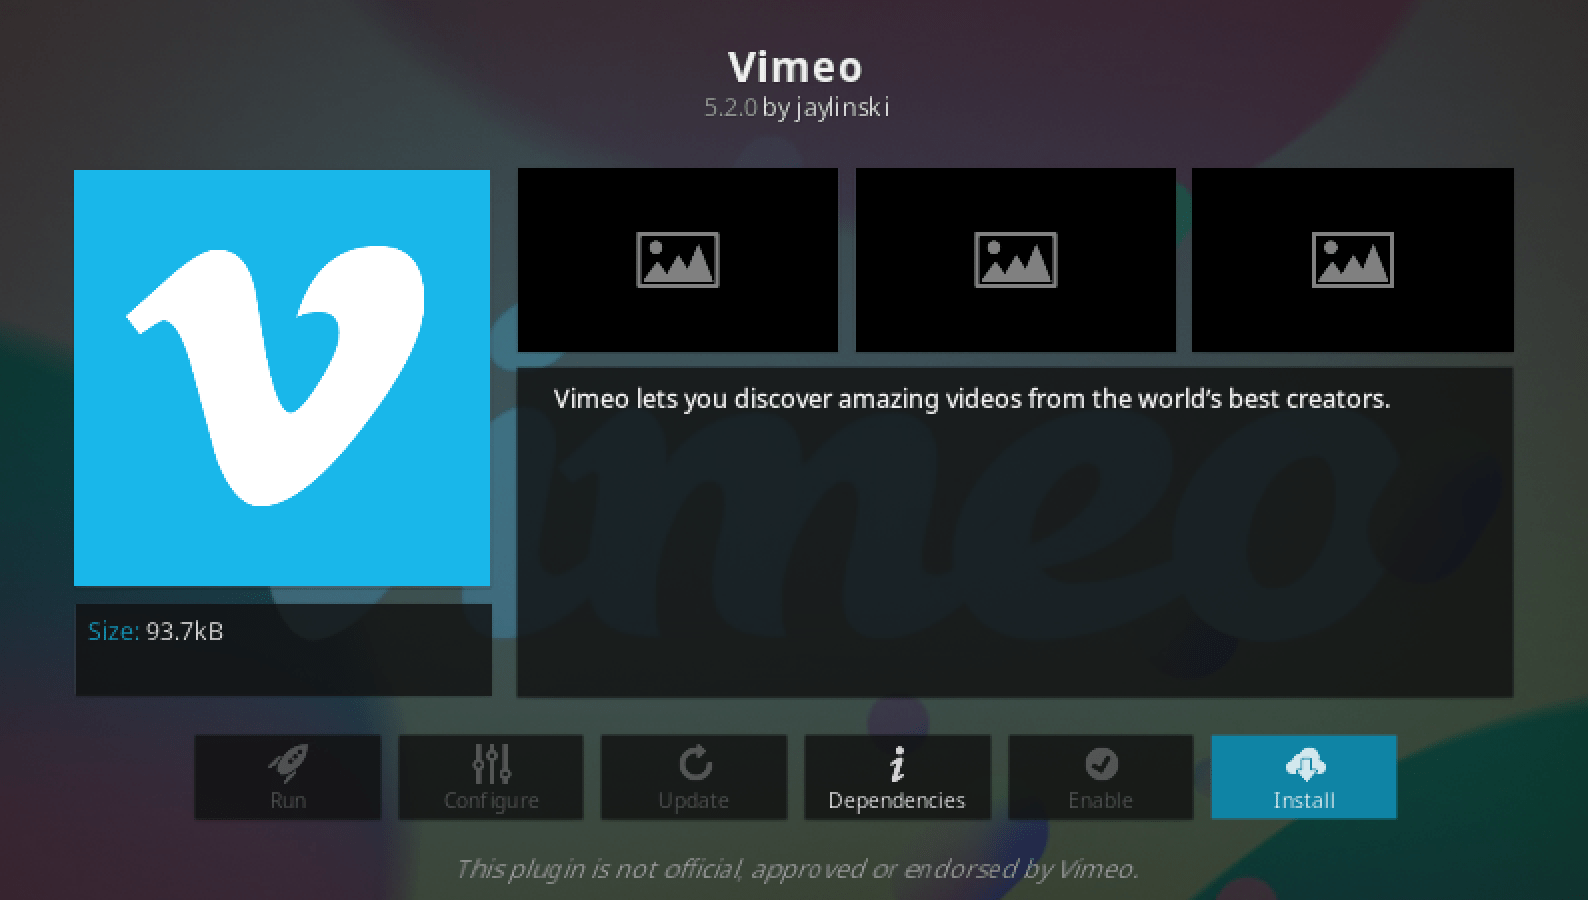
Install Vimeo
You will see a prompt to install Vimeo dependencies. Click “Ok.”
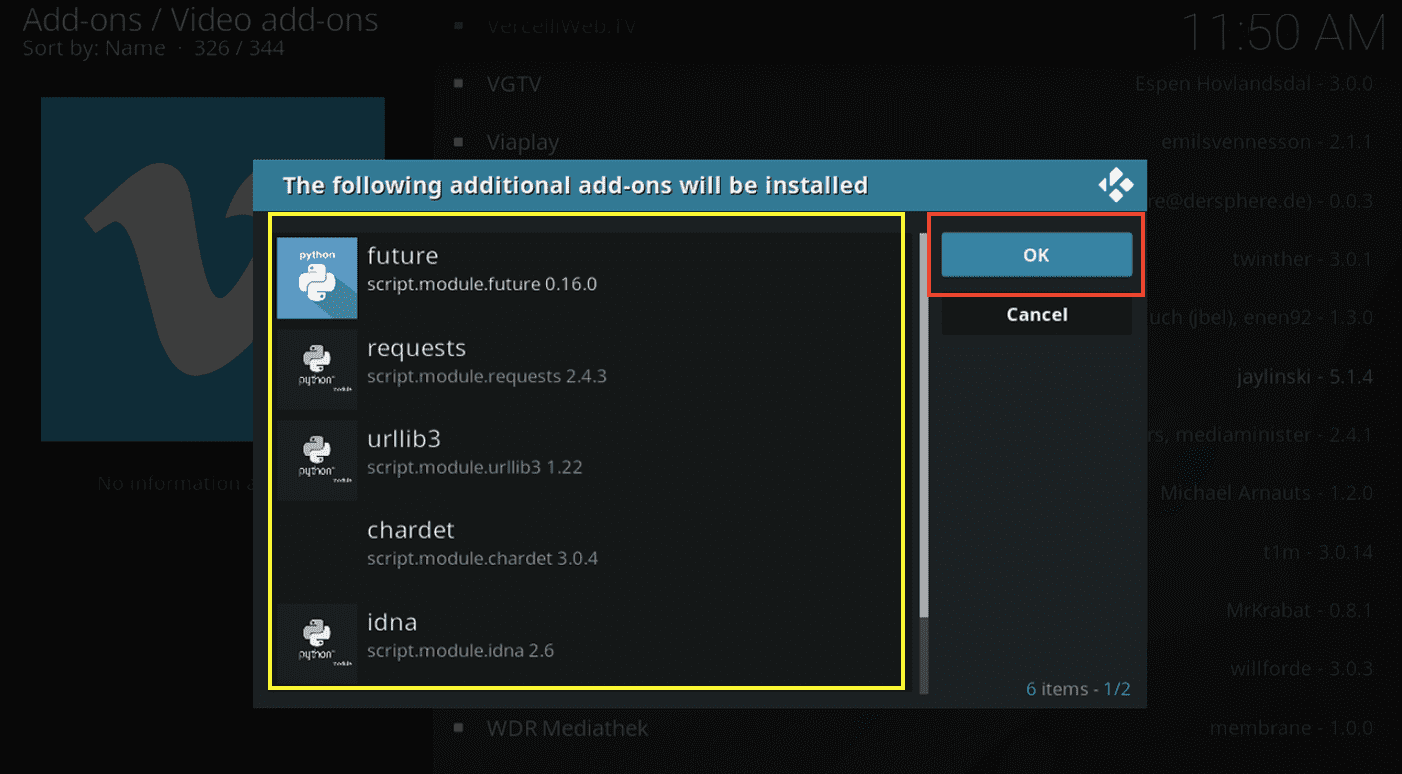
Install Vimeo dependencies
You can monitor the installation progress on the add-ons list. After successfully installing Vimeo, you can launch the add-on from the “Video add-ons” screen.
Launch Vimeo
That’s it! You have successfully installed your first add-on on Kodi. You can use the procedure above to install any other add-ons you may want.
Add-ons can be used to customize Kodi’s functionality to suit your specific needs and preferences, allowing you to access a wide range of content and services from within Kodi. However, it’s important to note that not all add-ons are created equal, and some may pose security or privacy risks. As such, it’s important to only install add-ons from reputable sources and to exercise caution when using third-party add-ons.
Accessing media from the local drive
Up to this point, you might have noticed that Kodi doesn’t have a direct method of accessing the files on your local drive. Maybe you have some songs or a movie on your flash drive or in any of your local folders, and you wish to watch it. How do you go about it?
Follow the steps below and learn to access media files (videos) on your local drive.
1. Click “Videos” on the Kodi main window.
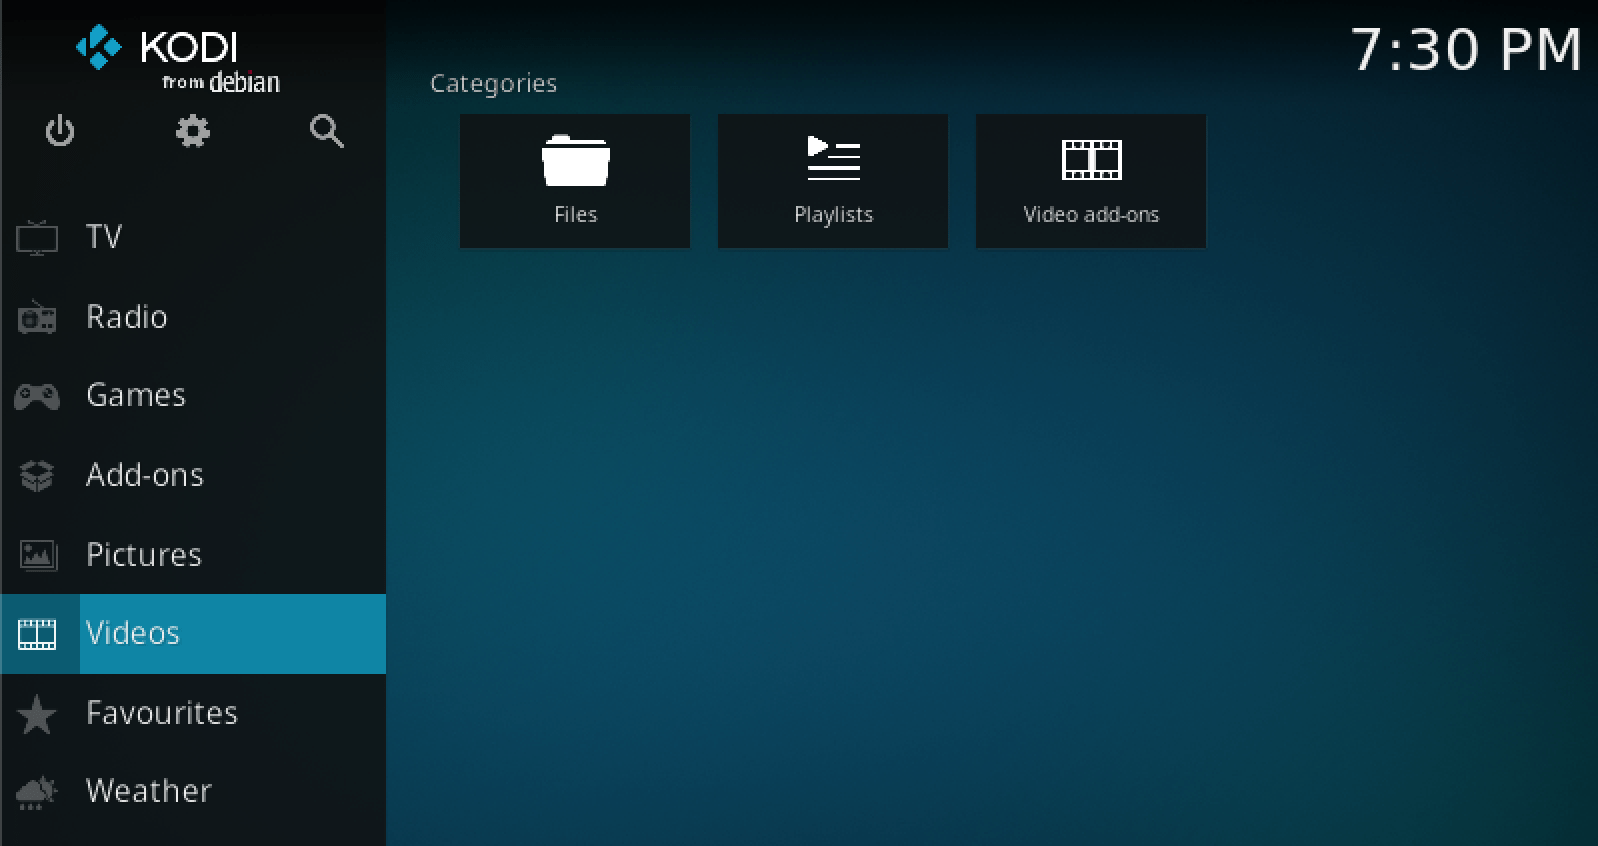
Videos
2. Click on “Files” on the next screen that appears.
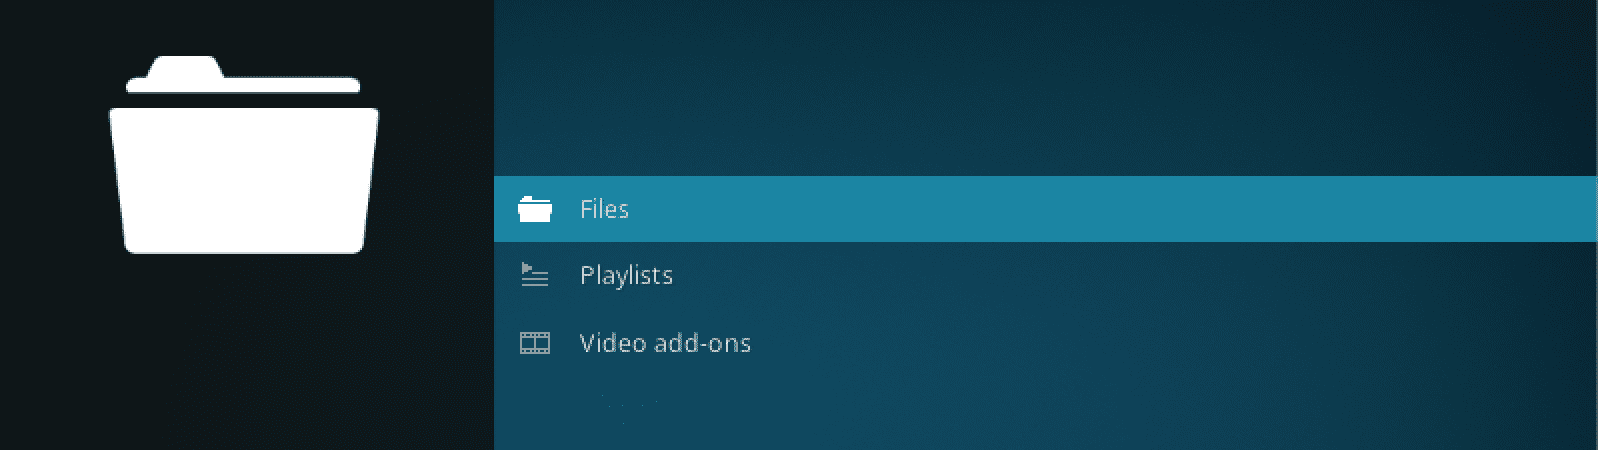
Files
3. Click the “Add videos” button on the new screen that appears.
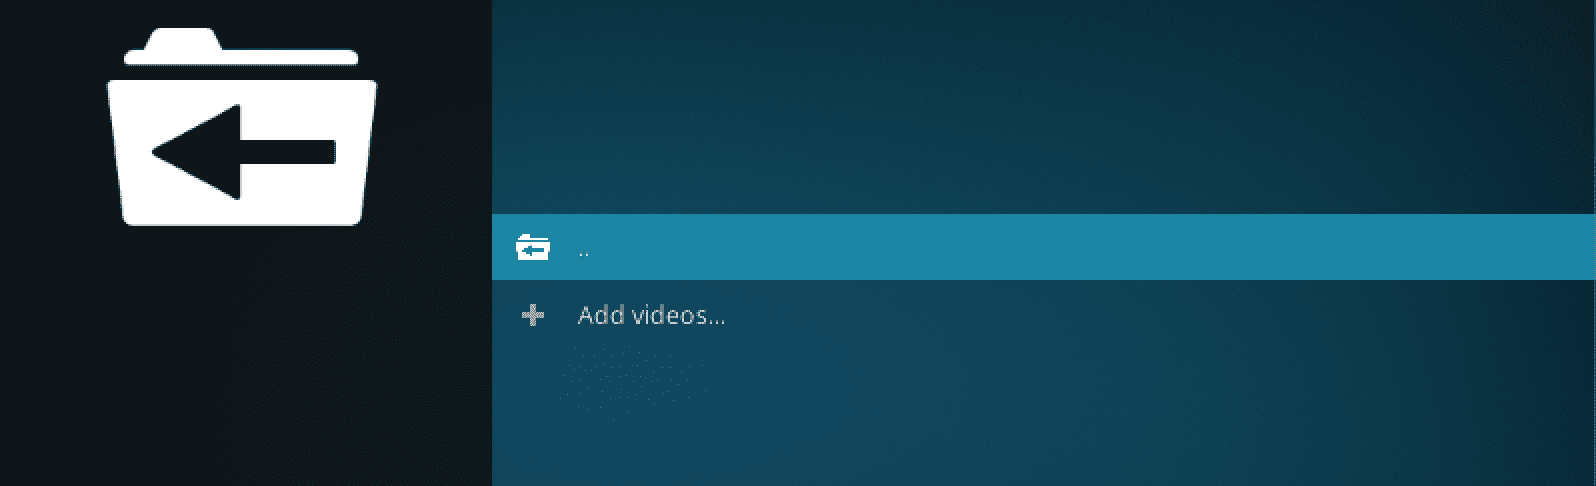
Add Videos
4. You will see a pop-up window where you need to provide the path to the directory containing your video files. Click the “Browse” button and navigate to your videos’ directory.

Set folder path
In our case, the videos are in the “Videos” directory in our home folder. So, after successfully adding the directory, you should see it under the “Videos” section on the Kodi main window.
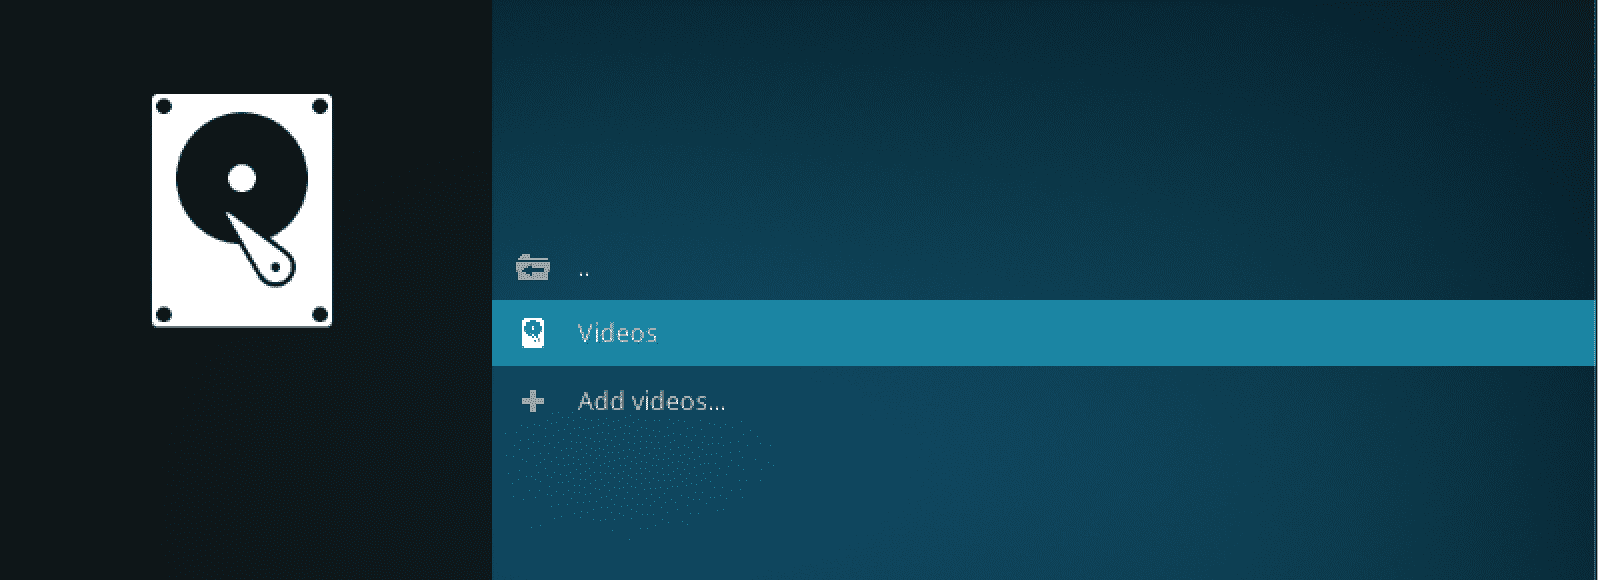
Media files
When you open this new directory, you should be able to see all the media files present on your local drive.
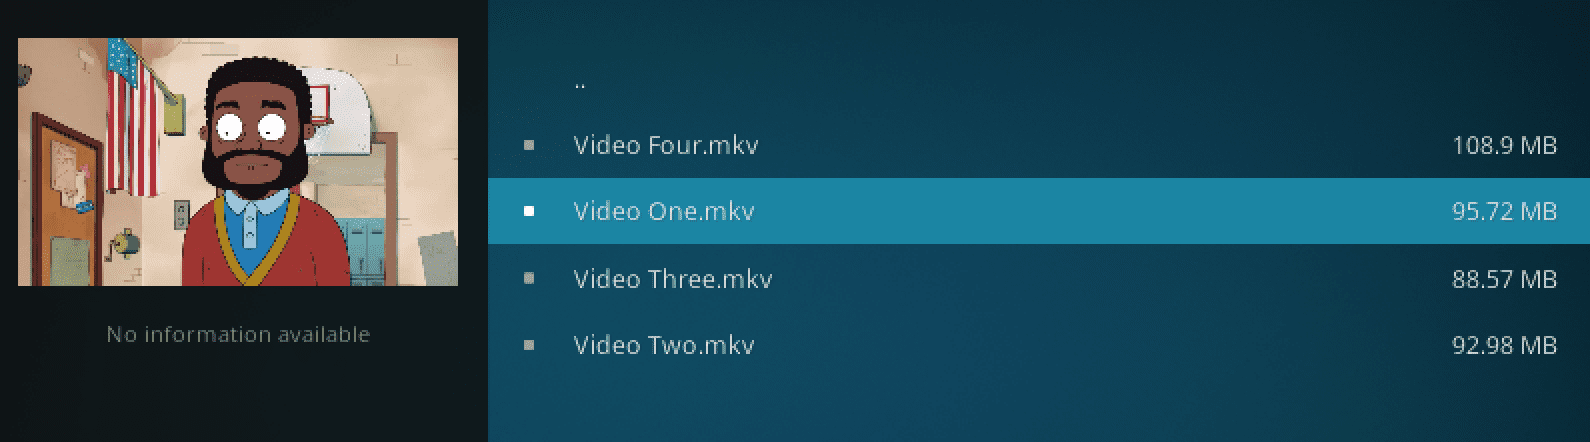
Video files
Wrapping up
With Kodi Media Server installed on your Ubuntu system and a few choice add-ons installed, you can quickly turn your computer into a powerful media center to stream, access, and organize all your favorite media files in one place.
Kodi’s add-ons can provide access to a wealth of content and services, from online video streaming services to live TV channels and beyond. With the right add-ons installed, Kodi can be customized to suit your needs and preferences, offering a truly personalized media center experience. However, remember to exercise caution when using third-party add-ons and only install add-ons from reputable sources to ensure your system’s security and safety.