
If you are a Linux user, you have probably interacted with the Terminal—one of the most powerful programs available in all Linux distributions. The Terminal allows you to manage your system by executing various commands. You can use it to create, edit or delete files, install or uninstall programs, update the entire system, etc. The Terminal provides a user-friendly interface for working with the shell by displaying text output and accepting text input.
This post will show you how to install and use Zsh shell on Ubuntu. However, before we dive in further, let’s understand the difference between the Terminal and Shell and the different types of Shells available.
Shell vs. Terminal
Note: “Shell” and “Terminal” are not the same thing on Linux (and other operating systems).
The shell is a program or interface that provides a command-line user interface to interact with the operating system. It is responsible for interpreting and executing commands entered by the user. Ubuntu and many other Debian-based distributions typically come with Bash (Bourne Again SHell) shell. However, there are different types of shells, each with features and capabilities, but they all serve as a means to communicate with the underlying operating system using text-based commands. Check out our comprehensive post – What is the Shell in Linux?
The terminal, often called a terminal emulator, is a graphical program allowing users to access the shell and run commands. It provides a user-friendly interface for working with the shell by displaying text output and accepting text input. You can launch the Terminal on Ubuntu by clicking the “Activities” button on the top-right and typing. “terminal” in the search bar. If you are starting with Linux, please check out our post – Top 20 Linux Terminal Commands to try for a Beginner.

Terminal
Now that you understand the difference between the Shell and the Terminal, let’s look at the Zsh shell.
The Zsh shell – A feature-rich shell for Ubuntu
Zsh, short for Z Shell, is a powerful and versatile command-line shell that has gained significant popularity among developers and power users. It is an extended version of the traditional Bourne shell (sh) with additional features and improvements.
Features of Zsh
- Interactive Command Line: Zsh offers an interactive command-line interface with extensive customization options. Users can personalize their prompt, color schemes, and command completion, enhancing their productivity and overall experience.
- Robust Auto-Completion: One of the standout features of Zsh is its advanced auto-completion capabilities. It can automatically suggest and complete commands, filenames, and even options from the history or across plugins, saving time and minimizing errors.
- Powerful Plugins and Extensions: Zsh supports a wide range of plugins and extensions that extend its functionality significantly. Oh-My-Zsh, a popular community-driven framework, brings together numerous plugins, themes, and helpers, making it incredibly easy to enhance Zsh’s capabilities to suit individual preferences.
- Spelling Correction: Zsh includes a spelling correction feature, allowing users to fix typographical errors in commands without retyping the entire line. This handy feature is invaluable when working with long and complex commands.
- Command Line Editing: Zsh offers robust command line editing capabilities, allowing users to navigate and manipulate their command history efficiently. Features like incremental search, history substring search, and multi-line editing contribute to a seamless command-line experience.
Zsh’s popularity has soared among developers due to its extensive feature set and vibrant community support. Notably, it gained widespread adoption in macOS as the default shell, starting with macOS Catalina (10.15), replacing Bash (Bourne Again SHell), the default for many years.
Installing Zsh on Ubuntu
Installing Zsh on Ubuntu is easy as the package is already available in Ubuntu repositories. Follow the steps below.
Step 1: Update Package List
Open a terminal by pressing Ctrl + Alt + T, then update the package list to ensure you have the latest information about available packages.
sudo apt update
Step 2: Install Zsh
Once the package list is updated, you can install Zsh by running the following command:
sudo apt install zsh
During the installation, you may be prompted to confirm the installation. Type ‘Y’ and press Enter to proceed.
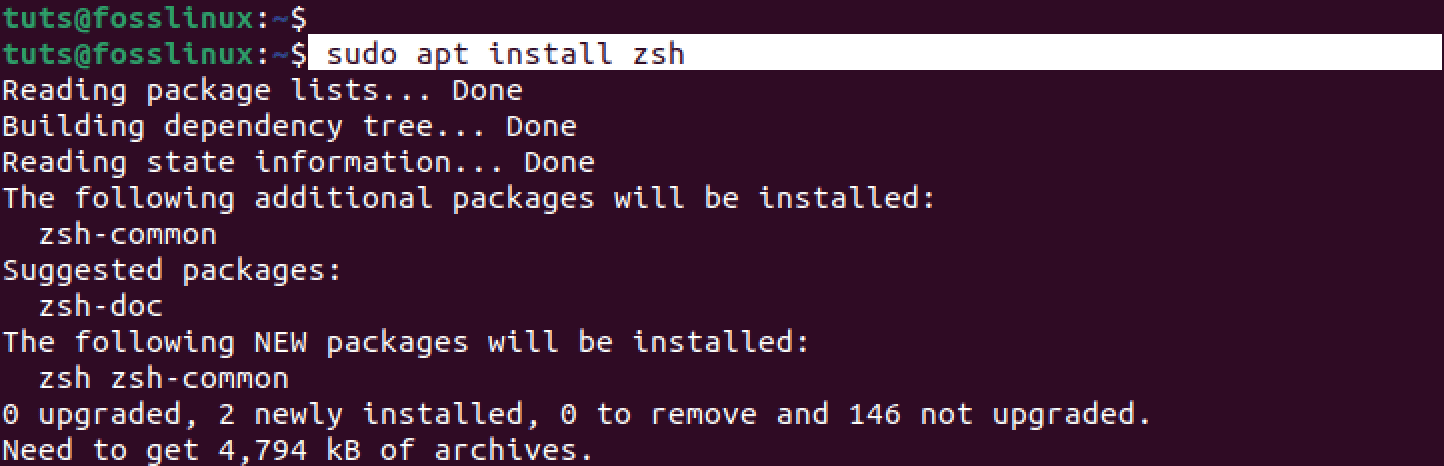
Install Zsh
Verify the Zsh installation
To verify if Zsh is installed on your Ubuntu system, you can use the zsh command in the terminal. Here’s how you can do it:
Open a terminal by pressing Ctrl + Alt + T or searching for “Terminal” in the applications. Once the terminal is open, type zsh and press Enter.
zsh
If Zsh is installed, the terminal prompt should change, indicating that you are now using the Zsh shell. The prompt might look different depending on the configuration and theme you have set. For example,
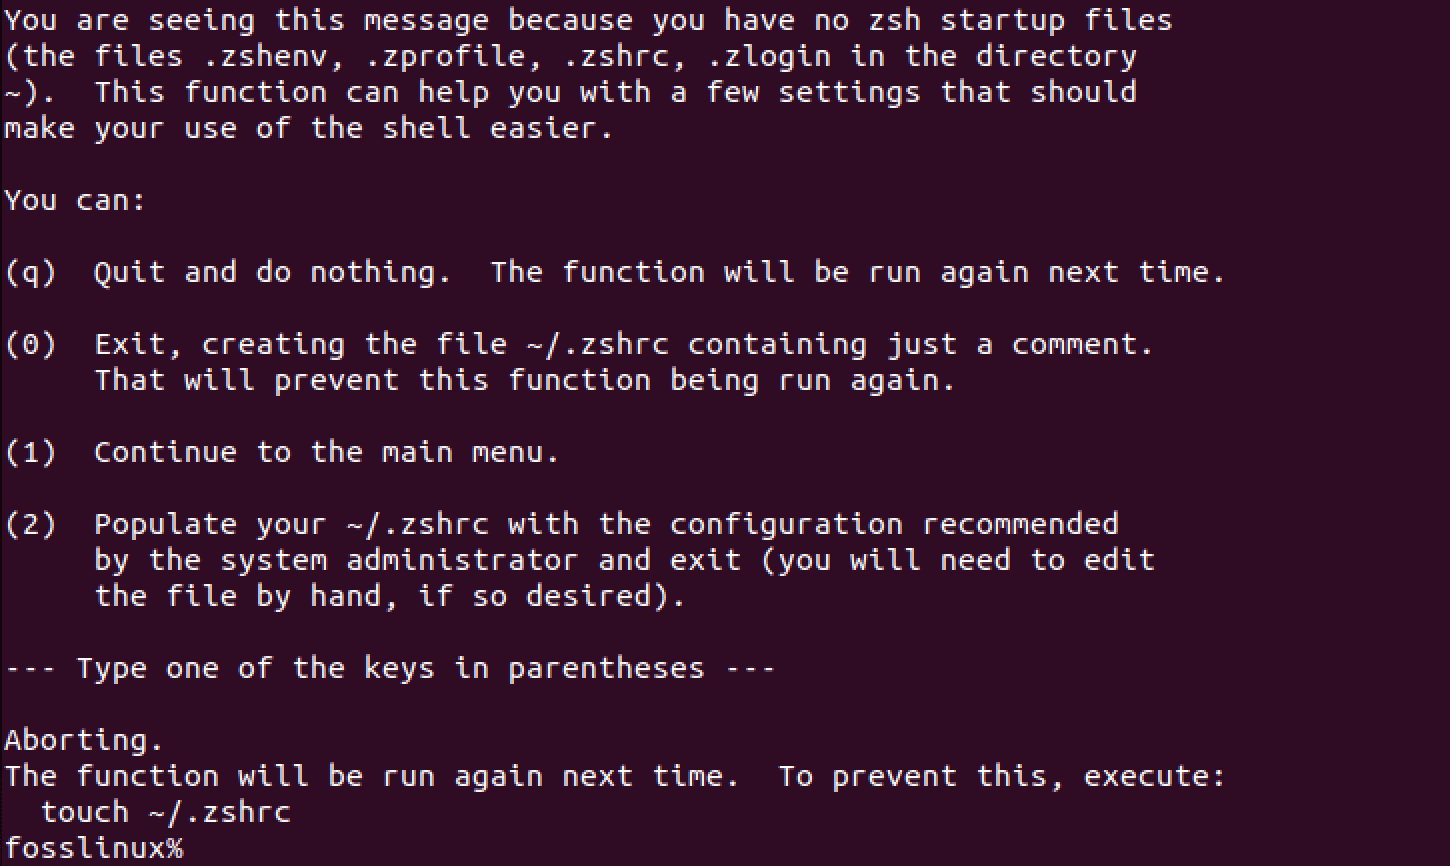
Zsh
To confirm that you are indeed using Zsh, you can run the following command:
echo $SHELL
This will display the path of the currently active shell. If Zsh is your default shell, the output should be something like:
/usr/bin/zsh
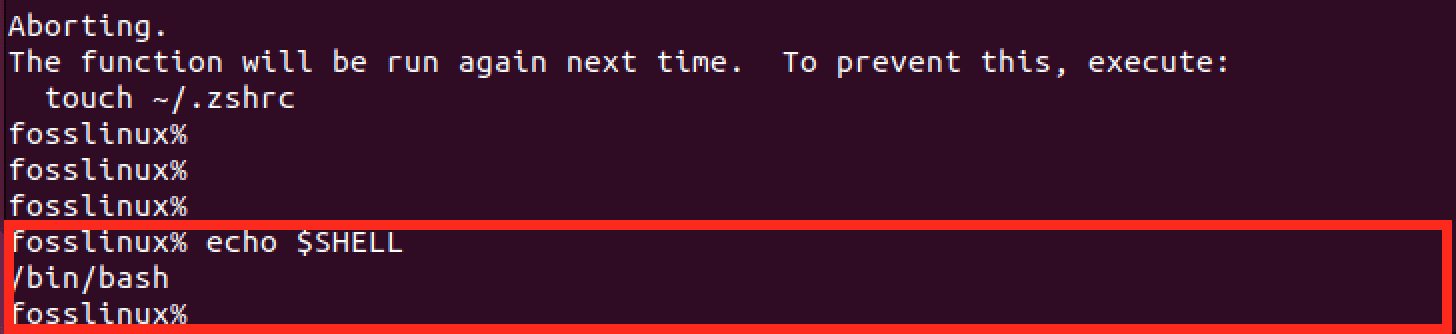
Verify Zsh Shell
To exit Zsh and return to your default shell (usually Bash), type exit and press Enter.
exit
Setting Zsh as the default shell
By default, Ubuntu uses Bash as the default shell. If you want to set Zsh as your default shell, you can do so with the following command:
chsh -s /usr/bin/zsh
The chsh command changes the default login shell for the current user to Zsh.
Tip: For the changes to take effect, log out of your Ubuntu session and log back in.

Set Zsh default shell
Configuring Zsh
After logging in, you will notice a huge difference when you launch the Terminal, especially if you have not configured Zsh. You might not see the usual terminal prompt colors you are used to. However, just like the Bash shell, you can also customize Zsh to your liking by editing the ~/.zshrc file using the nano editor, as shown below.
nano ~/.zshrc
You can customize your Zsh prompt, enable plugins, set aliases, and more within the configuration file.
Example: Configuring the Zsh terminal prompt colors
Currently, our Zsh terminal prompt only shows the username and a percentage sign, as shown in the image below.
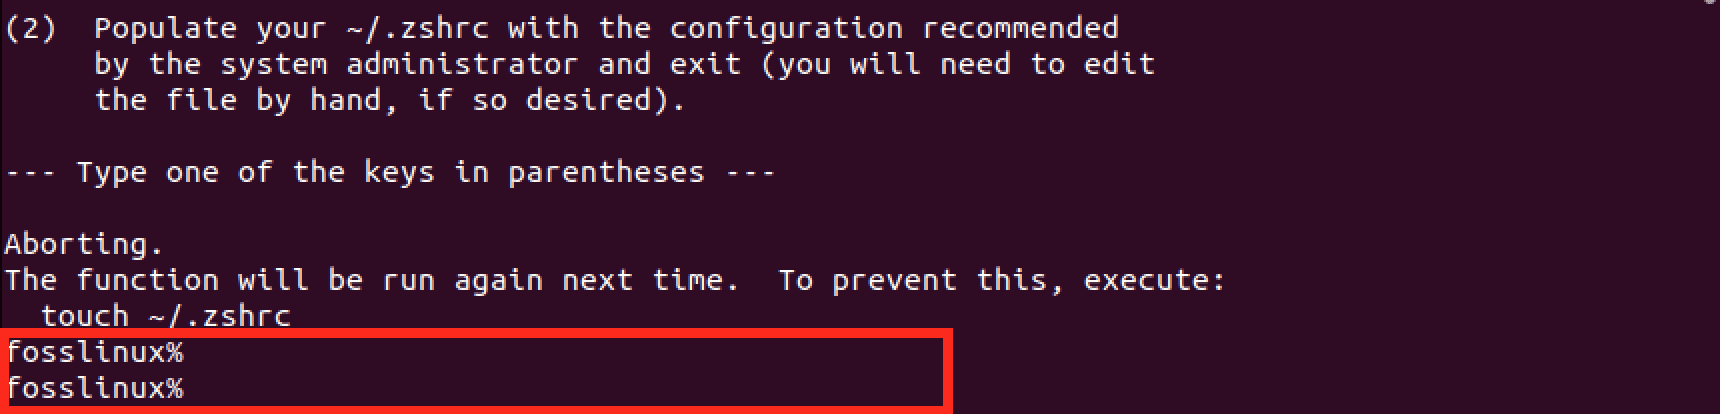
Zsh terminal prompt
To customize your Zsh prompt and display a colored prompt similar to the default Bash Ubuntu prompt, you can modify the Zsh configuration file (~/.zshrc). You must define the desired prompt format using escape sequences and ANSI color codes. Follow the steps below.
1. Generally, the ~/.zshrc file is created automatically after installing Zsh on your system. However, if the file wasn’t created/ generated automatically, you can go ahead and create the file using the nano editor, as shown in the command below.
sudo nano ~/.zshrc
2. Add your Zsh configurations to the file. For example, you can start with a basic prompt configuration like this:
PS1="%F{green}%n@%m %F{blue}%~ %# %f"
This configuration sets up a colored prompt with the username, hostname, current directory, and prompt character. In this new PROMPT, we are using the following escape sequences and ANSI color codes:
%F{color}: Sets the foreground color. Green and blue are color names; you can also use other colors.%n: Displays the username.@: Shows the ‘@’ symbol.%m: Prints the hostname.%F{color}: Sets the foreground color again.%~: Displays the current working directory (shortened).%#: Shows the prompt character (# for root and % for regular users).%f: Resets the foreground color back to the default.

Configure Zsh prompt
Save the file and exit the text editor.
- For nano, press Ctrl + X, type ‘Y‘ to confirm the changes, and press Enter.
- For Vim, press Esc, then type :wq and press Enter.
To apply the changes to the prompt, you can either restart your terminal or run the following command to reload the Zsh configuration:
source ~/.zshrc
Your Zsh prompt should display a colored prompt similar to the default Bash Ubuntu prompt, showing the username, hostname, current directory, and prompt character with the specified colors. See the image below.
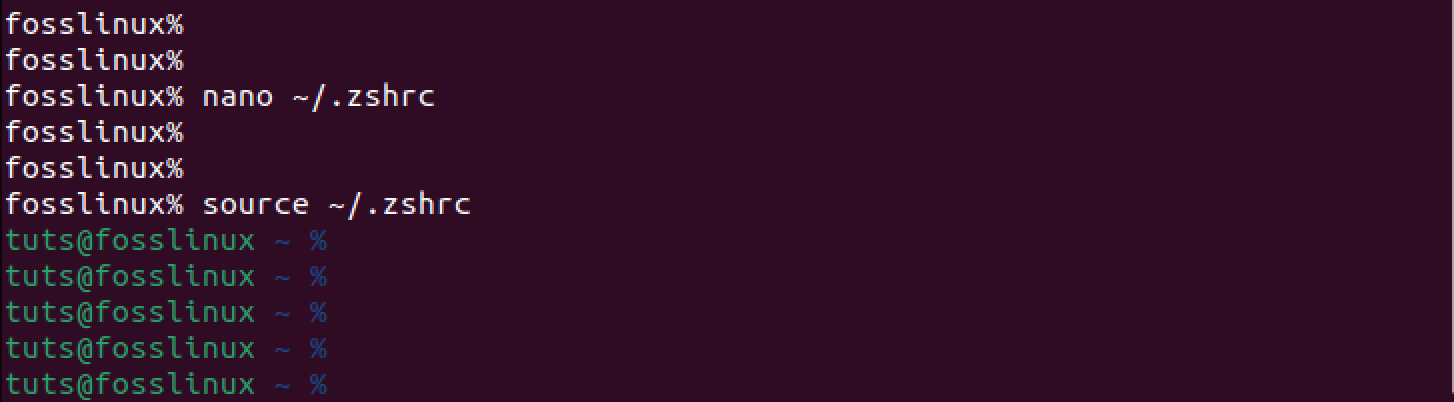
Configure Zsh
Feel free to experiment with different color codes and prompt formats to customize your preference.
Conclusion
Linux systems empower users with greater freedom to experiment and customize compared to closed-source operating systems like Windows, and changing the default, Shell is just one of them. Zsh is a feature-rich shell that offers several advantages over Bash, making it a popular choice among power users and developers. It also includes some features that you might not find in Bash. Features like Advanced Auto-Completion, Spelling correction, Powerful Globbing, etc.