
Every now and then, when managing files and folders on a computer, you would come across the need to compress or decompress files. Compression tools come in handy for making large files more manageable, saving storage space, and speeding up file transfers. While there are several software available for this purpose, one of my all-time favorites is “7-Zip”. Its efficiency and ease of use make it stand out from the crowd. In today’s blog, we would dive deep into how you can install and use 7-Zip on Ubuntu.
An introduction to 7-zip
7-Zip is a popular open-source software that is used for compressing and archiving files. The software is well-known for its ability to compress files into its unique 7z file format, which provides a high compression ratio. Additionally, 7-Zip supports many other file formats, including ZIP, RAR, TAR, and more. Its versatility and ability to handle a wide range of file formats make it a reliable choice for many users. Personally, I have been using 7-Zip for a long time and I am impressed with its fast speed and remarkable compression capabilities.
Installing 7-zip on Ubuntu
Ubuntu, being one of the most popular Linux distributions, does not come with 7-Zip installed by default. However, the installation process is a breeze. Follow the steps below:
Step 1: Open the Terminal.
You can do this by searching for “Terminal” in the application menu or pressing Ctrl + Alt + T.
Step 2: Update the package list.
Before you install any new software, it’s always a good idea to update the package list. Enter the following command:
sudo apt update
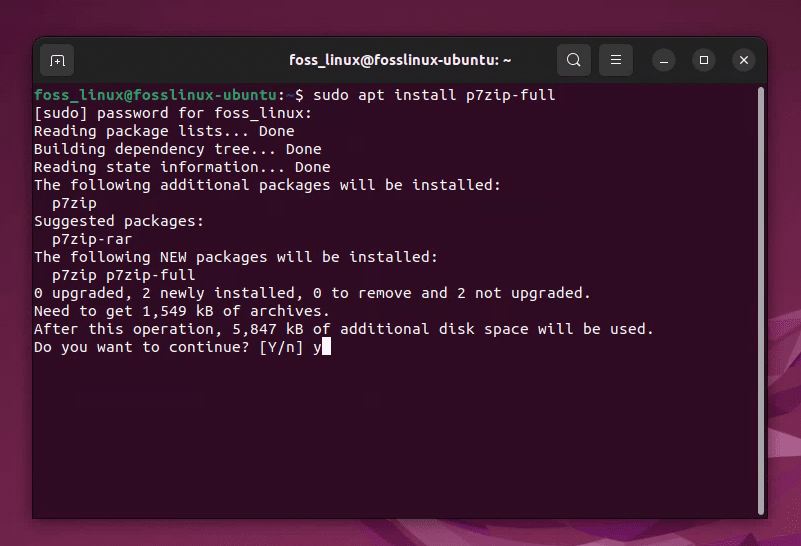
Step 3: Install the p7zip package.
Now, to install 7-Zip, you would use the following command:
sudo apt install p7zip-full
Installing 7-zip on Ubuntu
Once you’ve executed this command, the system would do its magic, and 7-Zip would be installed on your Ubuntu machine. It’s as simple as that!
Using 7-zip through the Graphical Interface
If you’re someone who loves the simplicity of point-and-click, the good news is that once 7-Zip is installed, it gets integrated with Ubuntu’s file manager. Here’s how you can use it:
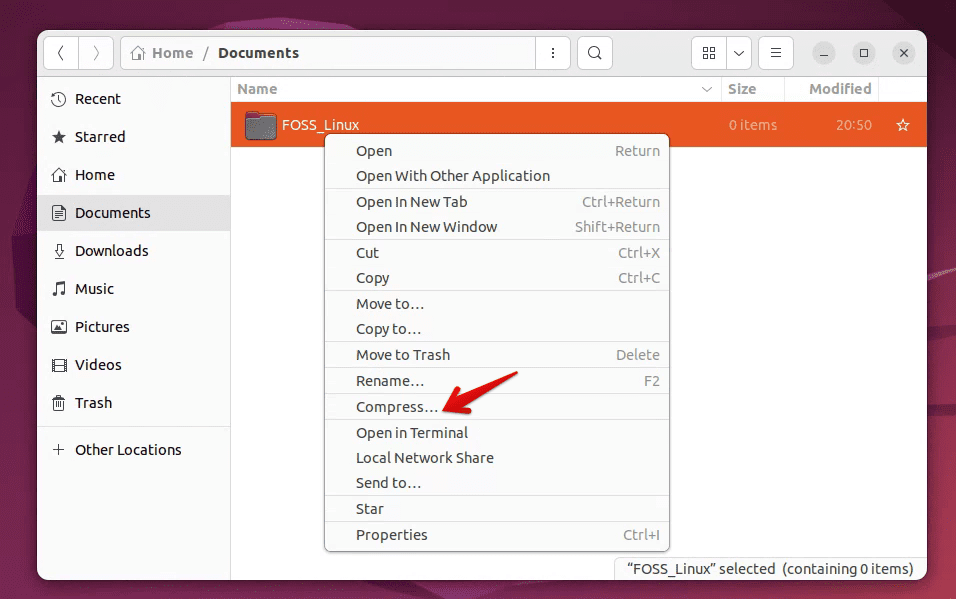
Step 1: Right-click on the file or folder you wish to compress.
Step 2: From the context menu, choose the ‘Compress’ option.
Ubuntu files right click menu
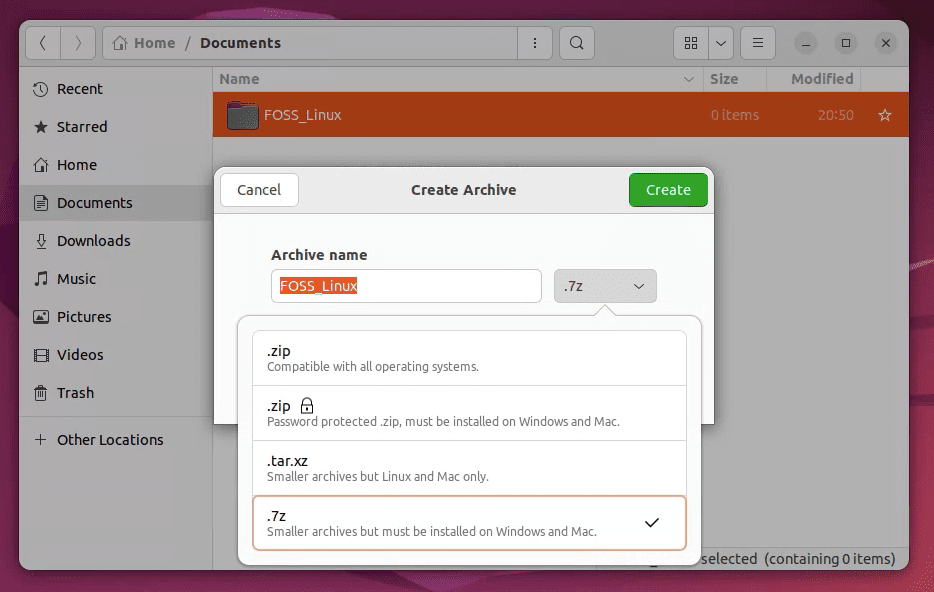
Step 3: A window would pop up, allowing you to choose the format. If you want the best compression, select the 7z format.
Compressing a folder using 7-zip
Step 4: Click on ‘Create’, and voila! Your files or folders are now compressed.
For decompressing, the process is even simpler:
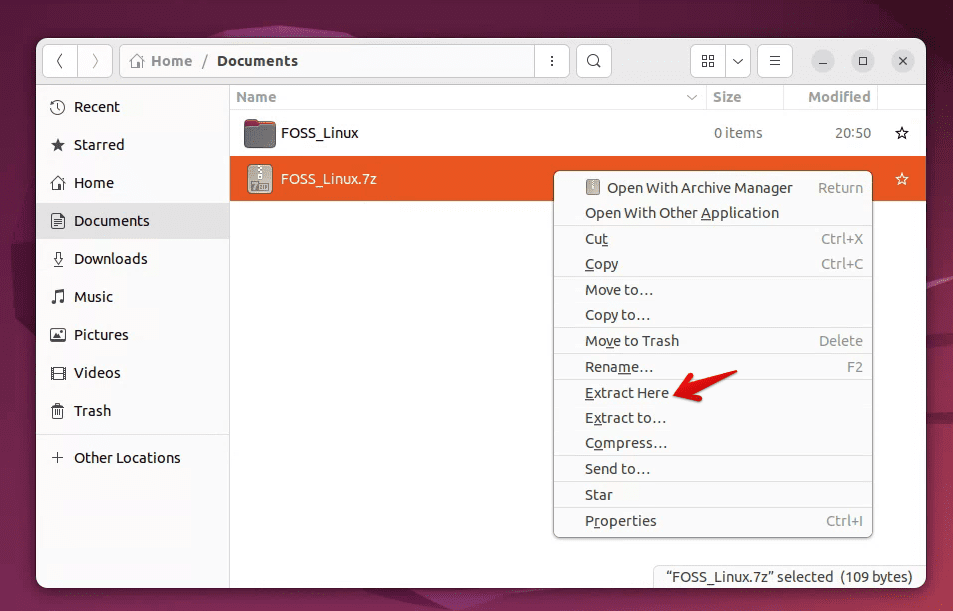
Step 1: Right-click on the compressed file.
Step 2: Select ‘Extract Here’ from the context menu.
Extracting 7-zip content using GUI
And there you have it – your files would be extracted in the same location.
Command line magic: Advanced 7-zip usage
For those who love the power and flexibility of the command line (like me!), 7-Zip does not disappoint. Here’s a primer on using 7-Zip from the terminal:
To compress files into a 7z archive:
7z a FOSS_Linux.7z file1 file2 file3
Sample output:
7-Zip [64] 16.02 : Copyright (c) 1999-2016 Igor Pavlov : 2016-05-21
p7zip Version 16.02 (locale=en_US.UTF-8,Utf16=on,HugeFiles=on,64 bits,4 CPUs Intel(R) Core(TM) i5-8250U CPU @ 1.60GHz (806EA),ASM,AES-NI)

Scanning the drive:
3 files, 123456 bytes (121 KiB)

Creating archive: FOSS_Linux.7z

Items to compress: 3

0% ....... 0% 1 + file1
33% 2 + file2
67% 3 + file3
100% 3 + file3

Files read from disk: 3
Archive size: 65432 bytes (65 KiB)
Everything is Ok
To extract a 7z archive:
7z e yourarchive.7z
To list the contents of an archive without extracting:
7z l yourarchive.7z
These are just the basics, and there’s so much more you can do with 7-Zip from the command line. I often find myself digging into the manual (using man 7z) to discover new options and functionalities.
Why I prefer 7-zip over other tools
Having used several compression tools over the years, there are a few reasons I’ve developed a soft spot for 7-Zip:
- Open source: The fact that it’s open source means there’s a community constantly working on improving it.
- High compression ratio: Especially with the 7z format, the compression ratios are often better than most other archiving tools I’ve tried.
- Versatility: Its support for various formats means I don’t need multiple tools.
- Integration with Ubuntu: Once installed, it integrates seamlessly with Ubuntu’s file manager.
However, no tool is perfect. If there’s one thing I wish were better, it’s the graphical user interface. It gets the job done, but it’s not the most aesthetically pleasing.
Important 7-zip commands
| Action | Command | Description |
|---|---|---|
| Compress files into a 7z archive | 7z a archive.7z file1 file2 ... |
Adds files to an archive named “archive.7z”. |
| Extract a 7z archive | 7z e archive.7z |
Extracts the files from “archive.7z”. |
| List the contents of an archive | 7z l archive.7z |
Lists the files contained in “archive.7z” without extracting them. |
| Extract with full paths | 7z x archive.7z |
Extracts the archive with full directory structure. |
| Test integrity of the archive | 7z t archive.7z |
Checks the integrity of “archive.7z”. |
| Delete a file from an archive | 7z d archive.7z file1 |
Deletes “file1” from “archive.7z”. |
| Update a file in an archive | 7z u archive.7z file1 |
Updates “file1” in “archive.7z”. |
| Add password protection | 7z a archive.7z file1 -pPASSWORD |
Adds a password (in this case, “PASSWORD”) to the archive. |
| Compress using a specific method | 7z a archive.7z file1 -mx=9 |
Compresses “file1” using ultra compression method. |
Conclusion
7-Zip is an exceptionally efficient and easy-to-use file compression tool that stands out from the crowd. It caters to all types of users, whether you prefer a graphical user interface or the command line. The installation and usage of 7-Zip on Ubuntu are simple and straightforward, and this guide aims to make the process even easier for you.
The tool is an excellent choice for compressing large files or folders, making it ideal for users who frequently work with large files. Once you start using 7-Zip, you’ll quickly realize how much time and effort it saves you compared to other file compression tools. With its intuitive interface and powerful capabilities, 7-Zip is truly a must-have tool for anyone who deals with large files on a regular basis. So, if you haven’t tried it yet, give it a go and discover how much more efficient your file compression processes can be.