
If you use separate Windows and Linux computers, sometimes you need to connect to Linux system from your Windows machine. The Linux machine can function as backup storage, server, or just another desktop to link.
In this tutorial, we cover how to control your Ubuntu machine from Windows one remotely. There are three methods to connect to your Ubuntu remotely.
- Connecting to Ubuntu via SSH.
- Connecting to Ubuntu via Remote Desktop Connection.
- Connecting to Ubuntu via VNC (Virtual Network Computing).
Before starting our tutorial, you need to make sure that your Ubuntu is up-to-date using the following commands:
sudo apt update
sudo apt upgrade
Know your Ubuntu IP
Step 1. First, we need to install the net-tools package.
sudo apt install net-tools
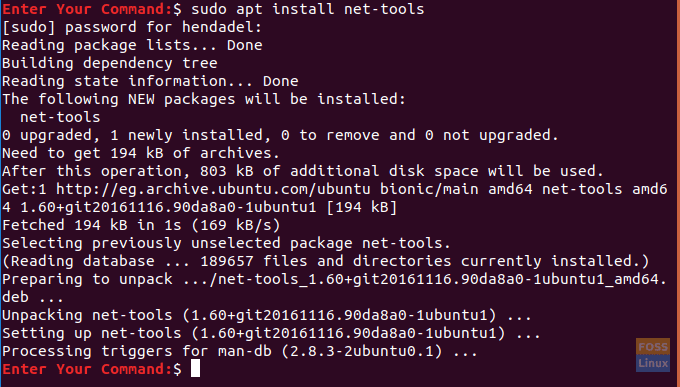
Install net-tools Package
Step 2. To get the IP of the Ubuntu machine, you can use the following command.
ifconfig

Ubuntu Machine IP
As you can see in the previous the Ubuntu machine, IP is 192.168.1.7.
Method 1: Connecting To Ubuntu Via SSH
In this method, we will install the ssh package on Ubuntu. Then we use an ssh client on Windows to connect to Ubuntu.
Step 1. On your Ubuntu machine, install the ssh package using the ssh command.
sudo apt install ssh
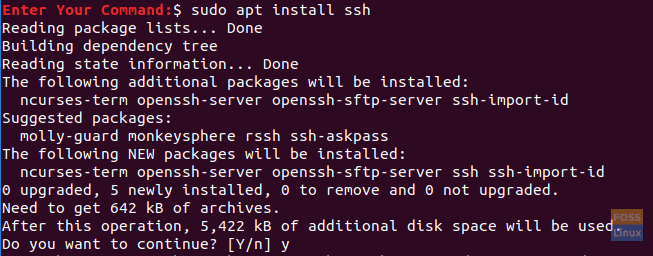
Install ssh Package On Ubuntu
Step 2. Install the nmap package using the following command.
sudo apt install nmap
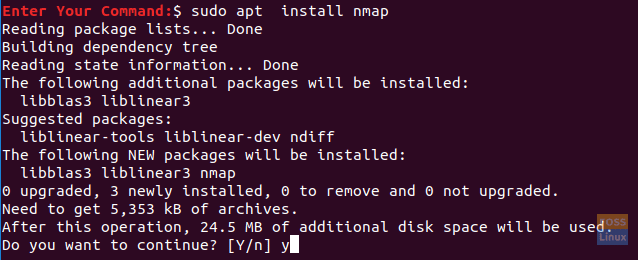
Install Nmap Package On Ubuntu
Step 3. Check the ssh port is it is opened or not.
nmap localhost
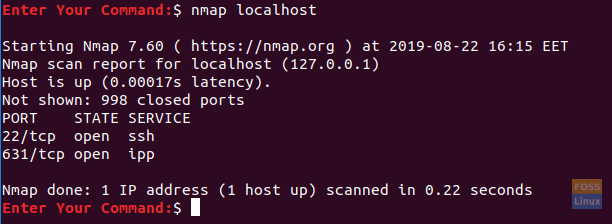
Check If ssh Port Is Opened Or Not
As you can see in the previous screenshot the default port of ssh service which is 22 is open.
Step 4. On the Windows machine, you can use an ssh client such as putty. Download the putty client from here.
Now let’s open the putty client:
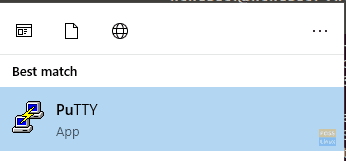
Open Putty Application From Windows Machine
The putty interface should look like the below screenshot:
Step 5. Enter your Ubuntu machine IP in the “Host Name” textbox. Also, you can save the IP in the saved sessions section.
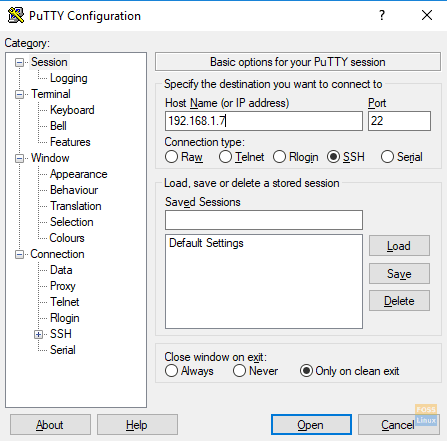
Enter Ubuntu Machine IP
Press the Open button to connect to the Ubuntu machine.
Step 6. A security alert appears you can press the Yes button to continue.
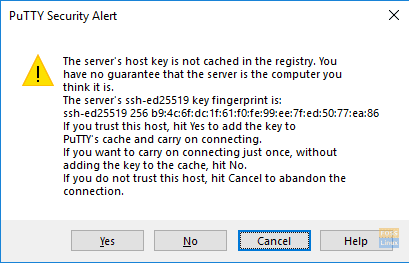
Putty Security Alert
Step 7. Next, you can use your Ubuntu username and password then press Enter button.
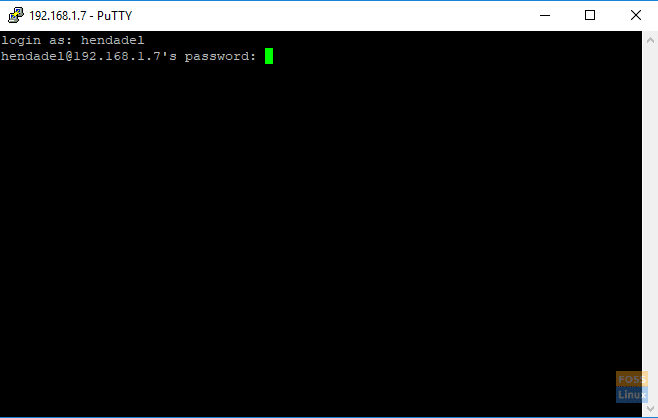
Enter Your Ubuntu Username And Password
Step 8. Now you are logged in to your Ubuntu.
Remotely Logged In To Your Ubuntu Machine Via Putty
You can start executing commands in the putty client:

Start Executing Commands
Method 2: Connecting To Ubuntu Via Remote Desktop Connection
In this method, we are going to install the xrdp package on Ubuntu machine. Next, we shall use the Remote Desktop Connection from the Windows machine to connect to the Ubuntu one.
Step 1. On the Ubuntu machine, install the xrdp package using the following command.
sudo apt install xrdp
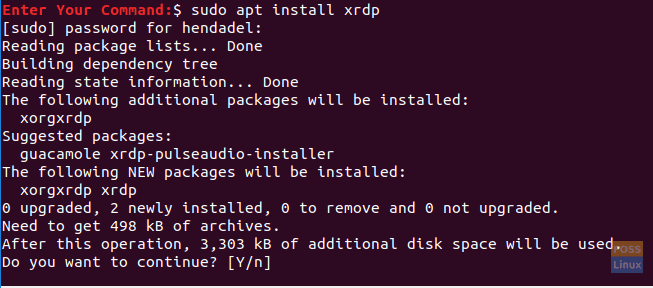
Install xrdp Package On Your Ubuntu Machine
Step 2. Start the xrdp service.
sudo systemctl start xrdp
Start xrdp Service
Step 3. Enable the xrdp service to run with system startup.
sudo systemctl enable xrdp

Enable xrdp To Run With System Startup
Step 4. Check the xrdp service status to ensure that everything is up and running successfully.
sudo systemctl status xrdp

Check The xrdp Service Status
Step 5. From your Windows machine, open the Remote Desktop Connection from the Start menu.
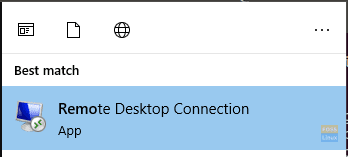
Open Remote Desktop Connection Application Windows
Step 6. Enter your Ubuntu machine IP. Then press the connect button to continue.
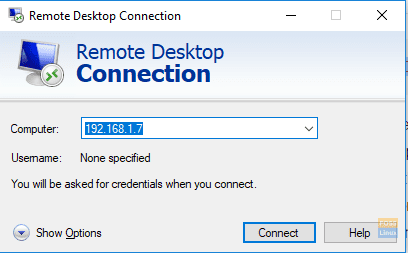
Open Remote Desktop Connection Application Windows
Step 7. You should get a warning message, and you can press Yes button to open the connection.
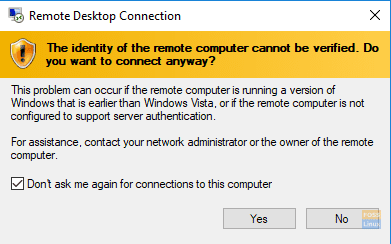
Remote Desktop Warning Message
Step 8. Next, you can use your Ubuntu username and password.
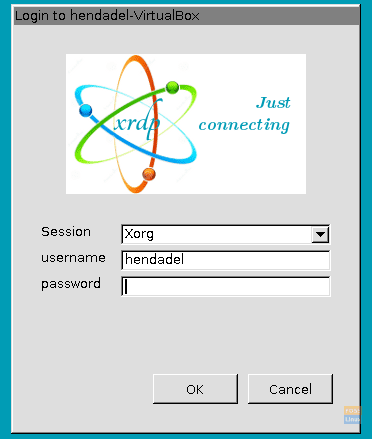
Enter Your Ubuntu Username And Password In Remote Desktop Application
Step 9. Now you are remotely logged in to your Ubuntu machine, and you can start using the machine.
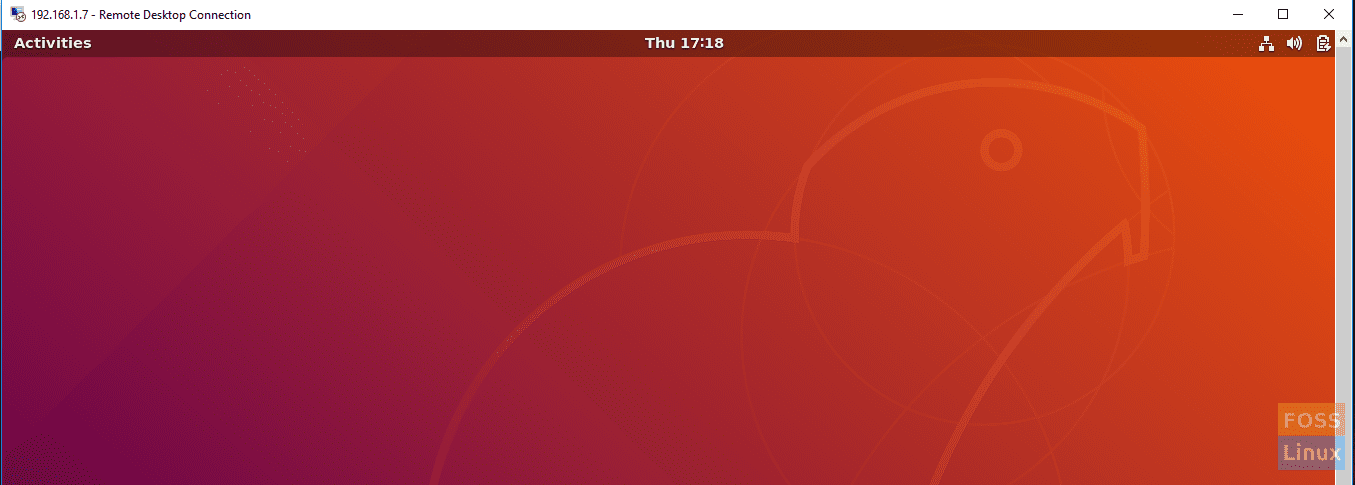
Remotely Logged In To Your Ubuntu Machine Via Remote Desktop Connection
Method 3: Connecting To Ubuntu Via VNC
VNC is a Virtual Network Computing, and it is a graphical tool that is used to connect and access the Ubuntu remotely. In this method we are going to install a VNC server on the Ubuntu machine, then we shall use a VNC client from the Windows host to connect to Ubuntu.
Step 1. Install the tightvncserver package using the following command.
sudo apt install tightvncserver
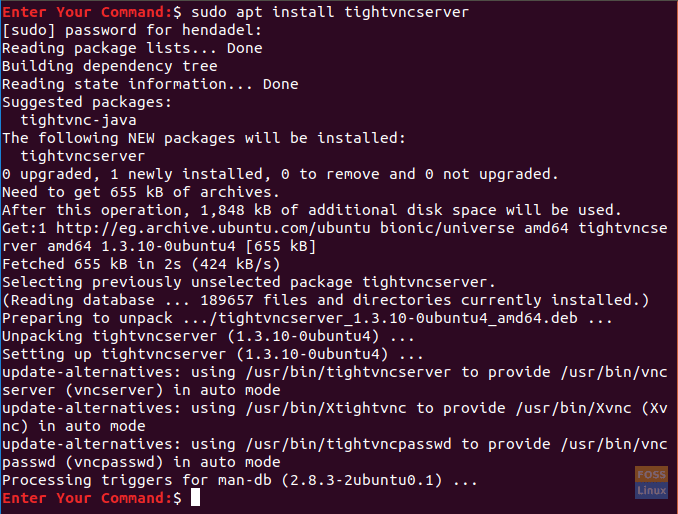
Installing tightvncserver package
Step 2. Start the tightvncserver service using the following command.
sudo tightvncserver
You are required to enter a password that should be used while connecting in the Windows VNC client.
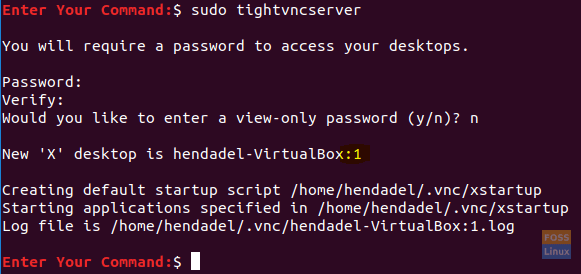
Open The tightvncserver Application
As you can see in the previous screenshot, you should see a number like this “:1”, this number act as the desktop number. Remember this number because you should use it in the Windows machine.
Step 3. On your Windows machine, download and install any VNC client like the TightVNC viewer. You can download the TightVNC from here.
Step 4. After the installation completes successfully, you can open the TightVNC viewer from the Start menu.
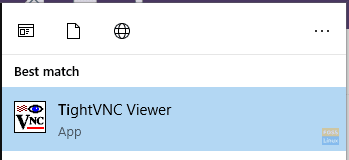
Open TightVNC Viewer
Step 5. Enter the Ubuntu machine IP and the desktop number mentioned previously.
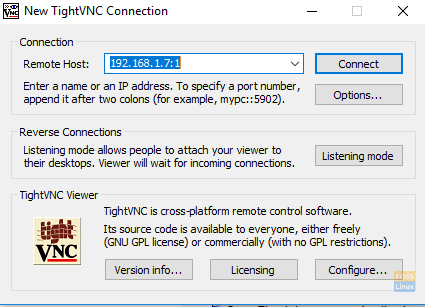
Enter Ubuntu Machine IP In The TightVNC Viewer
Step 6. Now press the connect button to open the connection and enter your Ubuntu username and password.
For further details about how to configure the VNC server on Ubuntu check this tutorial, and to configure the VNC on CentOS check this.
6 comments
Method 2 didn’t work for me while trying to connect from Windows 10 to Linux Mint 19.3. I get get a “login failed for display 0” message when I try logging into xRDP.
I got the same thing trying to log into an Ubuntu 18.04.3 LTS machine
Method 2 does not work.
for me as well
Log off the user before trying to connect with rdp on method 2
method 2 does not work with ubuntu 20.10. when tryin g to log in from windows 10 machine, i get as far as login to the xrdp, but immediately after i get a sad frown display, and “Oh no. Something has gone wrong. A problem has occurred and the system can’t recover. Please log out and try again.