
Linux Mint is one of the most popular Linux distributions, which is based on Ubuntu. Linux Mint attracts many Windows users to Linux operating system due to its comfortable and friendly desktop environment that resembles the Windows classic desktop. If you are interested in trying Linux Mint, our advice is to use a Linux Mint Live USB drive or install it on a virtual machine.
You do not want to leave your current operating system until you try the new one first. Hence, instead of installing Linux Mint directly on your PC, it would be better to get the advantage of running a virtual machine on your existing system. It has its separate virtual disk but shares resources such as RAM, Processor, Graphics from your PC. Creating and destroying virtual machines are a more convenient way to experience new operating systems without fearing any disturbance to your existing working environment.
So in this tutorial, we will show you how to install Linux Mint on VirtualBox. VirtualBox is an open-source alternative to VMWare that is immensely popular in the Linux world.
Linux Mint Key Features
- Linux Mint’s Cinnamon interface gives you feel like you are using a classic Microsoft Windows-style desktop so the user will immediately get used to the interface.
- Unlike other Linux distributions, Linux Mint comes with relatively a lot of pre-installed apps like Firefox, LibreOffice, GIMP photo editor, and many others; hence, you are ready to go out-of-the-box.
- Its desktop is highly customizable. It has tons of themes, window borders, and application icons by default, so you may not need any additional programs to change the look and feel.
- Linux is easy for beginners due to its simplistic user interface and ease of setup. One can easily install hardware drivers via a tool named as Driver Manager.
- Linux Mint is light of system resources. Its Cinnamon variant takes almost half memory than the famous Unity and the GNOME desktop.
Installing Linux Mint on VirtualBox
In this tutorial, we will show you step by step process of installing Linux Mint on VirtualBox so you will have multiple OS running over your PC safely.
Step 1: Download and install VirtualBox
Download the latest version of VirtualBox for your host operating system, which is in our case is Windows 10, you can choose a build for your desired host operating system.

Download VirtualBox for Windows
After the download completes, run the VirtualBox installer to install it on Windows 10. If you are installing VirtualBox on Linux, use the corresponding installer accordingly.
Step 2: Download Linux Mint ISO
Next, we need to get the latest version of Linux Mint ISO file from there site. Linux Mint has three editions available to download; we will choose the Mint’s flagship edition called Cinnamon.
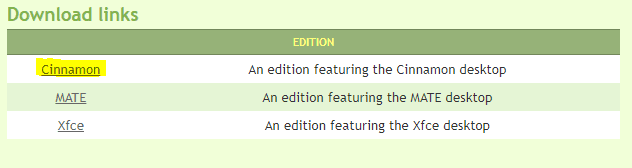
Download Linux Mint ISO File
Step 3: Setting Up Virtual Machine
Now we have both VirtualBox installed, and Linux Mint ISO file downloaded, so we will open VirtualBox application and click on the ‘New’ menu for creating our Linux Mint virtual machine.
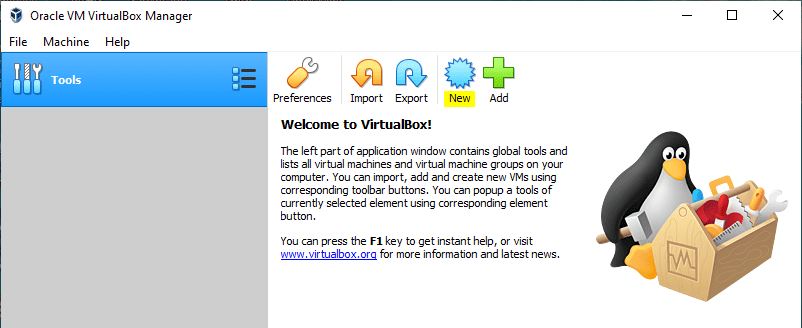
Creating a new virtual machine on VirtualBox
New Virtual Machine wizard should launch that lets you enter the following information:
- Name: Any name you would like for your virtual machine, for now, we are going with Linux Mint.
- Location: Any Location you want to save your virtual machine on Host.
- Type: Linux
- Version: Linux Mint is Ubuntu-based, so that we will choose Ubuntu (64 bit).
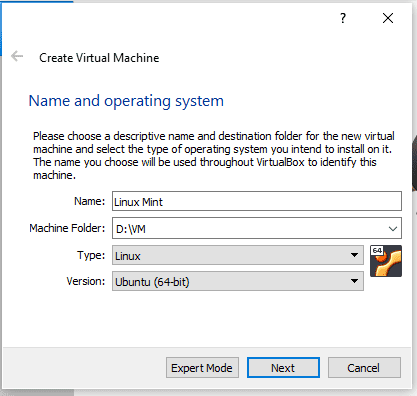
New Virtual Machine setup Wizard step 1
After setting up all fields, click on the ‘Next’ button.
It will let your configure memory allocation (RAM usage) for your virtual machine. This step is crucial because you are going to share your PC’s RAM with your virtual machine, so it should be reasonable enough so that your virtual machine and Host runs smoothly.
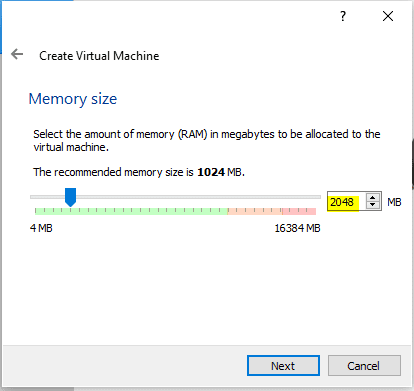
New Virtual Machine setup Memory
We have allocated 2 GB of RAM for our virtual machine. When done, click on the ‘Next’ button.
The next step will let you set up a hard disk file for the virtual machine. Don’t be confused with the physical hard disk; it is a virtual hard drive that will be created for your virtual machine on your Host. It had three options.
- Do not add a virtual disk (if you want to add it later you can choose to skip this step)
- Create a virtual hard disk now (This is what we are selecting in our case)
- Use an existing virtual hard drive (if you already have a virtual hard drive you can choose it from your PC location)
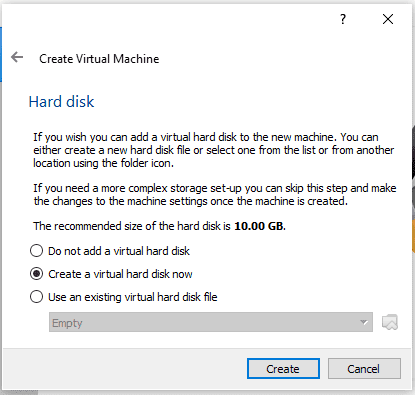
New Virtual Machine setup hard disk
I have selected the second option of creating a new virtual hard disk. Click on the ‘Create’ button. Choose hard disk type from available types (VDI, VHD, VMDK). We will go with the default option VDI (Virtual Disk Image).
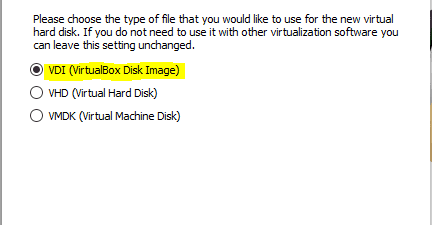
Setting Virtual Machine harddisk type
Next, we will choose storage allocation “Dynamically Allocated”.
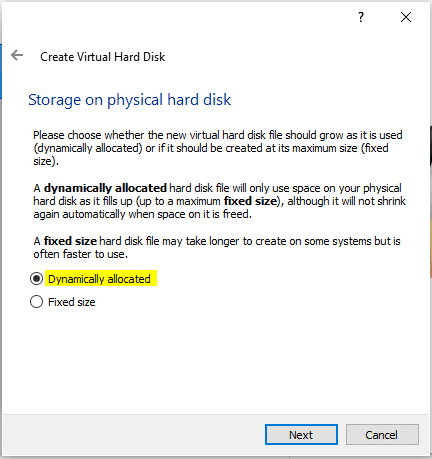
Configuring Virtual Machine hard disk storage allocation
We will set up the virtual hard disk size (12 GB minimum Recommended) and its file location on PC. You can keep the default location or change the location if you want to use a different hard disk partition that you have.
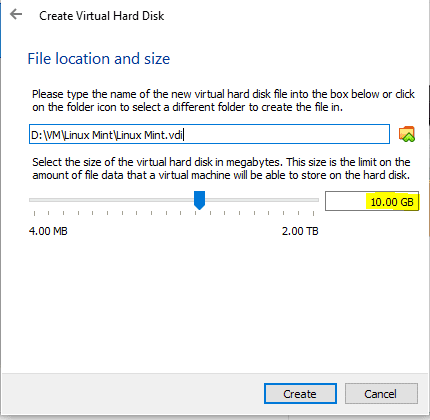
Setting Virtual Machine hard disk size and location
You should see the virtual machine created; it shows up in VirtualBox’s main window.
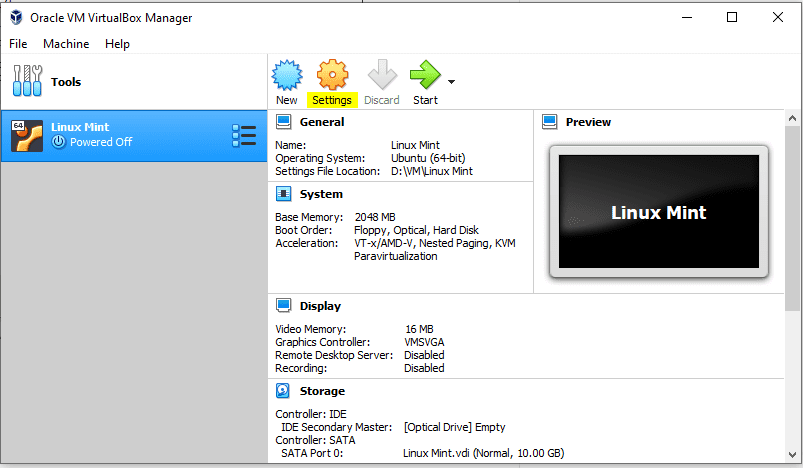
Virtual Machine Created
Once a Virtual machine is created, click on the “Settings” button on the menu, and it will open a setting window now we will set up some settings one by one.
Change display settings as required. For the best results, we recommend setting video memory to 128 MB and check “Enable 3D acceleration”, which improves graphics performance of the Linux Mint you are going to install.
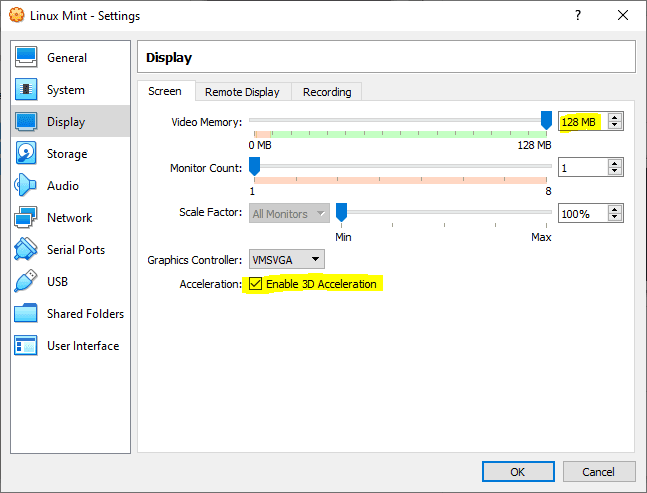
Virtual Machine Display Settings
Click on “System” → “Processor” and choose how many CPU cores you want to allocate to the virtual machine. By default, it has one core, but if you want more power, you can increase it to half of the total cores available.
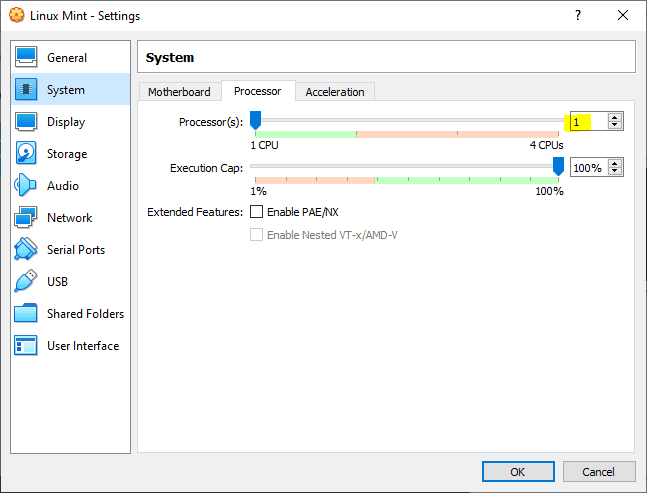
Virtual Machine Processor Settings
Click on the “Storage” tab, click on the [Optical Drive] Empty as shown in the image below. You will be asked to provide a Linux Mint ISO file location. Select the downloaded ISO file.
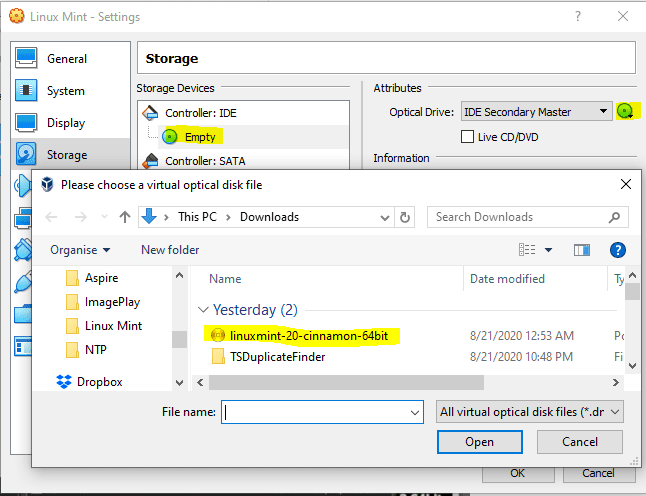
Virtual Machine load Linux Mint ISO file
Select your ISO file and click on the “start” button. Now the ISO will start running as if you are booting from a Live USB.
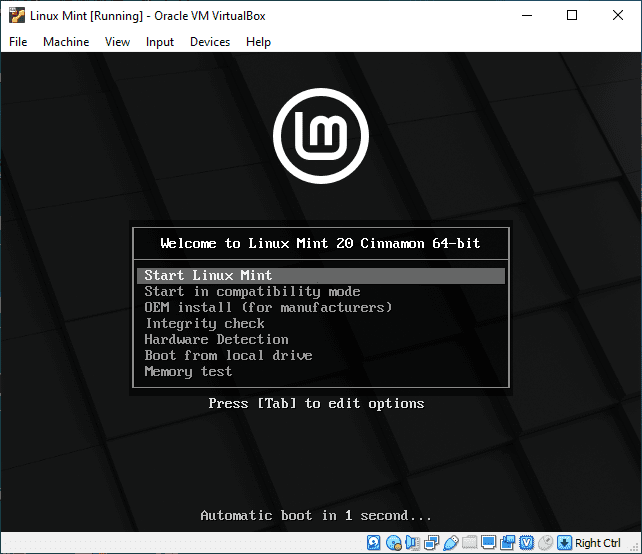
Linux Mint Boot Menu
Go with the default option “Start Linux Mint” and hit Enter, and you will see the following window with ‘Install Linux Mint’ Icon on the desktop. Double-click on it to start the installation wizard.

Linux Mint Start Installation
In the welcome step, you have to select your preferred language, and we will go with English.
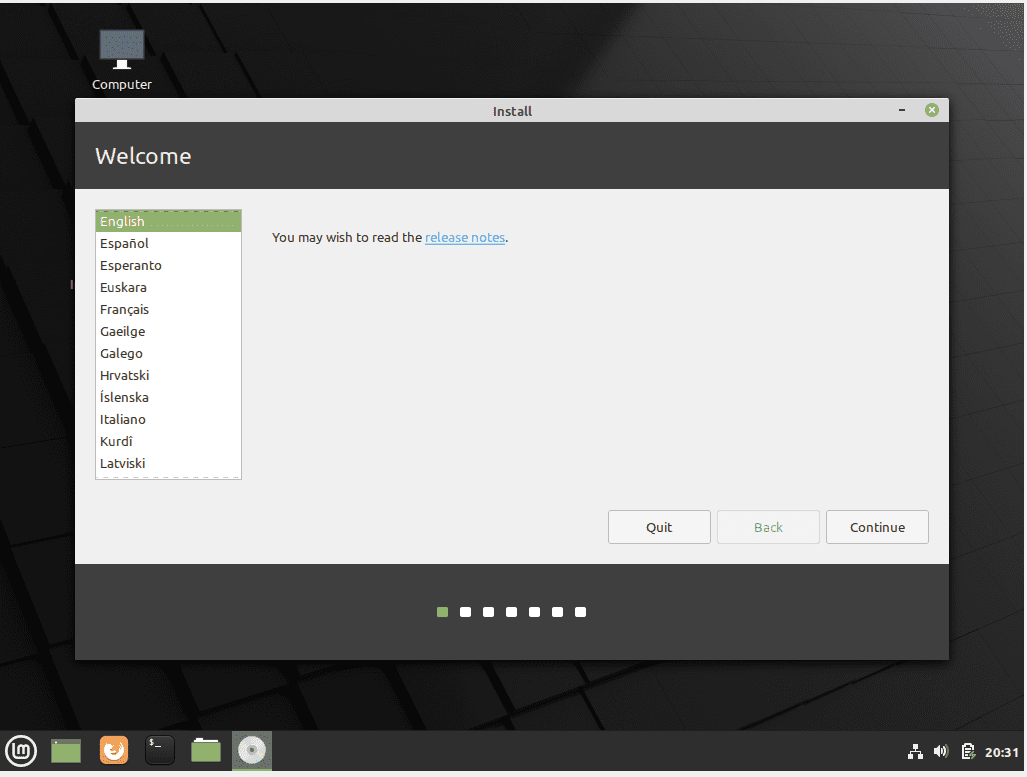
Linux Mint Installation Choose Language
The next step is the Keyboard Layout choice. We will go with default English US.

Linux Mint Installation Choose Keyboard layout
We recommend checking the box to download and install any third-party software during the installation.
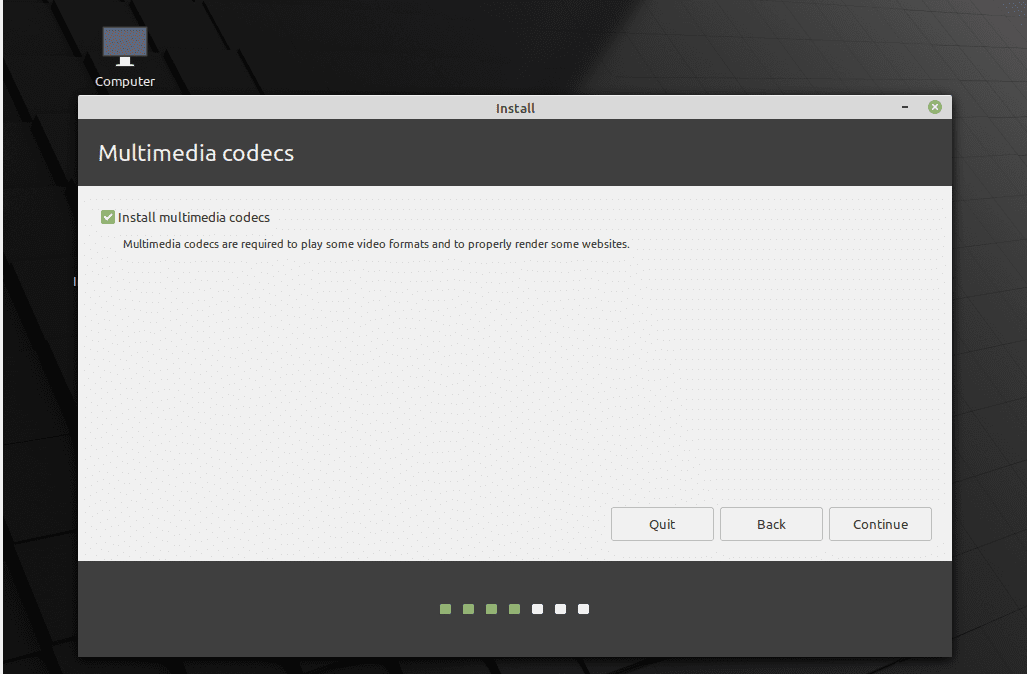
Linux Mint Installation Multimedia codecs
You have to erase the disk and install Linux Mint. Please don’t panic; it will delete the virtual hard disk you have previously created for virtual machine, not your Host’s hard drive. It’s completely safe!

Linux Mint Installation Erase Disk
Next, select your time zone and click continue.

Linux Mint Installation Set Time Zone
You need to set your user account, your hostname (computer’s name), and to enter a password. Once done, click continue to finish the installation.
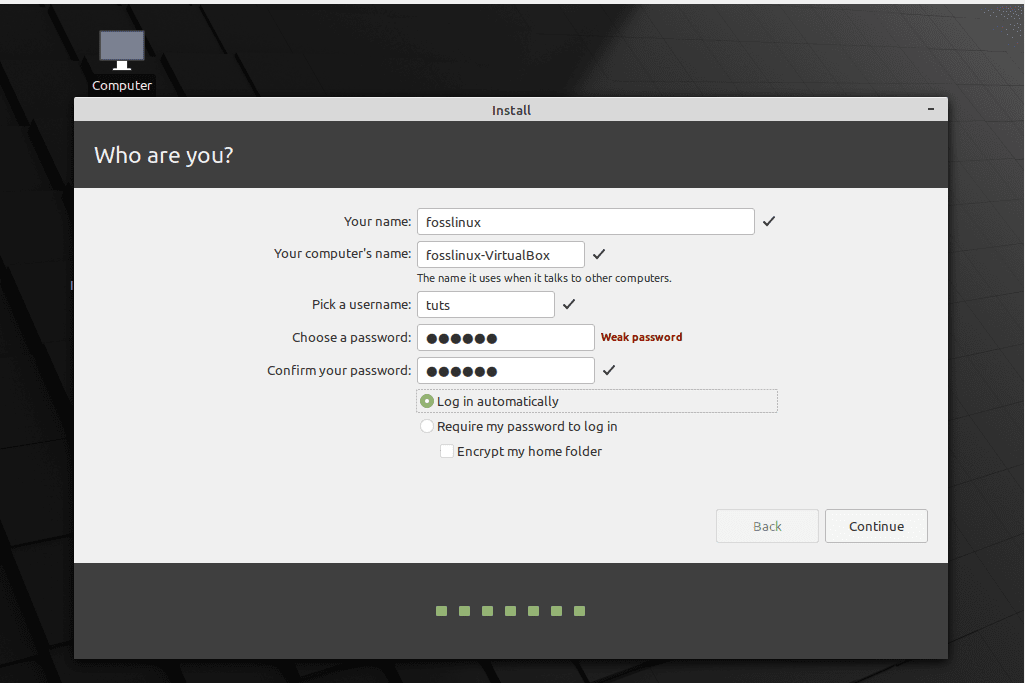
Linux Mint Installation setup account
Please wait a few minutes to let the installation complete.
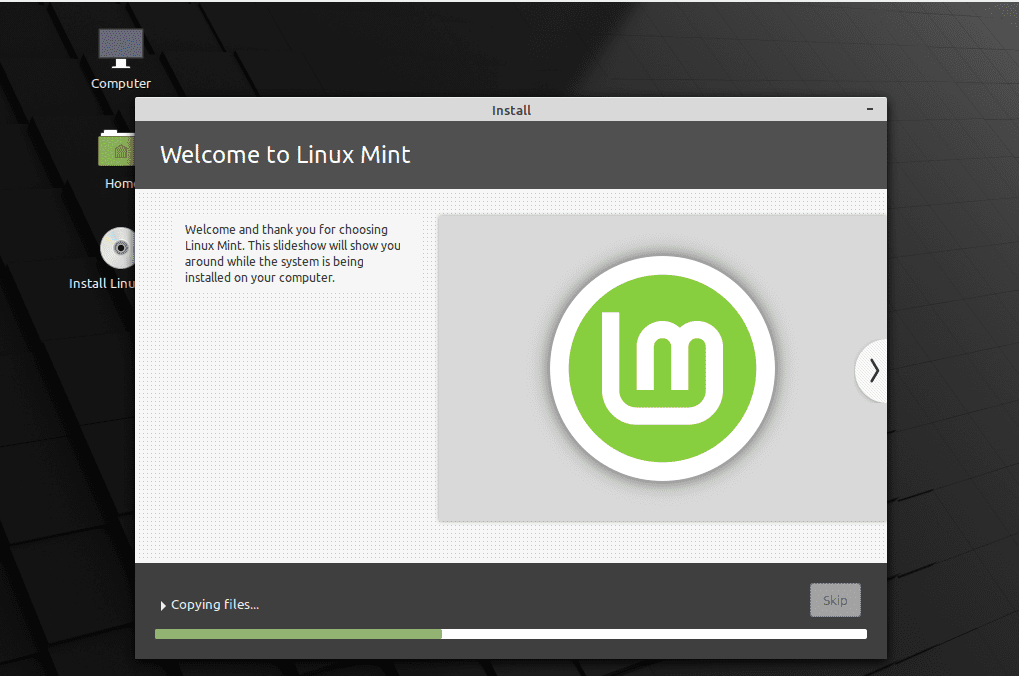
Linux Mint Installation processing
When done, click on “Restart now.”
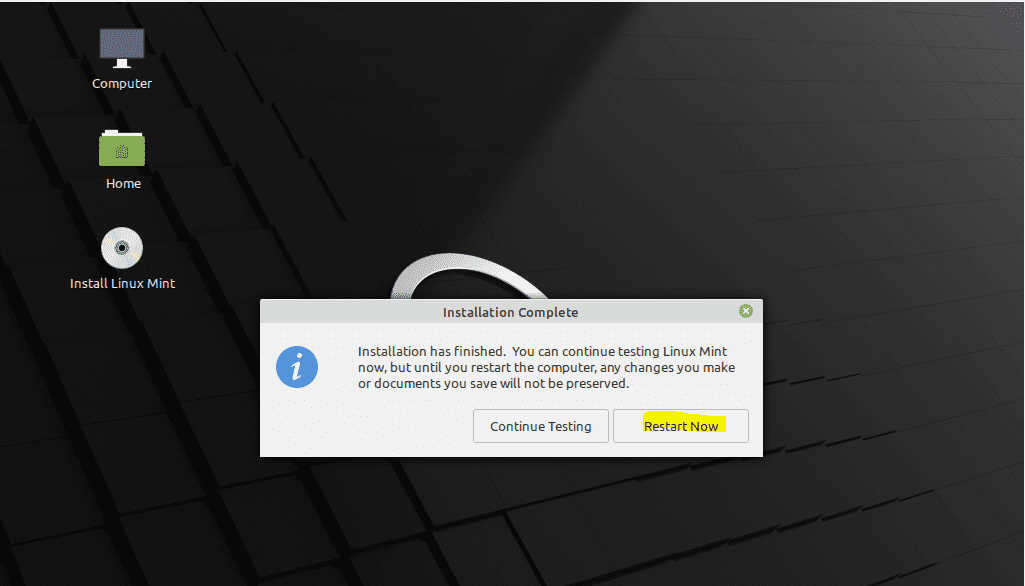
Linux Mint Installation completed successfully
On the restart, you should see a screen as shown.

remove installation media
At this time, since we don’t have a physical media installation media, you still have the Linux Mint installer running in the virtual optical drive. Go to “Devices” > “Optical Drives,” and uncheck “Linux Mint ISO file as shown. Failing to do this step will make the virtual machine to boot into the Linux Mint installer again! Then power off the virtual machine.
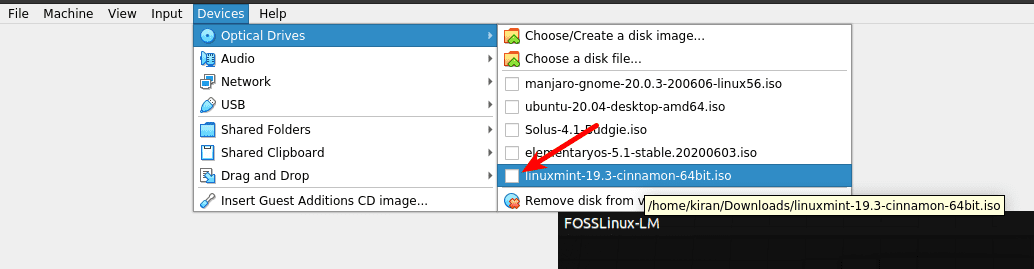
Uncheck the Linux Mint Optical Drive

power off to forced restart
Select the Linux Mint virtual machine and then click on the start button. Double-clicking should also work.
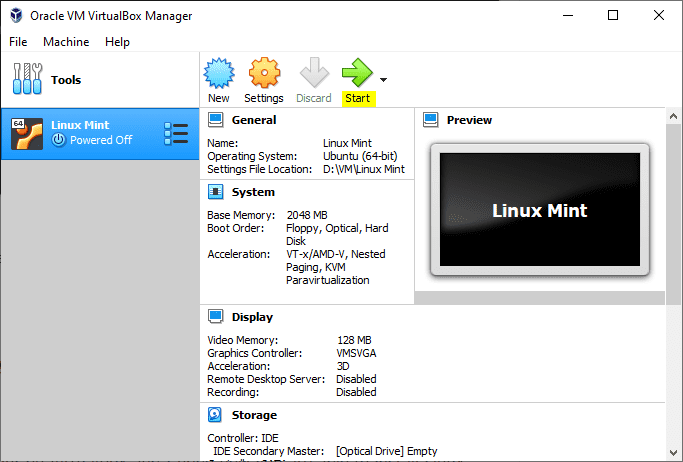
Run Linux Mint VM
Here we go, our Linux Mint is running successfully!
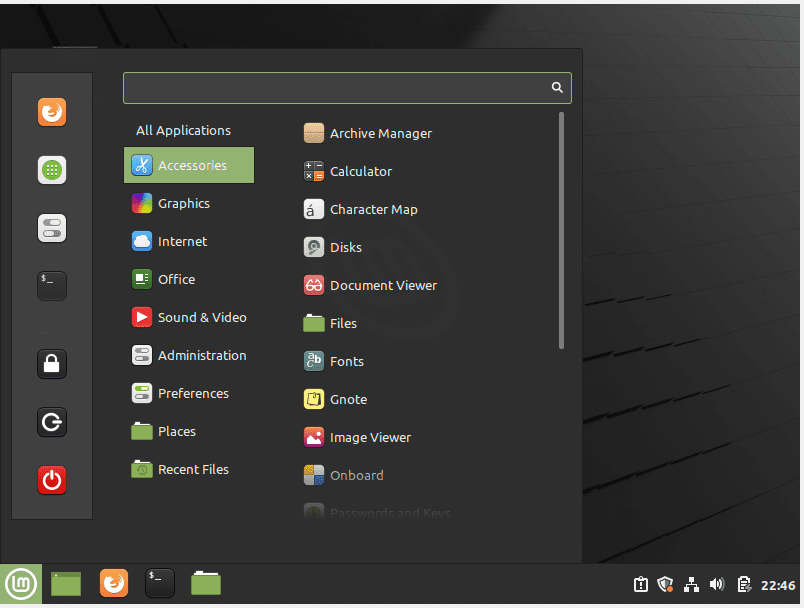
Linux Mint Desktop
Installing VirtualBox Guest additions on Linux Mint
Although your Linux Mint virtual machine is running perfectly fine now, we can further enhance its performance by installing the Guest Additions that provide additional features to the guest operating system. Guest Additions adds several features like clipboard and folder sharing, enhanced video support, and better mouse pointer control that lets you use the mouse without focusing guest operating system window first to grab pointer.
To install the VirtualBox Guest additions, go to Devices → Install Guest Additions.
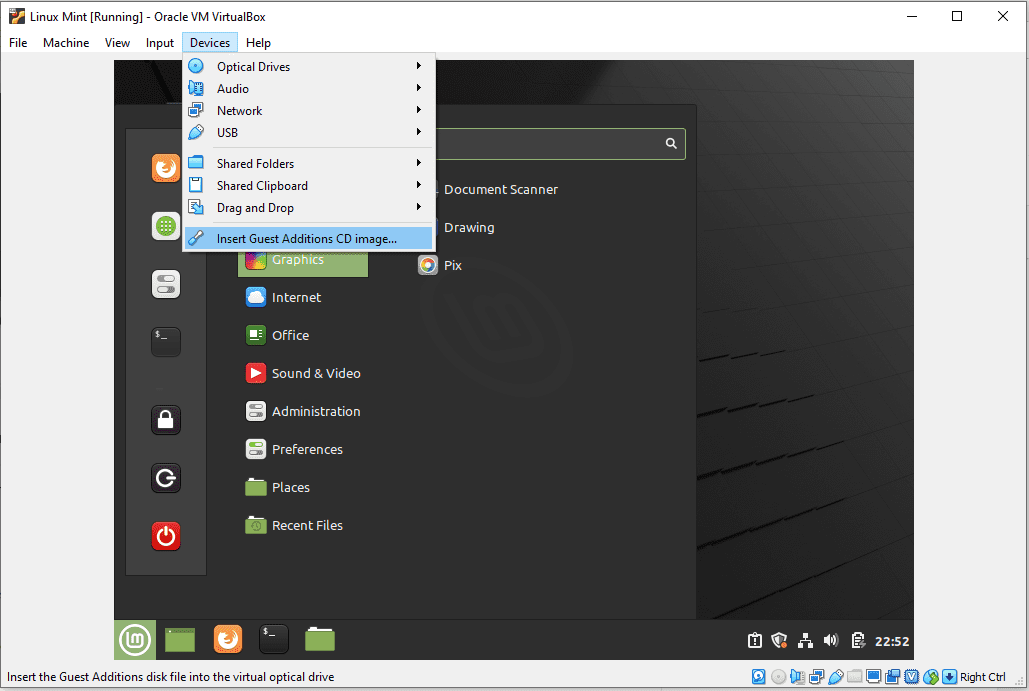
Linux Mint advance features installation.
You should see the installation prompt. Click on the ‘Run’ button.
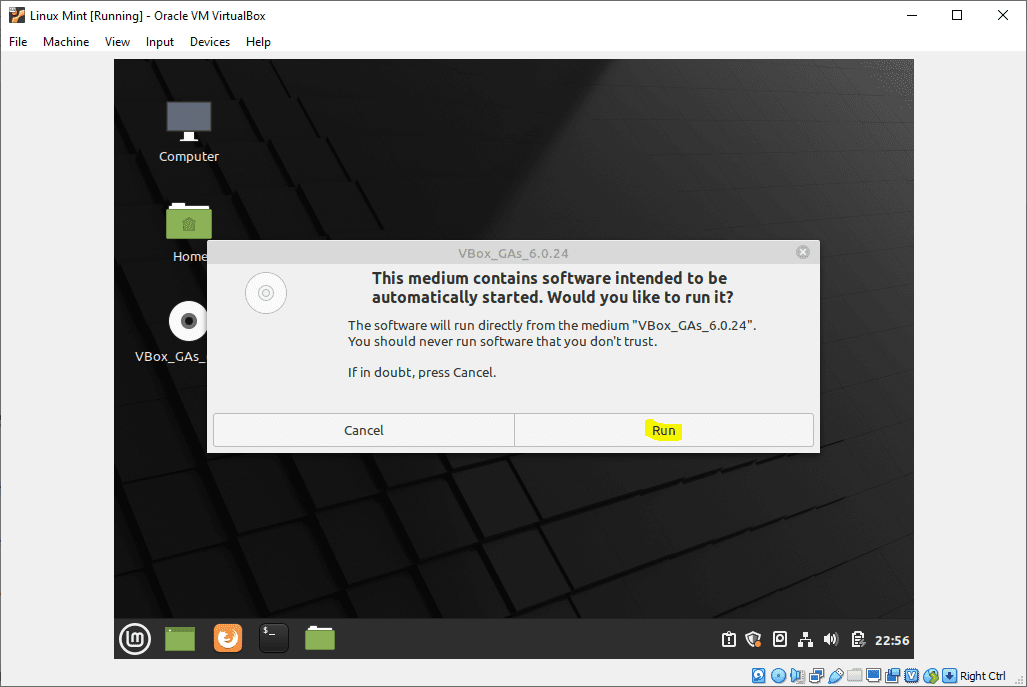
Linux Mint advance features installation setup prompt
It will prompt for your user’s password that we have set up above during Linux Mint installation.
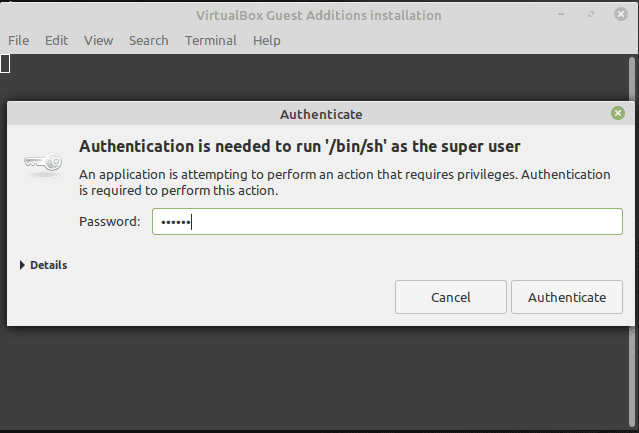
Linux Mint advance features installation password prompt
The installation will run its setup in a console, so wait for it to be completed.
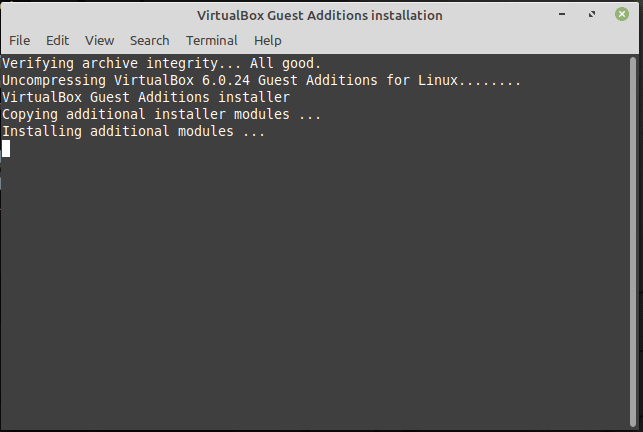
Linux Mint advance features installing console.
Once the installation is completed, restart the virtual machine for the guest addition features to be enabled.
Conclusion
That’s all about installing Linux Mint on your virtual machine via VirtualBox. We also showed you how to install VirtualBox Guest additions that improve the Linux Mint performance and user interaction within the VirtualBox.
2 comments
Thank you for the step by step , up and running now.
Linux Mint is good. My host was Pop!_OS 22.04. It worked the same just a little bit of different steps for install the Virtual Machine Software.