
One of the most amazing features of Linux systems (including Ubuntu) that sets it apart from other operating systems like Windows or MacOS is the ability to run the operating system without installing it on your PC or laptop. If you are an Ubuntu user, you can easily run the OS from a live USB drive or CD. This technique does not alter your computer configurations or even cause problems with the OS already installed on your PC.
Some other notable advantages of using Ubuntu live USB or CD include:
- Browse the internet without the worry of storing cookies and history.
- Access/ Edit files residing on the computer’s internal storage or external storage like a USB drive.
- Use apps like Libre Office to create documents and save them on external storage drives.
- Fix configuration issues with your OS
Requirements
Below are some of the things you need to have ready to get started with using Ubuntu Live USB or CD.
- Download the Ubuntu ISO image from their official website. You can decide to use the Long Term Support (LTS) release which is more stable or the Interim release. You can read more about Ubuntu releases in our post – Ubuntu LTS Releases: Everything you need to know.
- Using the ISO file you just downloaded, create a bootable USB drive or CD. You can do this on Windows, Mac or any Linux distributions. Check out our post and learn How to create a Live Linux USB drive using Etcher. Balena Etcher is a great utility for creating bootable USB drives and it’s available for various platforms including Windows, Linux, and MacOS.
Change the boot order
To this point, we believe you have the live USB or CD ready. Now power off your PC and insert the USB drive or DVD. From this point, things can get a little bit technical.
Before powering on your PC, you need to know which key is used to change the normal boot order. What does that mean? Normally, when you start your PC, BIOS will immediately start looking for the OS in the various storage mediums available. Most of the time it is configured to start with the internal hard drive or SSD. In our case, we don’t want that. because that means the PC will boot the normally installed OS instead of our Live Ubuntu.
There are various keys you can use to change the normal boot order and that will give you an option to select which storage medium you want to use to boot your PC from. However, that depends on the brand.
Below are some boot keys for various PC brands.
- Dell: F12
- HP: F9
- Acer: Esc or, F9 or, F12
- ASUS: Esc or, F8
- COMPAQ: Esc or, F9
- Lenovo: F8 or, F12 or,F10 or, Fn + F11
- Toshiba: F12
Boot PC using the Live USB drive or CD
In our case, we are using an HP laptop. Therefore, we will insert the Ubuntu live USB drive, power ON the PC and press the F9 key several times until we see the boot order menu as shown below.
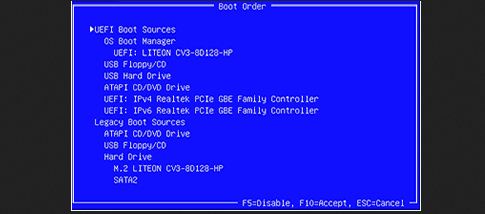
HP Boot order
From the image above you can see our PC is currently using UEFI mode. We will use the arrow keys to select the USB Hard Drive option and hit Enter. That will boot the Ubuntu OS that we wrote on our flash drive. After a few seconds, you will see the “Install Ubuntu” screen.
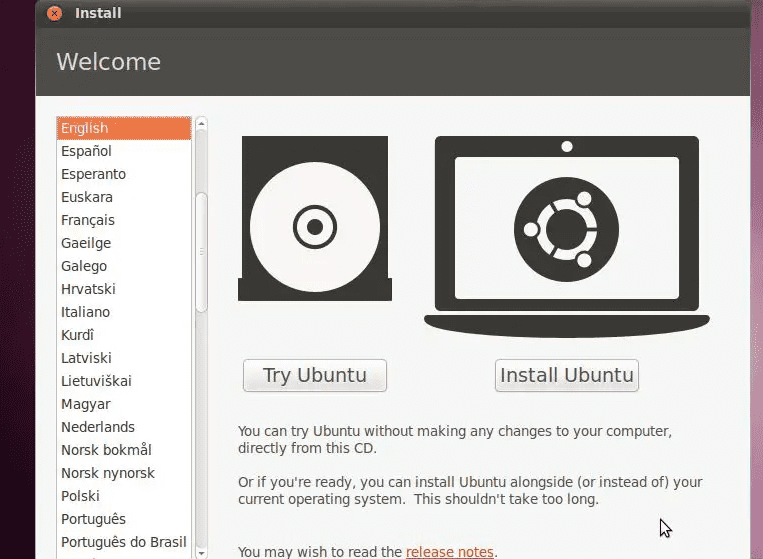
Try Ubuntu
Try Ubuntu
The first thing you need to do is select your preferred “Language” on the left-hand side panel. In our case, we will leave it as default “English.” Next, you will click the “Try Ubuntu” option. This option will start Ubuntu on your PC but it will not install or copy any files to your internal storage. In short, you are running the OS from the USB hard drive.
Ubuntu will launch and you will see the Ubuntu desktop after a few minutes as shown below.
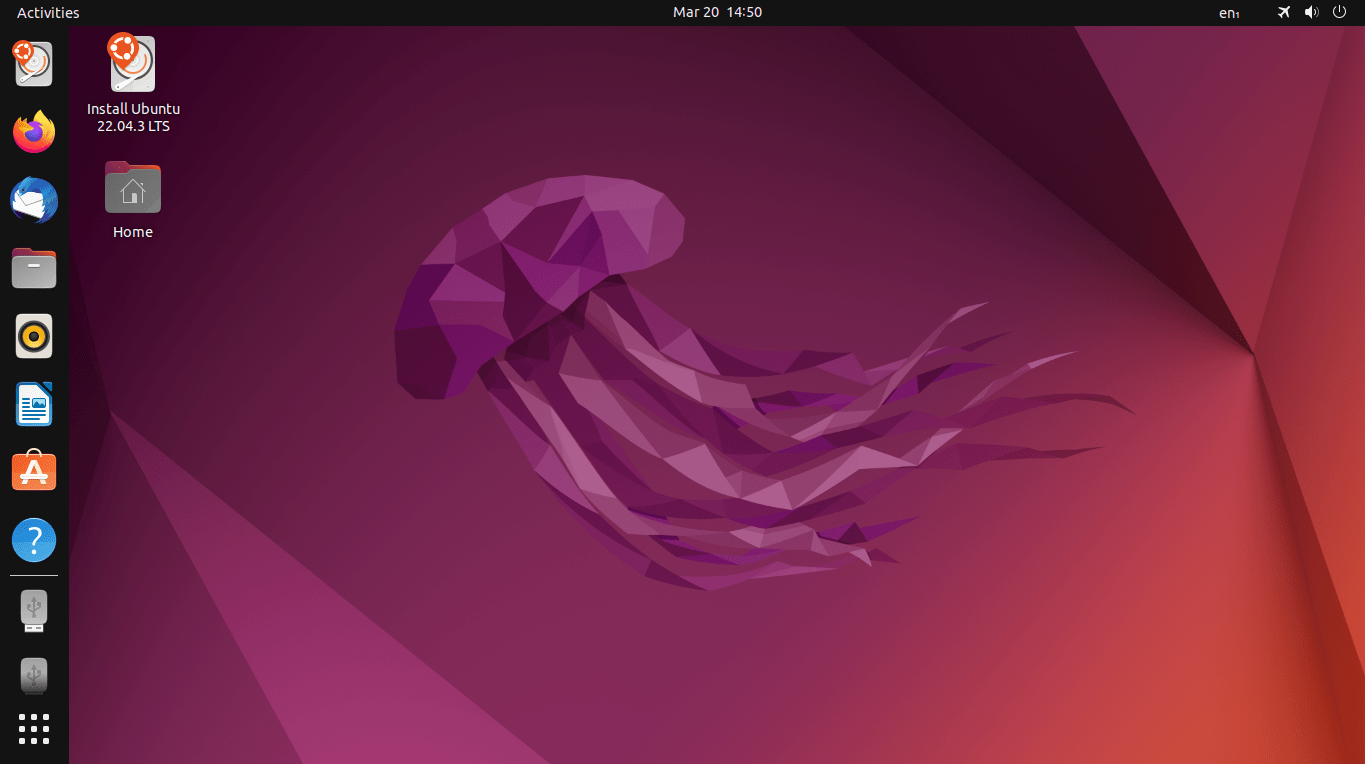
Ubuntu live desktop
You will notice that everything is currently at its default settings. From the background image to the size of icons on the left-hand side menu. And because you are running Live Ubuntu, you will also see the “Install Ubuntu” option on your screen as shown below.
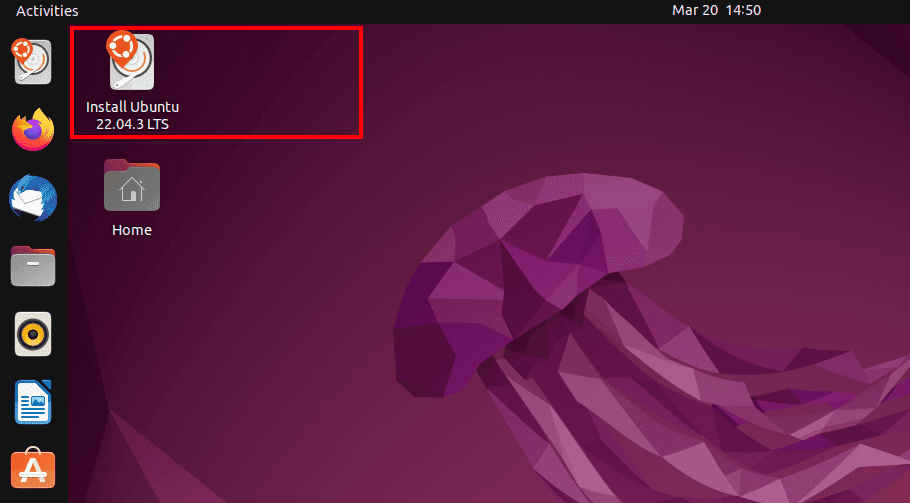
Ubuntu live desktop – Install
Therefore, if you are interested in installing Ubuntu after trying it for a while, just double-click on that icon.
Using Ubuntu live
Even though you are running Ubuntu from your USB hard drive, you can still use it just like the normal OS installed on your internal storage. The only major difference is that many of the operations you will do will not be saved.
For instance, Live Ubuntu provides the flexibility to browse the internet, stream videos on your preferred platform, or check emails. It’s important to note that the browsing history and cookies are not retained upon powering off the PC, ensuring enhanced privacy for users.
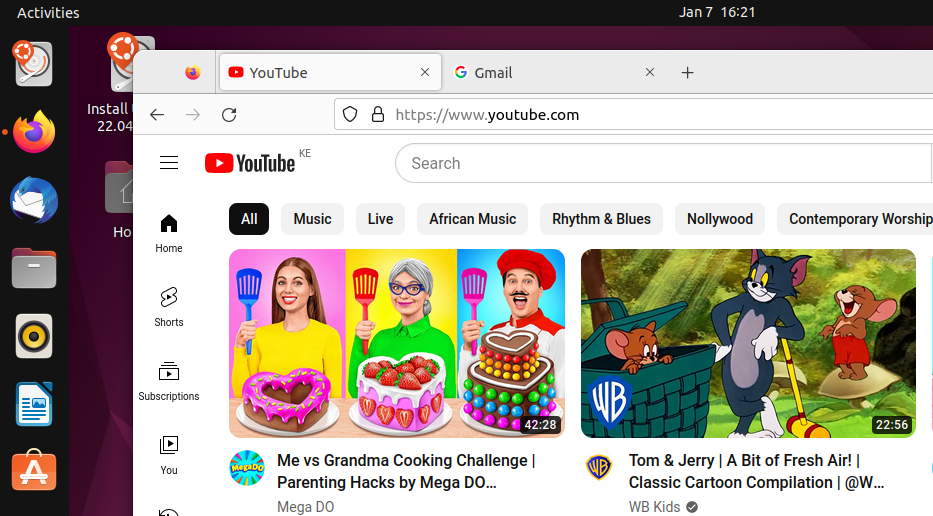
Stream on Live Ubunu
Now what of the cases where you want to download files, take screenshots or save documents? In such a scenario, you will need to use another external storage medium. If you download something on Ubuntu Live, it will be saved in the downloads directory, however, when you power off or restart your PC, these files will be lost. Therefore, once you have downloaded a file you need to transfer it to an external storage medium.
Working with partitions on Ubuntu live
Now even though most changes will not be saved on Ubuntu Live, you need to be very careful when you are working with partitions as any changes or configurations you do will be permanent. Let’s have a look at the image below which shows the partitions present on our PC.
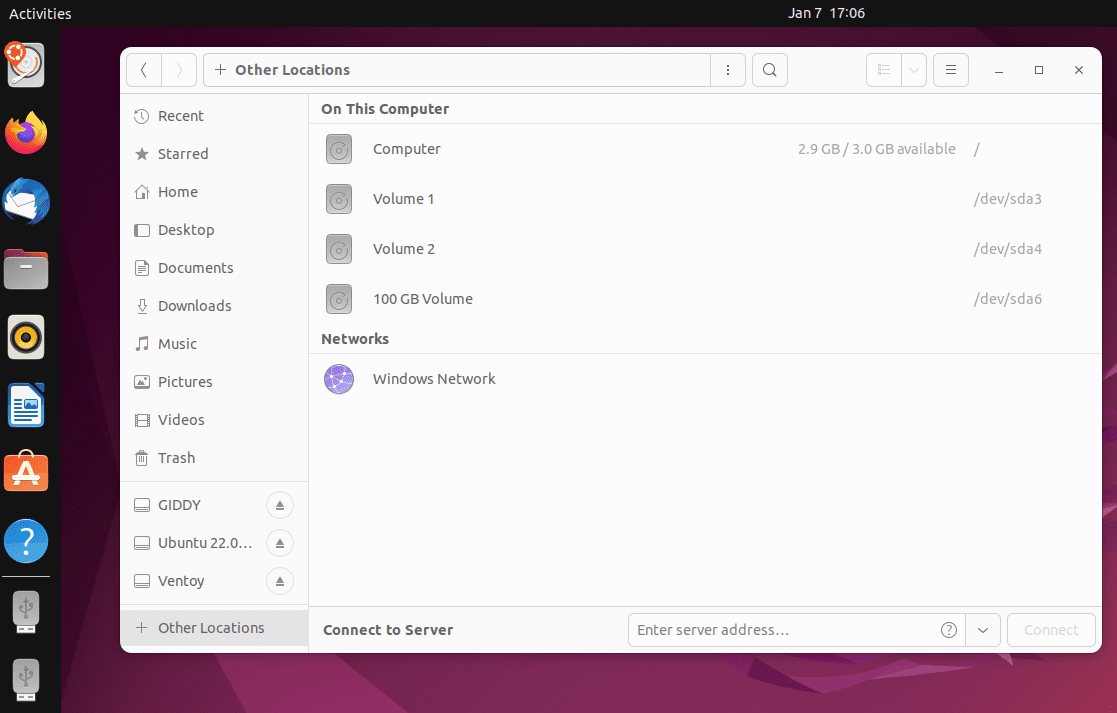
Partitions
Currently, there are four partitions or volumes visible: ‘Computer,’ ‘Volume 1,’ ‘Volume 2,’ and a 100 GB volume. The active volume running Ubuntu is ‘Computer,’ located on our USB drive. The other partitions or volumes store user data and, if applicable, an installed operating system.
Now any changes that you make on these partitions will be permanent. That includes creating/deleting files and directories, formatting, changing permissions etc. Therefore, you need to be very careful when working with partitions on Ubuntu Live.
Conclusion
This post provides a detailed guide on running Ubuntu from a live USB drive, a very useful technique for testing Ubuntu for the first time, addressing issues with your current OS, or accessing files on a corrupt operating system. Please share your experiences with Ubuntu live in the comments, and let us know about your firsthand encounters with this approach.