
Linux has become a reliable utility for creating operating systems for embedded systems. However, the learning curve for embedded development utilities can be quite challenging. Many people who use these complex tools have spent a lot of time understanding and mastering them, and Yocto is no different. With it, you can develop a custom minimal Linux distribution for your embedded system project.
This post will give you a step by step guide on getting started with Yocto to create a minimal Linux distribution.
The Yocto Project
Yocto is an opensource collaborative project aimed at creating tools, templates, and processes needed to develop custom Linux-based systems for embedded systems despite the underlying hardware architecture. Yocto was Launched in March 2011 as a collaboration of 22 organizations, including OpenEmbedded, which acts as its build system.
The output of the Yocto Project build consists of three main components:
- Target runtime binaries: This contains all auxiliary files needed to deploy Linux on the target system. Other files include the bootloader, kernel, kernel modules, root filesystem image.
- Package feed: This refers to the software packages needed for your system. You can also select the package manager you need for your system – deb, dnf, ipk, etc. You can include such packages in the Target runtime binaries or add them later to the already deployed system.
- Target SDK: These are the libraries and header files that show the system installed on the target. They are mainly utilized by app developers to ensure they link the right libraries as per the system.
Why don’t we use an existing Distro?
Initially, embedded systems used off the shelf distributions and tried to customize them to fit their needs. That included removing unnecessary packages for storage optimization and enhance security. Having dead software can make a system vulnerable to various attack vectors. Even with these advantages, using existing distro posed several challenges.
One is that the entire process of stripping down packages wasn’t easy. Removing some packages could break dependencies held by various other packages that might be useful for you. Additionally, some packages were integrated with the boot and runtime process, making their removal tedious.
Therefore, existing distro often led to unnecessary delays or having a system that didn’t meet all the standards required.
Let us get started.
Creating your own Linux distro using Yocto
Step 1: Hardware and OS requirements
- Minimum of 4gb RAM (The higher, the better)
- Latest Ubuntu OS (20.04 LTS) Or any other Linux Operating System:
- Fedora
- openSUSE
- CentOS
- Debian
- Minimum of 100 GB hard disk space free( A larger size will guarantee better performance). Yocto can be quite resource-intensive, depending on your target end product.
If you are a macOS or Windows user, use virtualization software like VMware or Virtualbox to run a Linux distribution. Alternatively, you can opt for a multiboot.
Step 2: Set up the host
Let first install the required dependencies in our host system. For this post, I am using Ubuntu distribution. If you are running another distro, please go through the Yocto Project Quick Start guide and see what dependencies to install.
Launch the Terminal and execute the commands below:
sudo apt update
sudo apt-get install wget git-core unzip make gcc g++ build-essential subversion sed autoconf automake texi2html texinfo coreutils diffstat python-pysqlite2 docbook-utils libsdl1.2-dev libxml-parser-perl libgl1-mesa-dev libglu1-mesa-dev xsltproc desktop-file-utils chrpath groff libtool xterm gawk fop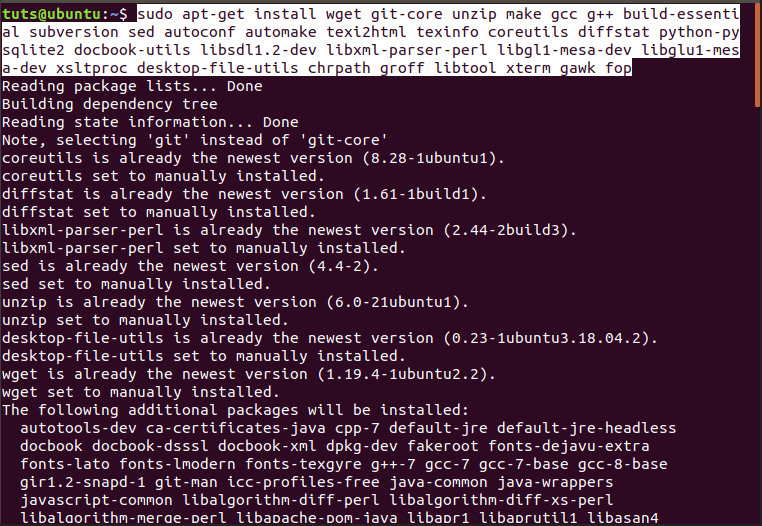
Step 3: Clone the Yocto Poky
With the dependencies installed, we can proceed to download Yocto. We will clone the Yocto repository from the Yocto Project website. Execute the command below, which will download the latest release (the “sumo” branch). We will create a directory in the Home folder to build our Yocto project for ease of access and consistency.
mkdir ~/yocto
mkdir ~/yocto/Project-One/
cd ~/Yocto/Project-One/
git clone -b sumo git://git.yoctoproject.org/poky.git
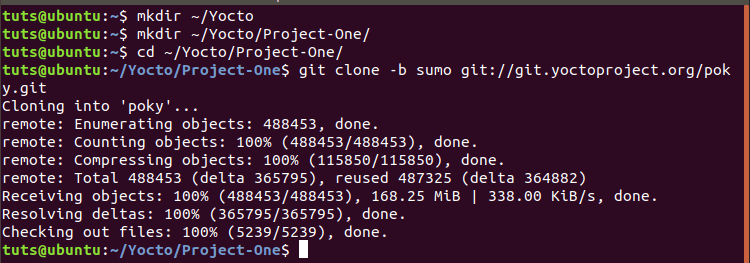
Clone Yocto
If you get an error like “git command not found,” that means you don’t have git installed in your system. Execute the command below to install it.
sudo apt install git
Step 4: Initialize the built environment.
To get started with Yocto, we need to initialize the ‘build environment.’ Execute the commands below. The first one will change the directory to the folder we just cloned. The second command will initialize the ‘build environment.’
cd ~/Yocto/Project-One/poky
source oe-init-build-env build
One the initialization is complete, we will have a build directory and a configuration file. The build directory is where all the system building occurs and hosts the images files after the process is complete. Actually, after initialization, the Terminal will automatically point to the build folder. You can see that in the image above.
Step 5: Configuring
When you execute an ls command in the /build directory, you will see a /conf folder which contains all our configurations file. Navigate into this folder with the command below:
$ cd ~/Yocto/Project-One/poky/build/conf/
$ ls

configuration files
By executing the ls command on the conf folder, you should see the local.conf file. This file specifies the details of the target machine and the SDK for the desired target architecture.
Open this file for editing with the command below:
$ sudo nano local.conf
From the image below, the target build machine is “qemux86-64.”
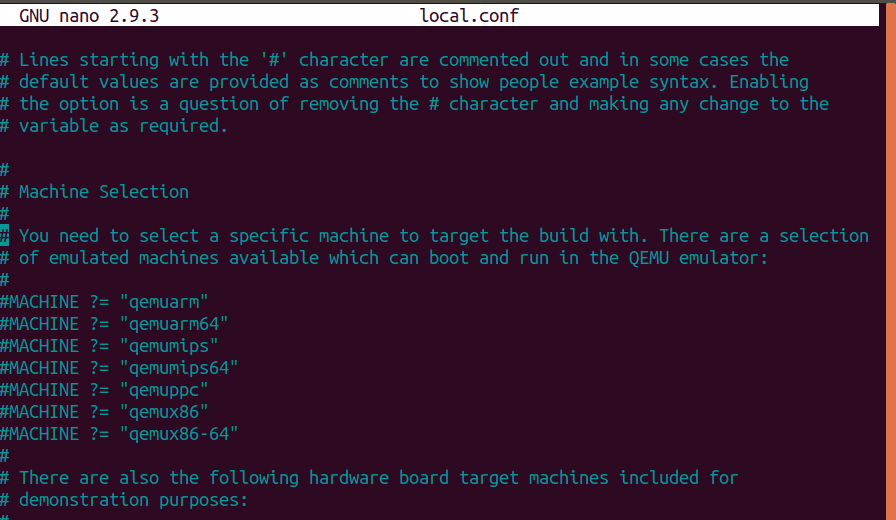
Target machine
Now, proceed to uncomment the following lines, as shown in the image below. (By uncommenting, we mean -remove the ‘#’ sign)
DL_DIR ?= "${TOPDIR}/downloads"
SSTATE_DIR ?= "${TOPDIR}/sstate-cache"
TMPDIR ?= "${TOPDIR}/tmp"
PACKAGE_CLASSES ?= "package_rpm"
SDKMACHINE ?= "i686"
EXTRA_IMAGE_FEATURES ?= "debug-tweaks"
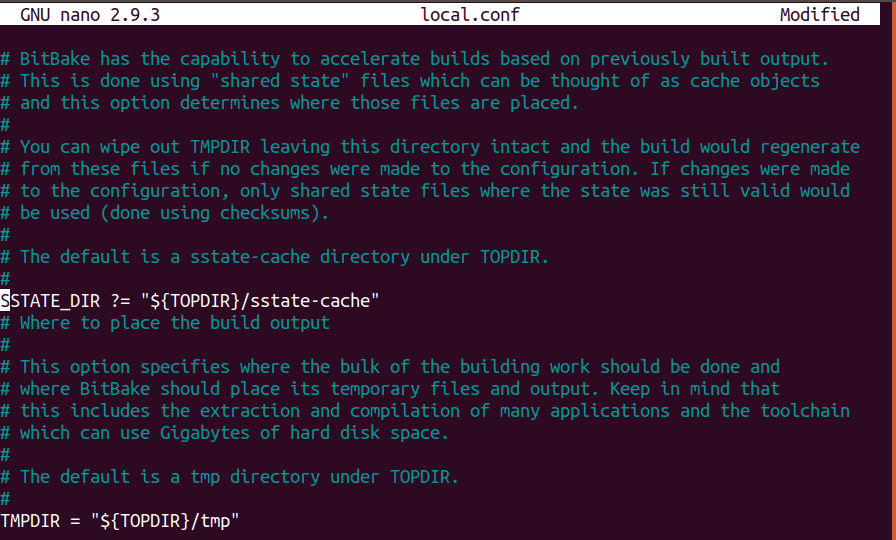
uncomment parameters
Before we continue the compilation process, add the following lines at the end of the ‘local.conf’ file.
BB_NUMBER_THREADS = "X"
PARALLEL_MAKE = "-j X"
Replace ‘X’ with the double the number of processors/CPU in your computer. Therefore, if you have four processors, then you would have statements like these: BB_NUMBER_THREADS = “8” PARALLEL_MAKE = “-j 8”

Add configurations
To view the number of CPUs in your computer, execute the command below:
lscpu
Step 5: Compilation and Building Process
To start building the image, execute the command below in your /build directory.
bitbake core-image-sato
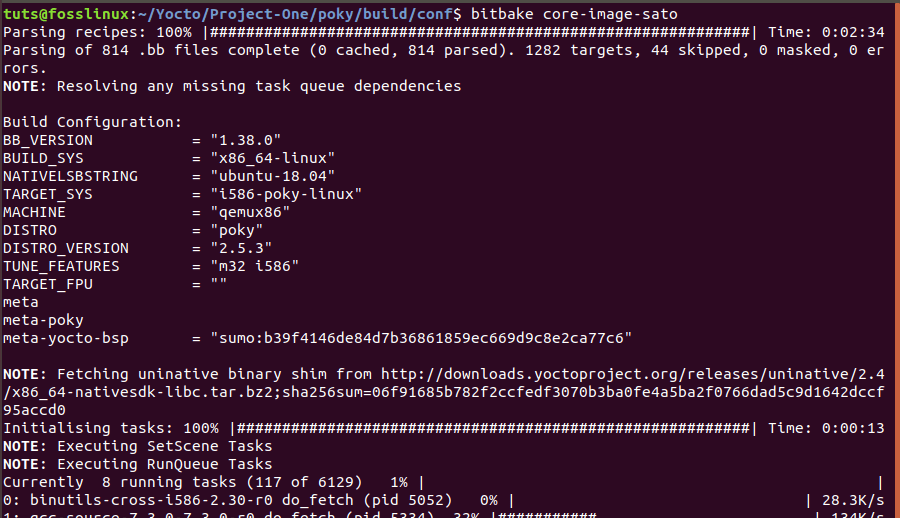
Build a custom Linux distribution
That will start downloading and compiling packages for the target system. Please, don’t execute the above bitbake command with root privileges as it will raise an error. For a first time build, the process can take up to several hours (even more than 2). At times bitbake might run into an error. Don’t panic; execute the command above again. The error may be due to a particular website going down or a missing resource.
The resulting binary images are stored in the /build directory at poky/build/tmp/deploy/images/qemux86.
Conclusion
While Yocto can be quite hard to master in a single sitting, it is a great utility to get started with creating a custom Linux distribution for your project. I hope this post has given you a detailed procedure on how to get started with the whole process of building a custom Linux distribution.