
Apache HTTP server is an immensely popular cross-platform web server that’s used worldwide. It is a free, open-source, powerful, and can run on UNIX/Linux as well as MS Windows platforms.
Notable features include the ability to allow the server to serve more concurrent requests due to Multi-Processing Module (MPM) and integrated proxy module support for the FastCGI protocol, asynchronous read and write handling, and significant integration with different application/software, various modules, etc. It also supports embedded Lua scripting. It’s not just a web server. It also works as a reverse proxy for other web servers.
Installing Apache Web Server on Ubuntu 18.10
Official Ubuntu software repositories come with Apache and its dependencies. Hence, it’s simpler to update the system’s package index and then use the APT package manager to install the Apache package and its dependencies.
Step 1) Launch Terminal and enter the following command to update the system.
sudo apt-get update
Step 2) Check available Apache version on Ubuntu repository
sudo apt-cache policy apache2

Check available Apache Version
Step 3) Install apache2
sudo apt-get install apache2
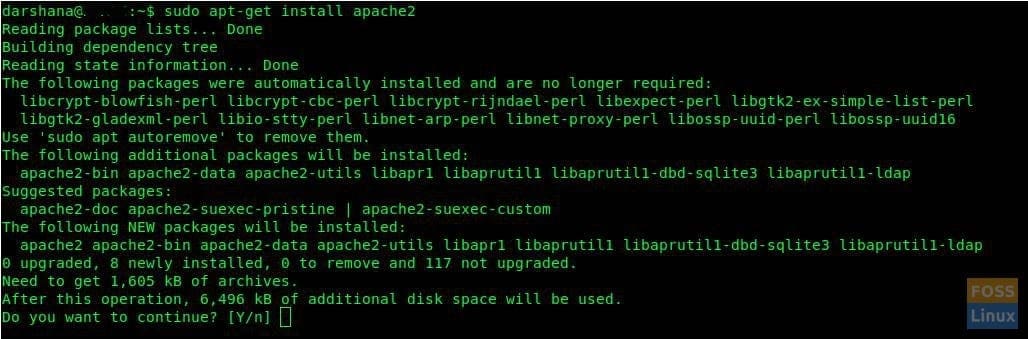
Install Apache
Step 4) It will ask, “do you want to continue.” Type Y.
Step 5) Normally, the Apache service should be started automatically. We can check the apache status.
sudo systemctl status apache2.service
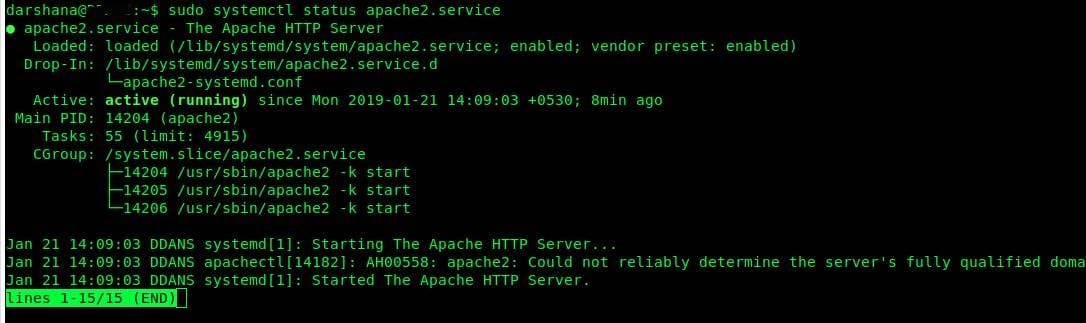
Apache-Status-Check
Starting and managing Apache Services
Apache services can be managed by using the following commands:
To start Apache2 service
sudo systemctl start apache2
To stop Apache2 Service
sudo systemctl stop apache2
To Restart Apache2 Service
sudo systemctl restart apache2
To Reload Apache2 service after configuration changes
sudo systemctl reload apache2
Enable Apache2 service to start at boot
sudo systemctl enable apache2
Disable Apache2 on boot
sudo systemctl disable apache2
Checking UFW Firewall
If you have the UFW firewall enabled, you need to open port 80 and 443. This is because the Apache webserver gets client requests via HTTP and HTTPS. Check UFW status by entering the following command:
sudo systemctl status ufw.service

Checking UFW status
Now you can allow ports 80 and 443 as follows:
sudo ufw allow 80/tcp
sudo ufw allow 443/tcp
sudo ufw reload
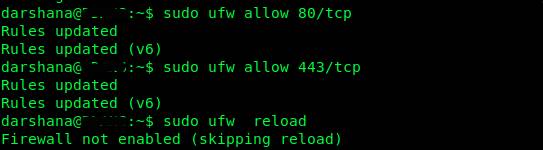
Allowing Ports
By chance, if you see a message “Firewall not enabled (skipping reload)” at the reload UFW command, edit “ufw.conf” file using VIM command as follows:
sudo vim /etc/ufw/ufw.conf

Editing Conf
Change ENABLED=no to ENABLED=yes
save and exit file using: wq
Here is how the final edited file will look like:
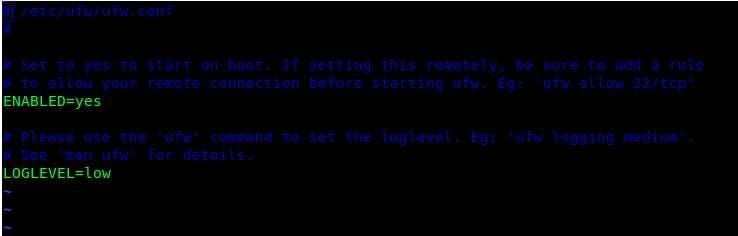
Edited Conf
Now try to reload Firewall again. It should work without issue this time.
sudo ufw reload
UFW Reload
Checking the Apache installation
To check the Apache installation running status, launch the browser using hostname/server IP address:
Hostname
http://localhost/
Using server Ip
http://192.168.10.25 (Your server IP)
This is the Apache default page, and if you can see this, it means your apache server is working well.
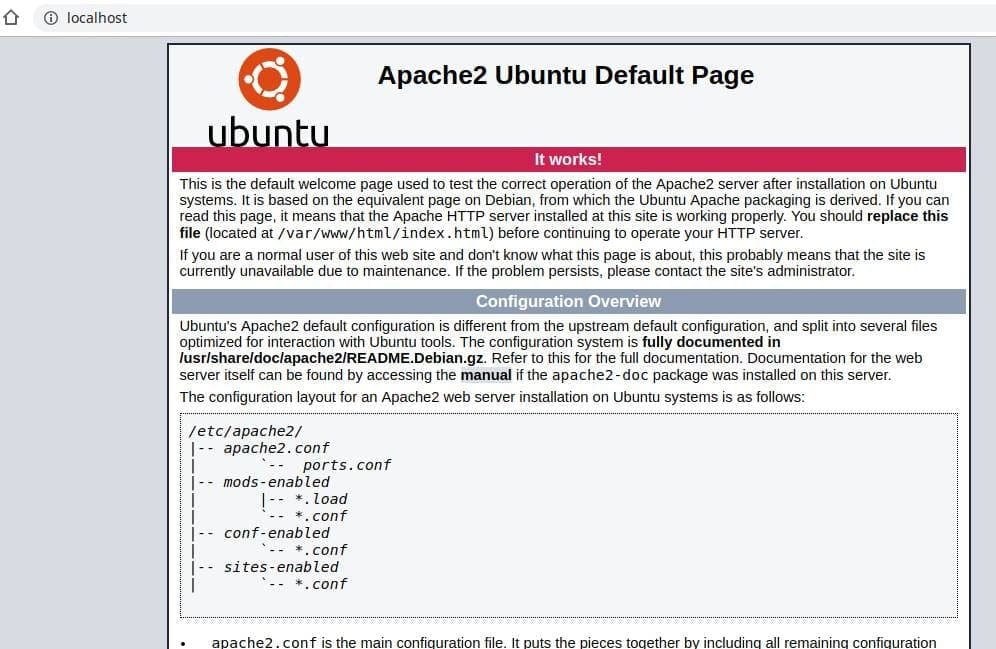
Apache2 default page
Additional Note:- Main directories of Apache can be classified as follows
Web DocumentRoot: /var/www/html/
Main config files directory: /etc/apache2/
Main config file: /etc/apache2/apache2.conf
Additional configuration : /etc/apache2/conf-available/ and /etc/apache2/conf-enabled/
Virtual hosts configuration : /etc/apache2/sites-available/ and /etc/apache2/sites-enabled/
Configuration  for loading modules: /etc/apache2/mods-available/ and /etc/apache2/mods-enabled/
Log files directory: /var/log/apache2/
I hope it worked well for you. Got any questions? Shoot below.
2 comments
But my index.php is showing as clear text on the server!
(even though I’ve installed php)
May be you are missing PHP library for Apache
Try this according to your php Version
1. apt-cache policy libapache2-mod-php*
Then it will say installed or not and show available packages
2 . apt-get install libapache2-mod-php7.2 (with your php version)