
When multiple computers are connected to the same network, connecting each computer with a separate printer is impossible. Also, it is crucial to manage the print requests and send them to the appropriate printer if there are multiple printers. For this purpose, Print Servers are used.
A print server is used to connect printers to the client’s computer. It can be a network device, an application, or a laptop. A print server’s job is to accept the print jobs, send them to appropriate printers, queue the jobs, count the pages, etc. It can manage hundreds of printers and is used in large companies and home offices.
On Unix-like operating systems, the primary mechanism for printing services is CUPS. CUPS stands for Common UNIX Printing System. It is a free, portable printing service widely used in most Linux distributions. It allows a computer to act as a print server that accepts print requests from multiple clients, manages the print jobs, and sends them to appropriate printers on the same network. It supports many printers and can be shared on the same network using different protocols. Let’s discuss how to install and configure the CUPS print server on Ubuntu 22.04.
Install CUPS print server
A CUPS print server can be installed on Ubuntu using the apt package manager. First, Update the system repositories by executing the following command in a terminal window:
sudo apt update
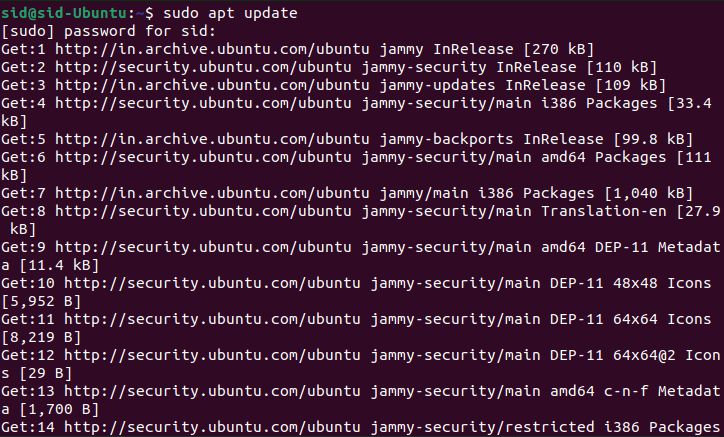
Update system repositories
The CUPS comes pre-installed with Ubuntu. If it is not installed, install the CUPS print server by executing the following command:
sudo apt install cups
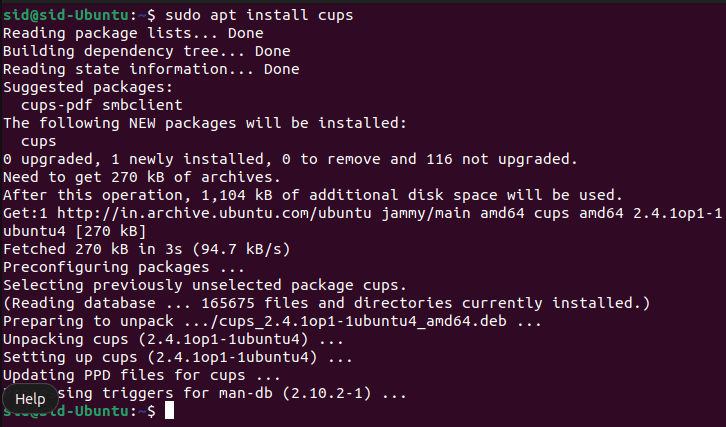
Install CUPS
Wait till the installation completes. Once installed, we need to start the CUPS print service. To start the CUPS service, run the following command:
sudo systemctl start cups
Start CUPS
To check whether the CUPS is installed and running, Execute the following command:
sudo systemctl status cups
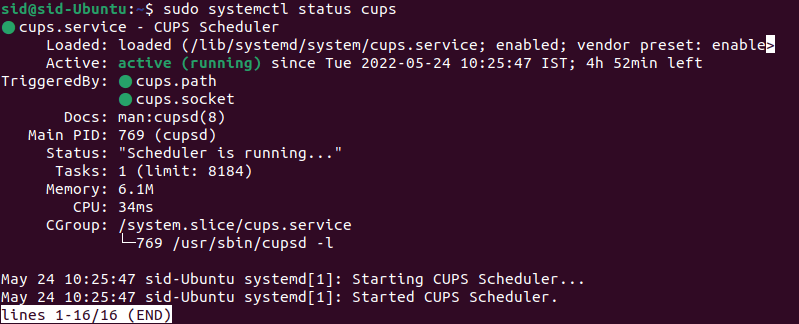
CUPS status
To enable CUPS to auto-start on each boot, Execute the following command:
sudo systemctl enable cups

Enable auto-start CUPS at boot
Configure CUPS print server
CUPS can be configured either from the terminal, i.e., editing the main configuration file (/etc/cups/cupsd.conf) of the CUPS print server, or through the web interface, which is available at http://localhost:631/admin.
Configure via the command line
It is recommended that before editing the main configuration file, you should make a copy of the configuration file. If you made some mistakes while configuring the original file, you could undo the changes through the backup file. Execute the following command to make a copy of the configuration file:
sudo cp /etc/cups/cupsd.conf /etc/cups/cupsd.conf.copy
Create a backup file
Now, execute the following command to edit the configuration file of the CUPS print server. Here, we use a nano text editor, but you can choose any text editor.
sudo nano /etc/cups/cupsd.conf
edit the configuration file
Now, make the following changes to the main configuration file below.
- Locate “Browsing No” under the #show shared printers on the local network.
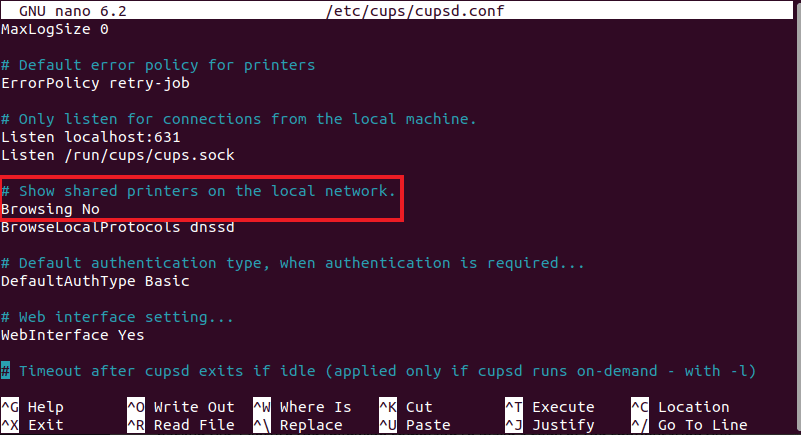
Browsing No
Change it to “Browsing On.”
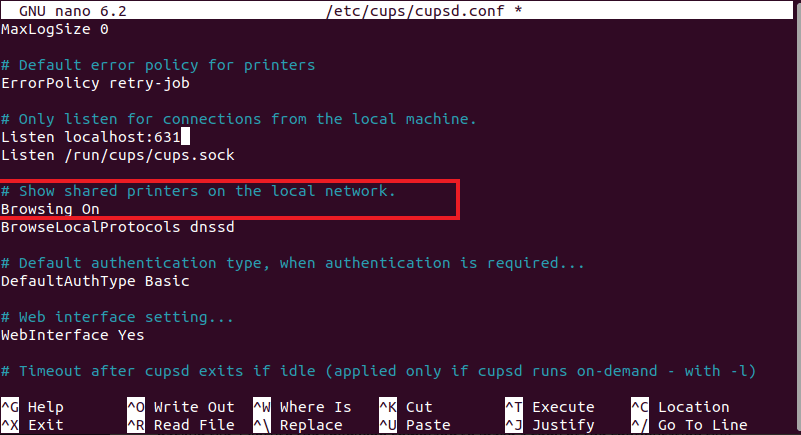
Browsing On
- Locate “Listen localhost:631” under the #Only listen for connections from the local machine.
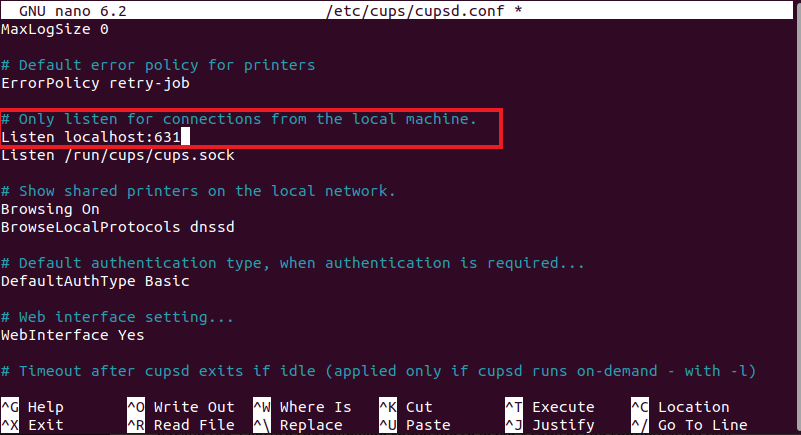
Change it to “Port 631”.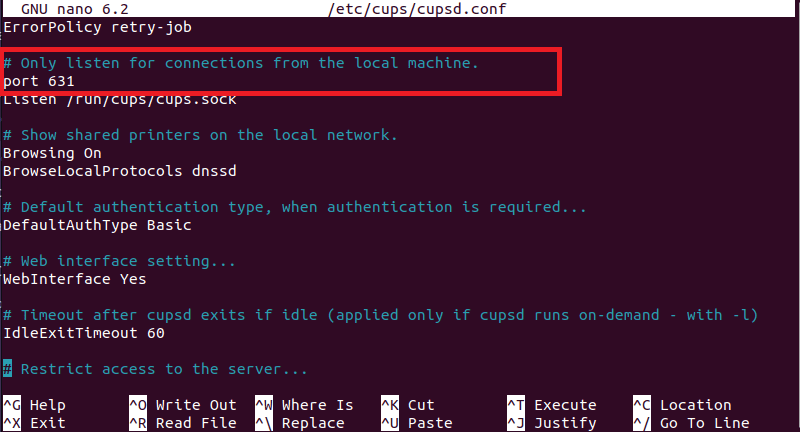
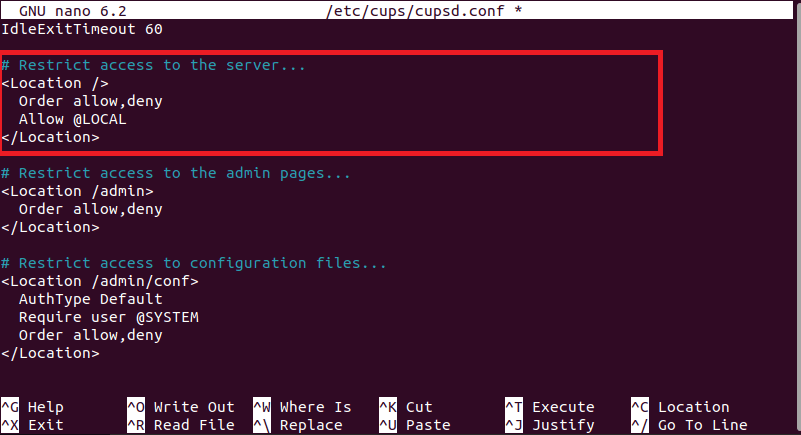
- Now, locate the line #Restrict access to the server, which contains the following code:
<Location />
  Order allow,deny
</Location>
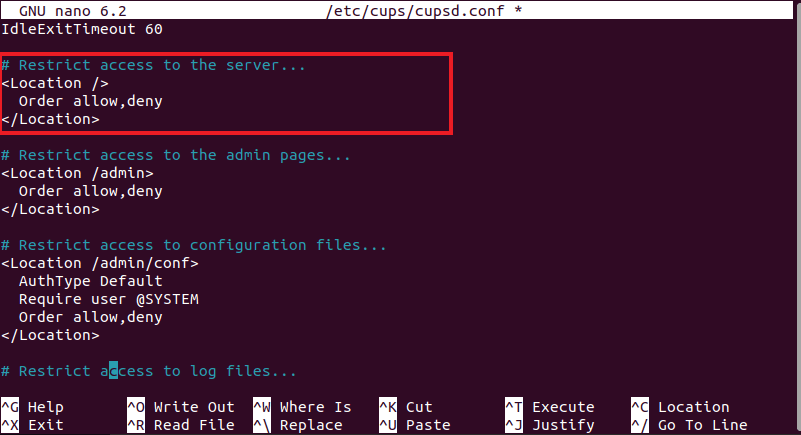
Add “Allow @LOCAL” in the above code:
<Location />
  Order allow,deny
  Allow @LOCAL
</Location>
-
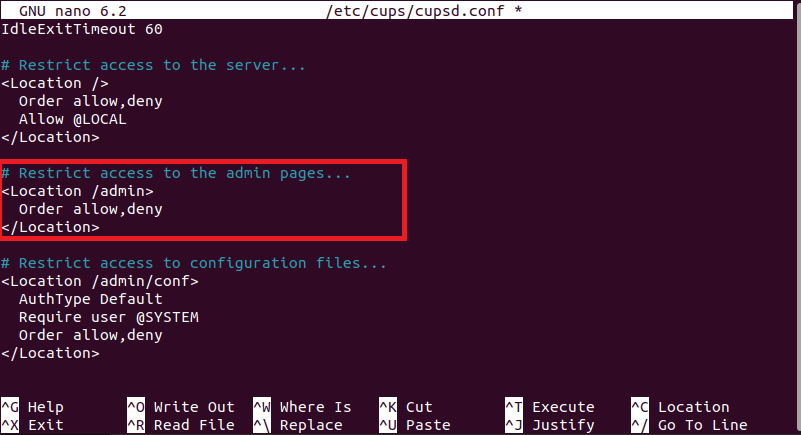
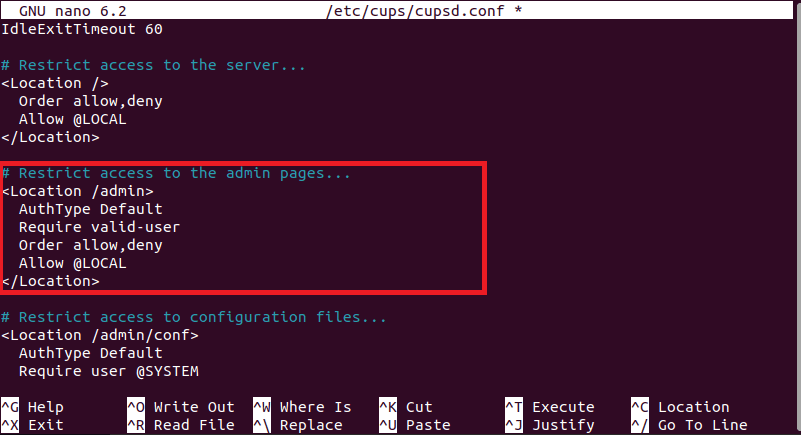
Find the line #Restrict access to the admin pages, which contains the following code:
<Location />
Order allow,deny
</Location>
Change the above code by adding the following lines:
<Location />
 AuthType Default
 Require valid-user
 Order allow,deny
 Allow @LOCAL
</Location>
When changes are made, save the file by pressing Ctrl+S and exit by pressing Ctrl+X. Restart the CUPS service by executing the following command:
sudo systemctl restart cups
Restart CUPS
Configure via the GUI
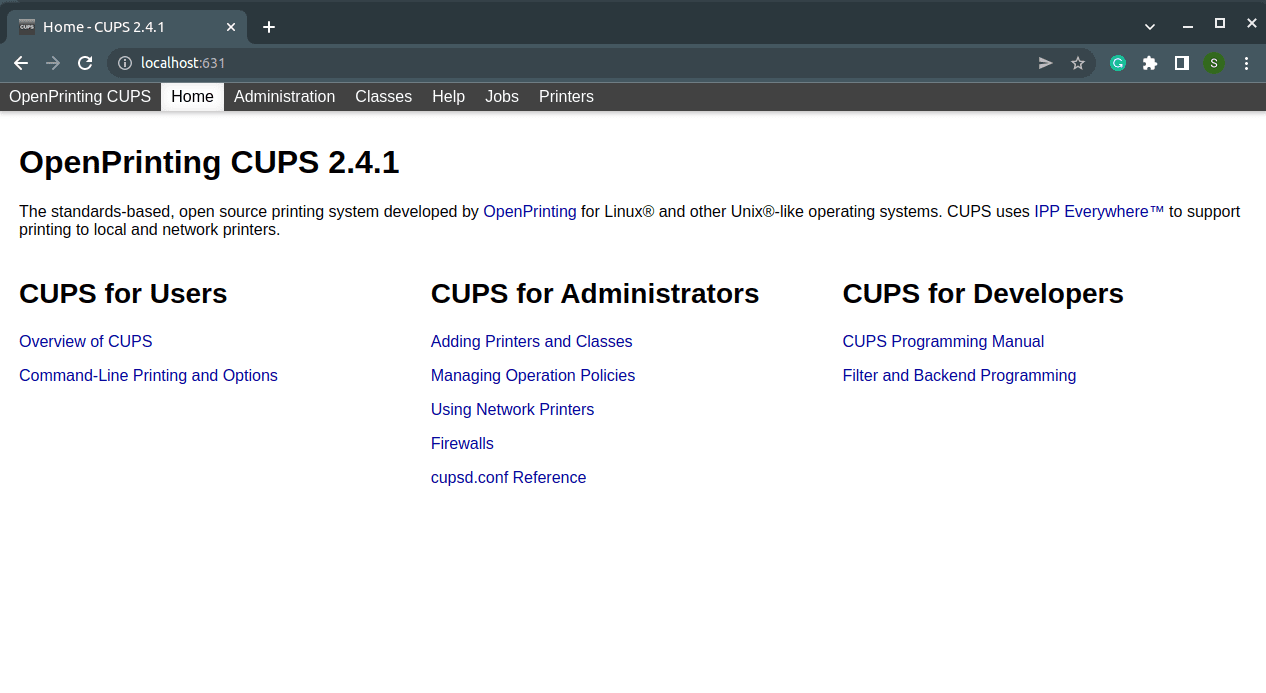
The CUPS print server can also be configured from the web interface, which runs on port 631 and is available at http://localhost:631/. The web interface can be used to monitor and perform all printing jobs. You can add and manage printers, print jobs, and edit the configuration file directly from the interface. All these services are available under the Administration tab.
Navigate to http://localhost:631/ to open the CUPS web interface. You can find the documentation and references to using CUPS on the homepage for users, administrators, and developers.
CUPS- web interface
It requires root permission to perform the administrative tasks. Enter your root login details when prompted.

CUPS- login
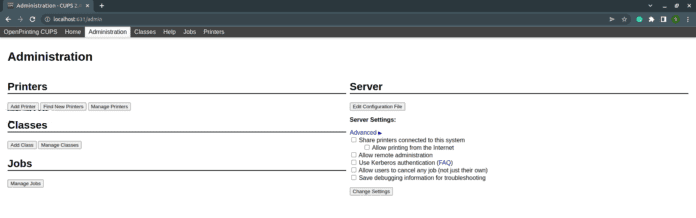
Administration tab
If the above step doesn’t work, CUPS does not authenticate a user without a password. You can add a user to the lpadmin group by executing the following command:
sudo usermod -a -G lpadmin <username>
Now, Click on “Add a printer,” select your printer from the options, and click continue.
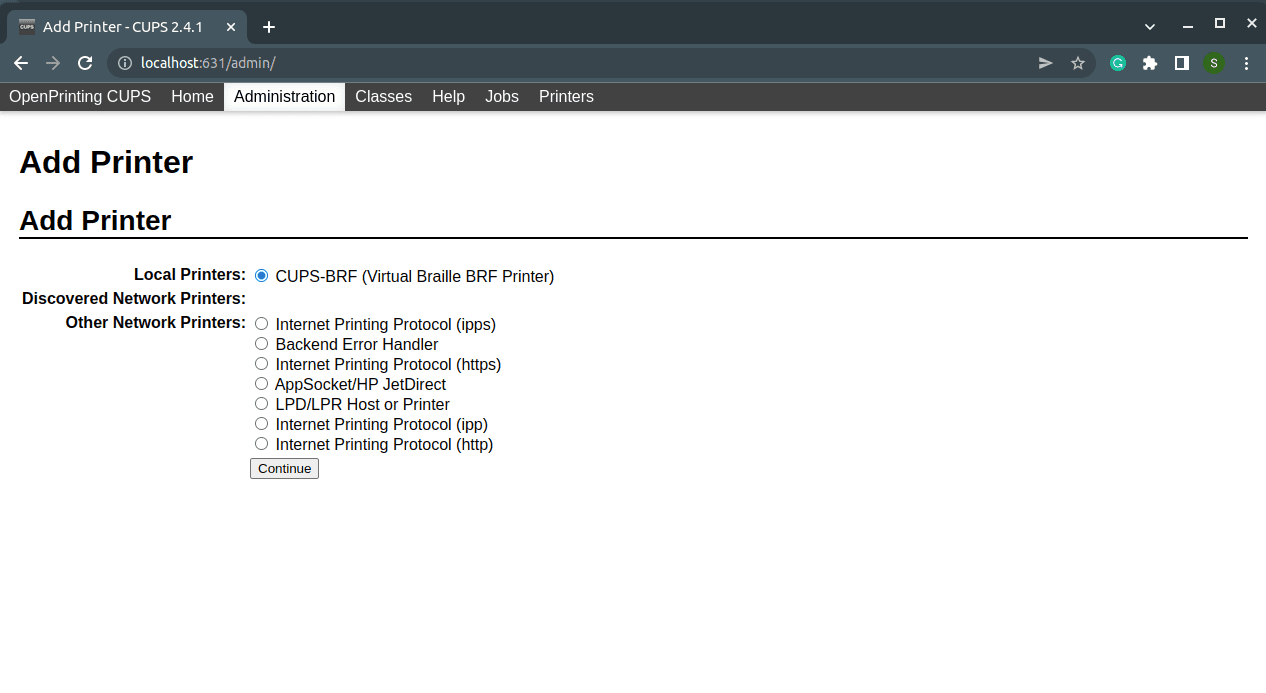
Choose your printer model, and enter the name and other information. The printer will be added successfully.
Sharing the printer through Bonjour
Bonjour consists of Multicast-DNS (mDNS) and DNS-based Service Discovery (DNS-SD), which enables the discovery of devices and services on a local network via the IPP protocol. The Internet printing protocol (IPP) is used for communication between client devices and printers. It allows the clients to use the shared printers without installing any drivers.
Ubuntu 22.04 is already set to use the Bonjour protocol(DNSSD) for sharing the printer over the local network.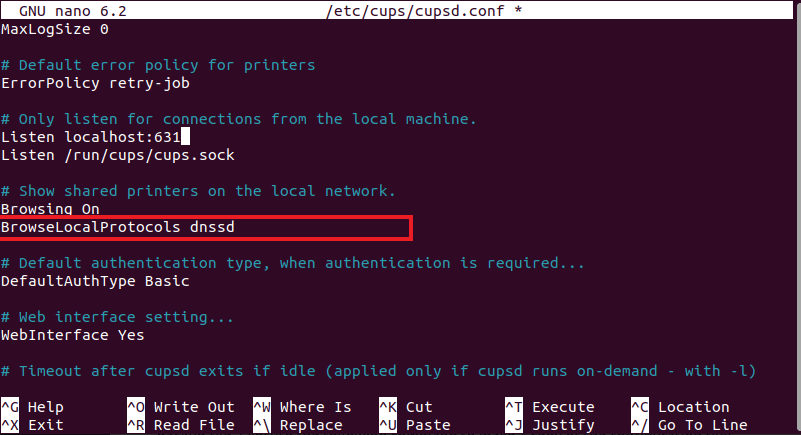
Use CUPS print server on the client’s computer
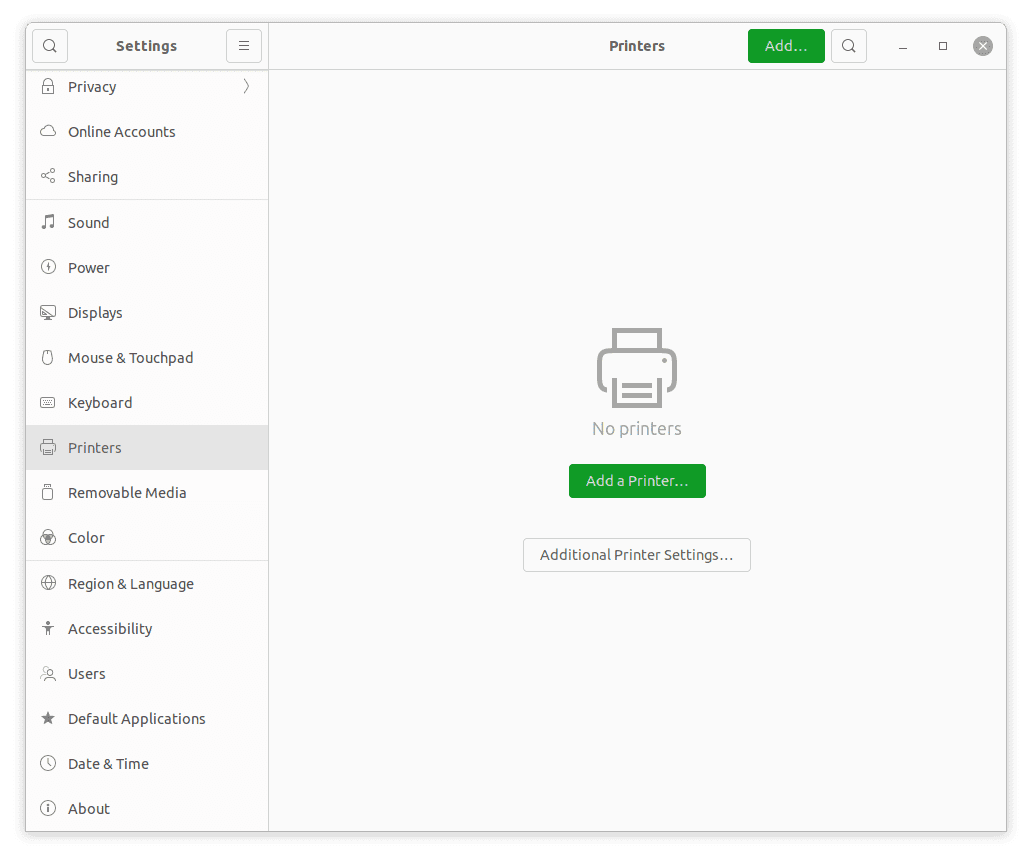
Most Linux distributions have the CUPS as the default printing system. It will be able to automatically detect the printer and use it on the same network. If your system cannot see the print server, You can manually add the CUPS print server from the Settings.
Open the Settings application through the app drawer or search bar—select Printers from the left pane.
Settings
Click on Add a printer button to add a new printer. The CUPS print server will be mentioned. Select the printer and click on Add button.
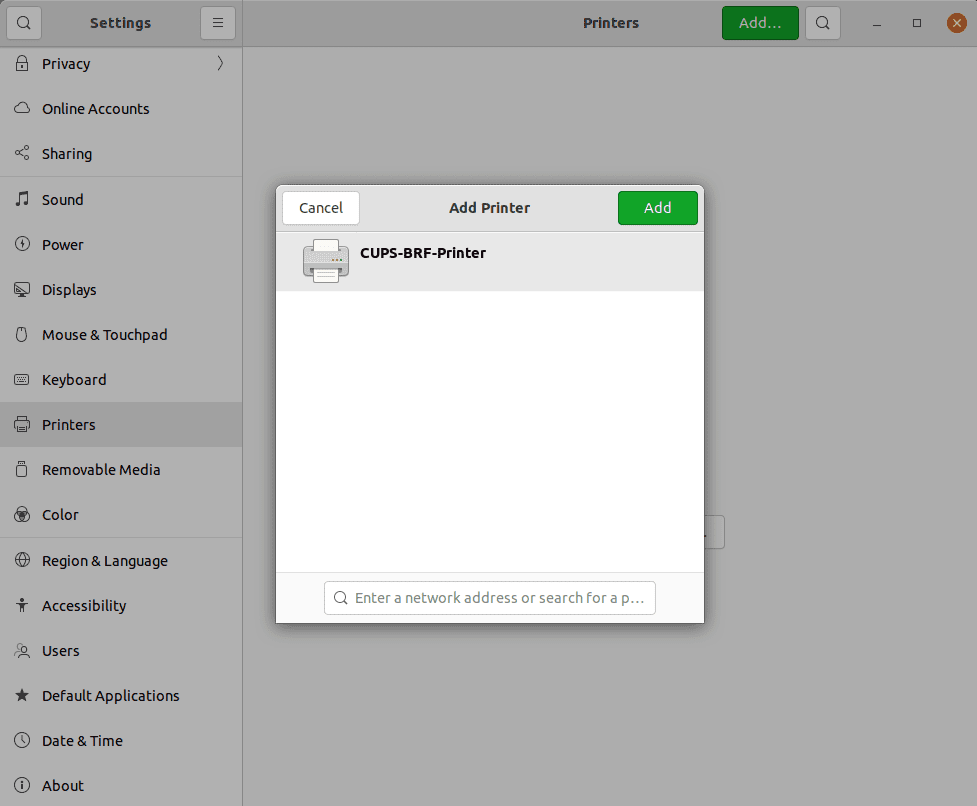
Add a printer
That’s all! The CUPS print server has been added to your client’s device. As shown below, the printer is ready, and there are no active jobs.
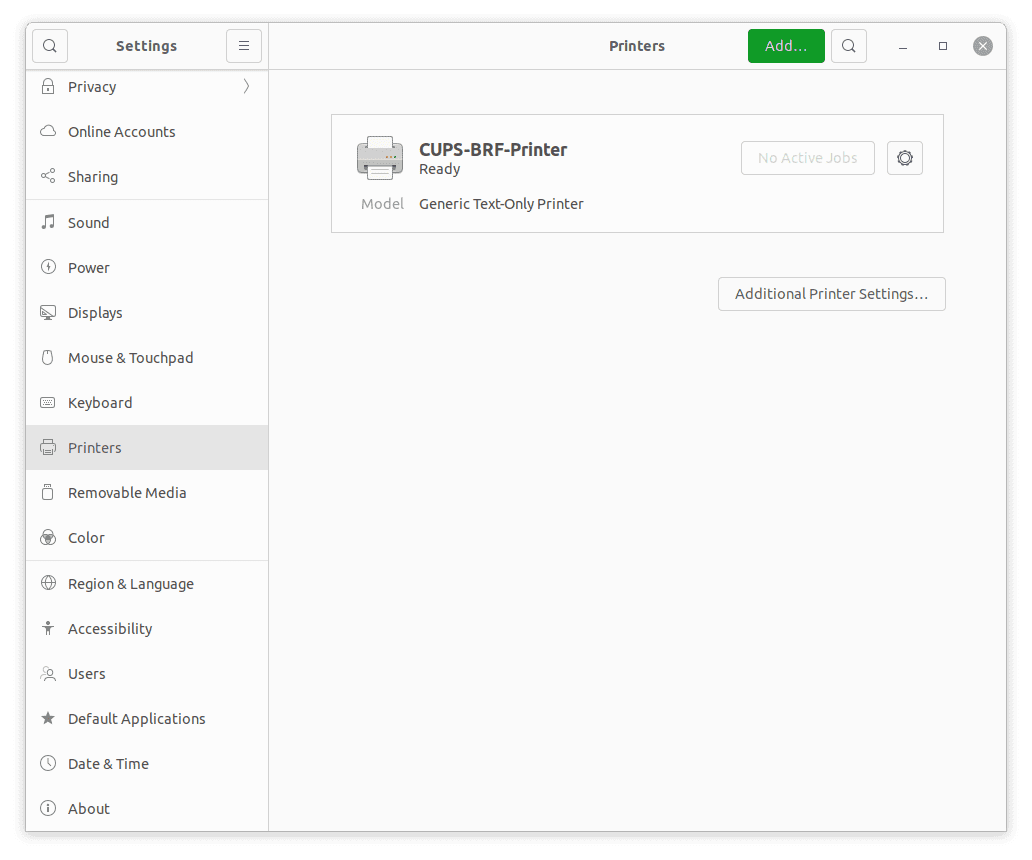
CUPS printer
While printing, any files will be shown in the list on selection, and the print server will send the print request to the appropriate printer. If multiple devices send the print request, it will queue the print jobs and print them accordingly.
If your system didn’t find the printer, the ippfind command is not installed on your system. To install the ippfind command, Execute the following command:
sudo apt install cups-ipp-utils
Now, restart the CUPS service by running the following command:
sudo systemctl restart cups
Conclusion
We covered both the ways of setting up a CUPS print server and adding it to the client’s system. If you think we missed something, let us know in the comment section below.