In recent years, Cloud computing has increased rapidly, with 94% of all enterprises using cloud services. Many platforms provide cloud services, such as AWS, Microsoft Azure, Google Cloud, etc.
There are four cloud computing types: private clouds, public clouds, hybrid clouds, and multi-clouds. Ubuntu fully supports all these clouds, making it the most popular Linux distribution for cloud platforms. This article will discuss AWS and installing AWS CLI (AWS Command Line Interface) on Ubuntu.
AWS and AWS CLI
AWS stands for Amazon Web Services. It is the most comprehensive, flexible, and secure cloud computing service offering cloud computing platforms and APIs to individuals, companies, and government agencies. It is inexpensive, charges only for the service you use, and provides a free tier for a certain usage level.
AWS CLI (AWS Command Line Interface) is an open-source tool to manage your AWS services using commands in the command line shell. It can be used to manage multiple AWS services, provides direct access to public APIs, and even offers to develop scripts to automate these services. It can be used on your system’s command line shell by installing it on the system’s terminal.
- Linux Shells: bash, zsh, and tcsh
- Windows: Command prompt and Powershell
- Remote Terminal: PuTTY, SSH, and AWS System Manager
The latest version of AWS CLI is AWS CLI version 2, which supports all the latest features. The latest version of AWS CLI can be installed using the apt package manager, Python PIP, and through the official AWS distribution points. However, it is recommended to install using the official AWS distribution points as it will contain the latest version of AWS. We will discuss all the methods to install it on Ubuntu 22.04LTS. If you have an older version of AWS installed on your system, you can either migrate to the latest version or have both versions installed side by side.
Install AWS CLI using APT Package Manager
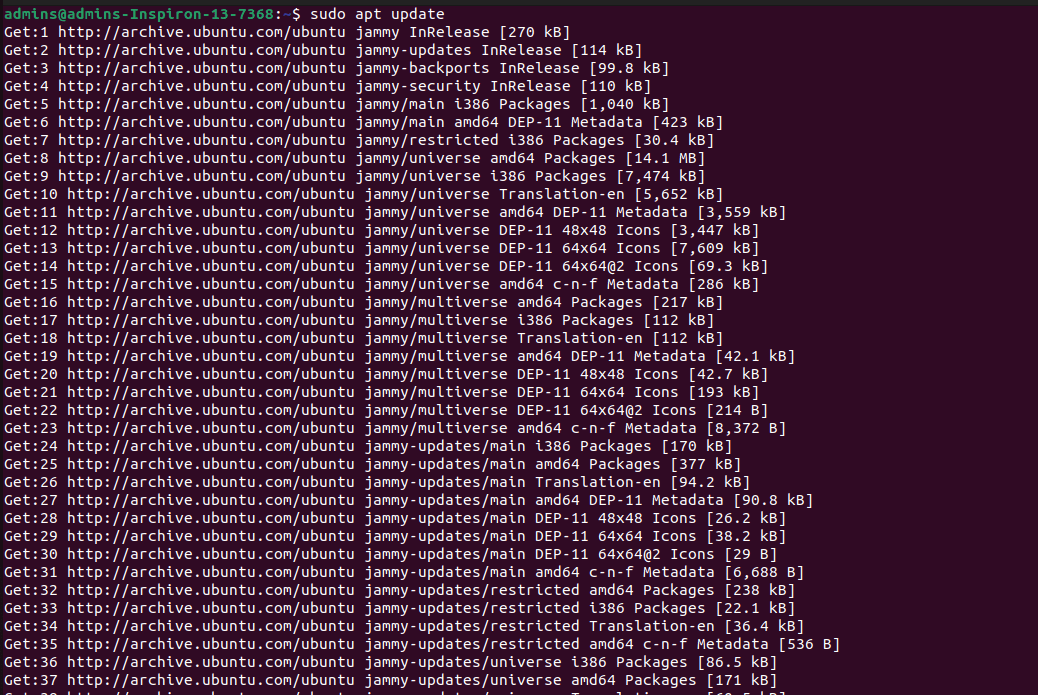
The AWS CLI comes bundled in the official package repository. To install it using the APT package manager, open a terminal window by pressing Ctrl+Alt+T and execute the following command to update the system’s repositories:
sudo apt update

Update repositories
Now, to install AWS CLI, execute the command shown below. Press Y to confirm when prompted or use -y to avoid the prompt.
sudo apt install awscli

Install AWS CLI
Wait till the installation completes. To check whether it is installed successfully and the installed version, execute the following command:
aws --version
Check the AWS CLI version
Installing AWS CLI using Python PIP
Another method of installing AWS CLI is using the Python PIP. Here, it is installed as a python module that can be easily updated without root privileges. For installation, you must have Python2/Python3, and Python PIP installed on your system.
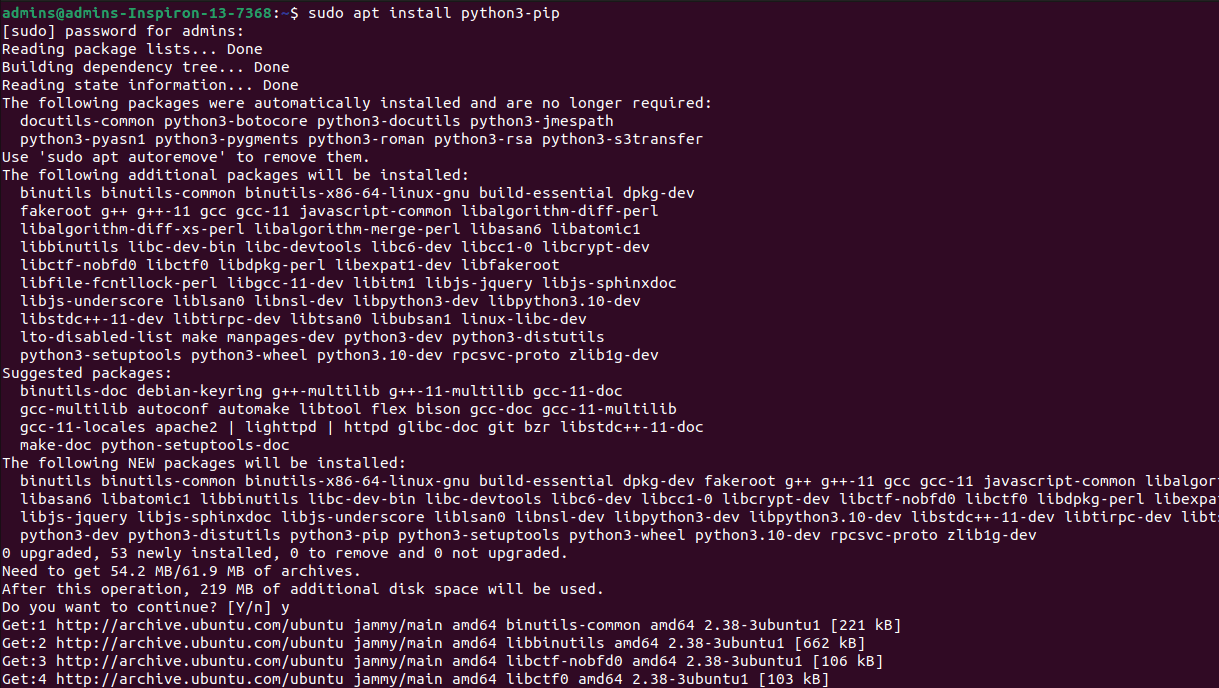
To install Python PIP on Ubuntu, execute the following command:
For Python2:
sudo apt install python-pip
For Python 3:
sudo apt install python3-pip

Install Python PIP
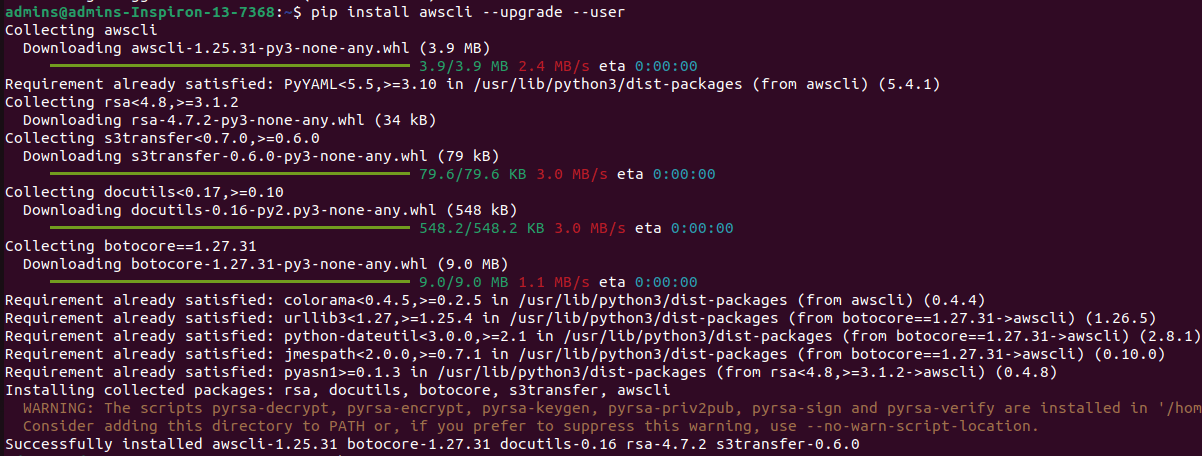
That’s all. Python PIP has been installed successfully. Now, to install AWS CLI using Python PIP, execute the following command:
For Python2:
pip install awscli --upgrade --user
For Python3:
pip install awscli --upgrade --user

Install AWS CLI Python module
Wait till the installation completes. Check the installed version and whether it is installed successfully by executing the following command:
For Python2:
python -m awscli --version
For Python3:
python3 -m awscli --version

Check the AWS CLI version
As shown in the image above, When we install AWS CLI as a python module, it does not always install the latest version. The latest version of AWS CLI is 2.7, whereas the above method installs version 1.25. Therefore, it is recommended to use the official method, which is discussed below.
Installing AWS CLI using the official AWS distribution points
The AWS CLI can also be installed using the official distribution points. We prefer this method as it is an official method and will always install the latest version of AWS CLI.
To install AWS CLI on Ubuntu, download the official AWS installation file by executing the following command:
curl "https://awscli.amazonaws.com/awscli-exe-linux-x86_64.zip" -o "awscliv2.zip"

Install AWS CLI using the curl command
Alternatively, you can also download the installation file using the following link:
https://awscli.amazonaws.com/awscli-exe-linux-x86_64.zip
If the curl command is not installed on your system, execute the following command to install curl:
sudo apt install curl

Install curl command
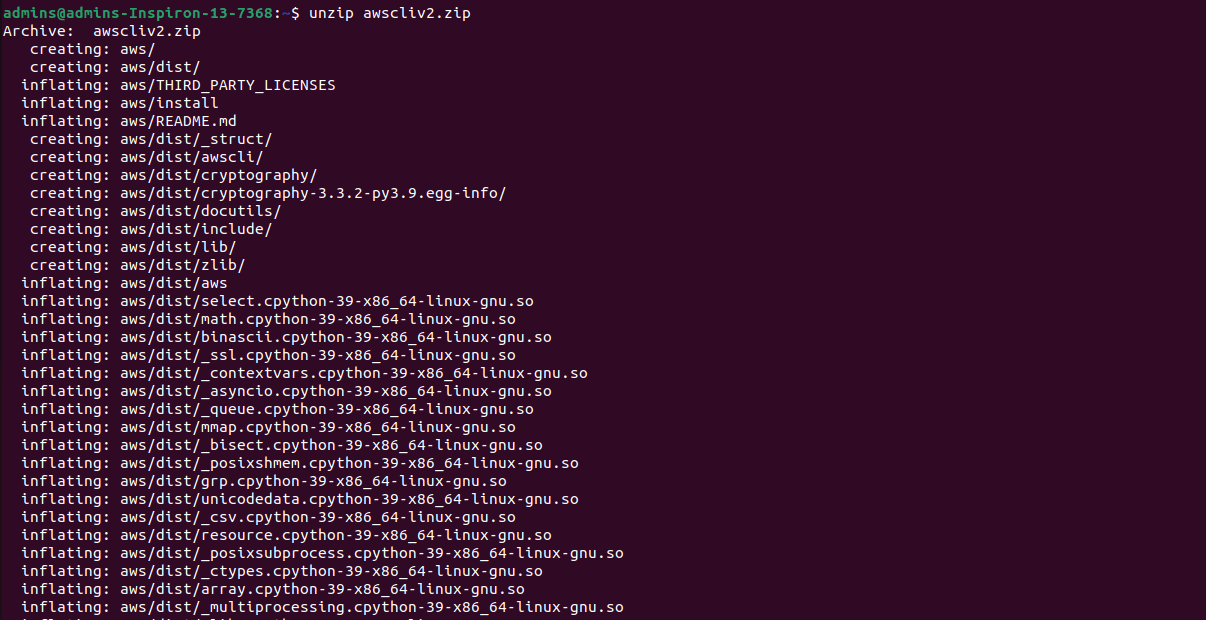
Now, extract the zipped installation file using the file manager or by using the unzip command:
unzip awscliv2.zip

Unzip the AWS CLI package
The above command extracts the installation file in the active directory and creates a new directory named aws in the current directory.
Then, install the AWS CLI by executing the following command:
sudo ./aws/install
Install AWS CLI
That’s all! AWS CLI has been installed on your system successfully.
To check the current version of AWS CLI, execute the following command:
/usr/local/bin/aws --version

Check the AWS CLI version
Update AWS CLI to the latest version
If you already have AWS Command Line Interface on your system, you can update it to the latest version using the following commands. When the AWS CLI is installed, the files are stored at the location /usr/local/aws-cli, and a symbolic link is created at the location /usr/local/bin. To update the files at both locations, execute the following command:
sudo ./aws/install --bin-dir /usr/local/bin --install-dir /usr/local/aws-cli --update
To confirm whether it has been installed to the latest version, execute the following command to check the current version installed:
aws --version
Configure AWS Command Line Interface
To run the AWS CLI, you should have an AWS account, an IAM user account, and an IAM access key and secret key. They are listed below with the links to configure.
- If you have an AWS account, skip this point. If not, create an AWS account by clicking here. Complete the sign-up procedure. The account will be created in a few minutes, but the process takes 24 hours.
- Create an IAM user account by signing as the root AWS user in the IAM console and adding a new user other than the root user. Use this account in the AWS CLI rather than the root user for your account security.
- With the IAM user account created above, create an access key ID and secret access key, which are used to sign programmatic requests. Store the access keys at the creation time as they cannot be recovered later.
For more details, you can refer to the official AWS guide by clicking here.
Uninstalling AWS CLI
In case you need to uninstall the AWS Command Line Interface, execute the following command in a terminal window:
sudo apt remove --purge awscli

Uninstall AWS CLI
Conclusion
So, we discussed AWS CLI and how to install it on Ubuntu 22.04LTS. We covered almost everything about AWS CLI with links to the official documentation. If you liked the article or if we missed anything, please let me know in the comment section below.


2 comments
I can’t seem to get version 2 with apt-get
apt install gets you version 1.22. Update this for version 2 or take it down.