
Ubuntu is a popular operating system used by developers, system administrators, and other technology professionals. There has been a growing trend toward using Ubuntu in cloud computing environments in recent years. This is due to its flexibility, security, and availability of various cloud platforms that support Ubuntu.
This guide will provide a comprehensive introduction to getting started with Ubuntu on the cloud.
What is Ubuntu cloud computing?
Ubuntu cloud computing refers to the use of Ubuntu in cloud-based environments. Cloud computing delivers computing services over the internet, including servers, storage, databases, networking, software, analytics, and intelligence. Ubuntu is a popular operating system for cloud computing due to its security, flexibility, and ease of use.
Why use Ubuntu in the cloud?
Ubuntu is a lightweight and secure operating system that is easy to use and maintain. It is also highly customizable and easily configured to meet specific business needs. Additionally, Ubuntu has a large and active community of developers and users, which means there is a wealth of knowledge and resources available for those using Ubuntu in the cloud.
Choosing a cloud platform
Several cloud platforms support Ubuntu, including:
Amazon Web Services (AWS): AWS is a widely used cloud platform that offers a wide range of services, including computing, storage, and networking. AWS supports Ubuntu and provides various tools for deploying and managing Ubuntu instances on its platform.
Google Cloud Platform (GCP): GCP is a cloud platform that offers a wide range of services, including computing, storage, and networking. GCP supports Ubuntu and provides various tools for deploying and managing Ubuntu instances on its platform.
Microsoft Azure: Azure is a cloud platform that offers a wide range of services, including computing, storage, and networking. Azure supports Ubuntu and provides a range of tools for deploying and managing Ubuntu instances on its platform.
DigitalOcean: DigitalOcean is a cloud platform that specializes in providing developers with simple and affordable cloud infrastructure. DigitalOcean supports Ubuntu and offers a range of tools for deploying and managing Ubuntu instances on its platform.
Oracle Cloud Infrastructure (OCI): OCI is a cloud platform that offers a wide range of services, including computing, storage, and networking. OCI supports Ubuntu and provides a range of tools for deploying and managing Ubuntu instances on its platform.
If you are a startup or individual looking for a relatively cheaper platform, you can look at platforms like Linode, Vultr, Scaleway, UpCloud, Kamatera, Cloudways, Hetzner Cloud, and Lightsail by AWS (low-cost option).
Note: When choosing a cloud platform, it’s essential to consider factors such as cost, performance, availability, and support. Each cloud platform offers different features and benefits, so evaluating them is necessary based on your specific needs and requirements.
Getting started with Ubuntu on the DigitalOcean droplet
DigitalOcean is a cloud hosting provider that offers affordable and reliable virtual private servers called droplets. In this section, we’ll walk you through the steps to set up an Ubuntu droplet on DigitalOcean and get started with your own Linux-based web server.
Step 1: Creating a DigitalOcean account
Before creating a Droplet, we need to create an account on DigitalOcean. Follow the below steps to create an account on DigitalOcean:
- Go to the DigitalOcean website and click the “Sign Up” button in the top right corner of the page.
- Enter your email address and choose a strong password.
- Verify your email address by clicking on the verification link sent to your email.
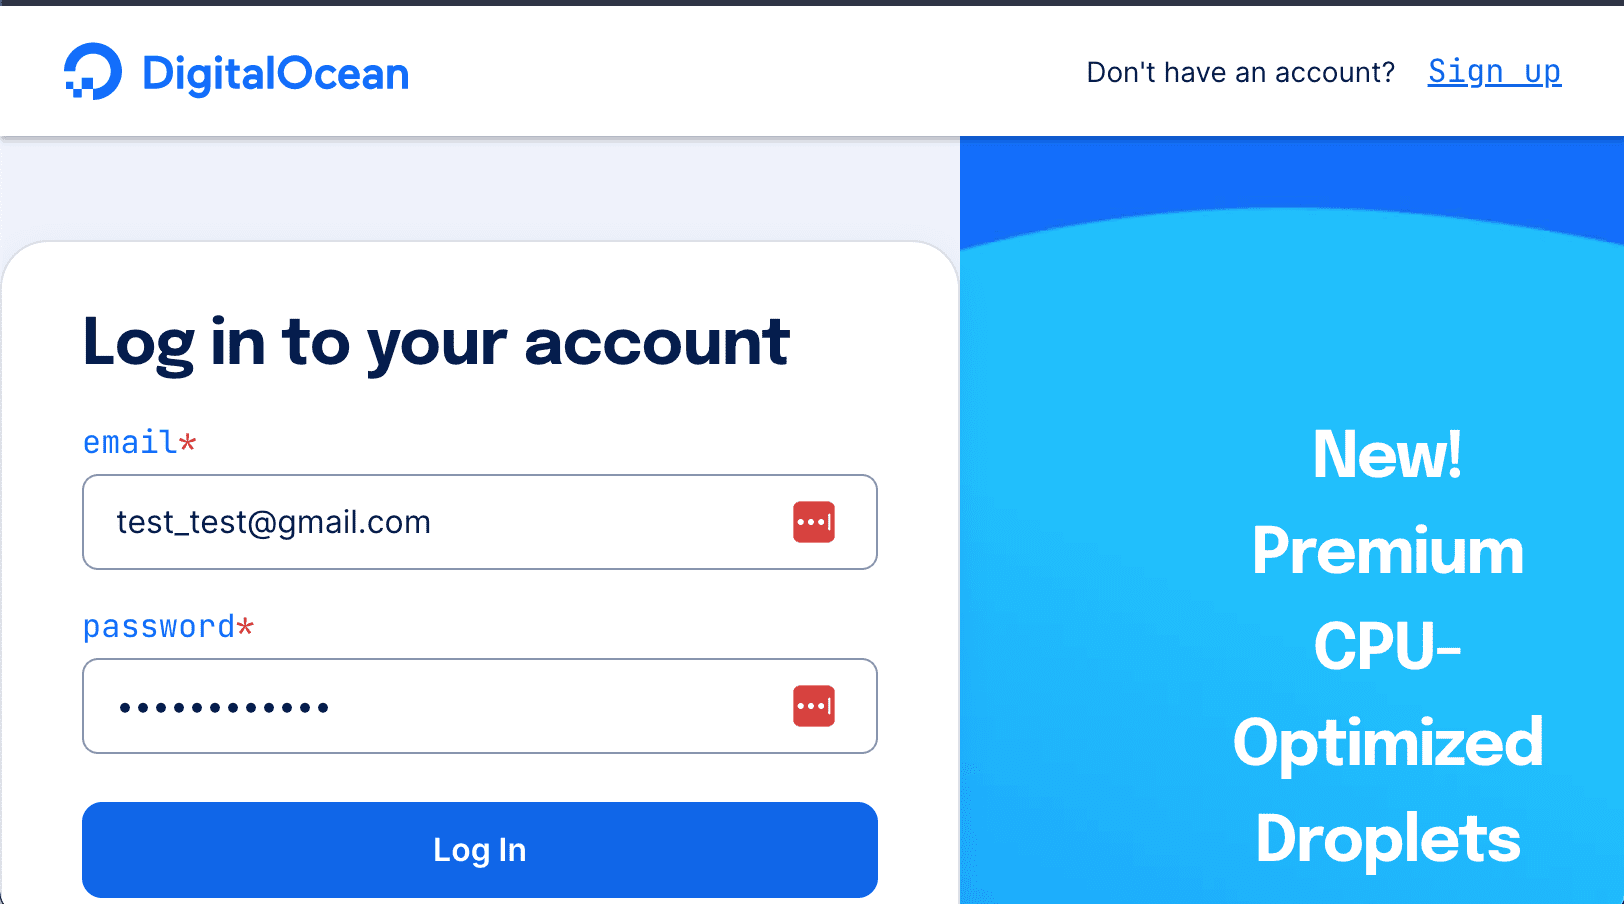
Sign up DigitalOcean
- Enter your billing details to complete the registration process.
Step 2: Setting up your Droplet
Once you have created your account, you can start building your first Droplet. Follow the below steps to set up your Droplet:
- Log in to your DigitalOcean account and click the “Create” button in the top right corner of the page.
- Choose “Droplets” from the dropdown menu.
- Choose “Ubuntu” as the operating system for your Droplet.
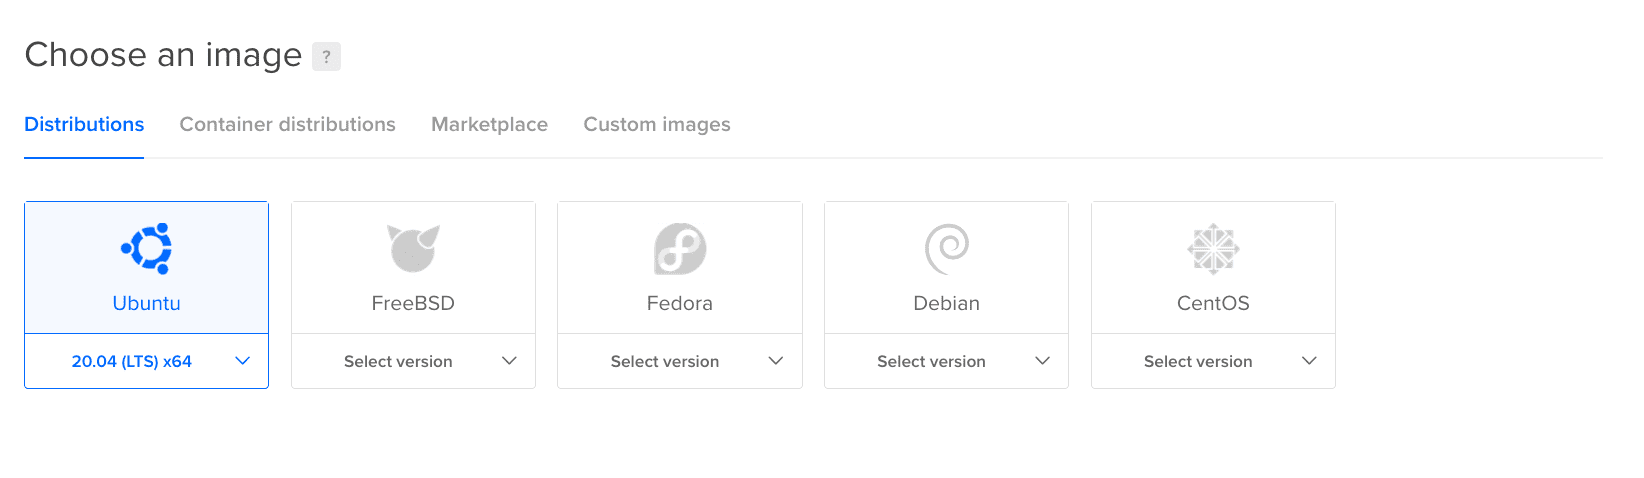
Select Ubuntu image
- Choose the version of Ubuntu you want to use. We recommend using the latest LTS version.
- Choose the size of your Droplet based on your requirements.
- Choose additional features like backups, monitoring, and IPv6, if needed.
Step 3: Choosing a plan
The next step is to choose a plan for your Droplet. A plan defines the resources like CPU, RAM, and disk space allocated to your Droplet. Follow the below steps to choose a plan for your Droplet:
- First, select the plan that suits your requirements.
- Then, review the pricing and features of the plan.
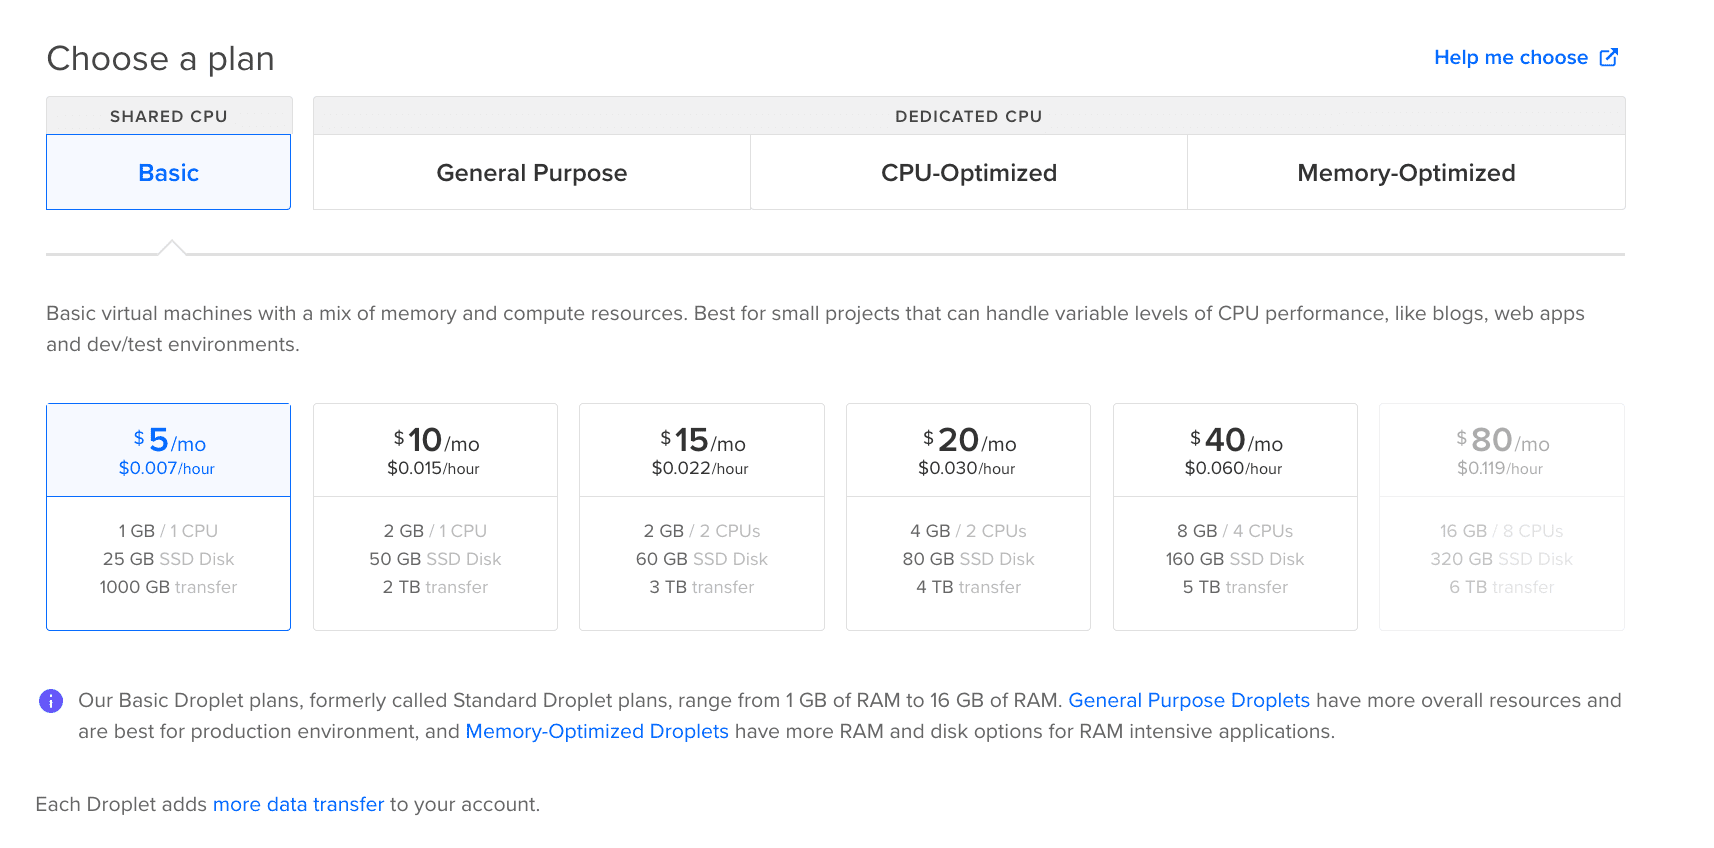
Choose a subscription plan
- Choose additional features like backups and monitoring, if needed.
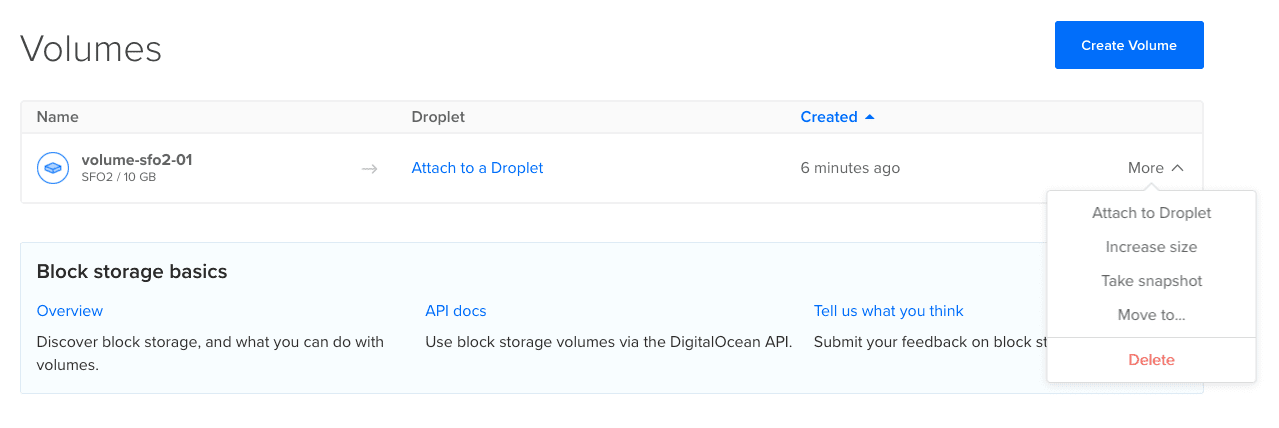
Step 5: Adding block storage (optional)
You can add block storage if you need additional storage for your Droplet. Block storage is an independent disk volume that can be attached to your Droplet. Follow the below steps to add block storage:
- First, click the “Add Block Storage” button under “Additional Options.”
- Next, choose the size of the block storage.
Digital Ocean block storage - Choose the data center region for the block storage.
Step 6: Choosing a data center region
The next step is to choose a data center region for your Droplet. A data center region is where DigitalOcean has its data centers. Follow the below steps to select a data center region:
- Choose the data center region that is nearest to your users or clients.
- Consider factors like latency and availability when selecting a data center region.
Digital Ocean block storage
Step 7: Setting up SSH authentication
Next, you need to set up SSH authentication for your Droplet. SSH authentication is a secure way to log in to your Droplet using a public and private key pair. Follow the below steps to set up SSH authentication:
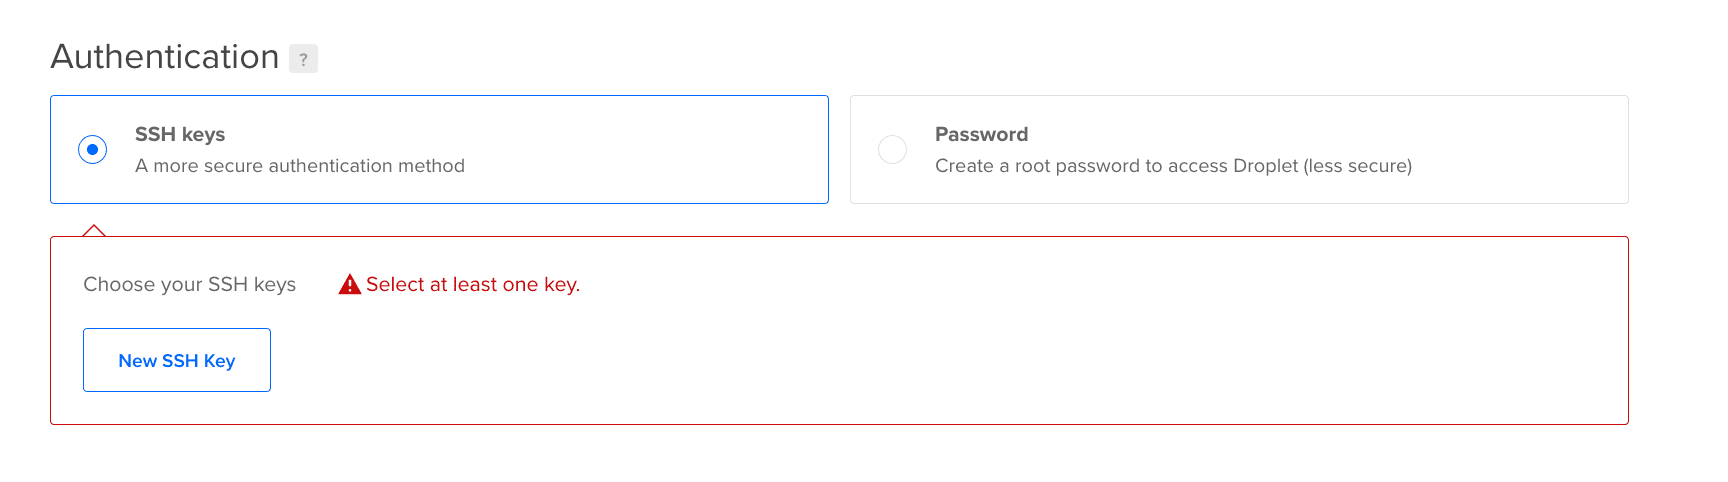
SSH authentication
- Generate an SSH key pair on your local machine using the ssh-keygen command. You can learn more on how to generate SSH keys in our post – How to set up Passwordless SSH Login in Linux.
- Copy the public key to the clipboard.
- Paste the public key in the “SSH Key” field under “Authentication
Step 8: Finalize Droplet creation
In the last stage of the Droplet creation process, you’ll have several options to customize your setup. You can choose the number of Droplets you want to create, name them according to your preferences, and add tags to facilitate organization. Assigning your Droplet to a specific project can also help with management, while enabling backups is recommended for data protection, although it comes at an extra cost of $1 per month.
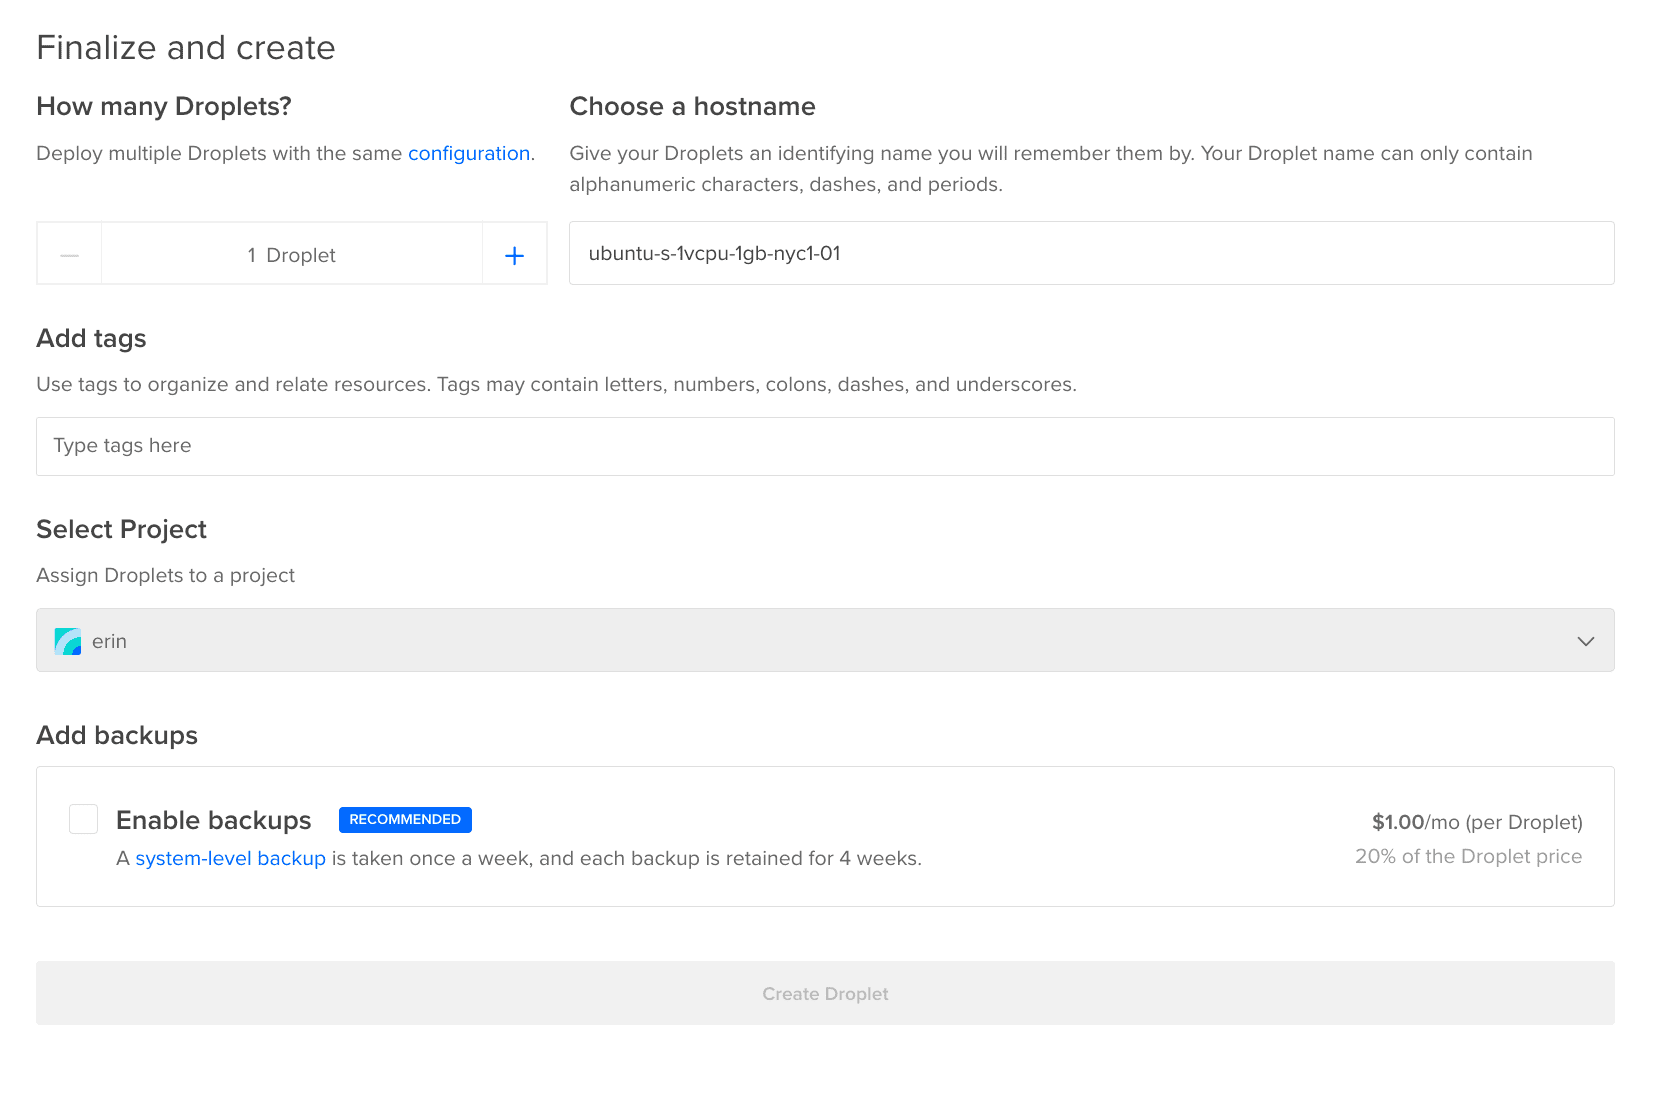
Create Droplet
Step 8: Connect to the Ubuntu instance
After installing Ubuntu on your DigitalOcean droplet, you can connect to it through a secure shell (SSH) client. First, obtain the droplet’s IP address and ensure that you have your private SSH key. Then, open your terminal and run the following command:
ssh username@droplet_ip_address
e.g.,
ssh fosslinux@206.189.200.200
Replace username with your actual username and droplet_ip_address with your droplet’s IP address. If this is your first time connecting to the droplet, you will be prompted to verify the host’s authenticity and add it to your list of known hosts. Enter “yes” to continue. You will then be prompted to enter your SSH key passphrase.
Once successfully authenticated, you can use your droplet’s command line interface. If you need to transfer files between your local machine and the droplet, you can use the scp command.
Step 9: Configuring an Ubuntu instance
Once you have created an Ubuntu instance, you must configure it to meet your needs. This may involve installing software packages, configuring network settings, and setting up security features such as firewalls and access controls.
Step 10: Deploying applications on Ubuntu in the cloud
One of the key benefits of using Ubuntu in the cloud is the ability to deploy applications quickly. This can be done using tools like Docker, Kubernetes, and Ansible. These tools allow you to package your applications and deploy them on Ubuntu instances in a scalable and reliable manner.
Managing and monitoring Ubuntu instances
When working with Ubuntu instances on the cloud, managing and monitoring them is crucial to ensure your environment’s security and optimal performance. Some tasks involved in managing and monitoring Ubuntu instances include updating and patching software, managing user accounts, and configuring firewalls.
To monitor the health and performance of your Ubuntu instances, you can use various tools such as Nagios, Zabbix, and Prometheus. These tools provide real-time monitoring and alerts for system failures, security breaches, and performance bottlenecks. They can also help you track system metrics like CPU usage, memory utilization, and network traffic and generate reports to help you identify trends and potential issues before they become critical.
Wrapping up
Ubuntu on the cloud is a powerful and versatile platform for cloud computing. With the knowledge gained from this tutorial, you now have the tools to create, manage and deploy instances on the cloud with Ubuntu. Regardless you’re using the cloud for personal or business use, Ubuntu has everything you need to run your applications efficiently and effectively. By following the steps outlined in this tutorial, you’ll be able to confidently navigate the cloud and take full advantage of its benefits. So get started with Ubuntu on the cloud today and take your computing experience to new heights!