
Backing up the Linux Mint system is an essential task every user should perform regularly. Without proper backups, you risk losing all of your important data, settings, and configurations in the event of a hardware failure, software malfunction, or other unforeseen circumstances. This article will show you how to back up and restore your Linux Mint system, ensuring you can recover quickly and easily during a disaster.
We will cover the different types of backups, how to choose a backup location, and step-by-step instructions for backing up your system using the graphical user interface and the command line. There is also an explanation on scheduling backups and restoring from one if needed. Irrespective of whether you are a seasoned Linux user or just getting started, this guide provides you with the info & tools you need to keep Linux Mint safe and secure. Apart from user data, Terminal history is another thing you may want to back up and restore. Learn how to do so with the terminal bash history file.
Importance of backing up your system
Backing up your system is a task usually overlooked by many, but it should never be the case. It would be best if you always made sure that there is a reliable backup system in place. Hard drives can fail unexpectedly, preventing you from accessing important files and settings. By creating regular backups, you can quickly restore your system to its previous state if your hard drive crashes.
Linux Mint backups
Software bugs, malware, or viruses can cause your system to crash or become unstable. Backing up your system allows you to quickly restore your files and settings to a previous version, minimizing any damage caused by these unexpected software issues. It is easy to delete or overwrite important files or directories accidentally, and it’s not always possible to recover them using standard tools. With a backup system in place, you can quickly retrieve lost data.
Restoring backed-up files
If you need to reinstall your Linux Mint system from scratch, it can take a lot of time and effort to reconfigure all your settings and reinstall all your applications. With a backup system in place, it can be quickly restored, saving you a lot of time and effort. Besides, knowing that your data is safely backed up can give you peace of mind, allowing you to focus on your work or other activities without worrying about losing valuable files and settings. By following the steps outlined in this article, you can create a reliable backup system that protects you from data loss and allows you to recover quickly and easily from any issues that may arise.
Types of backups
Linux Mint users can create several types of backups, each with advantages and disadvantages. The following are the three most common types,
Full backups: A full backup is an exact copy of your entire Linux Mint system, including all files, settings, and configurations. Full backups can be time-consuming and require a lot of storage space, but they offer complete protection against data loss in the event of a system failure. In addition, restoring from a full backup is a straightforward process, as you need to copy the backup files back onto your system.
Full backups
Incremental backups: An incremental backup only backs up changes made since the last backup, which can save time and storage space compared to the previous option. Incremental backups are ideal for systems that change frequently, such as those used for development or testing. However, restoring from an incremental backup can be more complicated, as you must fix all incremental backups.
Incremental backups
Differential backups: A differential backup only backs up changes made since the last full backup, which can strike a balance between time and storage space compared to full and incremental choices. Differential backups are ideal for systems that do not change as often, such as those used for general office tasks. Restoring from these backups is generally more accessible since you only need to fix the last full backup and the last differential backup.
Differential backups
Choosing the correct type of backup depends on your system’s usage and the frequency of changes made. Full backups offer complete protection but require more storage space and time to create, while incremental and differential backups are more efficient but can be more complex to restore from. You can pick the right one for your Linux Mint system by understanding these differences.
Choosing a backup location
Once you have decided on the type of backup you want to create, the next step is to choose where to store your backups.
External hard drives: External hard drives are commonly used to back up Linux Mint systems. They are affordable, easy to use, and offer a lot of storage space. You can connect it to your system and copy your backup files to it. However, remember that external hard drives can fail, so keeping multiple copies of your backup files or using a RAID configuration for redundancy is a good idea.
Cloud-based storage services: Cloud-based storage services, such as Dropbox, Google Drive, or Amazon S3, offer convenient and secure backup options for Linux Mint users. They allow you to access your files from anywhere and provide additional protection against local disasters like fire or theft. However, they can be expensive if you have a lot of data to back up and require an internet connection.
Network-attached storage (NAS) devices: A NAS device is a dedicated file storage system connected to your home network, enabling you to back up your Linux Mint system to a centralized location. NAS devices offer much storage space and provide additional features like data sharing and remote access. Still, they can be expensive and require technical knowledge to set up and configure.
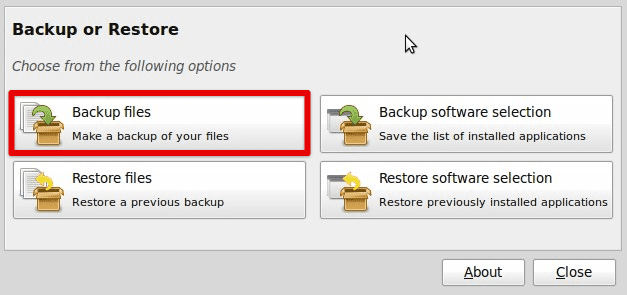
How to back up and restore your Linux Mint system
The best backup location depends on your specific needs and preferences. Having multiple backups stored in different locations is a good idea to ensure you can recover your data in all possible scenarios.
Backing up with the GUI
Linux Mint provides a built-in backup tool called “Timeshift” that allows you to create system snapshots and backups.
Step 1: Open the Timeshift application from the Applications menu.
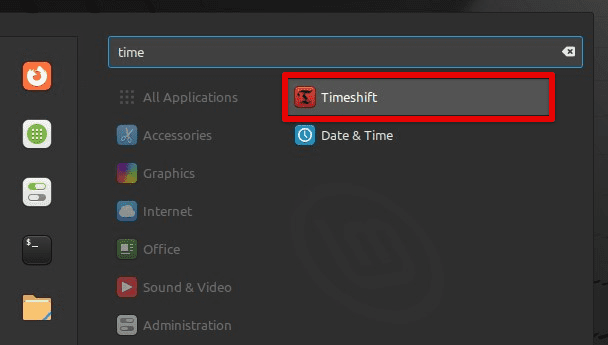
Opening the Timeshift application
Step 2: Click “Create” to create a new backup.
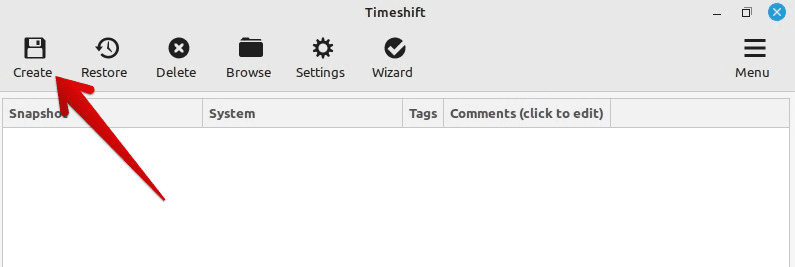
Creating a new backup
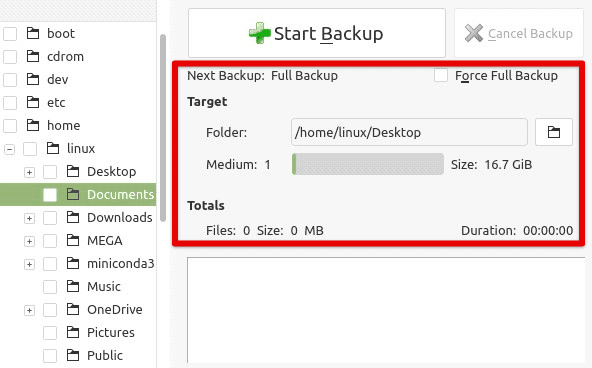
Step 3: Choose the backup location, a local or external drive.
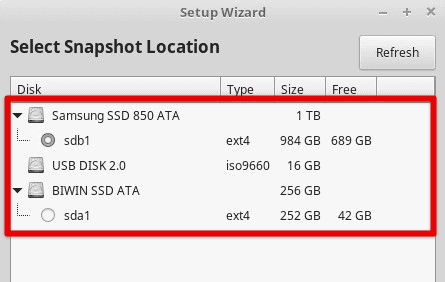
Selecting snapshot location
Step 4: Select the type of backup you want to create, either a “System snapshot” or a “Rsync snapshot.” A system snapshot is a complete backup that includes all system files, settings, and configurations, while a Rsync snapshot is an incremental backup that only backs up changes made since the last backup.
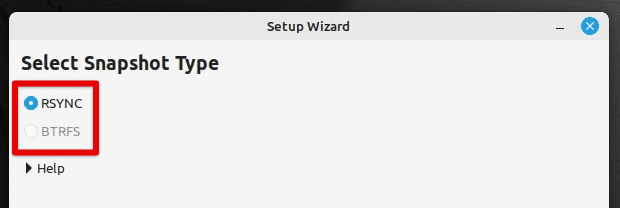
Selecting snapshot type
Step 5: Choose a name and description and click “Create” to start the process.
Step 6: Depending on the size of your system and the type of backup you selected, it may take several minutes or hours to complete. You can monitor the progress of the backup in the Timeshift window.
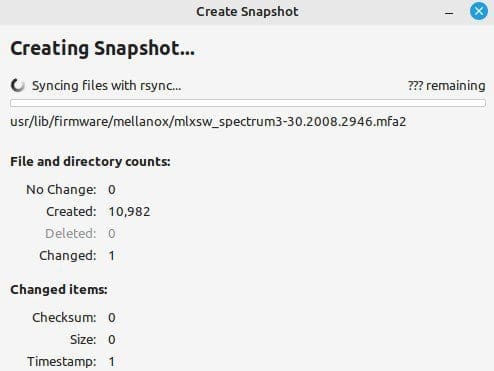
Backup progress
Once the process is completed, you can view and manage your backups from the Timeshift application. The same interface can restore your system to a previous backup whenever required.
You can install them from the Software Manager or the terminal if you prefer using a third-party backup tool, such as Déjà Dup or Back in Time. When installed, they can be used to create and manage backups from the GUI in a similar fashion. The process may vary slightly, but most tools offer similar features and options. Timeshift can also back up and restore data on other Linux distributions. In this detailed guide, learn how to back up and restore Ubuntu with Timeshift.
Backing up with the command line
While the GUI provides a user-friendly interface, some users prefer the command line interface (CLI) for more control and flexibility.
Step 1: Open the terminal by pressing “Ctrl + Alt + T” or clicking the Terminal icon from the menu bar at the bottom.
Step 2: Navigate to the directory you want to back up using the “cd” command. For example, if you’re going to back up your desktop directory, type “cd Desktop/.”

Navigating to the Desktop directory
Step 3: Create a directory backup using the “tar” command. When creating a home directory backup, type “tar -cvpzf backup.tar.gz /home/your_username/.”
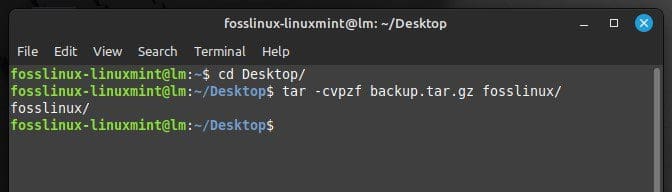
Creating a directory backup
Step 4: The “tar” command creates a compressed archive of that directory, including all files and subdirectories. You can choose the name and location of the backup file and the compression level by modifying the command parameters.
Step 5: Once the backup is complete, copy it to a safe location, such as an external hard drive or cloud storage service, using the “cp” or “rsync” command.
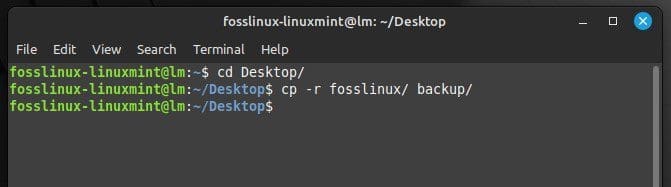
Copying files to a target directory
Alternatively, you can use other backup utilities, such as “rsync” or “borgbackup,” to create and manage your backups from the CLI. These utilities offer more advanced features, such as incremental backups, encryption, and remote backup, but require advanced technical knowledge to be used effectively. Depending on your preference, these utilities can be installed using the package manager or from the source code.
Scheduling backups
Creating backups manually can be time-consuming and easy to forget, especially with a busy schedule. To ensure that your backups are up-to-date and reliable, you can schedule them to occur automatically at regular intervals, such as every day or every week.
Step 1: Open the Timeshift application from the Applications menu.
Step 2: Click on “Settings” to open the Timeshift settings.
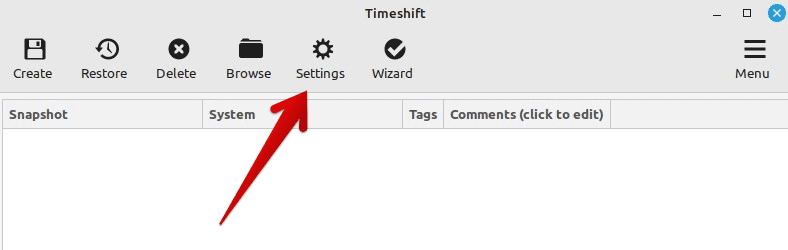
Opening Timeshift settings
Step 3: Access the backup schedule options on the “Schedule” tab.

Opening the Schedule tab
Step 4: Choose the best backup frequency and time for you.
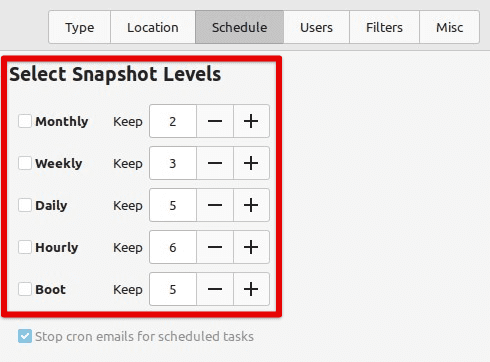
Selecting backup frequency
Step 5: Choose the backup type, either “System snapshot” or “Rsync snapshot,” depending on your preference and storage capacity.
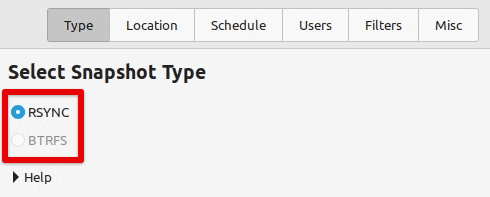
Choosing the backup type
Step 6: Choose the backup location and ensure enough space to store all files.
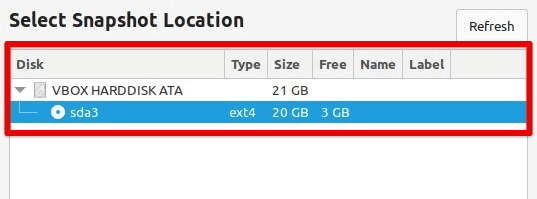
Selecting backup location
Step 7: Click on “Apply” to save your backup schedule.
Once you have set this up, Timeshift will automatically create backups at the specified intervals without user intervention. You can monitor the backup status and history from the application and adjust the settings as needed. Please note that if you prefer to use third-party tools, they may also be used to schedule backups from their configuration files.
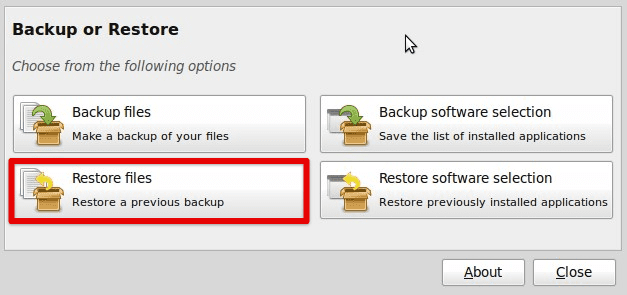
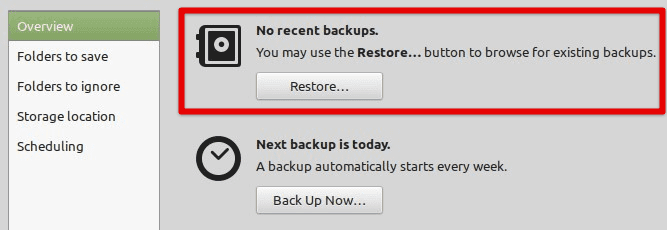
Restoring from a backup
Creating backups is essential for protecting your data, but it’s equally important to know how to restore from one in case of a system failure or data loss.
Step 1: Make sure you have a recent backup of the data you want to restore.
Step 2: Boot your Linux Mint system from a live USB or CD/DVD containing a Linux Mint image that you can use to access your system files and directories.
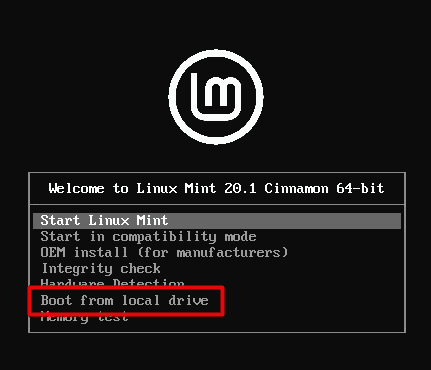
Booting Linux Mint from a local drive
Step 3: Open the file manager and navigate to the location of your backup file.
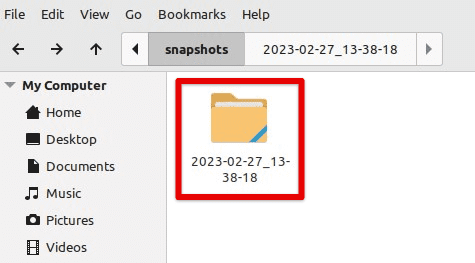
Locating backup files in the file manager
Step 4: Extract the backup file to a temporary location, such as the desktop or a new folder, using the file manager or a command-line utility like “tar” or “unzip.”
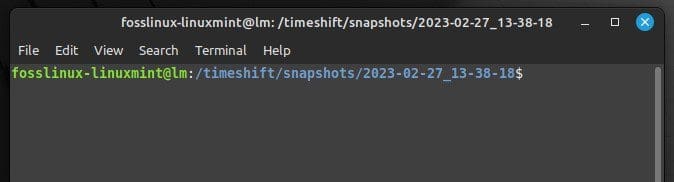
Unzipping backup file with a command line utility
Step 5: Navigate to the location where you want to restore, such as your home directory, and make sure there is enough free space to accommodate the restored files.
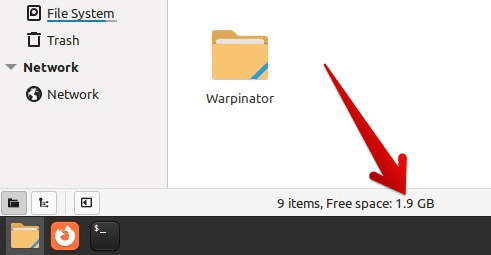
Space verification in the target directory
Step 6: Copy or move the files and directories from the backup file to the corresponding locations on your system using the file manager or the “cp” or “mv” command in the terminal. Be careful not to overwrite any existing files or directories you may want to keep.
Step 7: Repeat the previous steps for each backup file. Once you have finished restoring, reboot the system and verify that everything is working as expected.
Depending on the type and format of your backup files, you may need to use specific tools or utilities to extract or restore them, such as “tar,” “gzip,” “dd,” or “testdisk.” Consult the documentation or online resources for these tools if you encounter any issues or errors during this process.
Conclusion
Backing up your Linux Mint system is crucial for protecting your data and ensuring you can recover from unexpected events such as hardware failures, data corruption, or cyber-attacks. You can create full, incremental, or differential backups using the built-in backup tools or third-party utilities. Backups may also be scheduled to occur automatically at regular intervals. In case of a system failure or data loss, restoring from a backup is a straightforward process that requires booting your system from live storage, extracting the backup file to a temporary location, and copying the files to appropriate places on your system. If you are a high-end software developer, system admin, or content creator recently shifted to the Linux world, go through this curated list of the 10 best Linux backup tools.