
Virtualization is the process of creating a virtual version of something, such as an operating system, a server, a storage device, or a network. It allows you to run multiple operating systems on a single computer without partitioning your hard drive or setting up a dual-boot system.
There are several virtualization software available for Ubuntu, including VirtualBox, VMware, QEMU, KVM, and GNOME Boxes. Each of these software has its own strengths and weaknesses, but GNOME Boxes is an excellent option for beginners, as it is easy to use and comes pre-installed on Ubuntu.
What is GNOME Boxes
GNOME Boxes is a virtualization software designed to be simple and easy to use. It is a part of the GNOME desktop environment and provides a user-friendly interface for creating and managing virtual machines. GNOME Boxes uses QEMU and KVM as its underlying technologies, which provide excellent performance and compatibility with a wide range of operating systems.
One of the key advantages of using GNOME Boxes is its simplicity. It has a clean and intuitive interface, making it easy to create and manage virtual machines, even for users who are new to virtualization. Additionally, GNOME Boxes has several pre-configured virtual machines, including Ubuntu, Fedora, and Windows, making it easy to start with virtualization immediately.
Another advantage of using GNOME Boxes is its performance. It uses QEMU and KVM, both optimized for performance and providing excellent virtualization capabilities. This allows you to run virtual machines with minimal overhead, which is especially important if you run resource-intensive applications.
In this post, you will learn how to install GNOME boxes on your Ubuntu system and how to spin virtual machines.
Installing and configuring GNOME Boxes on Ubuntu
There are two ways you can use to install GNOME Boxes on your Ubuntu system;
- You can install GNOME Boxes using the apt package manager.
- You can install GNOME Boxes from the Ubuntu software center or the GNOME software.
Installing GNOME Boxes with apt
If you are a command-line person, this method will suit you. First, launch the Terminal from the application menu or use the keyboard shortcut Ctrl + Alt + T.
Update the system by running the commands below. It is highly recommended that you constantly update your system before installing any packages to prevent dependency conflicts. Updating your system regularly also enhances system security.
sudo apt update
sudo apt upgrade
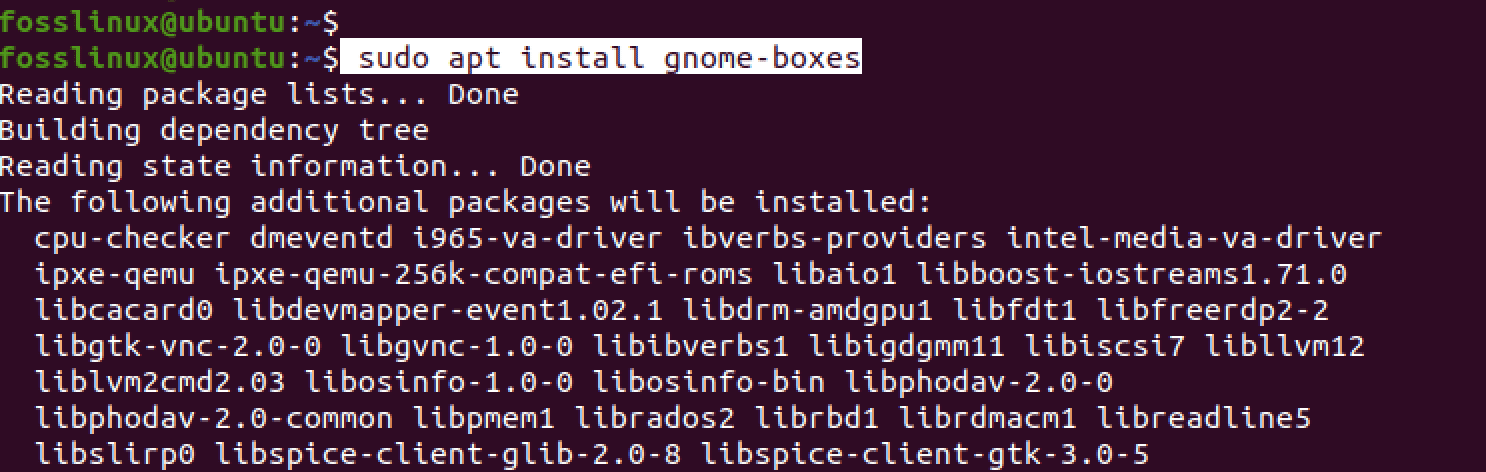
These commands might take a while, depending on when you last updated your system. Once done, Install GNOME Boxes using the command below.
sudo apt install gnome-boxes
Install GNOME Boxes
The GNOME Boxes is a relatively large package and might take some time to download and install, depending on your internet connection. Please exercise patience.
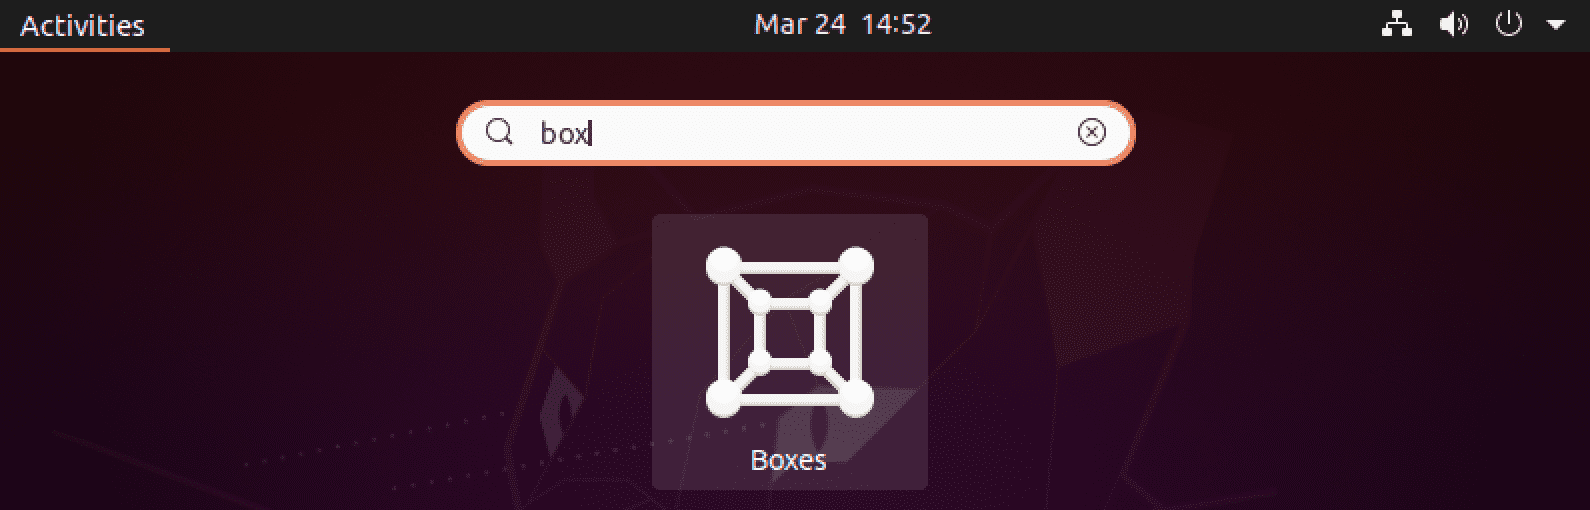
After a successful installation, you can launch GNOME Boxes from the applications menu.
Install GNOME Boxes
Alternatively, you can launch the application from the Terminal using the command below.
gnome-boxes
Installing GNOME Boxes with Software Center
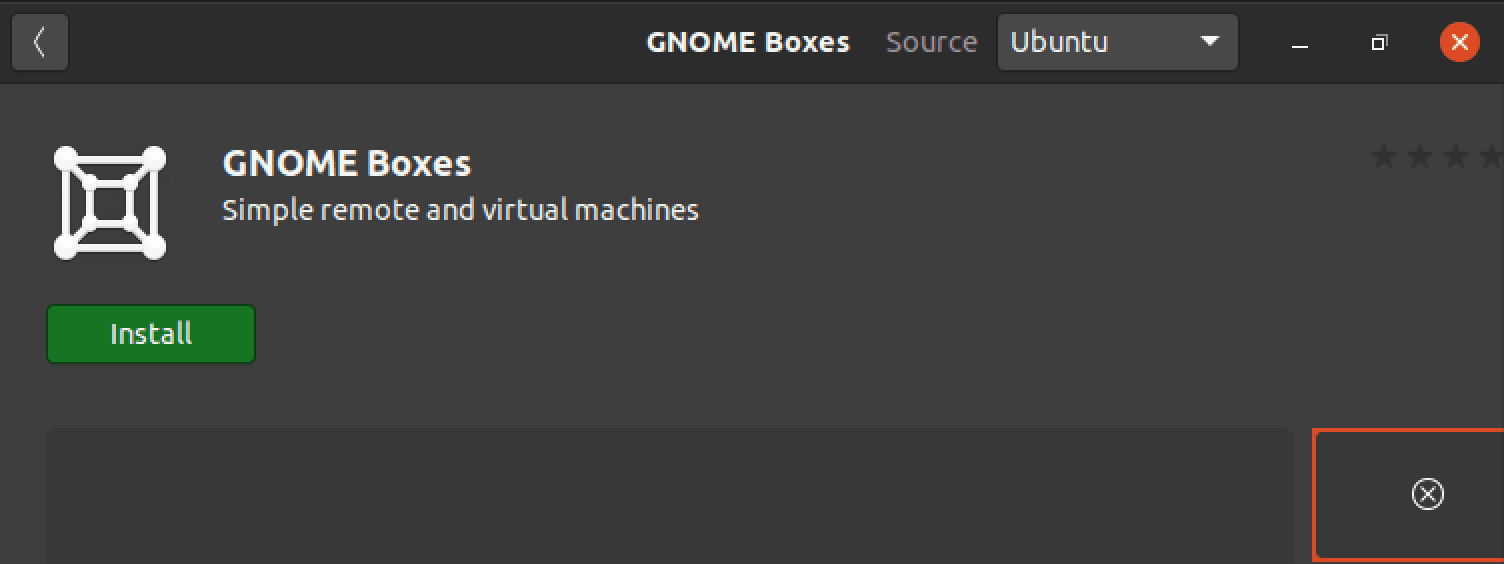
If you are not a massive fan of the Terminal or find executing command-line instructions quite daunting, you can download and install GNOME Boxes from the Software Center.
Navigate to the applications menu, launch either the Ubuntu Software Center or GNOME Software, and search for GNOME Boxes.
Install GNOME Boxes
Click “Install” to download and install GNOME Boxes on your system. Once done, you will see an option to “Launch” or “Remove” GNOME Boxes. Click Launch to start the application.
GNOME Boxes window
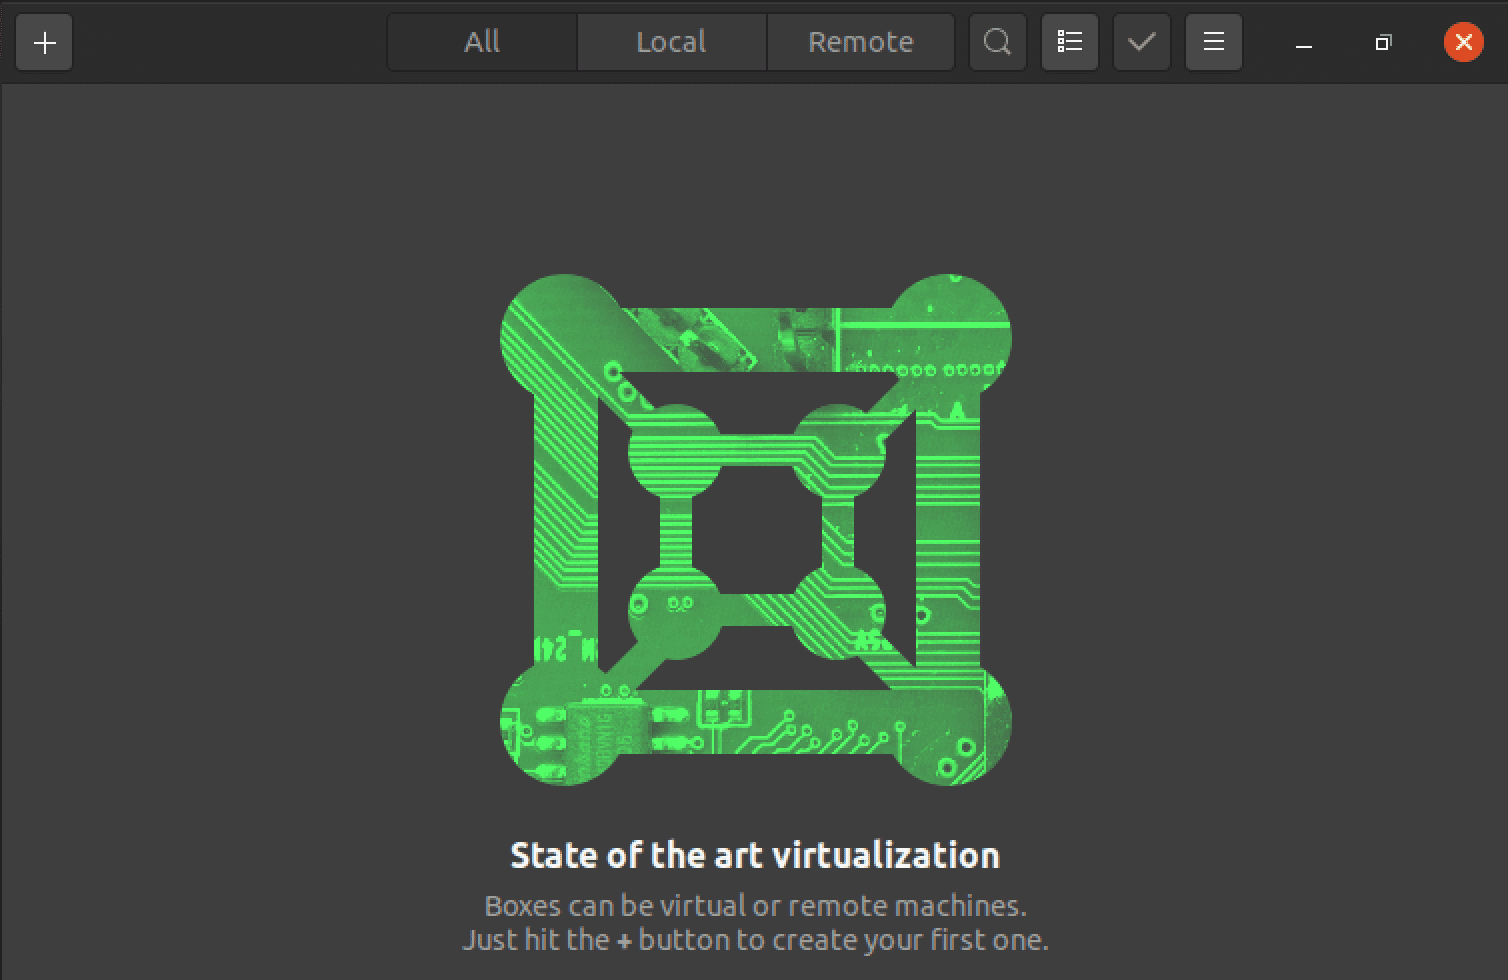
When you first launch GNOME Boxes, you will see a window similar to the image below.
GNOME Boxes window
Let’s look at some of the options present in this window.
- Plus button: The plus button in the top left corner of the GNOME Boxes window allows you to create a new virtual machine. Clicking on the plus button will open a window where you can select the operating system you want to install, set the amount of memory and CPU cores to allocate to the virtual machine, and configure other settings.
- All menu: The “All” menu on the left-hand side of the GNOME Boxes window displays all the virtual machines you have created or imported into GNOME Boxes. You can click on a virtual machine to select it, then click the play button to start it. You can also right-click on a virtual machine to access additional options, such as cloning, deleting, or exporting.
- Local menu: The “Local” menu on the left-hand side of the GNOME Boxes window displays virtual machines stored locally on your computer. These virtual machines can be created or imported into GNOME Boxes using the plus button.
- Remote menu: The “Remote” menu on the left-hand side of the GNOME Boxes window allows you to connect to remote virtual machines. To connect to a remote virtual machine, you must specify the connection details, such as the hostname or IP address and the login credentials.
Creating your first Virtual Machine with GNOME Boxes
In this section, you will learn how to spin up your first Virtual machine using GNOME Boxes. Follow the steps below.
Step 1. Click on the plus button in the top left corner of the GNOME Boxes window. This will open a dropdown menu with two options: “Create a virtual machine” and “Connect to the remote computer.”
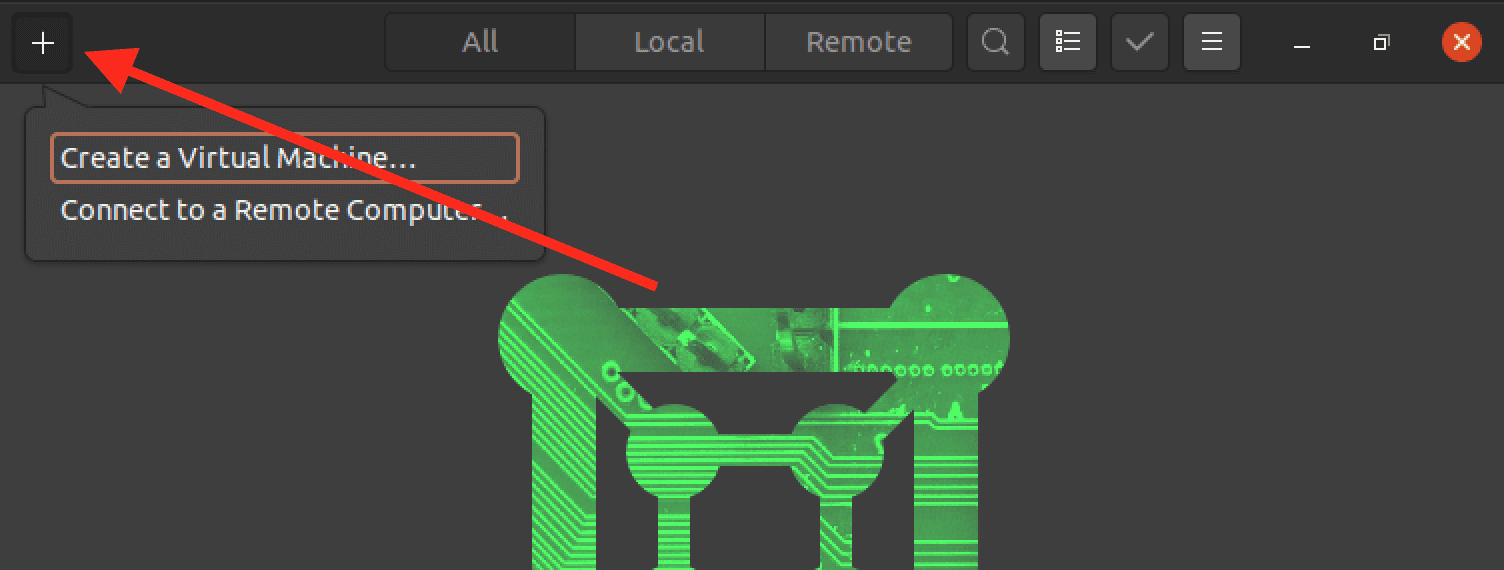
Click the plus (+) button
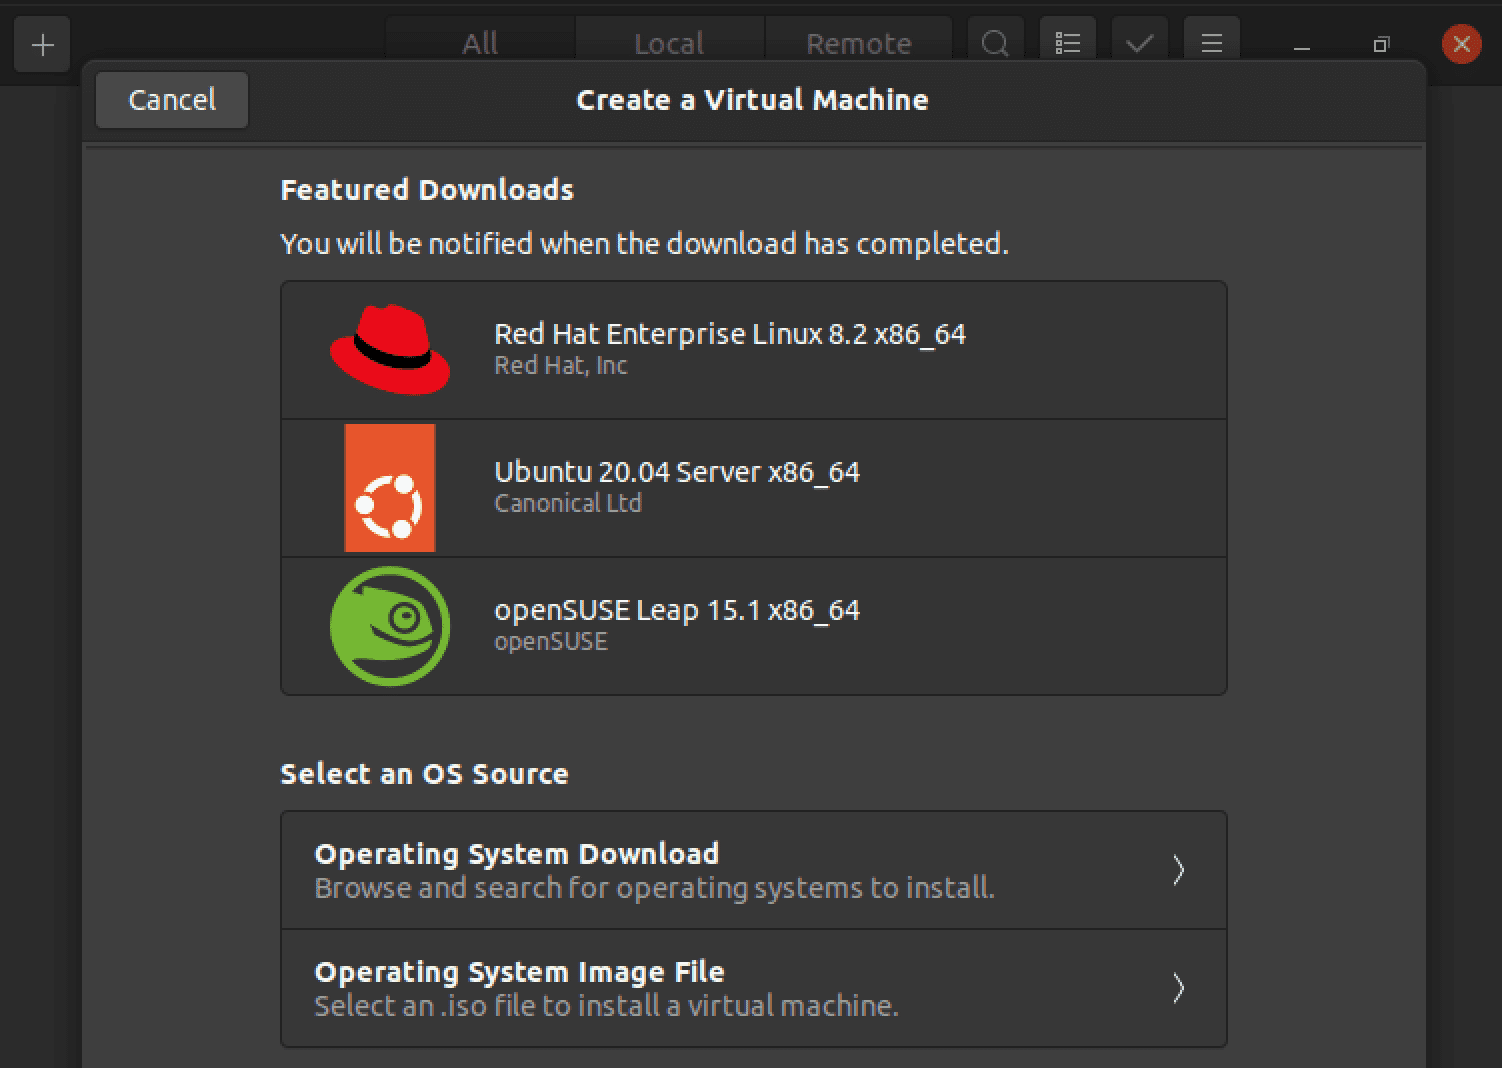
Step 2. Select “Create a virtual machine” from the dropdown menu. This will open a new window where you can configure the settings for your virtual machine, similar to the image below.
Here, you will see two main sections – The “Featured downloads” section and the “Select an OS source” section.
- Featured downloads: This section lists some of the available Linux distributions recommended by GNOME Boxes. For example, this post shows distributions like RHEL, Ubuntu, and OpenSUSE. The only caveat is that GNOME Boxes must download this OS before you can create a Virtual machine.
- Select an OS source (recommended): Unlike the “featured downloads,” this section allows you to use OS image files available on your local machine. Therefore, you don’t have to wait for GNOME Boxes to download ISO files.
Select OS source
Step 3. Select the “Operating System Image File option.
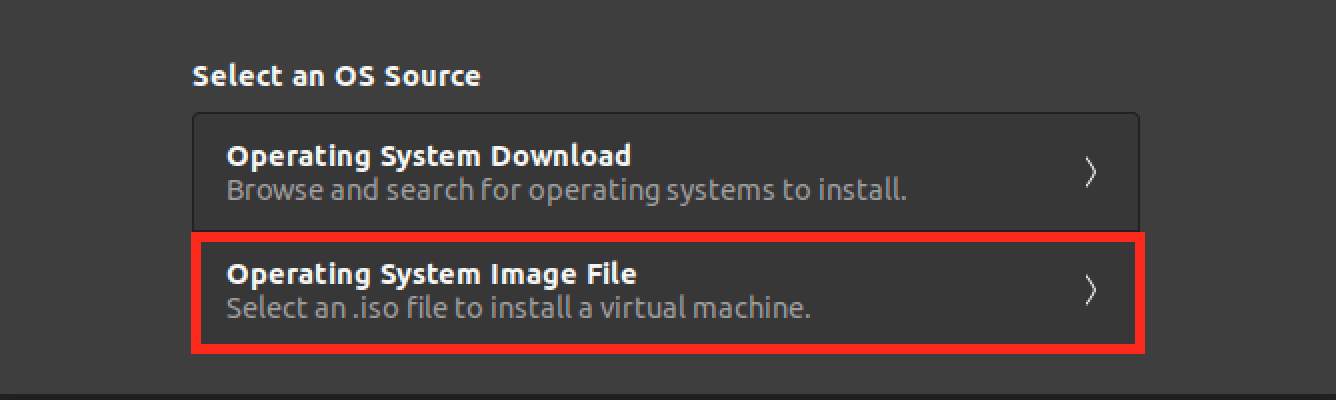
Select the OS image file
This option will launch the file manager on your Ubuntu system. First, navigate to where you have the OS image file (ISO file) and select it. When done, you will see a configuration window showing the resource allocation. Click the “Customize” button If you want to change these values.
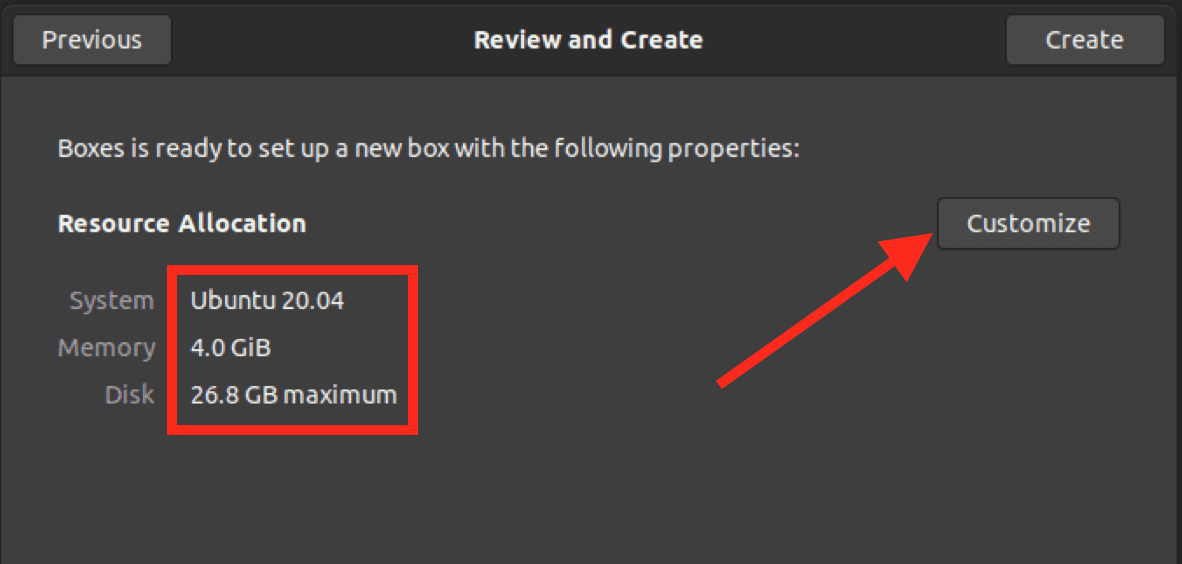
Configure Virtual machine
Tip: Please beware of how much memory you assign to the virtual machine. Don’t assign too much memory and leave less for the host operating system. For example, if you have 4GB of memory, the much that you can assign to the virtual machine is 2GB. However, that also depends on the OS you are installing. For example, Ubuntu needs at least 4GB of RAM, but an OS like Parrot can run efficiently even with 1GB of RAM.
Step 4. Once you allocate the resources (memory and disk), click the “Create” button. This will boot the OS like installing it on a standard PC. In our case, we used Ubuntu. So the first screen is the “Welcome” screen, similar to the image below.
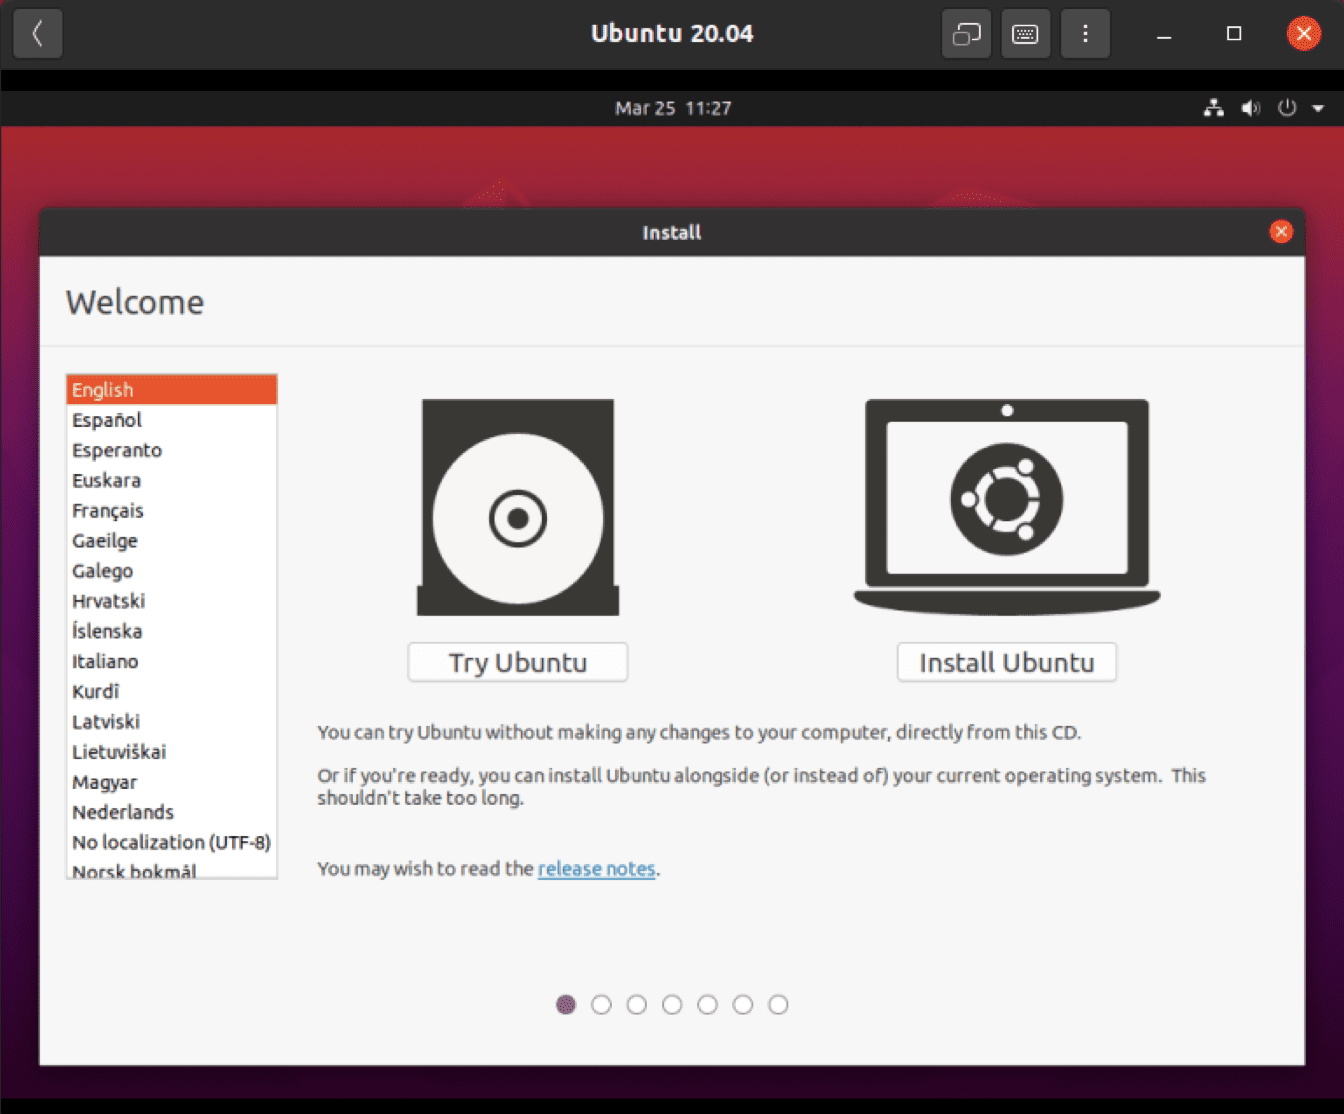
Ubuntu welcome screen
Follow the on-screen instructions from this point.
Famous use cases of GNOME boxes
Testing and debugging
Developers and testers commonly use Gnome Boxes to create virtual machines for testing and debugging software. This allows them to test software on different operating systems and configurations without needing multiple physical devices.
Security and privacy
Gnome Boxes can also be used for security and privacy purposes. For example, users can create a virtual machine for web browsing, which can be isolated from the host operating system and used to avoid tracking and prevent malware infections.
Legacy software
Gnome Boxes is also helpful for running legacy software that may not be compatible with the latest versions of Linux or other operating systems. Users can create a virtual machine with an older version of an operating system and run the legacy software within the VM.
Education
Gnome Boxes is a popular tool for educational purposes. It allows students to create virtual machines and experiment with operating systems and software configurations without physical hardware.
Cloud Computing
Gnome Boxes can also be used for cloud computing purposes. For example, users can create virtual machines and configure them to connect to remote servers or cloud-based services for testing and development.
Gaming
While not its primary use case, Gnome Boxes can also run games not natively supported on Linux. Users can create a virtual machine with a Windows operating system and run games within the VM.
Wrapping up
Virtualization is a powerful tool for developers, testers, educators, and many others who need to create and manage virtual machines on their Linux desktops. However, configuring virtual machines can be complex and time-consuming, especially for users who are new to virtualization. This is where GNOME Boxes comes in, offering a simple and user-friendly interface for creating and managing virtual machines on Ubuntu.
With GNOME Boxes, users can easily create virtual machines, install operating systems, and configure virtual hardware settings. Its integration with the GNOME desktop environment also makes it a seamless part of the Ubuntu experience. Whether you need to test software, run legacy applications, or experiment with different operating systems, GNOME Boxes simplifies virtualization on Ubuntu and makes it accessible to a broader range of users.