
Tilda is a terminal emulator for Linux that provides a drop-down terminal similar to the console in the popular first-person shooter game, Quake. Tilda is useful for quickly accessing a terminal without opening a separate window, saving time and improving workflow.
In addition to its drop-down functionality, Tilda also provides several customization options. You can customize the terminal’s size, font, and color scheme to match your preferences. You can also assign keyboard shortcuts to specific commands or scripts, which can help automate repetitive tasks and improve productivity.
What’s a drop-down terminal?
A drop-down terminal is a terminal window that can be accessed by pressing a keyboard shortcut or hotkey. When activated, the terminal window slides down from the top of the screen and stays on top of all other windows until it is closed. This lets you quickly access the terminal without opening a separate window, saving time and improving your workflow.
This post will provide a comprehensive guide on installing and using Tilda on Ubuntu. Let’s dive in.
Installing Tilda Terminal on Ubuntu
There are two main methods that you can use t install Tilda on Ubuntu.
- Using the Ubuntu Software Center
- Using the command-line
Method 1. Install Tilda using the Ubuntu Software Center
If you have Ubuntu Software Center or GNOME Software installed on your system, you can install Tilda graphically by following the steps below.
Step 1. Open the Ubuntu Software or GNOME software application on your Ubuntu system. You can find this application by clicking on the “Show Applications” icon in the bottom left corner of your screen and typing “Ubuntu Software” into the search bar.
Step 2. In the Ubuntu Software application, type “Tilda” into the search bar at the top of the window.
Step 3. Click on the Tilda Terminal icon in the search results to open the Tilda Terminal page.
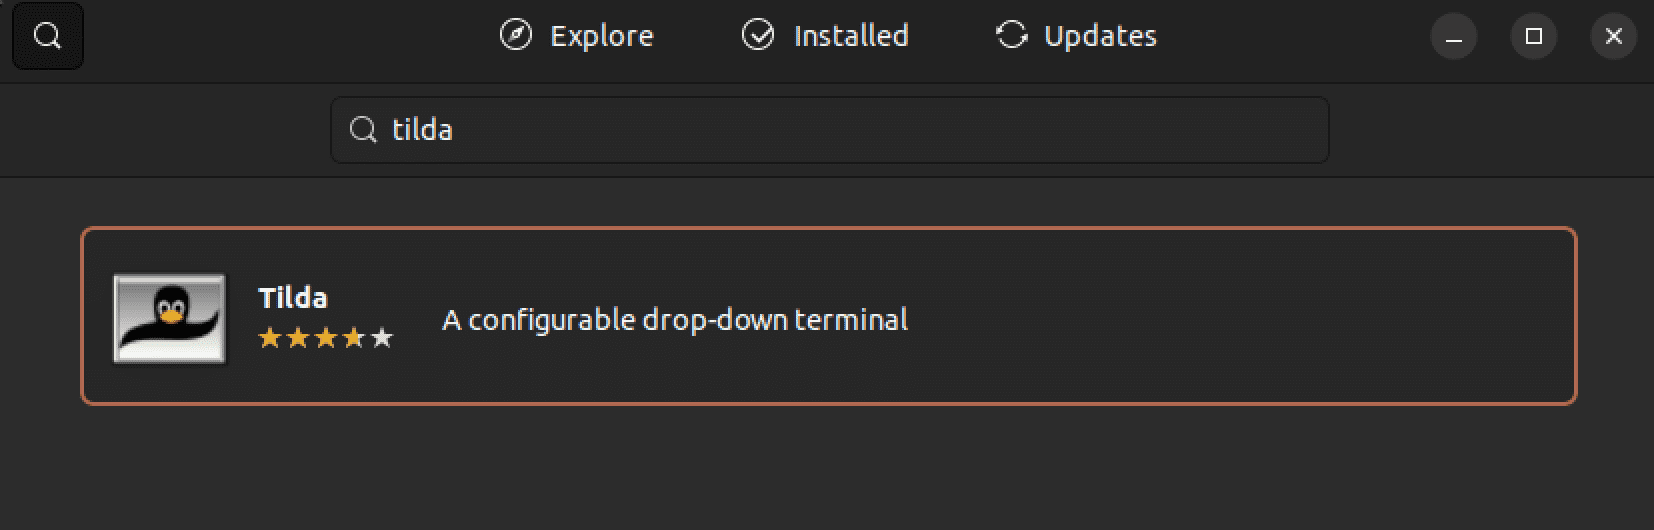
Tilda
Step 4. Click the “Install” button on the Tilda Terminal page to start the installation process.
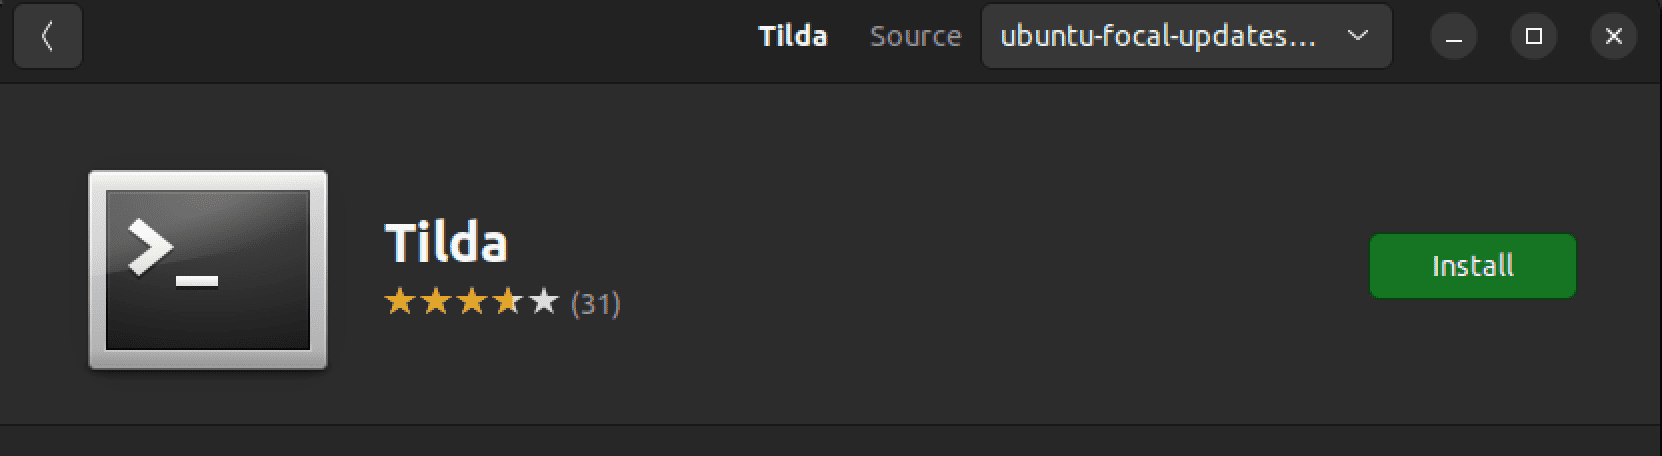
Install Tilda
During the installation process, you will be prompted to enter your password. Enter your password and click “Authenticate” to continue with the installation.
Method 1. Install Tilda using the command-line
Below are the step-by-step instructions for installing Tilda Terminal on Ubuntu via the command line.
Step 1. Open a terminal window on your Ubuntu system by pressing Ctrl + Alt + T.
Step 2. Type the following command into the terminal and press Enter to update your system’s package list. It is highly recommended to constantly update your system before installing additional packages. That prevents dependencies conflict, and it is also a security measure.
sudo apt update
Step 3. Type the following command into the terminal and press Enter to install Tilda Terminal:
sudo apt install tilda
You will be prompted to confirm that you want to install Tilda during installation. Type y and press Enter to continue with the installation.
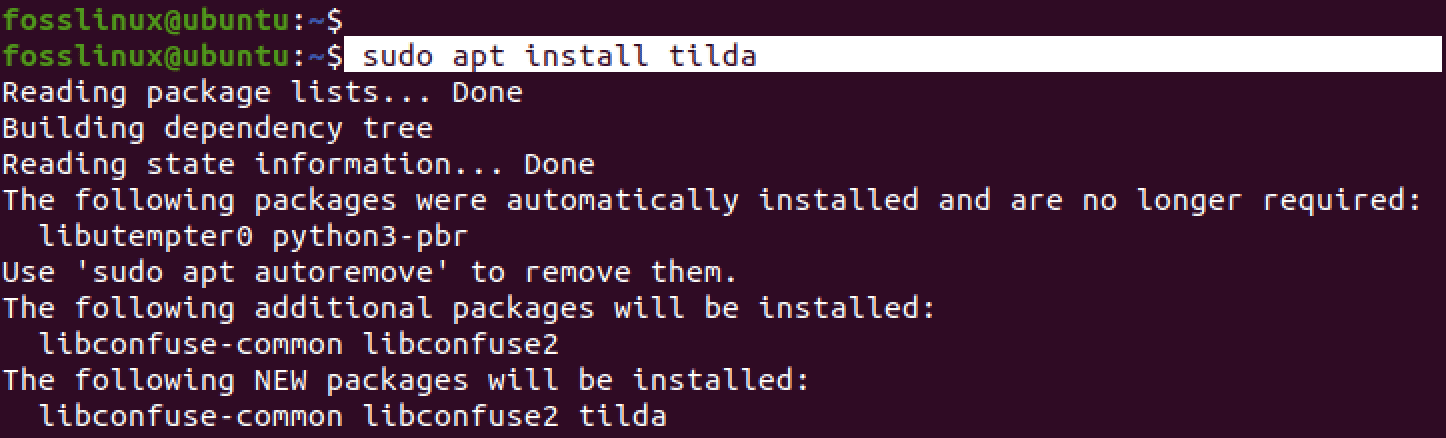
Install Tilda
Launch the Tilda Terminal
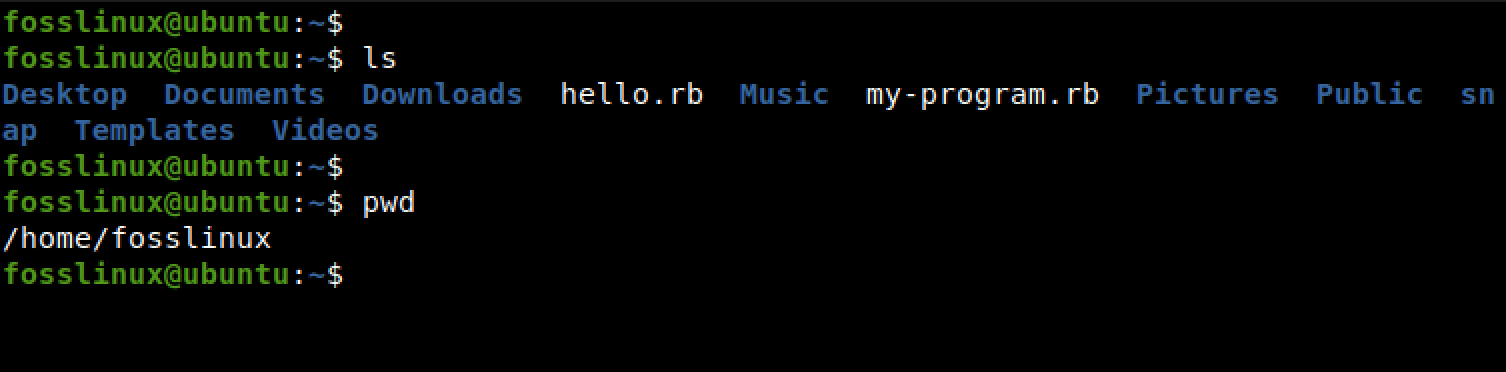
After installing, you can launch the application from the applications menu or execute the command below on the default GNOME terminal.
tilda
That action will launch the Tilda terminal window. This might seem confusing as the Tilda is a dropdown terminal and should be invoked with a keyboard shortcut.
Tilda
Well, that’s how the Tilda terminal works. First, you launch it to start the Tilda background process; then, you can control it (appear or disappear) using a keyboard shortcut. The default keyboard shortcut for revealing or hiding the Tilda terminal is F1.
Note: In some operating systems or PC models, you might want to use the keyboard combination Fn + F1.
Customizing the Tilda Terminal
There are two ways you can use to open the Tilda preferences window. One, you can execute the command below on the terminal.
tilda -C
The other method is launching Tilda, right-clicking anywhere inside, and selecting the “preferences” option, as shown in the image below.
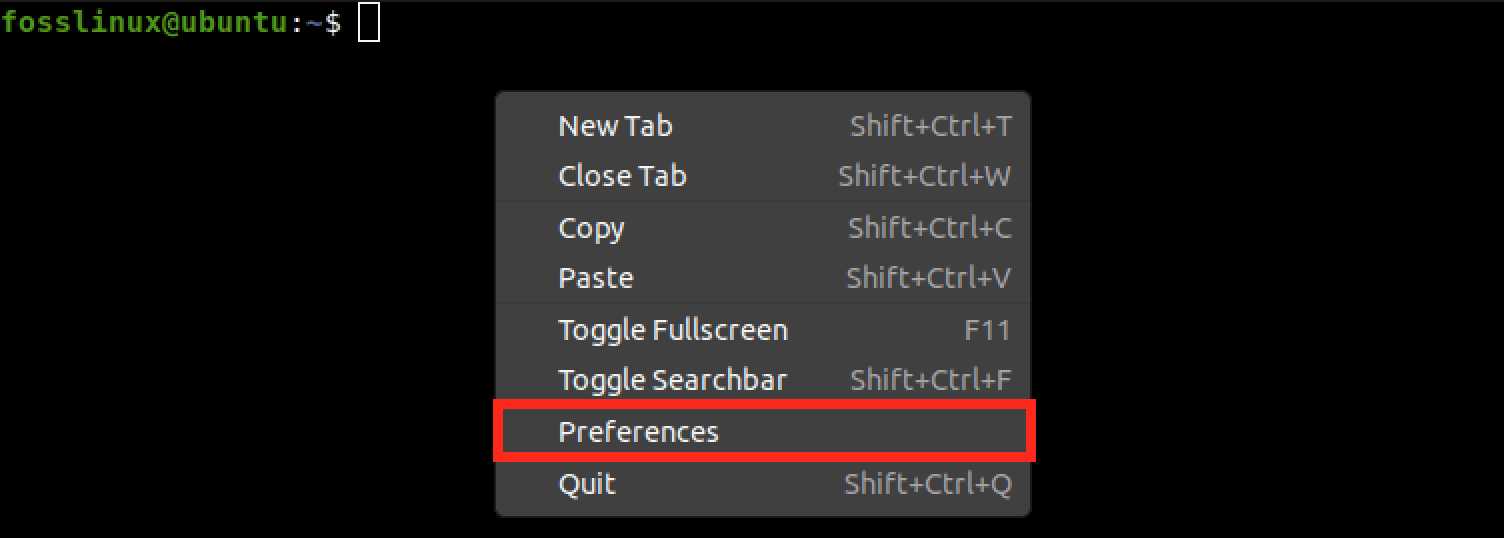
Tilda preferences
The preferences window consists of several tabs that allow you to customize various aspects of the terminal. Here’s a breakdown of what each tab does:
1. The General tab
The General tab in Tilda Terminal’s preferences window allows you to configure settings related to the window display, terminal display, and font. In the Window Display section, you can choose whether the Tilda Terminal window should appear in all workspaces, always stay on top of other windows, or be hidden when first launched. You can also choose whether the terminal window should appear in the taskbar.
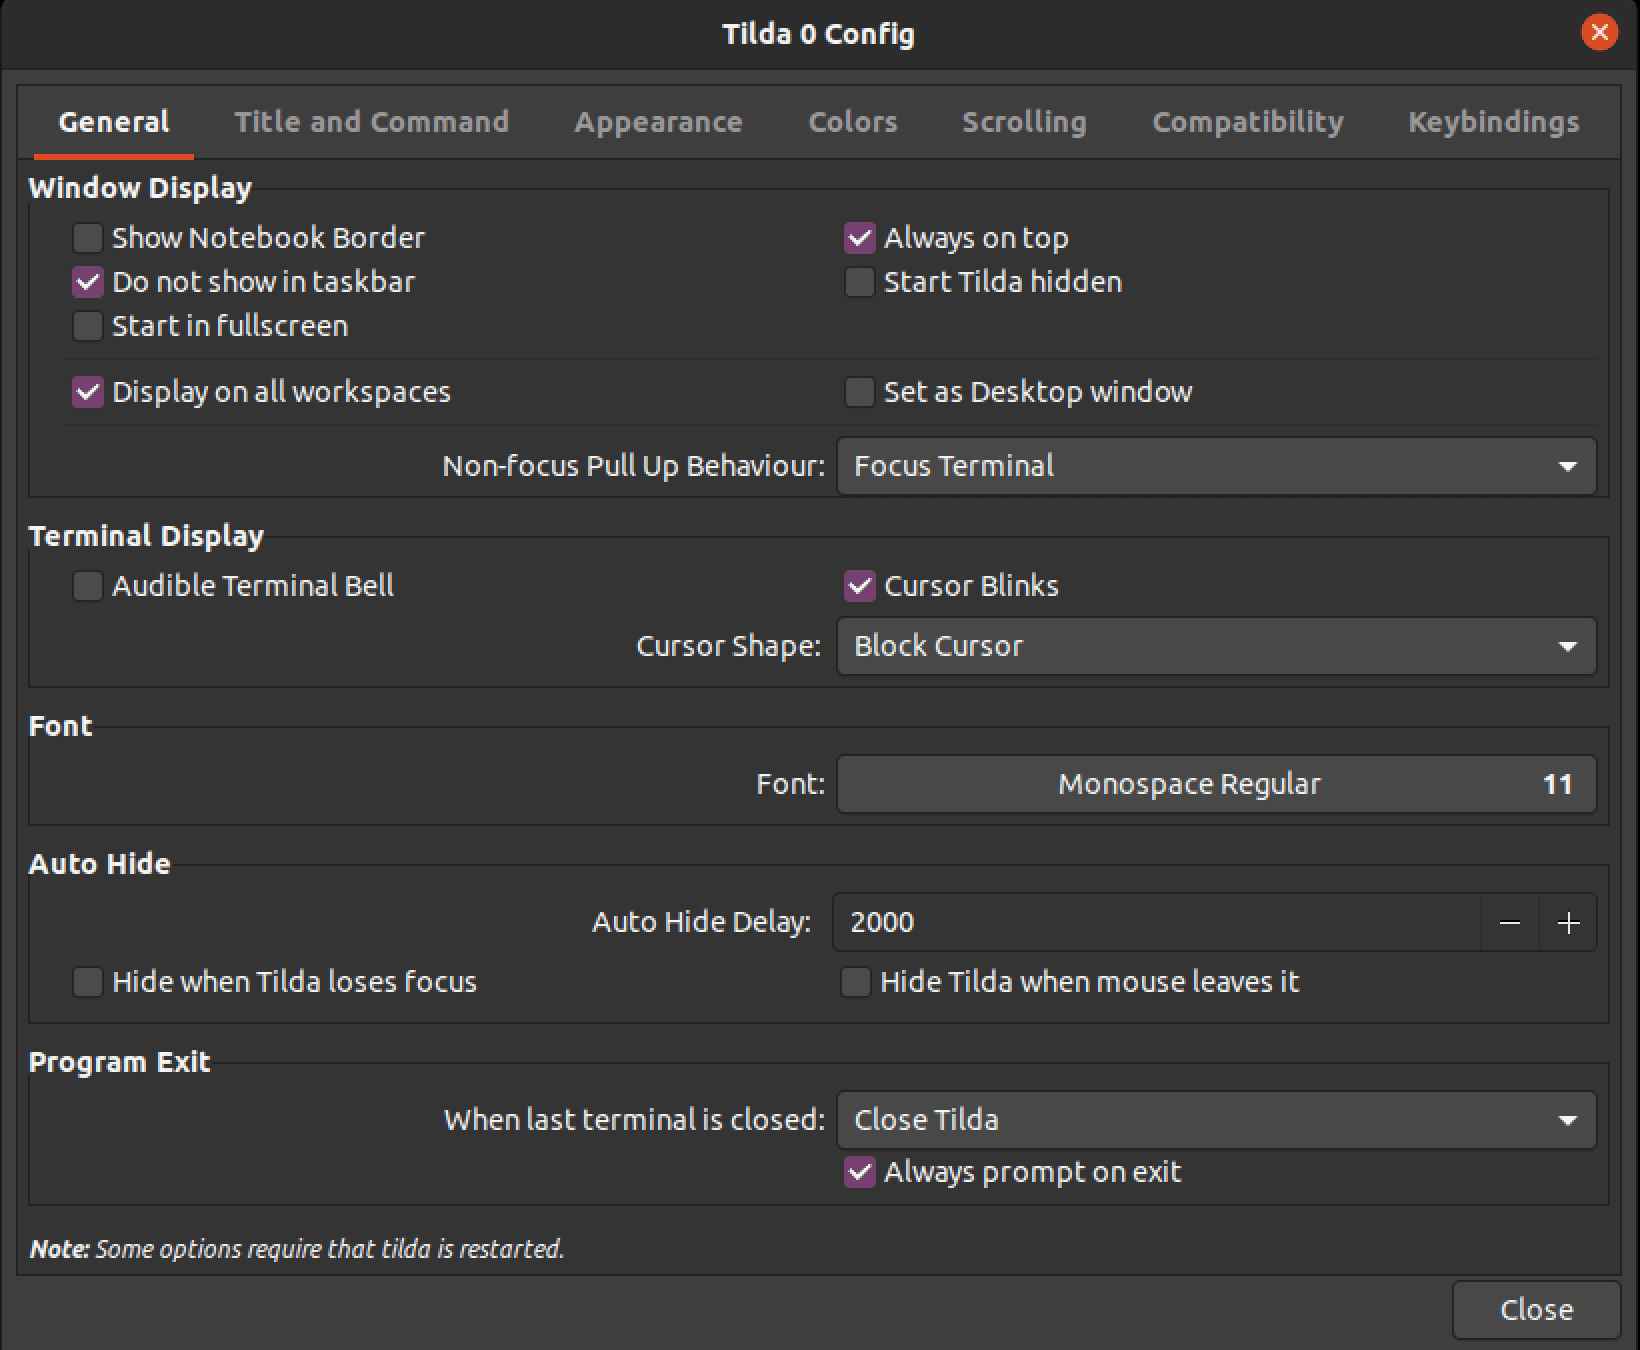
General tab
In addition, the Terminal Display section of the General tab allows you to configure settings related to the terminal window’s size and position. You can choose whether the terminal should open in full-screen or windowed mode, as well as the default size and position of the window.
The General tab also includes settings for the font used in the terminal. You can choose the font type, font size, and style. Additionally, you can choose whether the font should be anti-aliased and whether to use bold text. By customizing these settings, you can make the Tilda Terminal window and its contents appear just as you like.
2. Title and Command tab
The Title and Command tab in Tilda Terminal’s preferences window provides options for customizing the terminal window’s title and initial command. The tab allows you to set the initial title of the terminal window and choose behavior for dynamically setting the title based on the currently running command.
You can also set a maximum length for the terminal window’s title, preventing it from becoming too long and difficult to read. Additionally, the tab provides options for customizing the terminal command executed when the terminal window is opened.
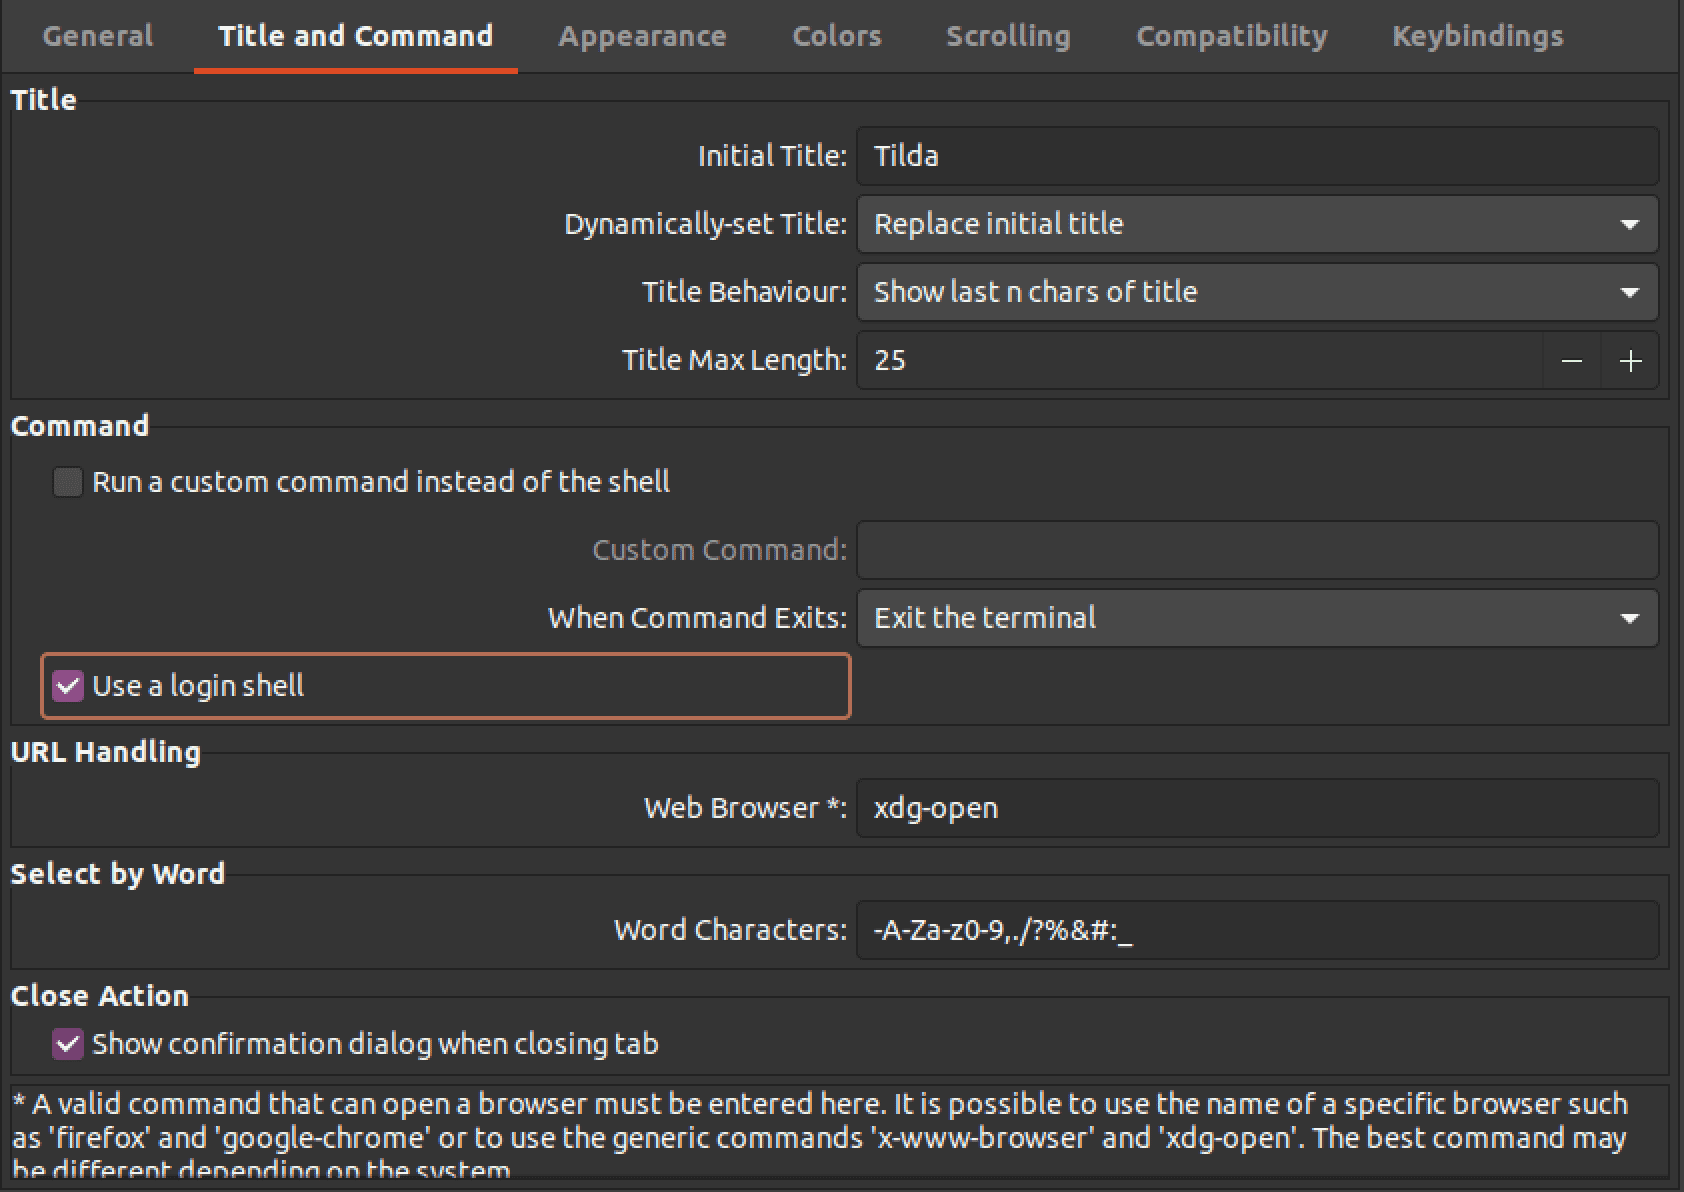
Title and command tab
You can enter a custom command in the “Command” field to run it instead of the default shell. This can be useful if you frequently run a specific program or script in the terminal.
Finally, the Title and Command tab includes options for URL handling. If you enable this option, Tilda Terminal will recognize and make URLs clickable in the terminal window, allowing you to open them easily in your default web browser.
3. Appearance
The Appearance tab in Tilda Terminal’s preferences window allows you to customize the essential parameters for the terminal’s look and feel. You can set the terminal window’s height, width, and position and adjust its transparency and animation effects. Additionally, you can set a background image to personalize the look of the window.
By customizing the parameters and visual effects in the Appearance tab, you can create a Tilda Terminal window that looks and behaves exactly how you want it to. Whether you want a transparent and animated window or a more traditional one with a personalized background image, the Appearance tab has the tools to create the perfect terminal environment.
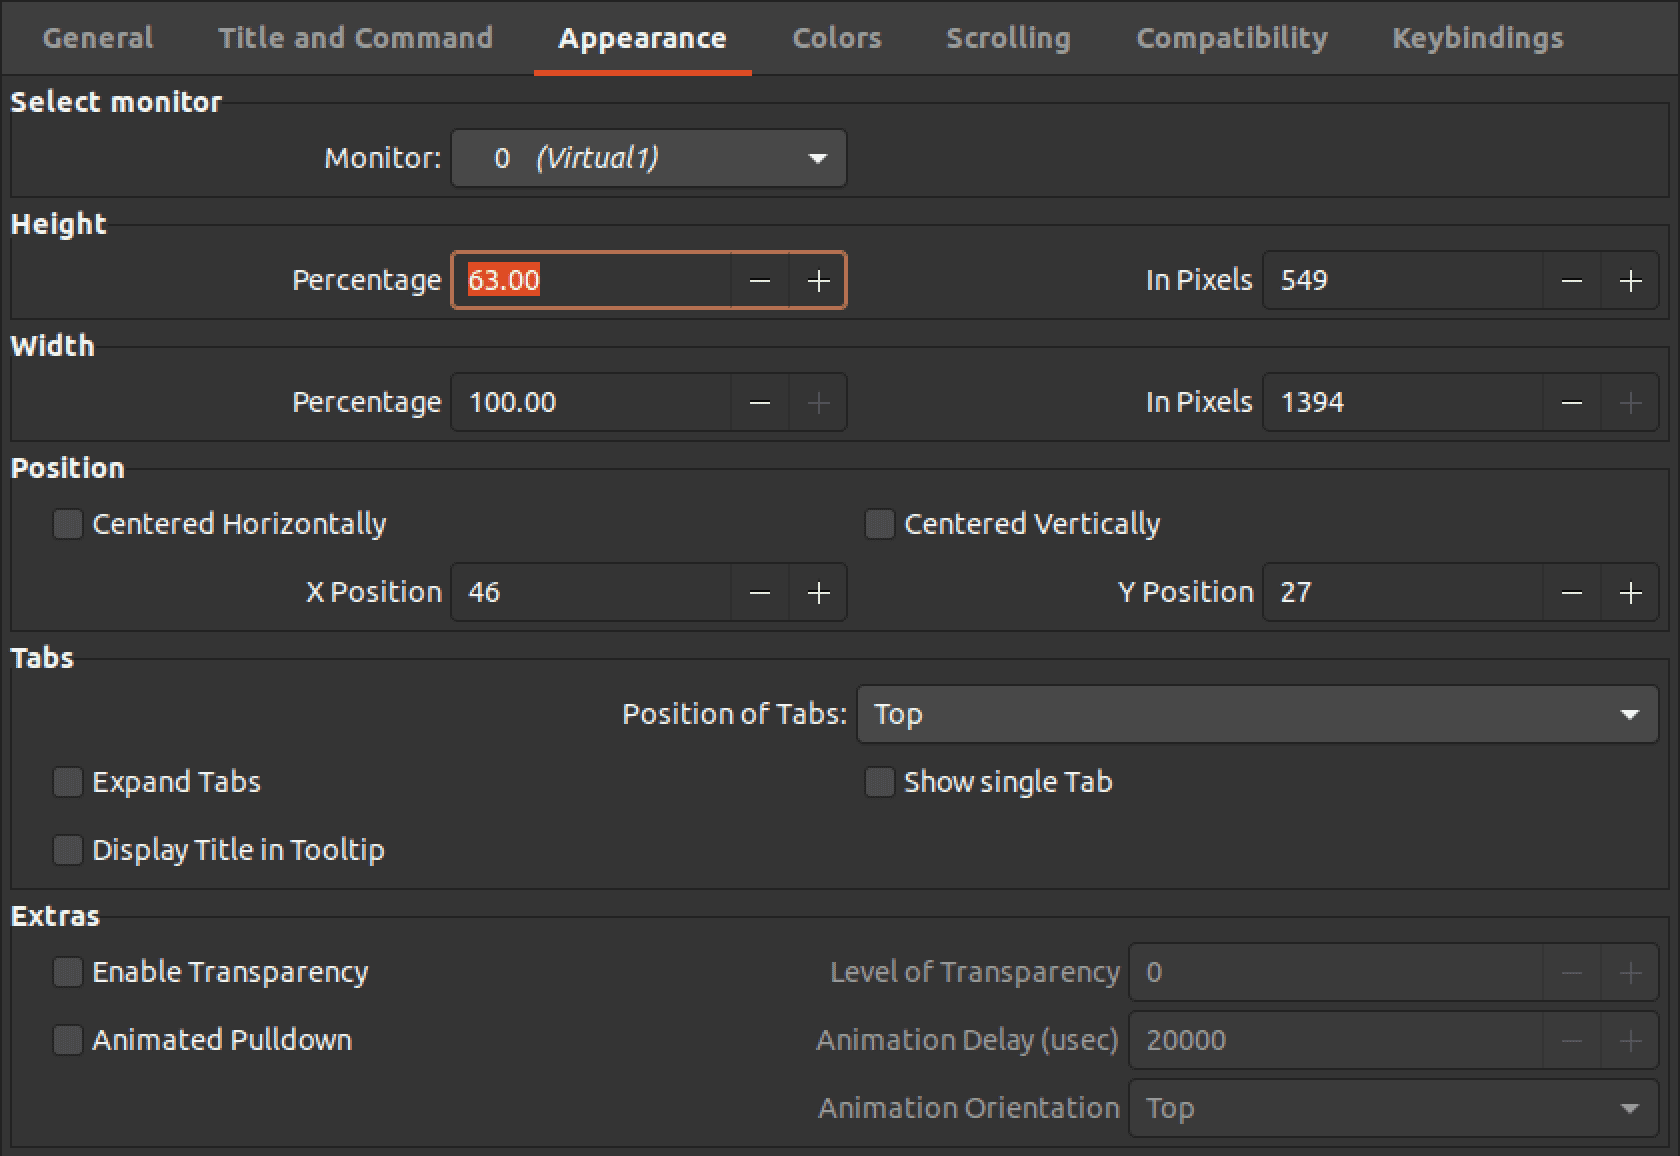
Appearance
4. Colors tab
In this tab, you can customize the colors of the terminal window. You can choose from several pre-defined color schemes or create custom ones.
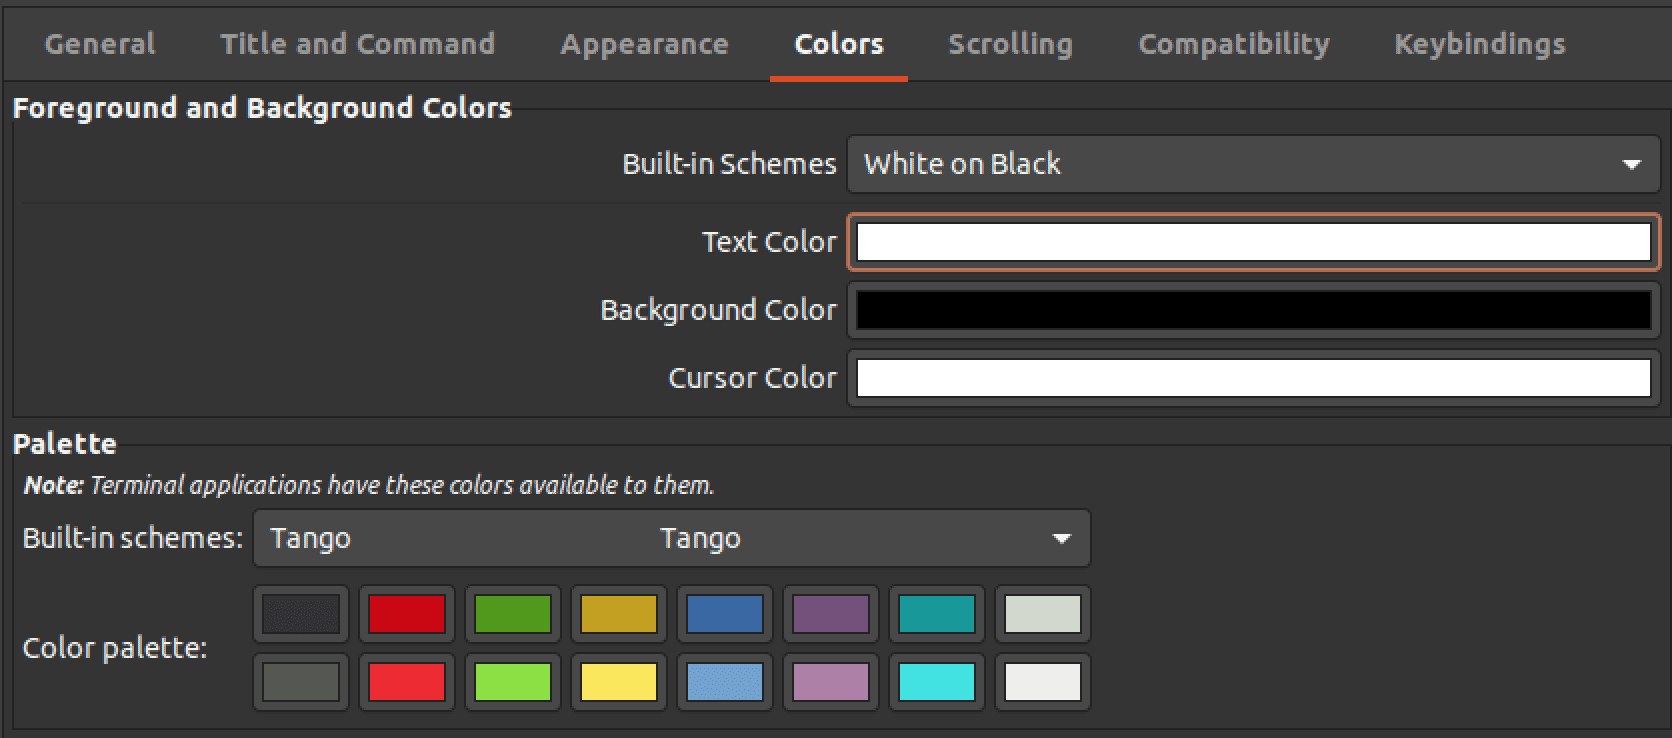
Colors tab
5. Scrolling
In this tab, you can customize the scrolling behavior of the terminal window. You can enable or disable smooth scrolling, specify the number of lines that should be scrolled at a time, and configure the scrollback buffer.
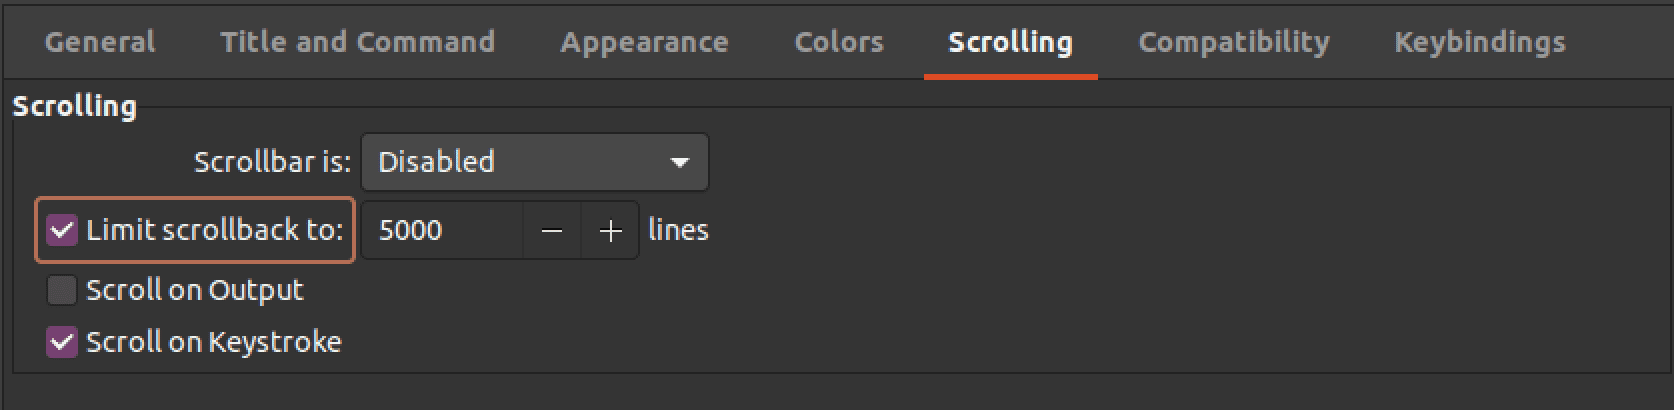
Scrolling tab
6. Compatibility
In this tab, you can configure various compatibility options for Tilda Terminal. For example, you can enable or disable compatibility with specific terminal emulators or specify the default text input and output encoding.
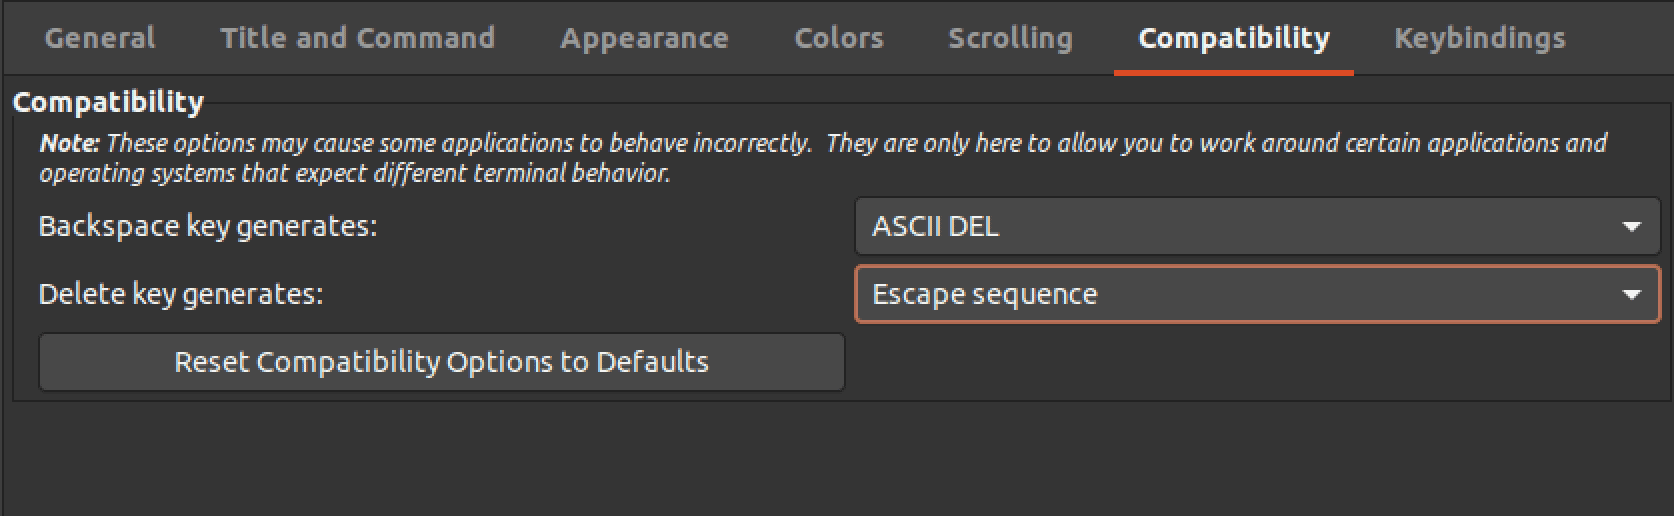
Compatibility tab
7. Keybindings
In this tab, you can customize the keyboard shortcuts Tilda Terminal uses. You can assign keyboard shortcuts to specific commands or scripts or modify existing keyboard shortcuts.
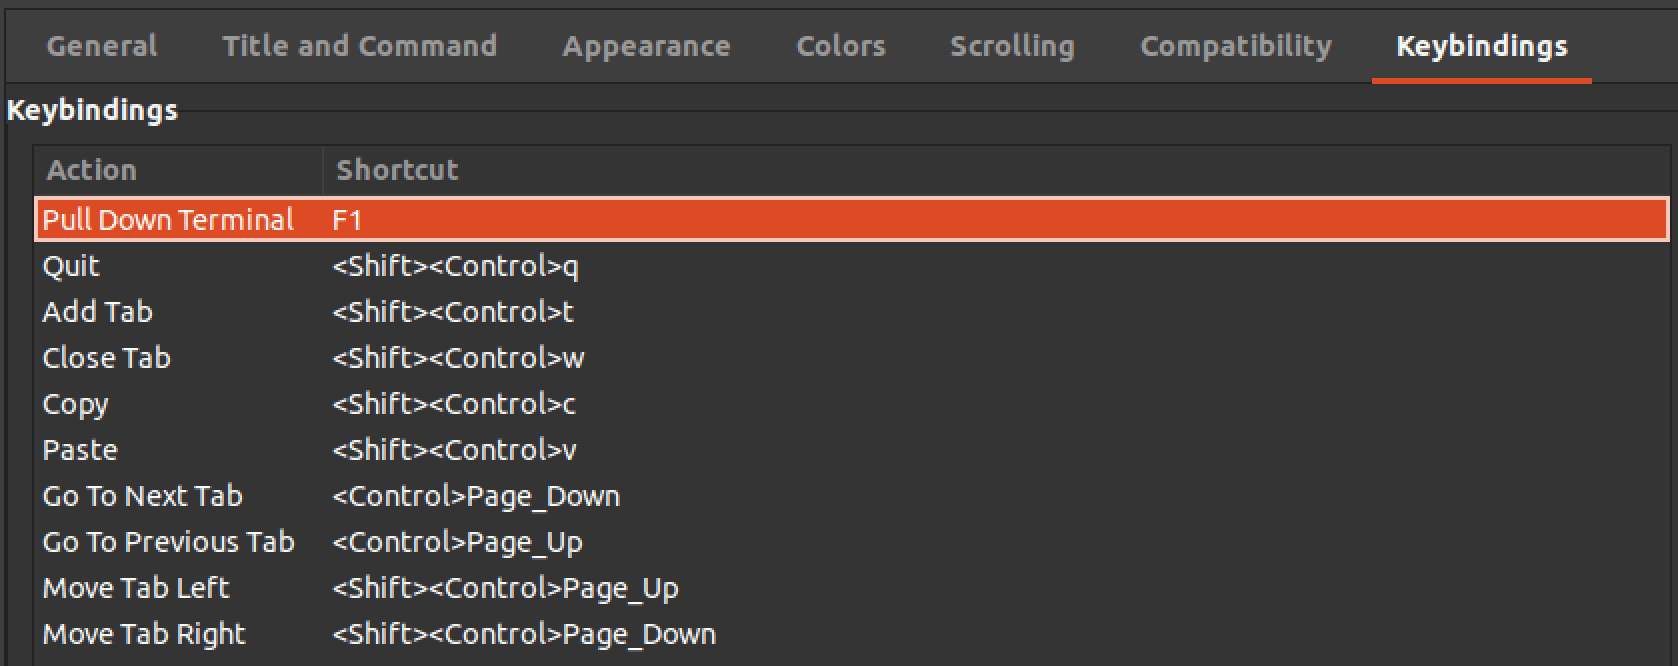
Keyboard shortcuts
Uninstall the Tilda terminal
If you no longer need to use Tilda, you can uninstall it using the command below.
sudo apt remove tilda
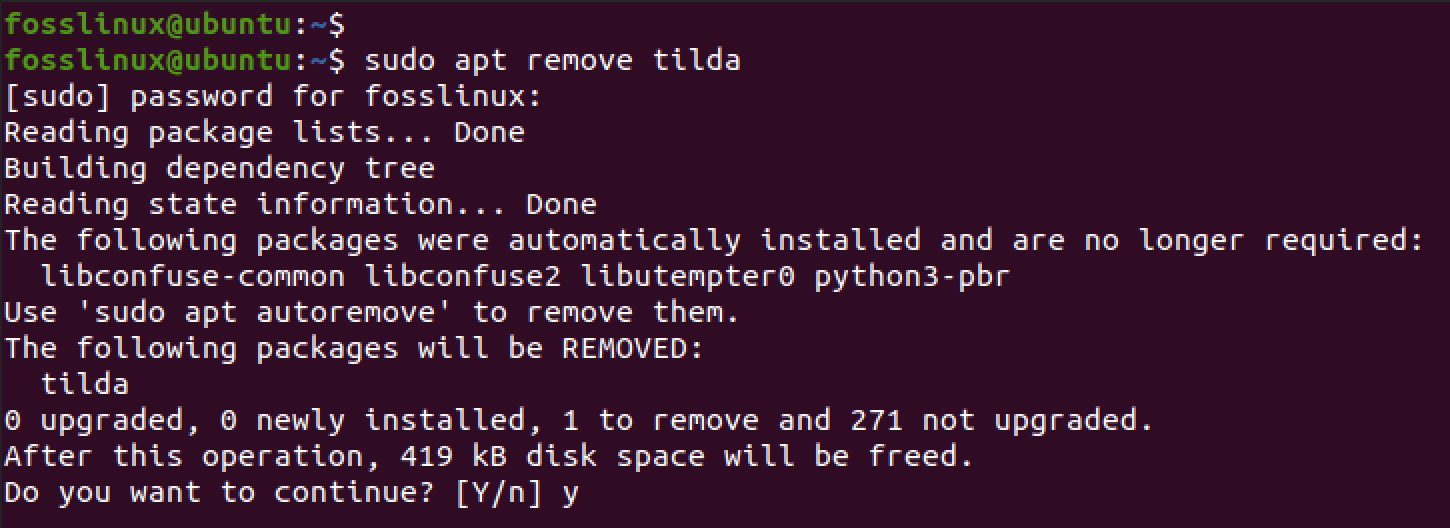
Uninstall Tilda
You may be prompted to enter your administrative password. If so, type it in and press Enter. Next, wait for the uninstallation process to complete. This may take a few moments. Once the process is complete, you can verify that Tilda has been uninstalled by typing the following command:
which tilda
If Tilda has been successfully uninstalled, you will see a message saying “tilda not found” or a similar message indicating that the command is unrecognized.
Conclusion
Tilda is a Linux terminal emulator that offers a drop-down terminal, similar to the console in Quake, for quick access to a terminal without opening a separate window. Tilda provides customization options and allows users to assign keyboard shortcuts to specific commands or scripts, automating repetitive tasks and improving productivity.
The installation process of Tilda on Ubuntu is easy and can be done through Ubuntu Software Center or the command line. By customizing Tilda’s settings, users can make the terminal window and its contents appear just as they like. If you have any questions regarding this post, please comment below.