
vnStat is a command line-based network traffic monitor for BSD and Linux that maintains a network traffic log for the selected interfaces(s). The monitor utilizes the network interface statistics given by the kernel as an information source. To engender logs, vnStat uses the info provided by the kernel. It also ensures light utilization of system resources regardless of network traffic rate.
Besides the network statistics provided by this command line utility, vnStat provides summaries on various network interfaces like “eth0” for wired connections and “wlan0” for wireless connections. In most cases, network admins use vnStat to monitor hourly, daily, weekly, and monthly glimpses of network statistics in a detailed table or a terminal statistical view.
Installing vnStat on Ubuntu 22.04
On the other hand, you can use the vnStat to obtain and provide a visual display of the vnStat statistics in graphs and keep the image form for later reference/use. However, this post will solely focus on vnStat.
Prerequisites
- A server/desktop running Ubuntu 22.04.
- Access to the server via SSH or just open the terminal if you are on a desktop.
- Access to the root user of a non-root sudo user. In this event, we suggest acting as a non-root sudo user, as you can harm your system if you are not cautious when acting as the root.
- It is suggested that you utilize a fresh OS setup to prevent any potential issues on your machine.
Below are features of vnStat
Features of vnStat
- CPU usage will be the same irrespective of the traffic.
- Data will persist even if the system reboots.
- Has several output options like day, week, and more.
- Allows the user to configure data retention policies.
- vnStat is very light and not resource-intensive.
- It can monitor multiple interfaces simultaneously.
- Months can be constituted according to the billing cycle.
- It can be used without root permissions.
- Quick and simple to set up and get it running.
Below are the three methods we will be using to set up vnStat on our Ubuntu system:
- Using apt-get.
- Using apt.
- Using aptitude.
Let us get started!
Method 1: How to install vnStat using apt-get
Step 1: Update and upgrade packages
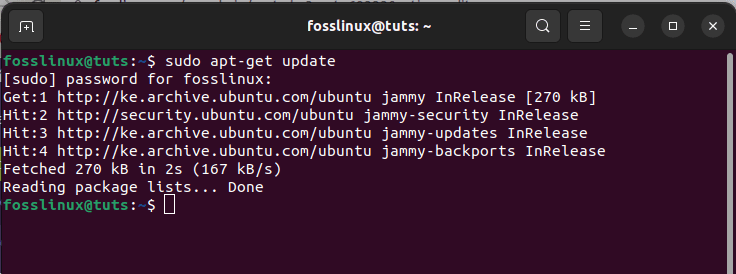
As usual, update the apt database with apt-get by running the following command:
sudo apt-get update
Apt-get update system
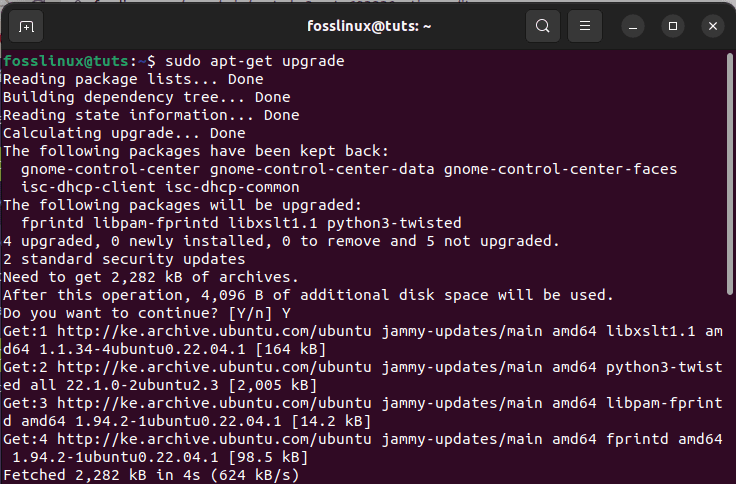
After updating the apt-cache database, you will be shown the number of packages that need to be upgraded; as such, run the following command. But if there are no packages to be upgraded, skip this step:
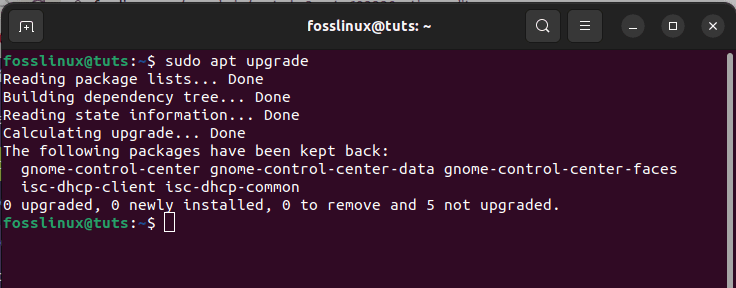
sudo apt-get upgrade
Apt-get upgrade system
Step 2: Setup vnStat using the apt-get command
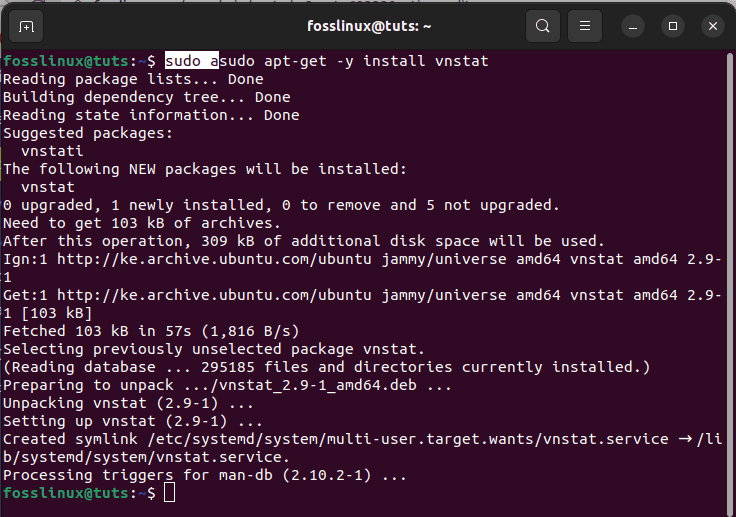
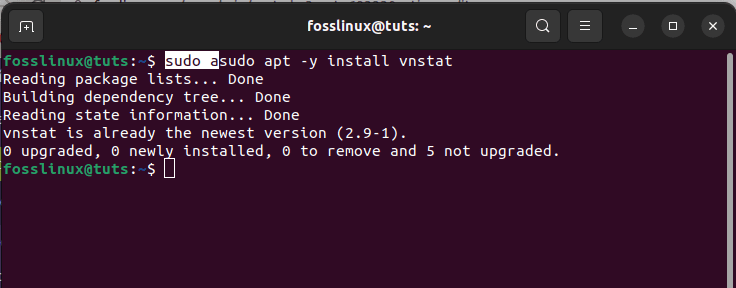
After updating and upgrading the apt database, go ahead and set up vnStat using apt-get by issuing the following command:
sudo apt-get -y install vnstat
apt-get install vnstat
Next, let us examine how we can make a replica of the same using apt.
Method 2: How to install vnStat using apt
Step 1: Update and upgrade packages
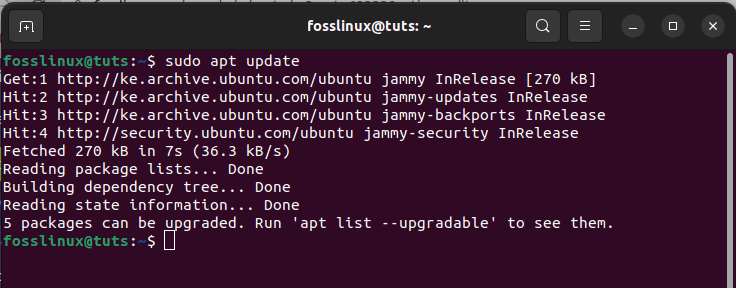
An Advanced Package Tool(APT) alias APT is a collection of tools used to set up, update, remove, and otherwise manage software packages on Debian and derivatives like Ubuntu and Linux mint. Now, to update the apt database with apt, issue the following command:
sudo apt update
Apt update command
After updating the packages and you realize some packages need an upgrade, run the following command:
sudo apt upgrade
Apt upgrade command
But remember, you can skip the above step if no packages need to be upgraded.
Step 2: Install vnStat
Once the update and upgrade processes are done, install the vnStat using apt by issuing the following command:
sudo apt -y install vnstat
Apt install vnstat
Let us look at the third method.
Method 3: How to install vnStat using aptitude
Step 1: Update packages
In this method, you must first install aptitude as it does not come pre-installed by default in Ubuntu. Aptitude is a text-based interface to the Linux/Debian GNU package system that allows you to view the list of packages and carry out package management tasks such as setting up, upgrading, and removing packages. To do this, run the following command:
sudo apt install aptitude
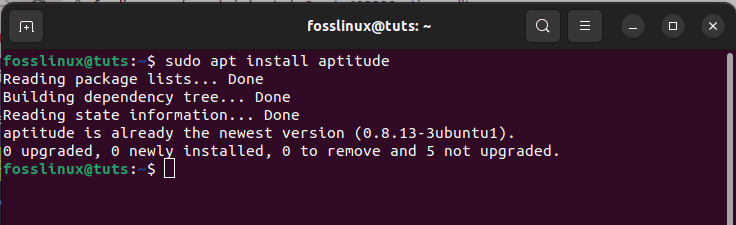
install aptitude
With the help of aptitude, install vnStat by issuing the following command:
sudo aptitude update
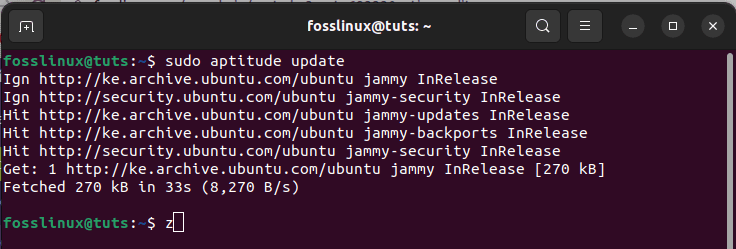
aptitude update
Step 2: Install vnstat
After updating and upgrading the system, proceed and install vnStat using aptitude by running the following command:
sudo aptitude -y install vnstat

aptitude install vnstati
Step 3: Check the version
After the setup process is over, you can go ahead and check whether or not vnStat is set up on your system with the help of the following command:
vnStat --version

vnstat version
The vnStat version 2.9 clearly indicates that vnStat is set up on our system. Let us proceed to the next step.
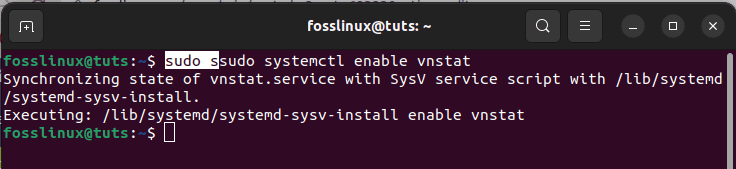
Step 4: Enable vnStat
To enable vnStat, use the subsequent command:
sudo systemctl enable vnstat
enable vnstat
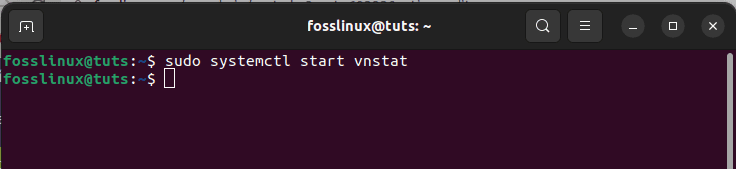
Step 5: Start vnstat
Once you are through with enabling vnStat, execute the following command to ascertain whether or not the service is running fine:
sudo systemctl start vnstat
start vnstat
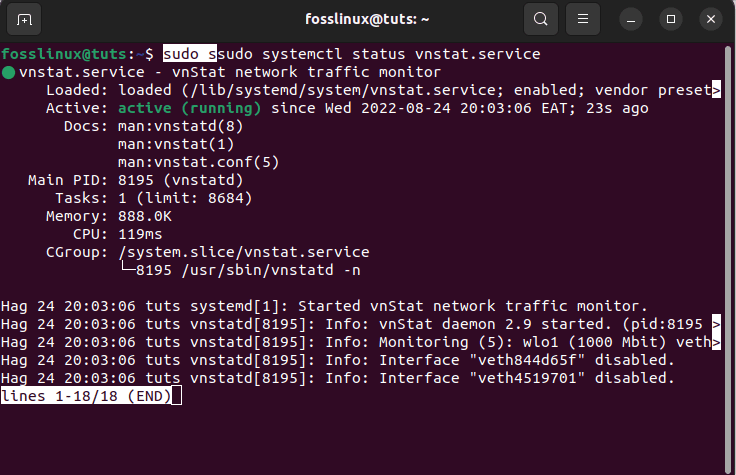
Step 6: Check status
Now that you have started the service, it is time to directly check the status of vnStat, which can be achieved by running the following command:
sudo systemctl status vnStat.service
Check Status
The green highlight “active (running)” shows that vnStat is ready to go.
That is done; let us move to the next section and look at how we can use this application.
How to use vnStat
Once the installation process is over, vnStat has to be told of the interfaces to be monitored. This can be achieved by configuration. But before configuring vnStat, we first need to get the name of the network interface to monitor; in this case, the “ifconfig” command should get this done for you:
ifconfig
Here are the results from our system:

ifconfig command
So our main network interface has the name “enp0s25.”
Now, the first thing to carry out here is telling vnStat the network interface to monitor. In this case, we look at a wired interface, “enp0s25,” and a wireless interface, “wlo1.” As such, run the following commands:
vnStat -i enp0s25

Tell vnStat of the interface to monitor
The above-given command activates the monitoring process of that specific interface.
Akin to what we have covered above, we can also use the following command to set the wireless network interface if you have a WLAN (Wireless Local Area Network):
vnStat -i wlo1
Set the wireless network
Use the subsequent command to view all the network interfaces available in your system:
vnStat --iflist

View all the network interfaces
To start vnStat, run the following command on your console:
sudo service vnStat start

Start the service
To help ascertain whether or not the daemon process is running, issue the following command:
ps -f | grep vnst

Daemon process running
The above snapshot shows that the daemon is perfectly running.
Now, let us look at the basic features of vnStat.
Primary features of vnStat
To see the most basic usage of vnStat, open the terminal and execute the following command:
vnstat
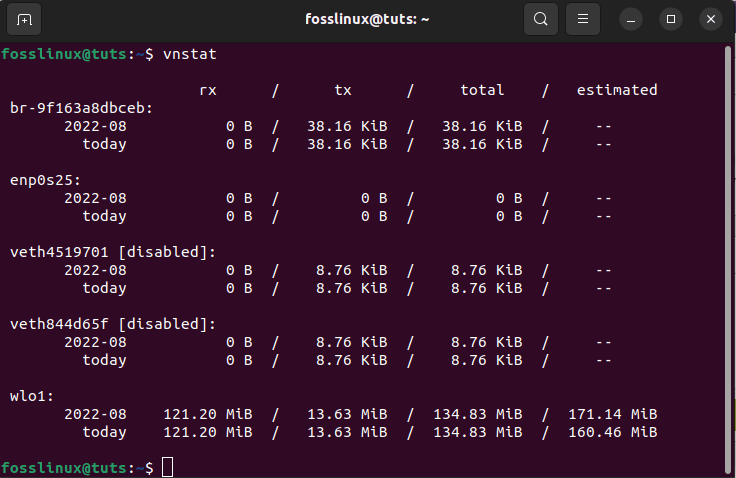
Primary features of vnstat
The above command summarizes total network traffic from all the registered interfaces.
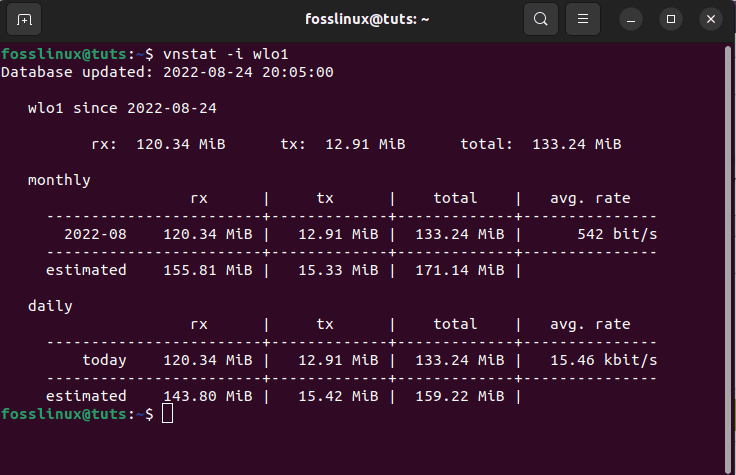
You can also monitor a particular network interface by appending the “-i” option for particular but essential usage. So the command will look like this:
vnStat -i enp0s25
You can replace the “enp0s25” from the above command with any other interface like “wlo1” or “eth0,” which will give the statistics for that interface. Have a glimpse at the example for “enp0s25” shown below.
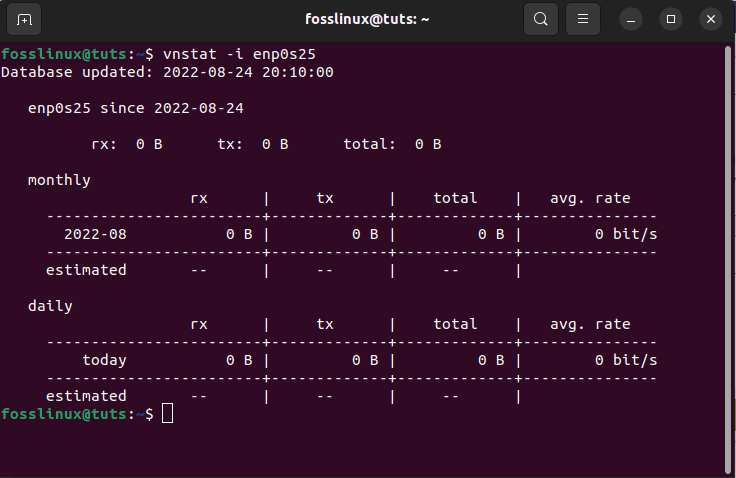
Monitor a particular interface
As seen at the end of each table, vnStat gives an estimated network usage for the month and daily usage. This is sometimes very critical and aids users in controlling bandwidth usage.
Next, let us see the specific usage of vnStat.
The specific usage of vnStat
This section will monitor traffic at specific intervals or periods from one specific interface. Because we have several logged statistics for the “enp0s25” interface, we will be offering instances for that, but be assured that this can work the same way for all the interfaces. So, let us get underway:
Monthly statics:
With the help of the “-m” option, you can view the monthly statistics as shown below:
vnStat -m -i enp0s25
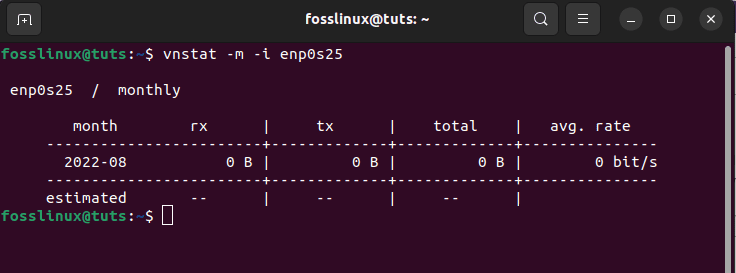
monthly statistics
Daily network statistics:
To view daily network traffic, use the following command:
vnStat -d
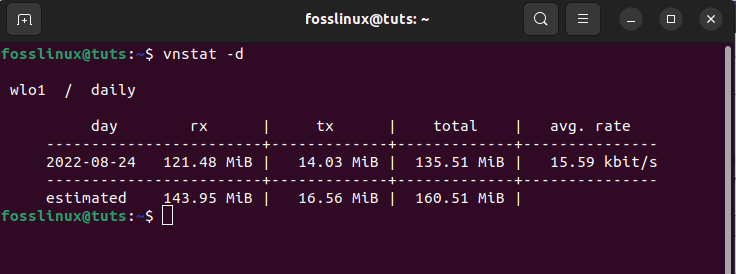
Daily network stats
Hourly statistics:
You can look at your hourly statistics in the fashion of a console-based graph followed by a table representing the usage for the past 24 hours. This can be done by appending the “-h” option on the vnStat command as shown below:
vnStat -h -i enp0s25
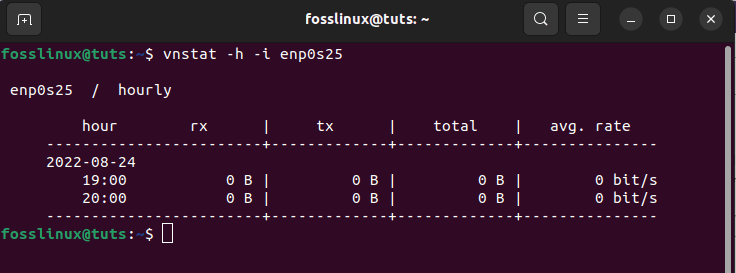
hourly statistics
Five minutes statistics:
Then use the following command if you want to monitor network traffic for five minutes:
vnStat -5
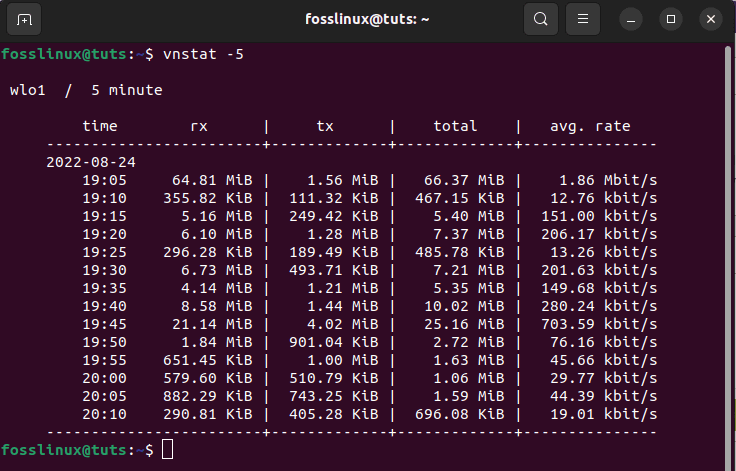
Five minutes stats
Top 10 stars and live monitoring
Live bandwidth usage can be monitored using the “-l” command, and the top 10 days with the highest traffic can also be looked at with the “-t” option. Here are the commands:
vnStat -l -i enp0s25
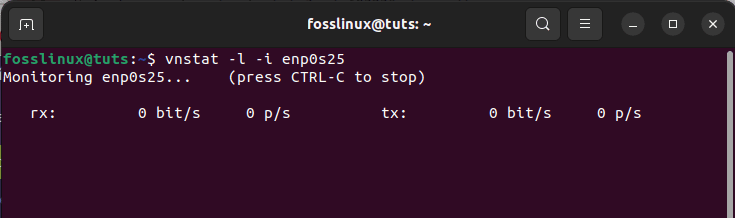
Live bandwidth
The highest traffic view:
vnStat -t -i enp0s25
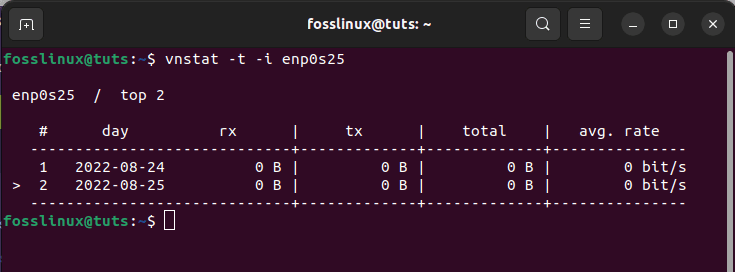
highest traffic
vnStat help command:
You can always check for a network update info you need right on your terminal with the help of the following command:
vnStat --help
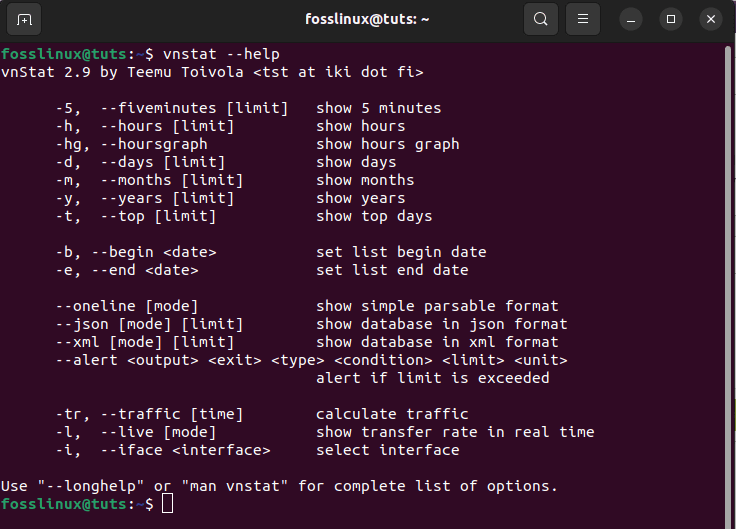
help command
If you need extra help, you can use this command to help get the list of different commands usable by vnStat:
vnStat – long help
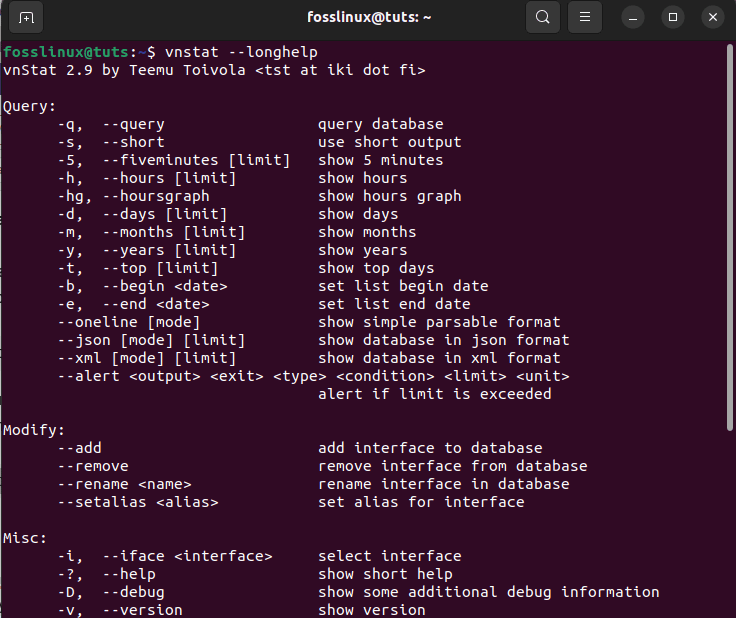
Long help command
Now, let us cover the last section of the post, where we will be looking at how to uninstall vnStat.
How to remove vnStat from Ubuntu 22.04
If you, for one reason or the other, no longer want to use vnStat services on your system, then you can use one of the following steps to remove it:
How to uninstall vnStat
To only uninstall the vnStat package, use the following command:
sudo apt-get remove vnstat
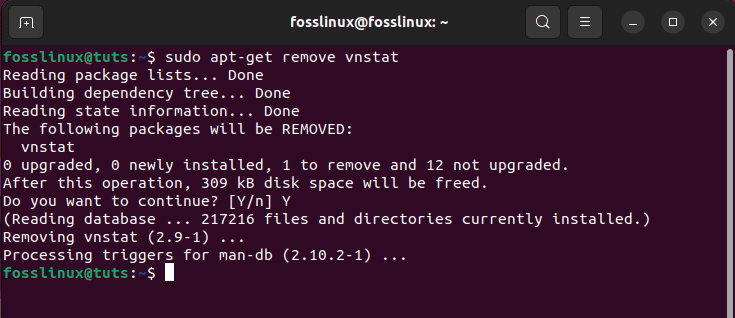
remove vnstat
How to uninstall vnStat and its dependencies
To uninstall vnStat and all its unwanted dependencies, issue the following command:
sudo apt-get -y autoremove vnstat
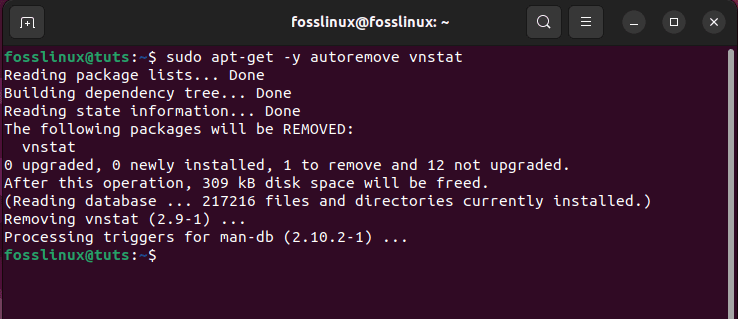
Uninstall vnStat and dependencies
How to remove vnStat configurations and data
To do away with vnStat configuration and data from your Ubuntu, issue the following command:
sudo apt-get -y purge vnstat
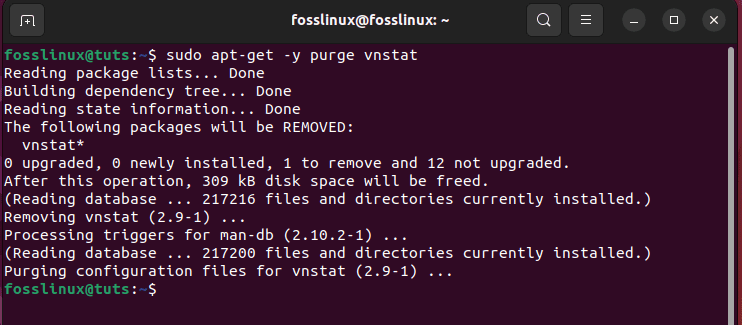
Remove configurations and data
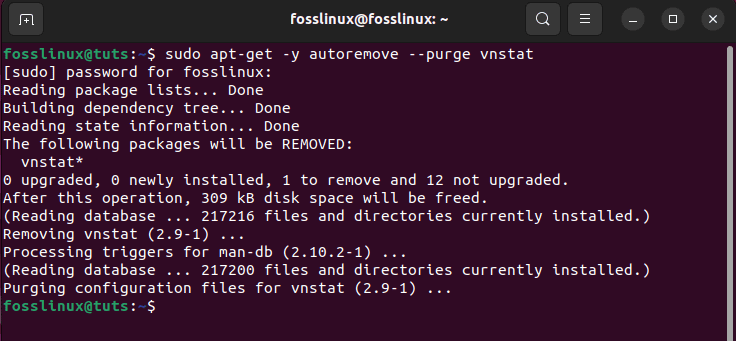
How to remove vnStat configuration, data, and all of its dependencies
You can utilize the following command to remove vnStat configurations, data, and all of its dependencies:
sudo apt-get -y autoremove --purge vnstat
Remove configuration, data, and dependencies
And there you have it!
Conclusion
Right now, you should be able to install and use vnStat, on Ubuntu 22.04 system flawlessly. This article has exhaustively covered each step. This ranges from the setup to how to run, configure, and uninstall the software from your system. We hope this article came in handy; Otherwise, keep following FOSSLinux for more guides.