
Screen sharing is not just a technological convenience; it’s a bridge that connects individuals across the digital realm, fostering communication, learning, and productivity. Picture this: you’re a tech-savvy professional trying to assist a friend with a perplexing Linux issue, a teacher conducting an online class, or a business leader sharing a presentation with a remote team. Screen sharing on Ubuntu allows you to make these scenarios a reality.
In the following sections, we’ll provide a step-by-step guide to enable screen sharing on your Ubuntu system. This journey will explore graphical and command-line methods, ensuring you can adapt the process to your specific needs. So, stick around and embark on this journey with us as we unlock the power of screen sharing on Ubuntu.
Understanding screen sharing
Before we dive into the technicalities, let’s take a moment to understand the concept of screen sharing.
What is screen sharing?
Screen sharing, also referred to as remote desktop sharing or just desktop sharing, is the process of sharing the contents of your computer’s screen with one or more remote users. It allows these users to view your screen in real time and often includes the capability to interact with the shared screen. Screen sharing can also be used for various purposes, including:
- Technical Support: IT professionals can troubleshoot issues by remotely accessing and controlling a user’s screen.
- Collaboration: Team members can work jointly on projects by sharing their screens to showcase work, make presentations, or conduct virtual meetings.
- Education: Educators can use screen sharing to provide online lessons and demonstrate concepts visually.
- Remote Work: Remote workers can share screens to facilitate communication and collaboration with colleagues.
Why is screen sharing important?
The importance of screen sharing in today’s digital world cannot be overstated. Here are some key reasons why screen sharing is a vital tool:
- Efficient Communication: Screen sharing allows for clear and efficient communication by providing a visual context, making it easier to convey ideas and troubleshoot issues.
- Cost-Effective: It reduces the need for physical meetings, saving time and money on travel expenses.
- Accessibility: Screen sharing allows remote workers and individuals with disabilities to access information and collaborate effectively.
- Enhanced Learning: In educational settings, screen sharing can enhance the learning experience by availing visual aids and real-time demonstrations.
Now that we’ve established the importance of screen sharing let’s move on to the practical steps of enabling it on your Ubuntu system.
Enabling screen sharing on Ubuntu
Enabling screen sharing on Ubuntu can be accomplished through different methods, including built-in utilities and third-party applications. We will explore both ways to give you a comprehensive understanding of the process.
Using Ubuntu’s built-in screen sharing
Ubuntu simplifies the screen-sharing process with its user-friendly built-in feature, harnessing the power of the VNC (Virtual Network Computing) protocol. Below, we’ll provide a detailed walkthrough on enabling this built-in screen-sharing functionality.
Step 1: Opening settings
The journey to screen sharing begins with a few clicks:
- Locate the system menu: You’ll find a system menu in the top-right corner of your Ubuntu desktop. It’s typically represented by an icons (mostly network, battery, sound and Bluetooth).

Icons
- Select “Settings.” Once you’ve identified the system menu, click on it to reveal a dropdown menu. From this menu, choose the “Settings” option.
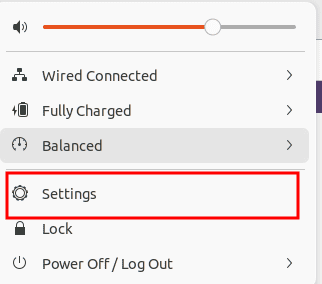
Settings
Step 2: Accessing sharing settings
With the “Settings” window now open, you’re just a few clicks away from enabling screen sharing:
- Navigate to the “Sharing” menu: Inside the “Settings” window, you’ll notice a left sidebar that presents various configuration options. Among these, locate and click on the “Sharing” menu. This is where the magic happens.
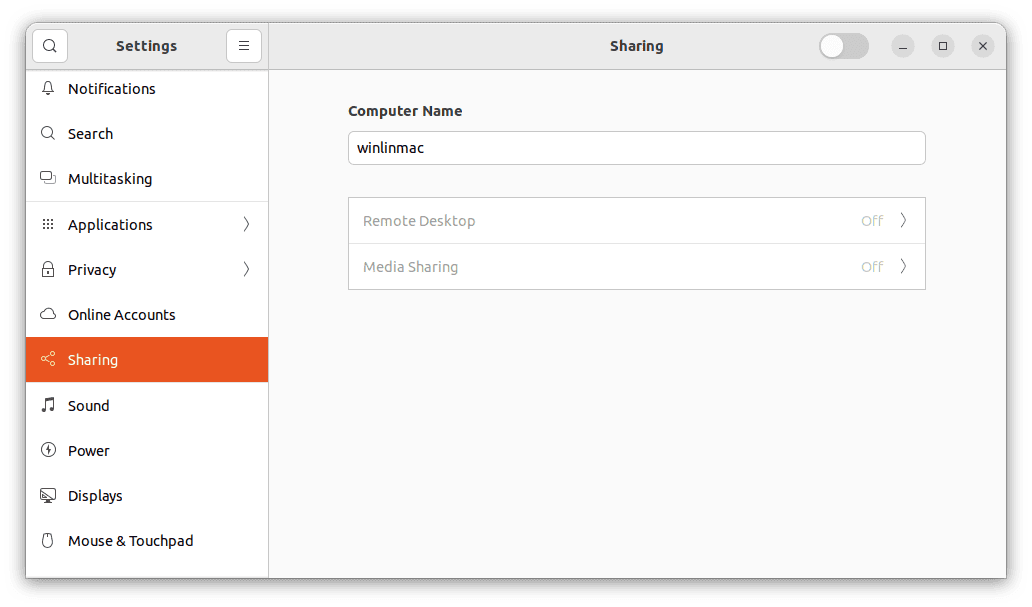
Sharing settings
- Toggle “Screen Sharing” On: Within the “Sharing” menu, you’ll encounter an assortment of sharing options. The one we’re interested in is “Screen Sharing.” To activate this feature, simply toggle the switch next to “Screen Sharing” to the “on” position.
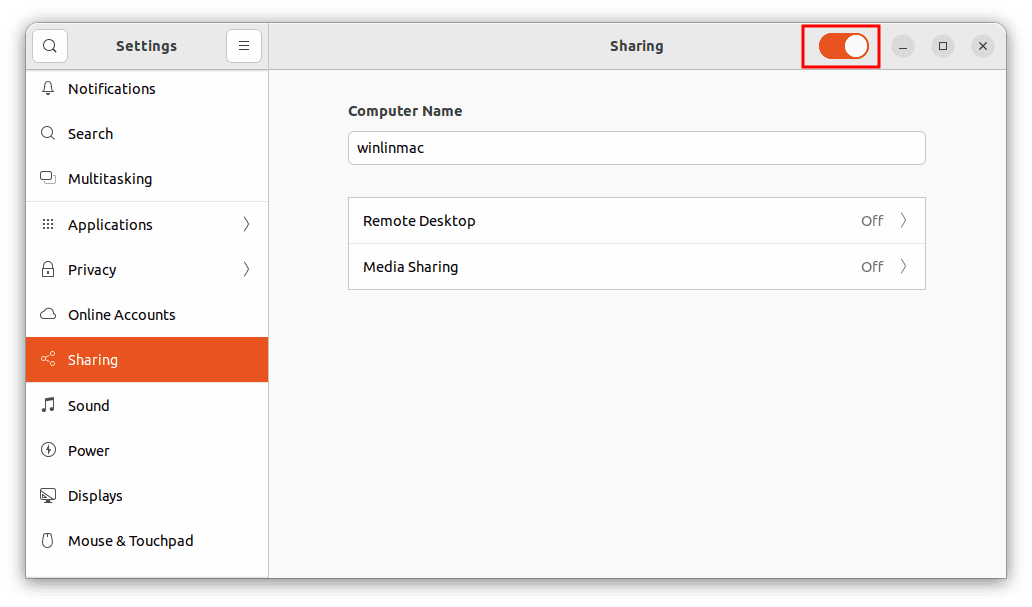
Toggle on screen sharing
Step 3: Configuring screen sharing options
Now that you’ve switched on screen sharing let’s delve into the finer details of configuration:
- Access screen sharing settings: Click on the “Screen Sharing/ Remote Desktop” option. This will open a dialog box that provides a wealth of options for customizing your screen-sharing experience.

Remote Desktop configurations
- Control vs. View: In this dialog box, you can determine the access level you want to grant remote users. You can choose to allow them to control your screen, making it a collaborative experience, or you can opt for a read-only mode where they can only view your screen.
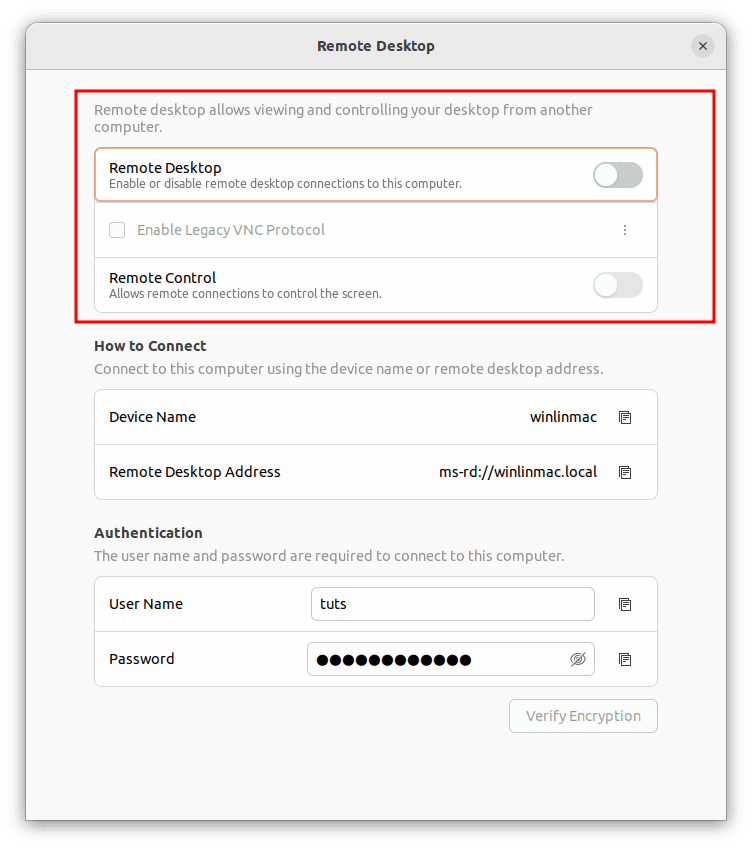
Choose how to screen share
- Password Protection: Security is paramount when sharing your screen. To enhance security, you can require a password for access. This ascertains that authorized individuals can only view or control your screen.
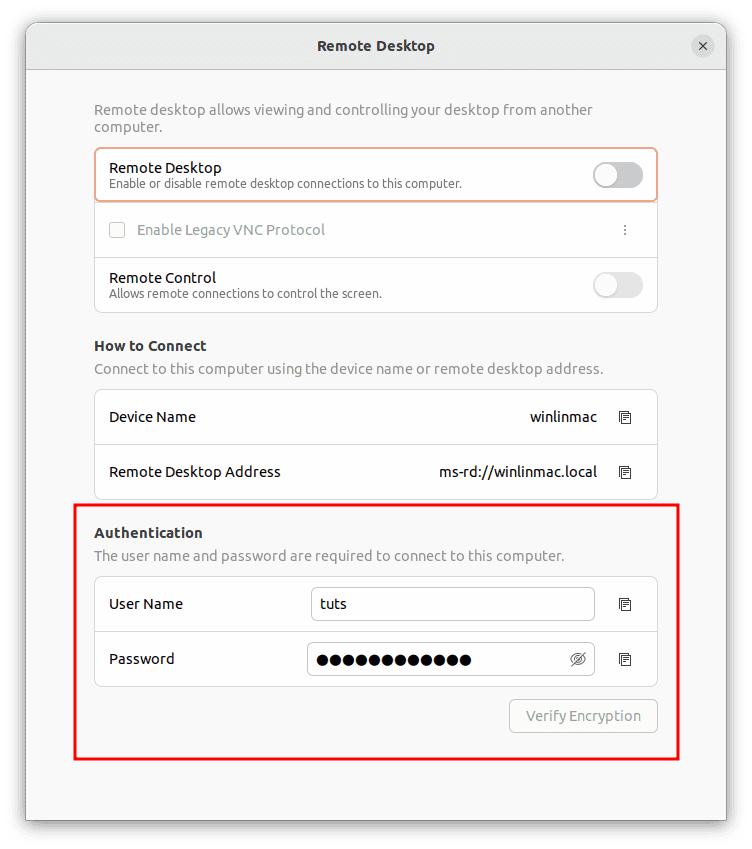
Authentication
Step 4: Sharing your screen
You’ve configured your screen-sharing settings, and now it’s time to share your screen with others:
- Initiate screen sharing: At the configuration screen you will notice the “How to Connect” section. Ensure you have the remote address or device name with you as it will be used to connect to other remote users to commence the screen-sharing session.
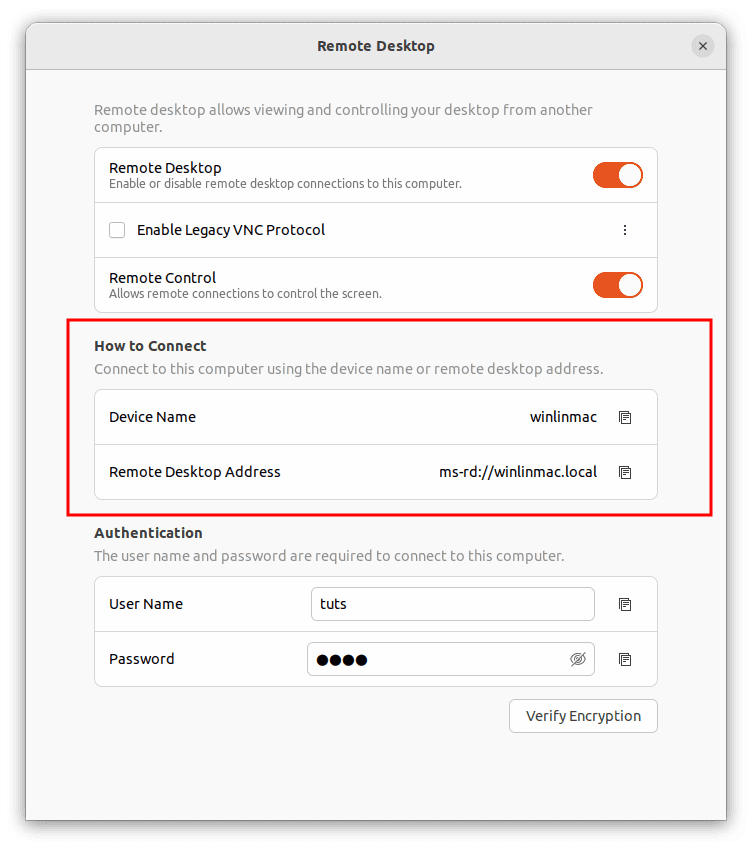
How to connect
- Save Remote Desktop address and Device name: Upon starting screen sharing, Ubuntu will generate a unique remote desktop address. This address acts as a virtual key, granting access to your screen. You can share this address with individuals you want to invite to your screen-sharing session.
Screen share successful
Now, you’re all set to collaborate, provide support, or teach with the power of screen sharing right at your fingertips. Ubuntu’s built-in screen-sharing feature simplifies the process, making it available to users of all levels of technical expertise.
Using terminal commands (x11vnc)
If you’re seeking greater control and customization over your screen-sharing setup on Ubuntu, the command-line tool ‘x11vnc’ offers a powerful alternative. Follow these steps to enable screen sharing using ‘x11vnc’:
Step 1: Installing x11vnc
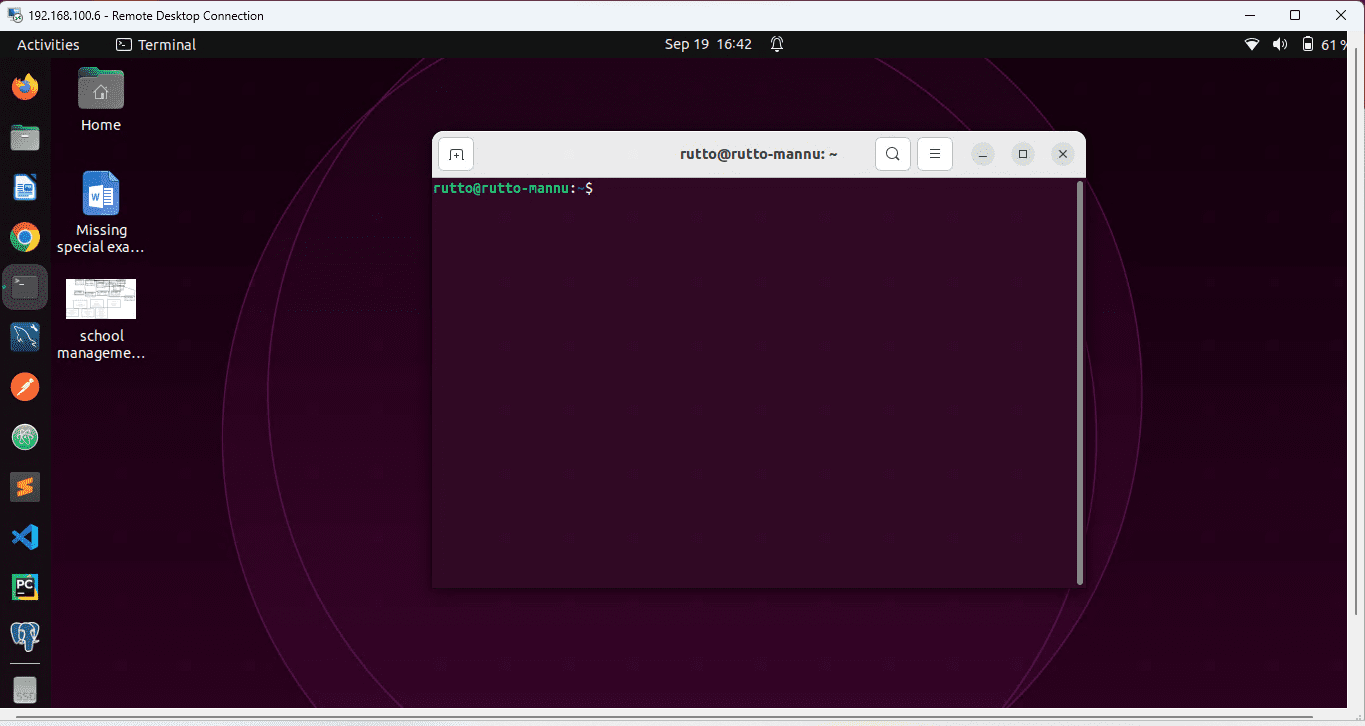
- Open a Terminal: Launch a terminal on your Ubuntu system. You can do this using the following keyboard combination: Ctrl + Alt + T or searching for “Terminal” in the application menu.

Launch terminal
- Install x11vnc: In the terminal, run the following command to install ‘x11vnc’:
sudo apt-get install x11vnc
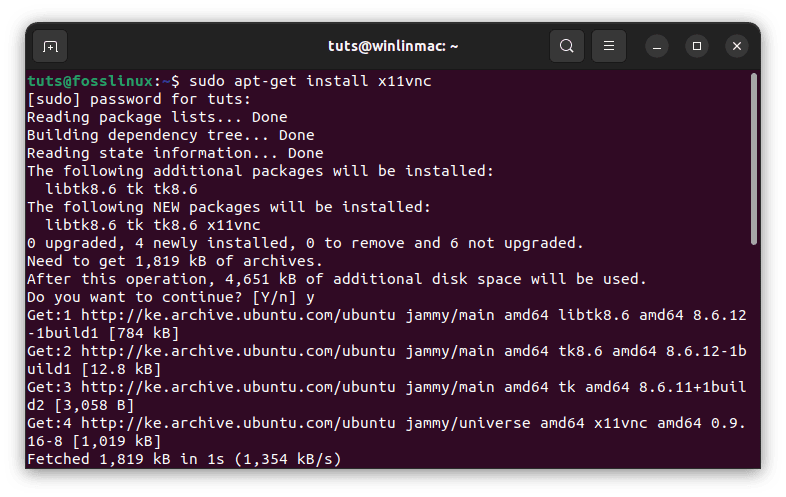
Install x11vnc
This command will prompt you for your system password to proceed with the installation.
Step 2: Setting a password
- Generate a password: After successfully installing ‘x11vnc’, you must set a password for your VNC server. This password is used to authenticate remote users.
In the terminal, run the following command:x11vnc -storepasswd
- Enter and confirm password: Follow the prompts to enter and confirm your password. Make sure to select a strong and secure password to protect your screen-sharing session.
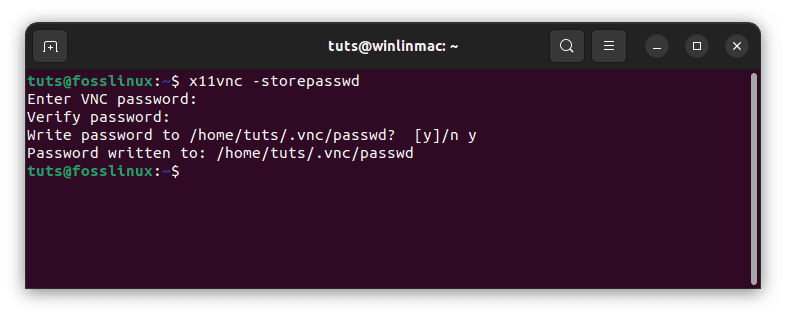
Generate and save vnc password
Step 3: Starting x11vnc
- Launch x11vnc: With the password set, it’s time to start the x11vnc server. In the terminal, execute the following command:
x11vnc -rfbauth ~/.vnc/passwd -display :0
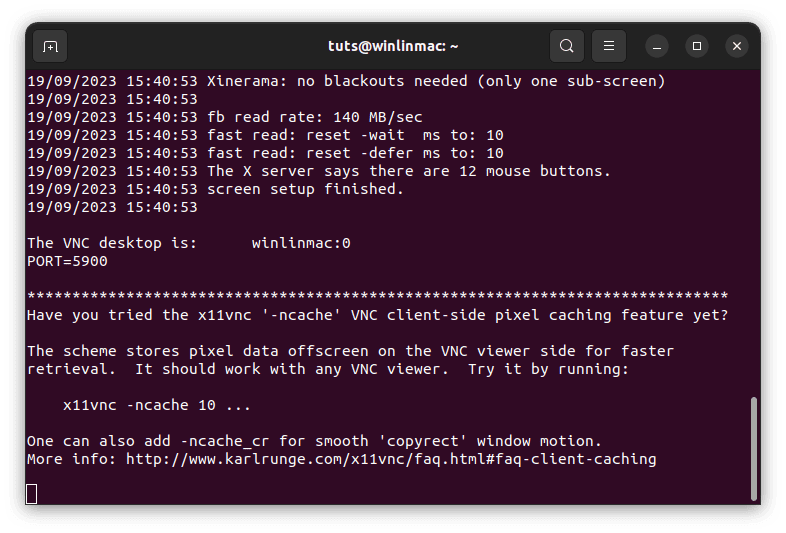
Start x11vnc
This command tells x11vnc to use the password you’ve set and to display your screen (denoted as ‘:0’).
Your screen-sharing server is now up and running, ready to accept incoming connections.
Step 4: Connecting to your Ubuntu machine
To connect to your Ubuntu machine from a remote computer, you’ll need a VNC client. Follow these steps:
- Install a VNC client: On the remote computer, install a VNC client of your choice. Popular options include RealVNC, TigerVNC, and TightVNC. You can download and set up these clients from their respective websites or your operating system’s software repository.
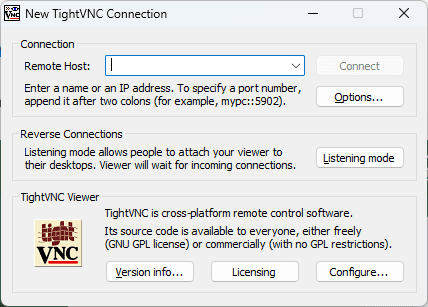
TightVNCViewer
- Launch the VNC client: Open your VNC client and input the IP address of your Ubuntu machine, followed by the VNC server port, which is typically 5900. For example, if your Ubuntu machine’s IP address is 192.168.1.100, you would enter 192.168.1.100:5900.
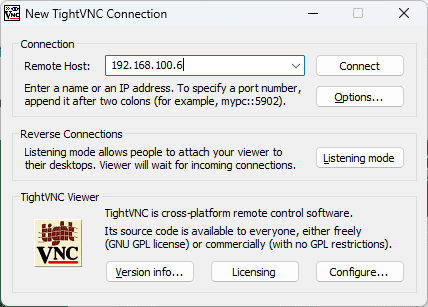
Enter IP address
- Enter the password: When asked, enter the password you set earlier for your x11vnc server.
- Connect: Click the “Connect” or “OK” button to establish a connection to your Ubuntu machine.
You are now connected to your Ubuntu machine, sharing the screen, and able to interact with it remotely. ‘x11vnc’ provides fine-grained control and flexibility, making it an excellent choice for users who require advanced screen-sharing capabilities.
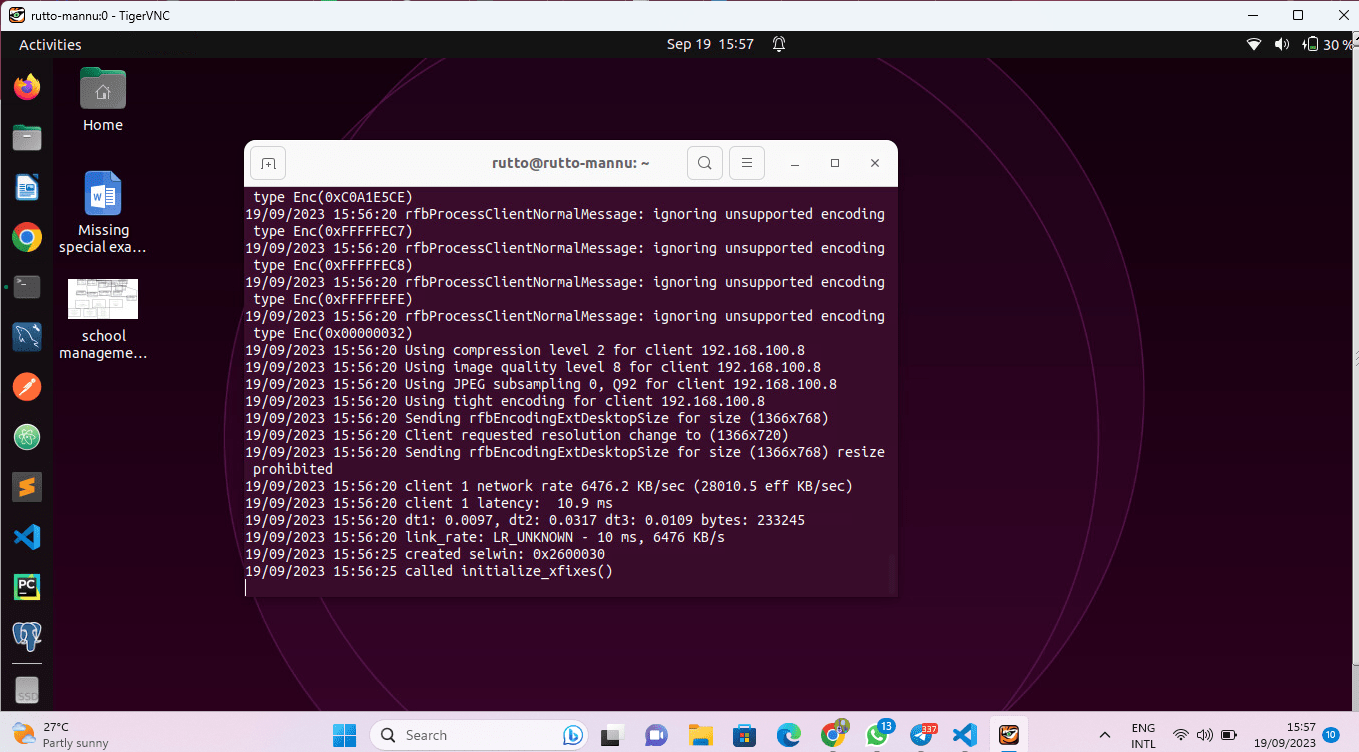
Screen share using x11vnc
By following these steps, you’ve successfully harnessed the power of ‘x11vnc’ to enable screen sharing on Ubuntu, opening up new possibilities for remote collaboration and assistance.
Troubleshooting and tips
While enabling screen sharing on Ubuntu is relatively straightforward, you may encounter some challenges along the way. Here are some troubleshooting tips and additional insights to ensure a smooth screen-sharing experience:
1. Firewall configuration
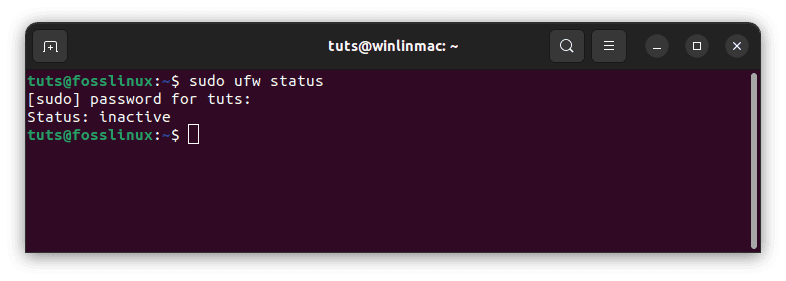
One of the common issues when setting up screen sharing is connectivity problems. If you find that you or your remote users are unable to establish a connection, it may be due to firewall settings. To resolve this, follow these steps:
- Check firewall status: Open a terminal and check the firewall status using the subsequent command:
sudo ufw status
Check firewall status
This command will show whether the firewall is active and what rules are currently in place.
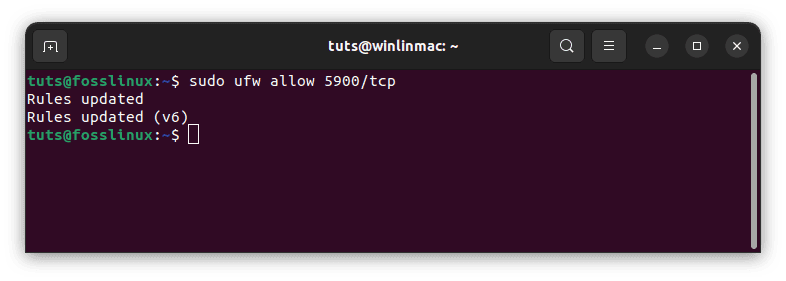
- Allow VNC traffic: If your firewall is active and you haven’t allowed VNC traffic, you can configure it to allow traffic on port 5900, which is the default VNC port:
sudo ufw allow 5900/tcp
Allow vnc traffic
This command allows incoming TCP traffic on port 5900.
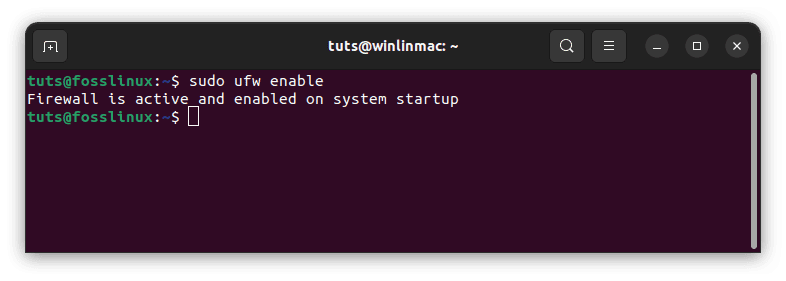
- Enable firewall: If the firewall is not enabled, you can allow it to with the subsequent command:
sudo ufw enable
Enable firewall
- Verify firewall rules: After making changes, it’s a good practice to check the firewall rules again to ensure they include the VNC port:
sudo ufw status
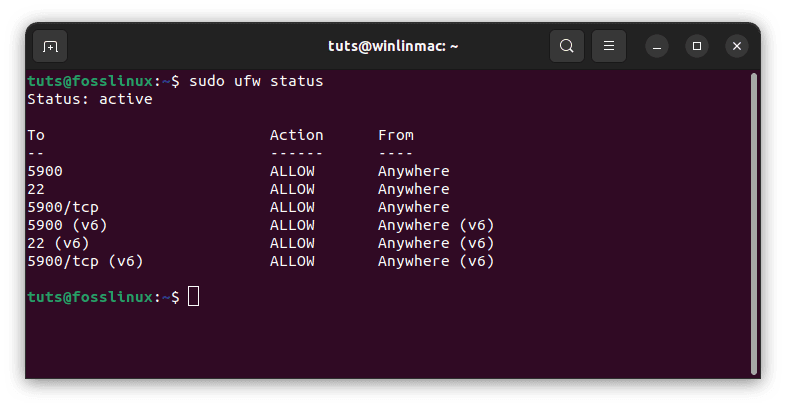
Verify firewall rules
By configuring your firewall to allow VNC traffic, you should resolve any connectivity issues related to firewall settings.
2. Security concerns
Screen sharing, like any remote access tool, comes with security considerations. To ensure a secure screen-sharing session:
- Use strong passwords: Always set strong and unique passwords for your VNC server. A weak password can be easily guessed, potentially compromising the security of your system.
- Encrypt connections: Consider using encryption for your screen-sharing sessions, especially when sharing over the internet. VNC connections can be secured using SSH tunneling or VNC variants like TigerVNC, which support encryption.
- Regularly update software: Keep your operating system, screen-sharing software, and related applications current. Updates often include security patches and updates that protect against vulnerabilities.
- Limit access: Only share your screen with trusted individuals. Avoid sharing with unknown or unverified parties to prevent unauthorized access.
3. Screen resolution and performance
Screen resolution and performance can be crucial for a smooth screen-sharing experience. Here’s how you can adjust these settings:
- Change screen resolution: To improve performance during screen sharing, you can adjust your screen resolution. Open the “Displays” settings in Ubuntu, where you can choose a lower resolution that is more suitable for sharing without sacrificing visual clarity.
- Consider bandwidth: Consider the available bandwidth if you or your remote users experience lag or poor performance. High-quality screen sharing can require substantial internet bandwidth. Reducing the quality of the shared screen or using compression can help if bandwidth is limited.
- Use compression: Many VNC clients and servers offer compression options. Enabling compression can reduce the data transmitted over the network, leading to a smoother experience.
- Close unnecessary applications: Close any unnecessary applications or processes running in the background during a screen-sharing session. This can free up system resources and improve overall performance.
By optimizing screen resolution, considering bandwidth limitations, and employing compression, you can enhance the performance of your screen-sharing sessions, ensuring a more productive and enjoyable experience for both you and your remote users.
Incorporating these troubleshooting tips and security measures into your screen-sharing routine will improve your Ubuntu screen-sharing experience and help keep your system and data safe.
Conclusion
In this comprehensive guide, we’ve explored the world of screen sharing on Ubuntu, from understanding its significance in the digital age to enabling it using built-in tools and terminal commands. Screen sharing is a versatile tool that facilitates communication, collaboration, and problem-solving.
By now, you should clearly understand how to enable screen sharing on your Ubuntu system, whether you choose the user-friendly built-in method or the more advanced command-line approach.
Thank you for joining us on this screen-sharing journey, and we hope this guide serves as a valuable resource for your Ubuntu screen-sharing endeavors. Happy sharing!