
Ubuntu comes built-in with a backup and restore utility known as “Déjà Dup.” The backup tool comes deactivated by default settings. The below tutorial will guide you on setting up the backup of files and folders to a storage location as well as explaining how to restore the data from backup when needed.
It uses duplicity as the backend. Here are its significant features.
Ubuntu Backup Tool Features
1. Storage Location
The backup storage can be set up on the following locations:
- Local Folder: This is the same machine where the original files and folders are located.
- Network Server: It’s a good idea to store the backup data on a secured network so that you will not lose the data in case the original computer is damaged.
- Google Drive: If you have a Google Drive account, you can use that too for backup. Since the backup takes place over the internet, you need to have a decent upload and download speed to use this service efficiently.
- Nextcloud: Similar to Google Drive, you can use the NextCloud service to use as a backup location. Again, you need to have a good internet connection to use this.
2. Secure Encryption
Déjà Dup tool encrypts the backup data, and therefore, even if it falls into the wrong hands, it’s not useful right away.
3. Data Compression
Apart from encrypting the data, it also uses a compression algorithm to make the data occupy less disk space at the backup location.
4. Incremental Backup
When files and folders are backed up, the tool smartly notes down the properties and only backs up the modified data instead of replacing the entire data. It saves a lot of time and bandwidth, especially if the backup location is a network location.
5. Automatic Backups
While you can anytime manually take a backup, there is an option to schedule an automatic backup and forget about it.
Setting Backup of Files and Folders
Step 1) Go to “Activities,” look for “Backup,” and launch “Backups” tool.
Step 2) The “Overview” tab shows the current status of the tool. By default, there will be no backups scheduled, nor you will see any backups taken before.

Backup Tool Overview
Step 3) Click “Folders to save” to add the files and folders that you want to take backup. By default, the tool will list the “Home” location. You can delete by selecting it and then clicking on the “-” button. Similarly, use the + button to add files and folders. For instance, I have added a folder “FLORIDA-ATLANTA TRIP” to the list.
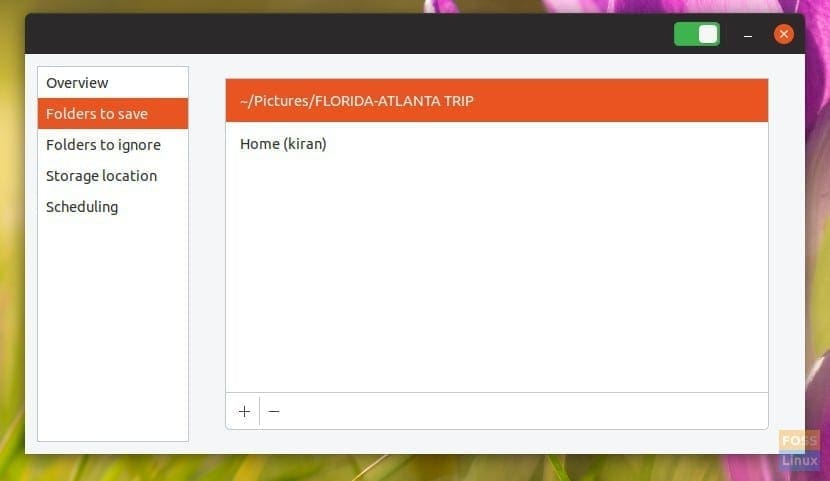
Folders to be backed up
Step 4) “Folders to ignore” tab lets you add the folders that you want to be excluded from the backup. For example, if you had “Home” taken as a backup, you may want to cancel the “Downloads” folder, which is usually filled with all kind of data and could be avoided to save disk space and bandwidth. “Trash” is another location you want to avoid.
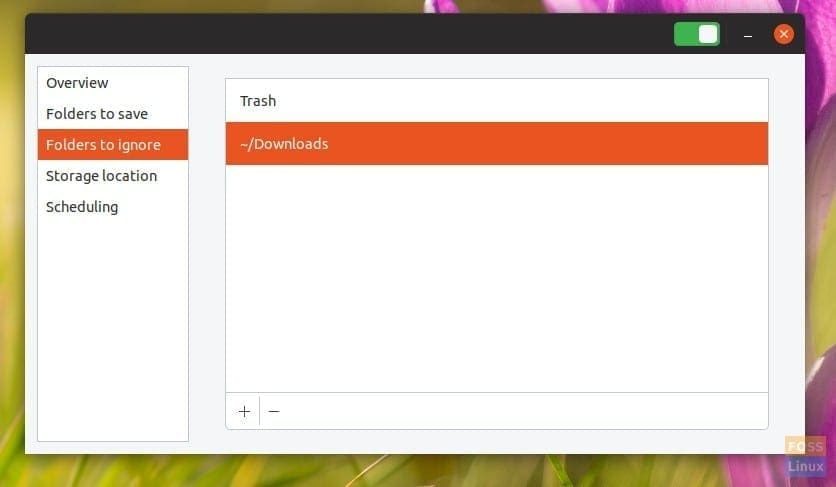
Folders to Ignore
Step 5) Click “Storage location” to set up the location of the backup data. As discussed above, there are a handful of backup locations including Local storage, Network, Google Drive, or NextCloud service. These options are straight-forward. Select your preferred options and proceed with on-screen instructions.
Automatic Backup
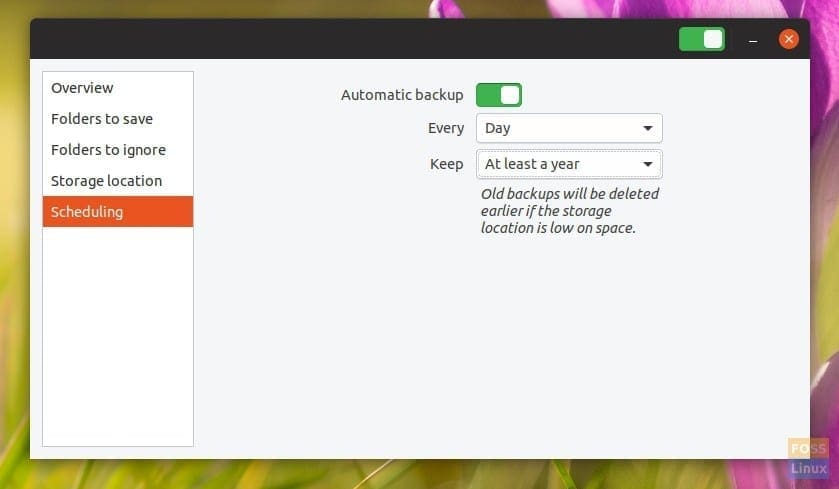
Step 6) Finally, the “Scheduling” tab is the location which you should enable to setup automatic backup.
As soon as you turn the Automatic backup” to ON position, the backup tool will prompt you to install “Duplicity.” It is a backend of the backup tool. Go ahead and click “Install” followed by root password to complete the installation.
You can select a weekly backup or a daily backup. Also, you can set how long you want to keep the backed up data. You will get choose from “Forever,” “At least a year,” or “At least six months.”
Restoring from a Backup
Now that you have enabled the backup tool, you need to wait until a backup process is complete to be able to use the restore functionality. When backups are taken, the “Restore” button in the “Overview” tab should become available.
Step 1) Click on “Restore”.
Step 2) A dialog will appear asking where your backup files are stored (your “Backup location”).
Step 3) Choose it from the dropdown or choose “Other…”.
Step 4) On this same screen, select whether you encrypted the backup or not. Click “Forward”.
Step 5) Choose the date you want to restore from. Usually, you can just leave this alone, as the default is the most recent backup. Click “Forward”.
Step 6) Choose where to restore. Click “Forward”.
Step 7) Review your selections and click “Restore”.
Wait for the process to complete.
Conclusion
Déjà Dup is a handy backup tool that comes along with Ubuntu. Its incremental backup feature works great and saves a lot of resources. The encryption and compression features are something which every backup tool should have these days. The best part of the tool is the ability to back up the data to cloud services for free.
5 comments
Is there a way to configure backups from an SSH connection. My Ubuntu server doesn’t have a display attached, so I manage it from the command line.
I m using server 20.04 ubuntu. how I can take bakup of My server and restore also with which command.
Thank you Kiran for your advice and sharing ideas.
Recently upgraded to 20.04 love it. I did a back up in 19.10, before the upgrade, I also backed up most things manually, all to an external DD, but forgot to manually back up the Desktop. I cant seem to get duplicity to retrieve those volumes from the backup, when copied to the HD, but all i get is corrupted images etc. Can i get correct data, without reloading 19.10 somehow? Most of the stuff i can probably find again, but it would be a pain.
Backing up to the cloud is not the best feature, getting files back is the best feature. All the wonderful options to create a backup, but where is the information about all the restore options? Is the restore option a “restore everything or nothing” function?