
Have you ever wanted to try a new Linux distro? Or do you even want to test if your computer is Linux-compatible, but don’t want the current OS, for example, Microsoft Windows overwritten? In this situation, the Linux distro can be installed next to that already Windows. This is called a dual boot setup, where two operating systems can be installed on the same machine.
In this article, we will take you through the dual-boot configuration to install Ubuntu Desktop next to Windows. This tutorial assumes that Windows is pre-installed on your computer. If Windows isn’t already installed on your desktop, and you plan to install both Windows and Ubuntu on the same machine, you first need to install Windows and then you will have to follow the following steps.
CAUTION: It’s highly recommended to take a backup of your current system just in case if something goes wrong.
Installing Ubuntu alongside Windows steps
Create Installation Media
Step 1. Let’s begin by downloading the Ubuntu desktop ISO image form Ubuntu official website. To get the ISO click here. After the installation finishes successfully move to the next step.
Step 2. Next, we are going to create the installation media using the Rufus tool. You can download the Rufus free tool from here.
Step 3. Insert your USB into your machine and open the Rufus tool.
Then:
-
-
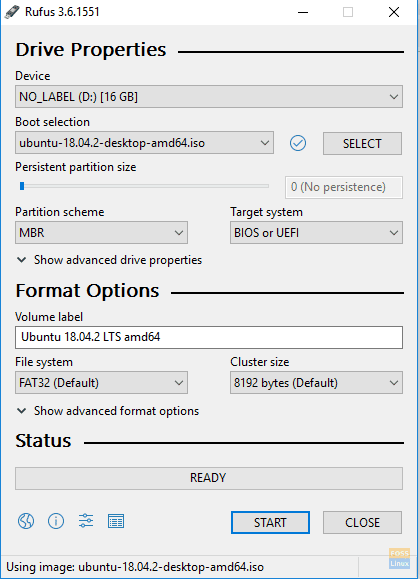
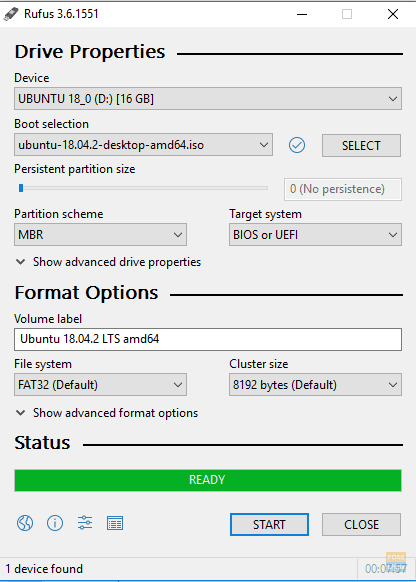
- From the Boot selection menu, locate the previously downloaded Ubuntu ISO.
- From the Partition scheme menu, choose the MBR option.
- From the Target system menu, choose the BIOS or UEFI option.
- Finally, press the start button.
-
The Rufus window should look like the below screenshot.
Create a Bootable Ubuntu USB
Select the writing mode for your Ubuntu ISO image then press OK button to proceed.
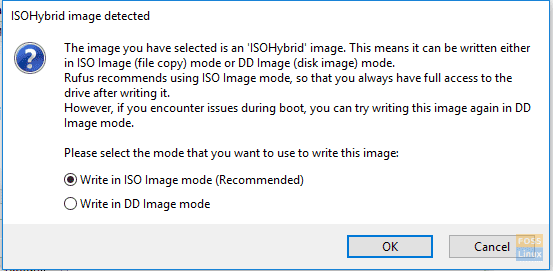
Rufus Warning Message
A Rufus warning message will appear telling you that data will be written to the inserted device, press OK to start the process.
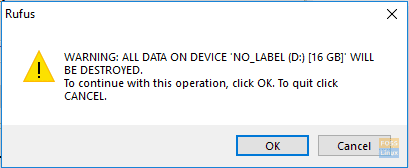
Data Will Be Written
You can check the burning status from the below green bar as you can see in the next screenshot.
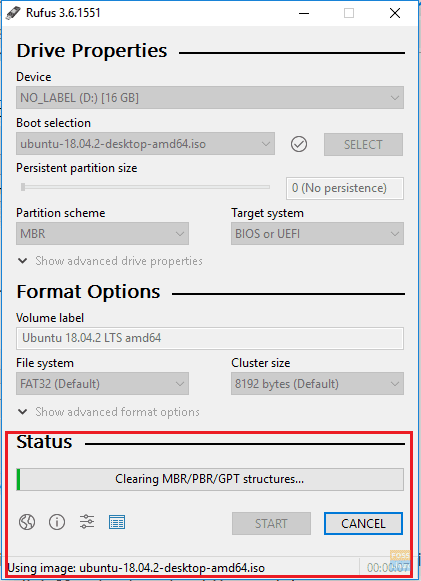
Burning Status
After your installation media completes successfully, you will get the below screen.
Burning Ubuntu On USB Done Successfully
Now you can move on to the next section to start installing Ubuntu on your machine alongside Windows.
Boot From Installation Media
Step 1. Restart your computer with the Ubuntu bootable USB already inserted in your machine. The Ubuntu installer should start automatically instead of starting the Windows. If this does not happen, then you should check the sequence of your boot devices in your BIOS setup, so that the USB comes first before your hard drive.
Ubuntu Will Start Installation
Step 2. Ubuntu welcome screen will appear. Choose the installation language. Then choose the “Install Ubuntu” button to start the Ubuntu installation.
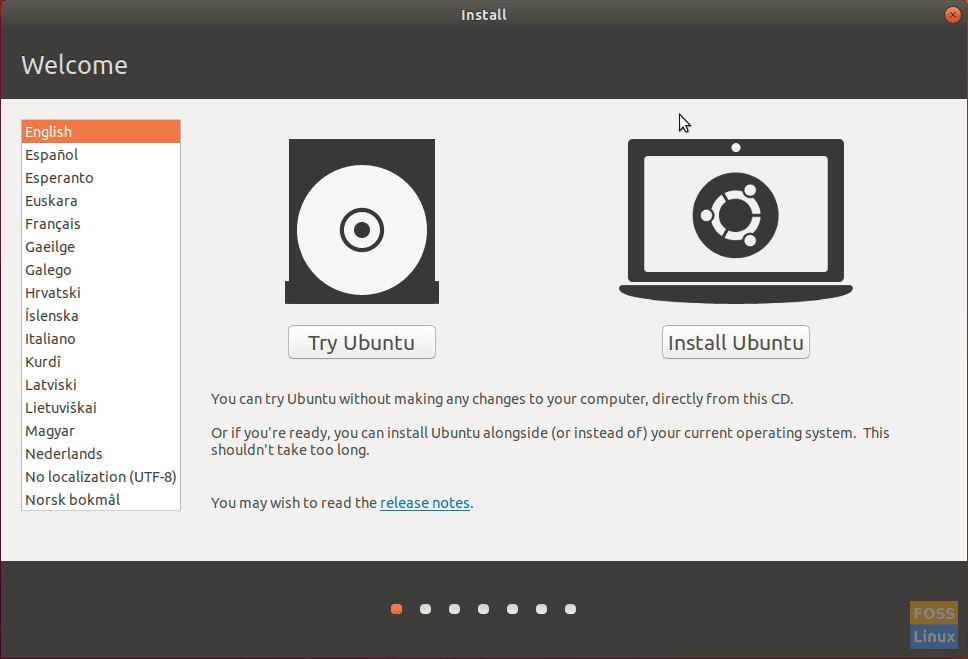
Install Ubuntu
Step 3. Choose the keyboard layout then press the “Continue” button.
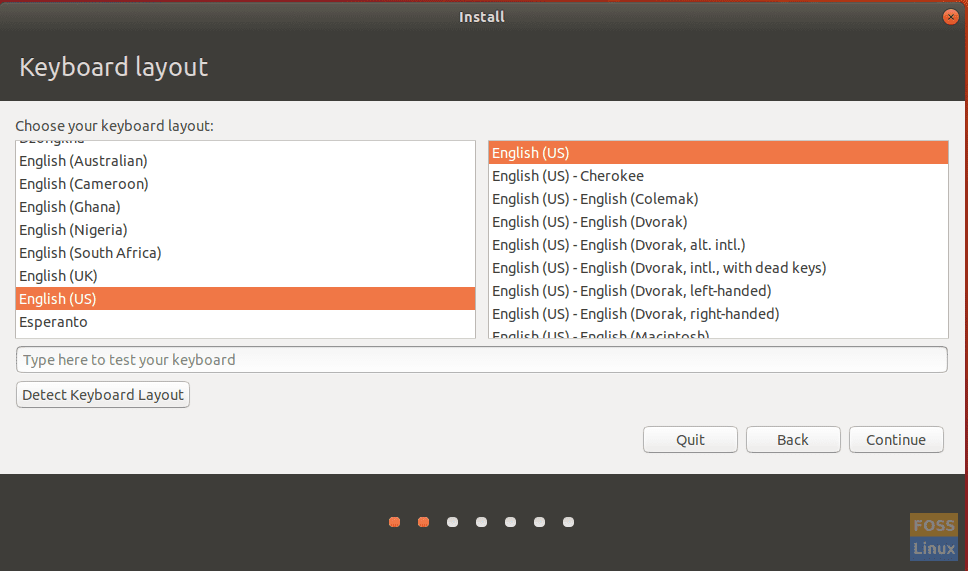
Choose Keyboard Layout
Step 4. Choose your installation type and what you need to download. Press the “Continue” button.

Choose Installation Type
Step 5. Now you will need to choose to install the Ubuntu alongside Windows. Otherwise, select the “something else” option in case you need to re-partition your hard disk. Then press the “Install Now” button.
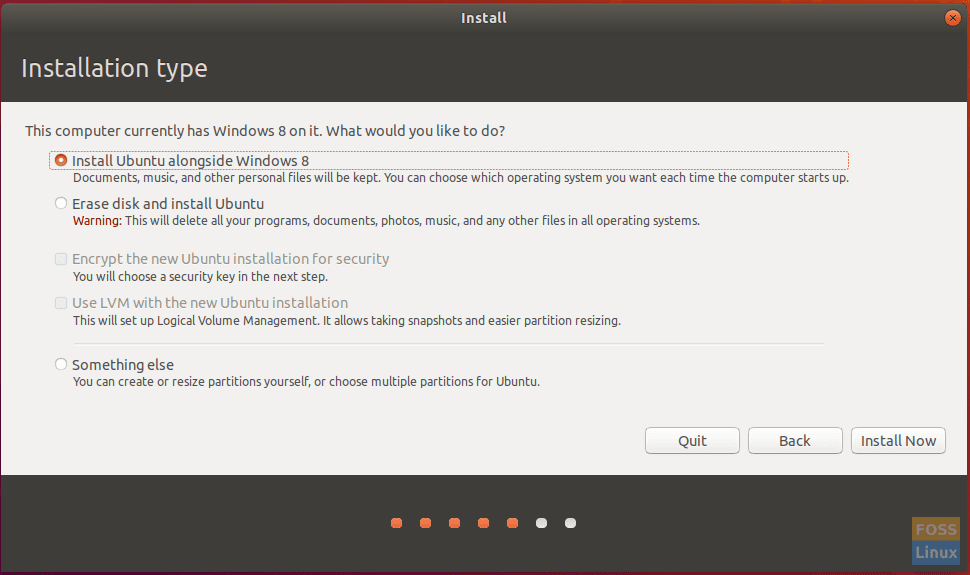
Install Ubuntu Alongside Windows
Step 6. A confirmation message will appear to ensure that changes are going to be written to your hard disk. Press the “Continue” button.

Write Changes To Disk
Step 7. Choose your country to adjust time and date. Press the “Continue” button.
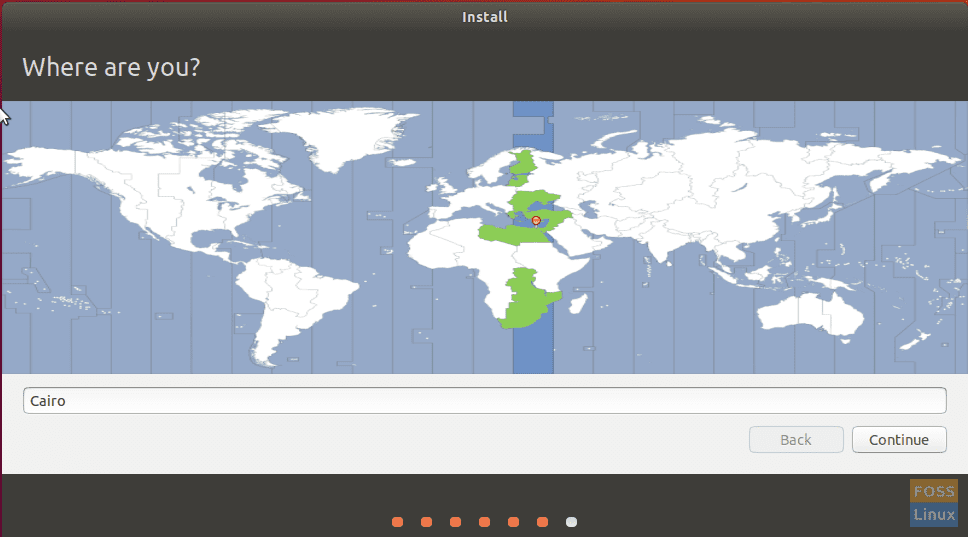
Choose Your Country
Step 8. Create your username and password. Press the “Continue” button.
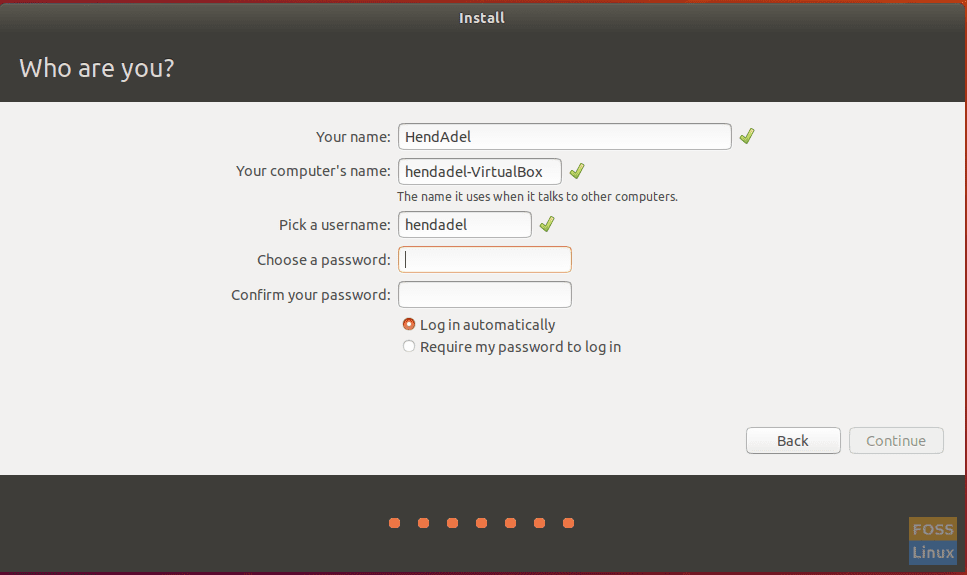
Create Username And Password
Step 9. Now installing Ubuntu will start and you can check the progress bar as you can see in the below screenshot.
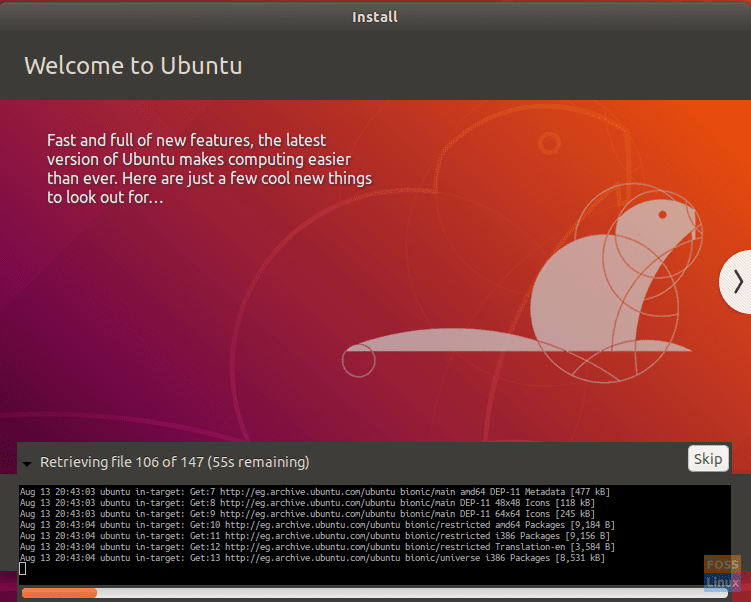
Installation Progress
Step 10. After the installation completes successfully, you will get the below message. Press the “Restart Now” button to continue.
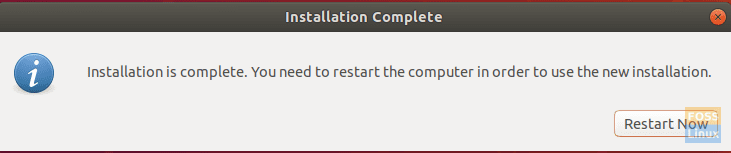
Restart Your Machine
Now you can remove your Ubuntu bootable USB from the machine.
Step 11. When your machine boots, you will get the dual-boot menu, which is called the GNU GRUB. The GRUB will allow you to boot to Ubuntu or Windows.
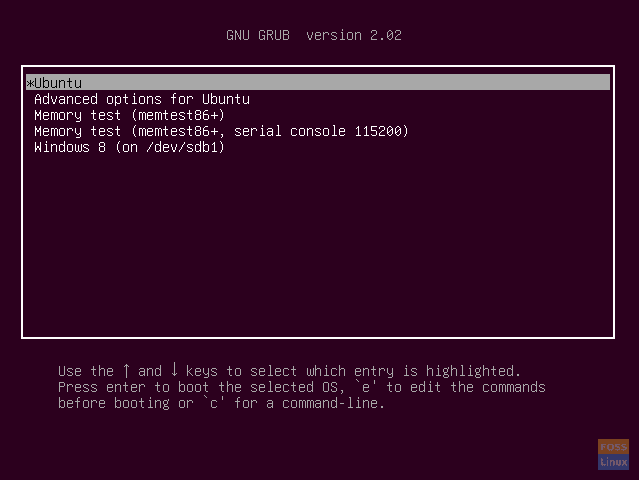
Dual Boot Menu
Step 12. Now, wait until Ubuntu starts.
Ubuntu Will Start Soon
Step 13. Welcome to your Ubuntu desktop. You can start using your Ubuntu.
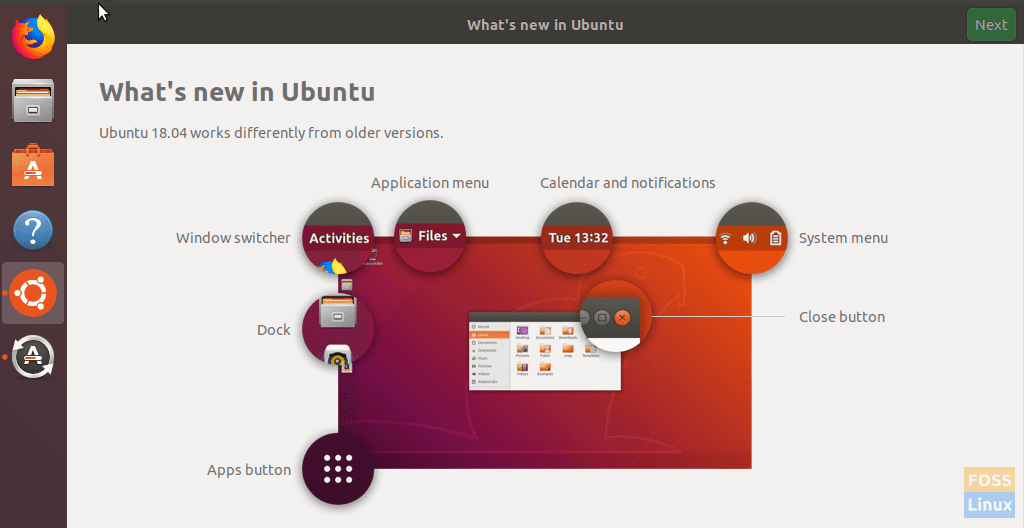
Welcome To Your Ubuntu
Congratulations now you have installed Ubuntu operating system alongside Windows.
1 comment
Almost all tutorials I’ve found on how to do this tell you to partition your hard drive first rather than to let the Ubuntu (or Ubuntu family) installer do so. Do folks who do this often not trust the built in feature to install alongside Windows? Or are they just doing things the old way? Thanks for reading.