
Spectacle is a straightforward, simple-to-use tool for taking screenshots of your desktop. It may take screenshots of the whole desktop, a single monitor, the presently active window, the window under the mouse, or a rectangle section of the screen. The photos can then be printed, stored as-is, or emailed to other programs for processing.
KDE Plasma 5’s default capture program is the spectacle. The program is provided and distributed under the terms of an open source license.
Spectacle features
- Capture your entire desktop (default).
- Captures may be exported to Imgur, sent to a device, NextCloud, Bluetooth, email, or Twitter.
- Obtain the current monitor.
- Capture the currently active window.
- Capture the window with the pointer now, including the parents of pop-up menus.
- Before taking a screenshot, wait for a click.
- Capture the window presently beneath the pointer, excluding the pop-up menu parents.
- Take a snapshot of a rectangular area of the screen.
- Windows BMP image, JPEG-2000 JP2 picture, JPEG image, WBMP image, PNG image, TIFF image, Windows icon, WebP image, MacOS X icon, EPS image, PCX image, Softimage PIC image, PGM image, PBM image, XBM image, RGB image, TGA image, and XPM image are all supported image formats.
- Begin in graphical user interface mode (default).
- Take a snapshot and quit without displaying the graphical user interface.
- In background mode, save the image to the selected file.
- Begin in the DBus-Activation mode.
Spectacles Useful Options
-
-f, --fullscreen

Capture your entire desktop (default).
-
-a and --activewindow

Capture the currently active window.
-
-l and --launchonly

The spectacle will be launched without capturing a screenshot.
-
-r and --region

Take a snapshot of a rectangular area of the screen.
-
-u and --windowwundercursor

Capture the window with the pointer now in it, including the parents of pop-up menus.
-
-t and --transientonly

Capture the window presently beneath the pointer, excluding the pop-up menu parents.
-
-m and --current

Obtain the current monitor.
-
-g and --gui

Begin in graphical user interface mode (default).
-
-n and --nonotify

When taking a screenshot in background mode, do not display a notice.
-
-b and --background

Take a snapshot and quit without displaying the graphical user interface.
-
-s and --dbus

Begin in the DBus-Activation mode.
-
-d and --delay delayMsec

Delay before snapping the image in background mode (in milliseconds).
-
-o and --output fileName

Save the image to the chosen file fileName while in background mode.
-
-i and --new-instance

Starts a new spectacle GUI instance without registering with DBus.
-
-c and --copy-image

Unless -o is additionally specified, copy snapshot solely to the clipboard in background mode.
-
-e and --no-decoration

Do not include window decorations in the snapshot when in background mode.
-
-i and --pointer

Include the cursor in the snapshot when in background mode.
-
-w and --onclick

Before taking a screenshot, wait for a click. Invalidates the delay.
-
-C and --copy-path

Copy the screenshot file path to the clipboard when in background mode.
How to install spectacle on Ubuntu 22.04
Follow the steps to install and use spectacle on your Linux OS. For illustration purposes, I will use Ubuntu 22.04 as my parent OS.
Snaps are programs with all their dependencies bundled and ready to run on all widely used Linux distributions from a single build. They automatically update and gently roll back. The Snap Shop/store, an app store with millions of users, allows users to find and download Snaps. In our Ubuntu OS, we will enable snaps and install spectacle, as shown below.
The first step will be to enable snapd. However, before allowing it, you should consider the following sentiments:
If you’re using Ubuntu 16.04 LTS (Xenial Xerus) or later, you don’t need to do anything. This includes Ubuntu 18.04 LTS (Bionic Beaver) and Ubuntu 20.04 LTS (Focal Fossa), and Ubuntu 22.04 LTS (Jammy Jellyfish). Snap has been set up by default and is ready to go.
However, if you are using older versions of Ubuntu, you will need to add snap. Snap can be added to Ubuntu versions between 14.04 LTS (Trusty Tahr) and 15.10 (Wily Werewolf) and other Ubuntu flavors that don’t come with a snap by default searching for snapd in the Ubuntu Software Center.
Alternatively, you can install snapd from the command line by executing the following line of code:
sudo apt update

sudo apt install snapd
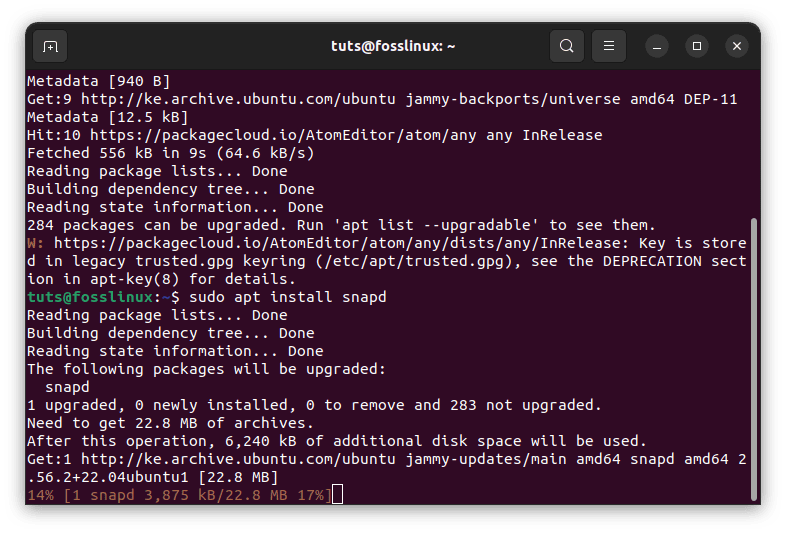
install snapd
Once the commands provided above have completed executing, proceed and log out, then back again. If the changes are ineffective, restart your Ubuntu OS and ensure that snap’s paths are correctly updated.
With all that done, now move to the final step and install the spectacle
Install Spectacle
Once you have completed the above processes, this process will be very straightforward. To install spectacle on your Linux OS, execute the line of code provided below:
sudo snap install spectacle
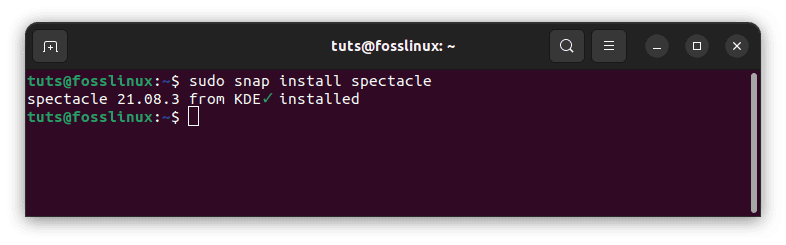
install spectacle
Using the given command, you can check if the installation went well once it’s done.
spectacle -v
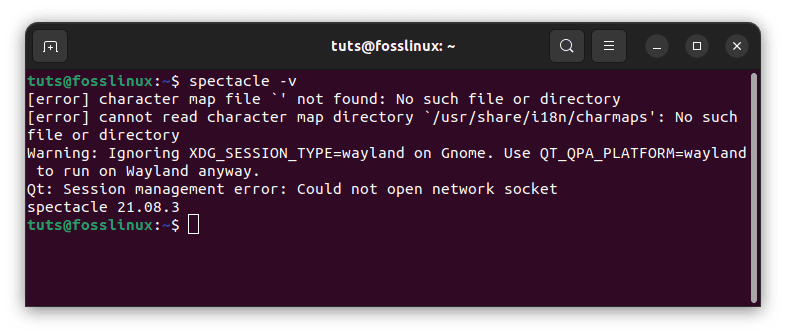
Check spectacle version
The above command should give you the version of spectacle installed on your Linux OS only if everything was executed successfully. If you encounter challenges, you can start the installation process afresh by running through this tutorial guide again.
How to use spectacle
After completing the installation, you can run spectacle on your computer by searching for it in the Ubuntu application menu.
The graphical user interface (GUI) of the Spectacle screenshot program is seen in the following image.
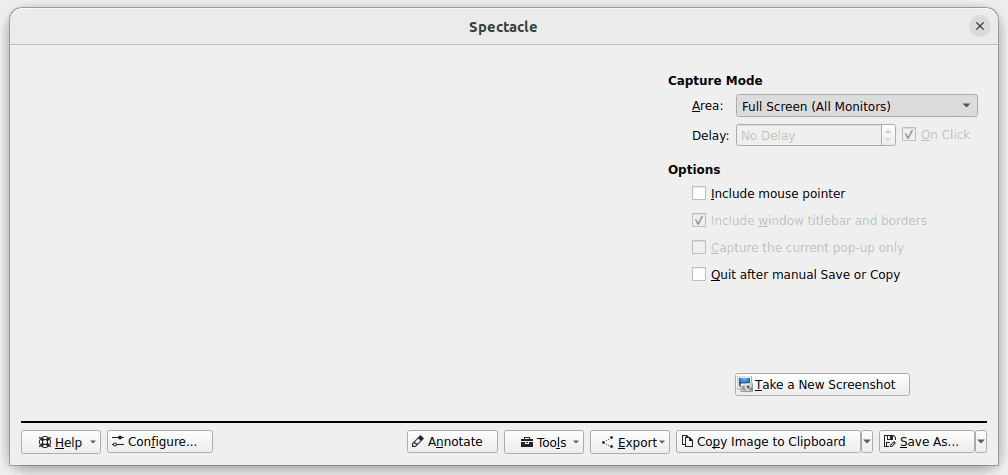
spectacle GUI
Choose the area you want to capture a screenshot of using the Area dropdown menu. Your options are Full Screen, Rectangular Region, Active Window, and Window Under Cursor.
There’s a Delay field where you can specify how many seconds to wait before taking a screenshot. Mark ‘Include mouse pointer’ If you also need to capture the mouse cursor. When you’re ready, select the option “Take a New Screenshot,” and the image will be saved. After taking a screenshot, you may annotate it with various tools by clicking the Annotate button, as seen in the figure below.
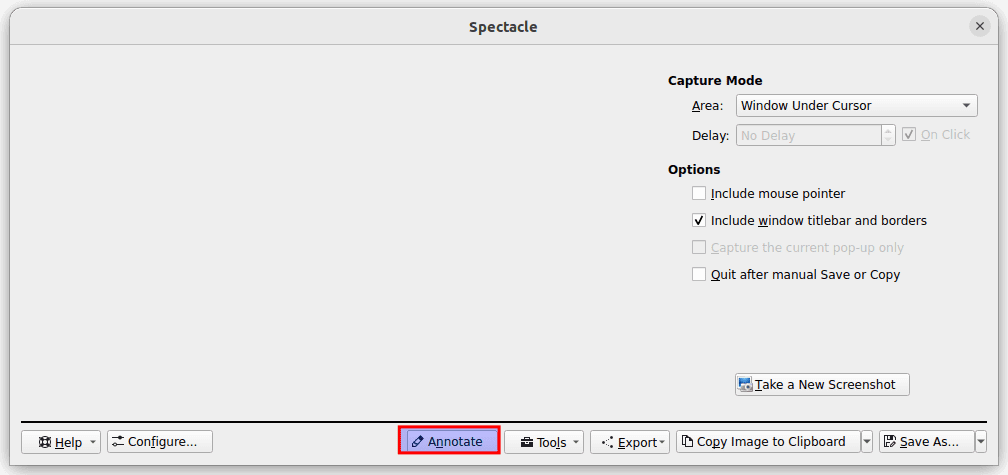
Annotate
When you’re through making changes, choose Annotation done to store the snapshot. You may do the same with the rest of the Spectacle interface’s settings.
Here’s the lowdown on uninstalling Spectacle from Ubuntu:
If you’ve decided you no longer intend to use spectacle and have installed Ubuntu, you may uninstall it using the command provided herein:
sudo snap remove spectacle
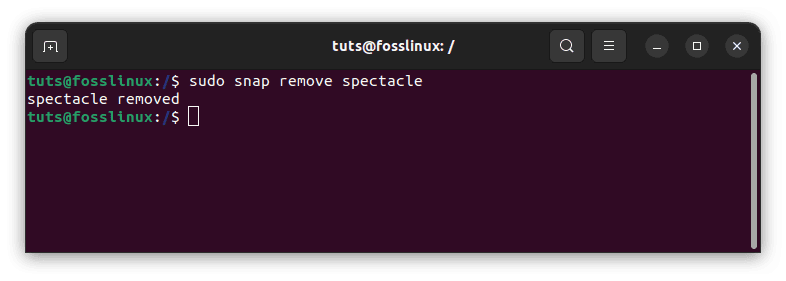
Remove spectacle