
If you are a programmer and have created a program to automate something that you have to do repeatedly, it is pretty easy to set it up in such a way that you can directly execute it from the command-line. But what about GUI? There are specific ways, yes, but not more comfortable than what we are introducing in this article.
Arronax helps create .desktop files for any program/script, customize it, and even make it appear in the application launcher.
Features, Installation, and Usage
1. Simple and easy interface
The interface is pretty straightforward. All options and customization are at quickly reachable proximity, and everything is contained in a little window. The available settings are just adequate, nothing more than what is needed. The options are described below.
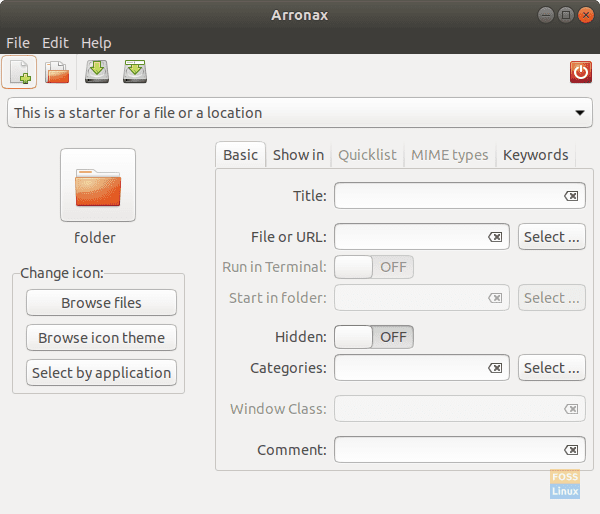
Arronax interface
2. Choosing the launcher type
You can easily choose the file type associated with the launcher. If the option of file/location is chosen, the said file will be opened, or the location will be opened in the default file manager. While in the application option, the specified program/script will be executed.
Launcher types
There are simple buttons for the same purpose.
Top left: Launcher for application
Next to the top left: Launcher for file/location
3. Choosing icons
There are three options for selecting an icon for your desktop starter file:
- An image file
- Icon from the icon theme
- Icon of an already installed program
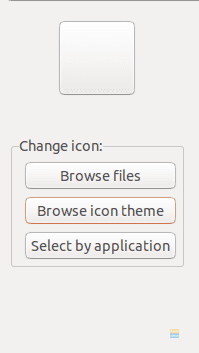
Icon options
4. Basic options
Basic options include the name of the launcher, the command (most importantly). Other than that, it asks whether you want to run a program in the Terminal or not.
You can also run the application in a specific folder. The option to keep the application hidden is also present, and the ‘Categories‘ dialog is where you can choose in what category your program will be.
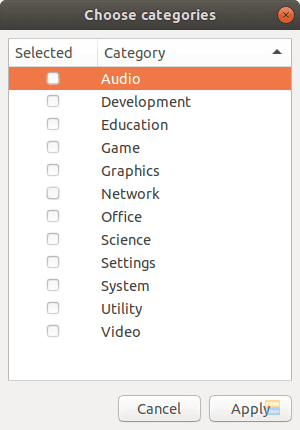
Categories
The attribute ‘Window Class‘ is a value used to specify the properties of a window. Different programs have different window classes. You can leave this empty to make the application inherit the default properties.
Lastly, you can add a comment for the application. This is the description of the program that you can see in the application launchers or properties of an application.
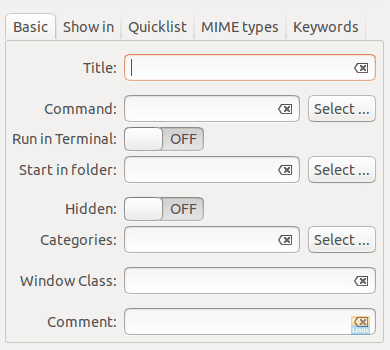
Basic configurations
5. Show in
The ‘Show in‘ tab is used to specify in which desktop environments the newly created application must appear. All are checked, and that is probably how you want it. Generally, the systems have only one desktop environment, so this option doesn’t require much tinkering.

‘Show in’ tab
6. Quicklist
Additional options can be specified here for the application. These appear when an application is right-clicked. For example, when you right-click a Firefox icon, options for ‘New Window‘ and ‘New Incognito Window‘ appear, which are options specific to Firefox. Quicklist can be used to add options like these to your application.
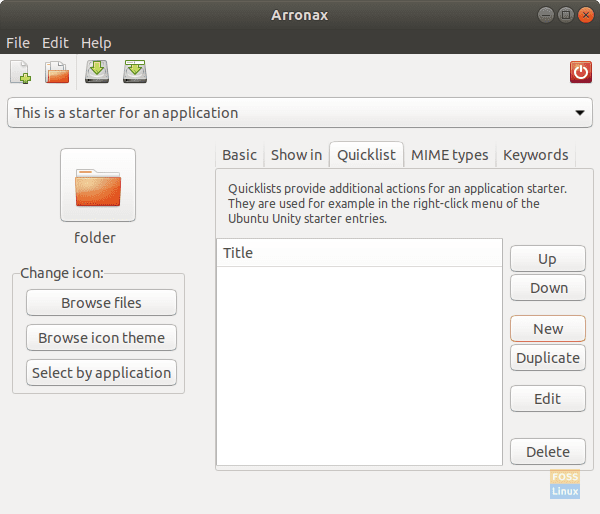
Quicklist
7. MIME types
This tab wants the user to specify the types of files that can be opened with the program being created. The list is already present in the program, and users need only choose the desired options.
If unclear, it can be understood this way. If you right-click a file, you get an option of ‘Open with…‘ which contains a list of all programs that file can be opened with. For example, you choose ‘Text file‘ in this category (of MIME types), you will get an option for this newly created program in the ‘Open with…‘ dialog of text files.
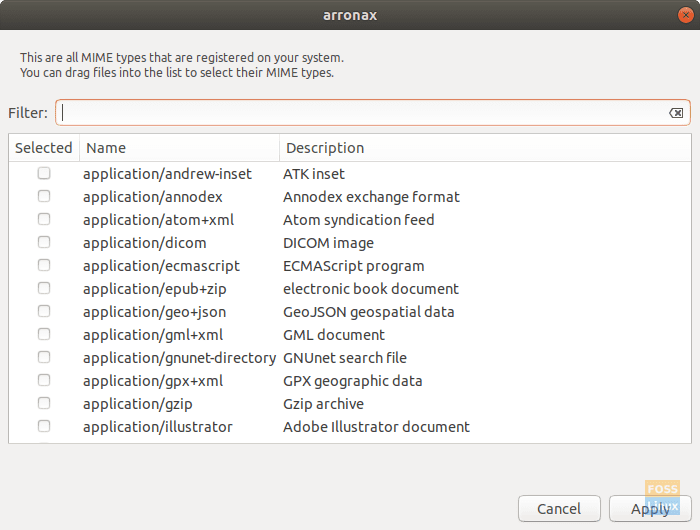
MIME types
8. Keywords
Users can add the keywords here that can be used to search the new program being created in the application menus of the system.
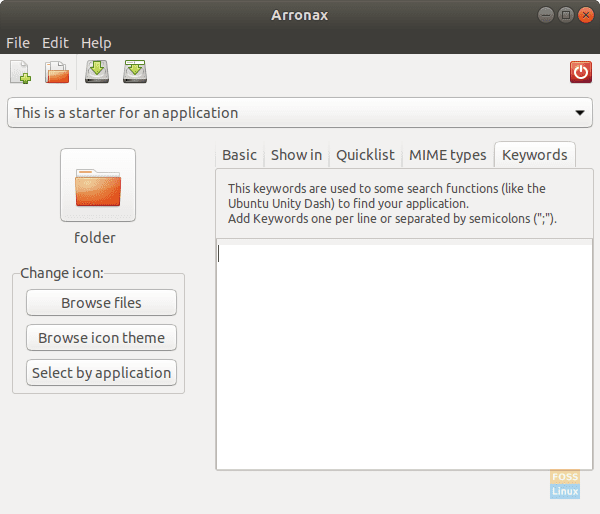
Keywords
Example walk-through
Here, I have created a program named wh1ter0se (yes, from Mr. Robot) that beeps every one minute. Steps include:
1. Choose ‘This is a starter for an application.’
2. Choose an icon (a clock).
3. Give a name (wh1ter0se), and the command (wh1ter0se).
4. Choose the category (Utility).
5. Add a comment.
That should be enough for a program of this sort.
Arronax usage
As you can see, this creates an application with a .desktop format. After launching it once, it is also available in the application menu, when you search for it.
Installation
On Ubuntu, for installation, first, visit this link and download the first package. At this time, it is named ‘arronax_0.7.1_all.deb‘. When the download is complete, execute the following commands:
cd Downloads/
sudo dpkg -i arronax<Tab>
(Press the Tab key where prompted.)
Enter the password when prompted.

Arronax installation.
The package will probably have unmet dependencies, so enter this command:
sudo apt-get -f install
The package will be installed.
Conclusion
Arronax is an excellent program for making .desktop files, especially for novice programmers and developers. Its adequate amount of configuration options and simple interface makes it easy to use, and a quick solution for a process that takes a long time traditionally. We hope you found this article useful. If you have any questions, feel free to ask in the comments section.