
If you have an Android phone, you probably want to create backups relatively quickly and reliably. Chances are you have unnecessary built-in Google apps or apps from your manufacturer that you want to get rid of. This is not allowed by default, obviously, but there is a solution.
Its a rather elegant one, because it involves no third party programs, that could be potentially malicious, but a part of the open-source Android SDK (Software Development Kit). The utility we are going to use is ADB.
ADB features and how to install
ADB (Android Debug Bridge) has a vast amount of capabilities. We are going to feature a concise list of the most useful features ADB provides us.
Transferring files
Files can be transferred from the phone, or to the phone using ADB. It uses the utilities of ‘push‘ and ‘pull‘ to achieve the mentioned task.
You can even sync an already copied directory, that may have been modified.
Uninstalling app/services
ADB can be used to uninstall any app on your phone. Yes, you can get rid of those pre-installed apps that you never found a use for, and which only ended up making your phone messier.
Installing apps
APK files can be installed across the phone very quickly if you have it on your system. Just a simple code, no prolonged processes or prompts, and that app will be installed.
Check logs
The phone’s logs in real-time can be accessed using a straightforward command.
Backups
Backups can be created via ADB, and in fact, it has several useful options for that. These are the things that the yes/no options are provided for:
- storing APK files of apps installed
- storing OBB (saved) data of apps installed
- storing the content of the device’s SD card
The restoring options are also available.
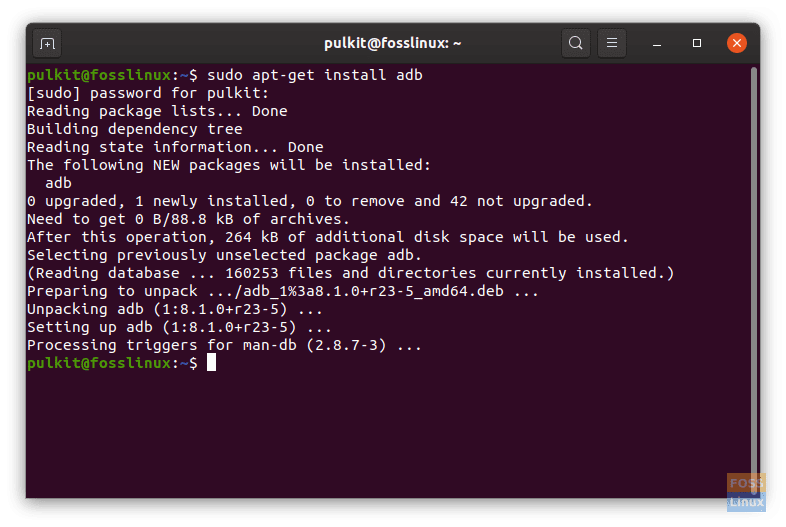
How to install
Installing ADB is quite simple. For Ubuntu/Debian and its derivatives, use the following command:
sudo apt-get install android-tools-adb
Or if it doesn’t work,
sudo apt-get install adb
ADB installing
On Fedora, use:
sudo dnf install adb
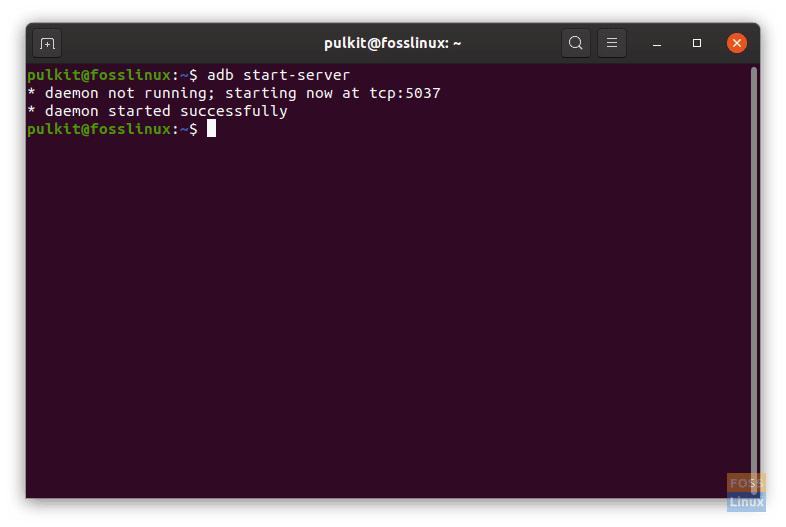
Setup
Now, we’ll show an essential guide to setting up your phone for using ADB. First of all, enable ‘USB Debugging‘ from the Developer Options in the settings. Go back to your system, and enter this command:
adb start-server
ADB starting
Now connect your phone to your system with a data cable. You will get a prompt asking whether or not do you want to allow USB debugging. Check ‘Always allow from this computer‘ and tap ‘OK.’
Now you can deploy commands.
Optional: Wireless connection
To connect to your phone wirelessly, make sure that your phone and computer system are connected to the same network. For now, connect your phone to your computer system through a data cable, with ‘USB Debugging‘ enabled in the Developer Options of your phone’s settings.
You will get a prompt on your phone whether to trust the computer it has been connected to, to which you need to answer with the positive remark.
Go to your phone’s settings, and navigate to ‘About Phone.’ Move to the ‘Status‘ menu. There will be a slot denoting the IP address of your phone. Make a note of it.

IP Address on phone
After completing the steps above, enter:
adb tcpip 5555
This enables connecting to your phone through the 5555 port.
You can now unplug your device. To connect to your phone wirelessly now, enter the command in the following format:
adb connect <IP ADDR OF PHONE>:5555

Enabling wireless connection
Now you are ready to deploy commands.
Usage
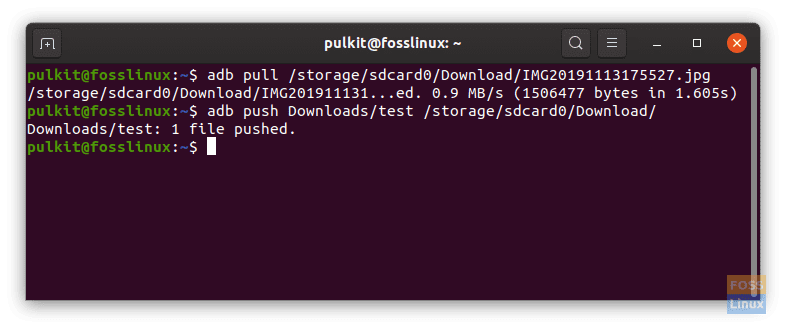
Transferring files
The files that you see on your phone’s file manager (Internal storage) are situated in the directory /storage/sdcard0. The data on your external SD card is on /storage/sdcard1. Now to transfer any data to and from the system, use the following commands:
Command to get a file from phone, taking an example of a file named ‘test‘ in the Download folder:
adb pull /storage/sdcard0/Download/test
From this syntax, you can understand how to get into more in-depth directories. Similarly, you can replace sdcard0 with sdcard1 if it is in your external storage.
Now an example for sending files:
To send data to your phone’s system from your computer’s Downloads directory to the Document folder of your phone:
adb push Downloads/test /storage/sdcard0/Document
Configure the basic syntax as you desire.
ADB transferring files
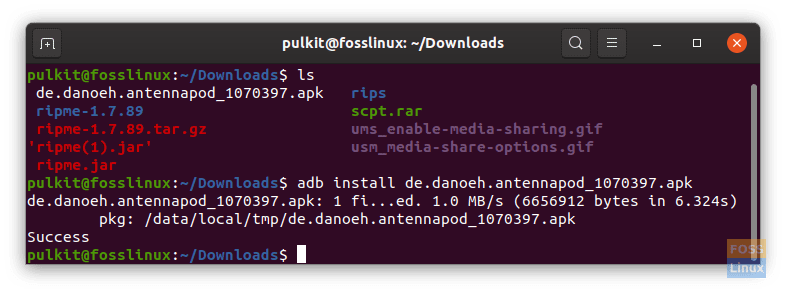
Installing/Uninstalling apps
To install an APK file to your phone, make sure APK is in the home directory, and use this simple syntax:
adb install <apk_file_name>
ADB installing
To uninstall, you first need to list all the programs on your phone. To do that, execute the following command:
adb shell pm list packages
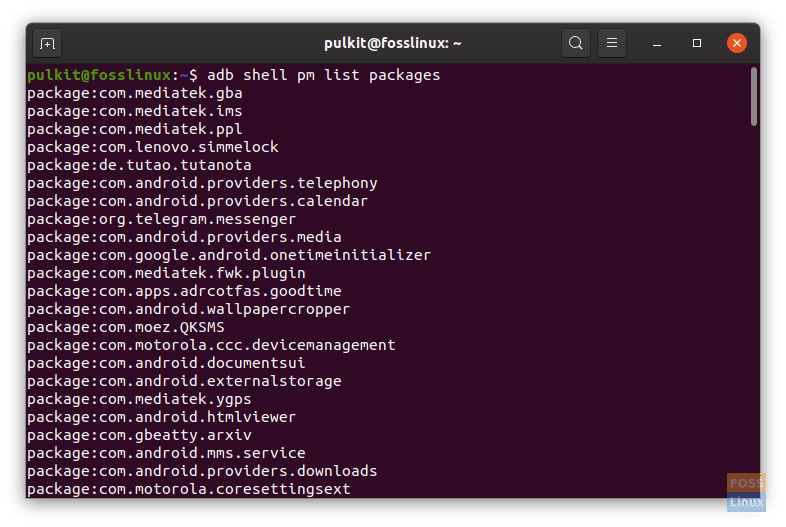
ADB packages list
Names are pretty complicated, so finding the app you want to remove might prove a little tricky, but the name usually stays the same. So try and find it, and when you’re sure that it is correct, execute the following command to uninstall:
adb uninstall --user 0 <app_name>
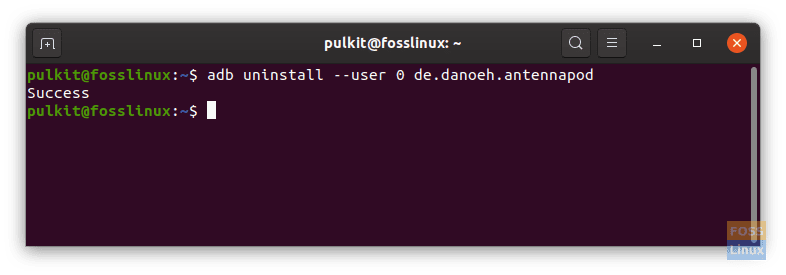
ADB uninstalling
Logs
To get the logs in real-time, execute this command:
adb logcat
The logs are pretty complex to understand and get a hold of, but we mentioned it nevertheless, for users who would require it.
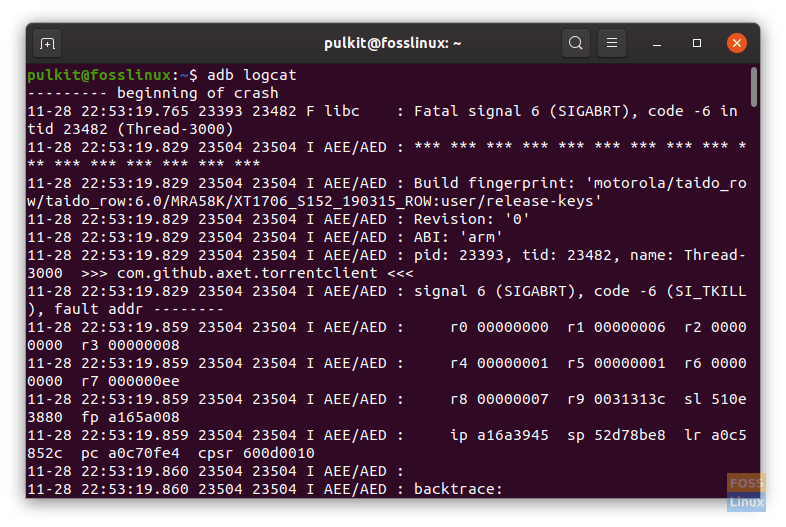
ADB logs
Creating backups
Creating backups has several options, as mentioned earlier. The general syntax is:
adb backup -f file [options]
Here, the file is the file where the backup will be stored. Other options available can be used this way:
- Storing APKs
- Backing up APKs: -apk
- Not backing up APKs: -noapk
- Storing application OBB data
- Storing: -obb
- Not storing: -noobb
- Storing data of external storage:
- Storing data: -shared
- Not storing: -noshared
- Backing up all data: -all
- Whether to or not store APKs of system apps:
- Storing: -system
- Not storing: -nosystem
Sample command for backup (storing APKs, storing external storage, not backing up system apps), which will be saved as bckp in the home directory:
adb backup -f bckp -apk -shared -nosystem
Restoring backups
Restoring backups is pretty easy using ADB. This can be accomplished using:
adb restore <backup filename>
Conclusion
ADB is a great utility to work with and provides an enormous amount of flexibility to your phone. All required utilities are made easier to access and execute, all at the comfort of your computer system, no rooting needed, and even wirelessly, if that’s what you want.
8 comments
good
Command sudo apt install android-tools-adb android-tools-fastboot
adb works. fastboot do not work. How to upgrade fastboot from google ? ubuntu 20.04
Command sudo apt install android-tools-adb android-tools-fastboot
I have a Samsung android pad and I don’t see Developer Options in the settings – is there another name/path for this. I am waiting for more Pine64 development before I buy a linux (or any) modern phone – I live in the woods away from modern world, connected by dsl.
The Developer Options are disabled by default on many devices. To enable them, go into the About Device subsection of the settings and try to find ‘Build Number’. When you do, repeatedly tap it and you will soon get a prompt saying ‘You are now a developer’. After that, you will find the developer options in the settings.
Solved – hit build number seven times to turn on Developer Options
To do this properly, you need a file manager on the cell phone that displays the directory structure in Linux command line format. I installed RS File Manager from Google Play Store for this purpose (premium version not necessary). Foss is giving you a generic example above. I wanted to transfer a photo from my Samsung Galaxy J7 Android to my desktop. The correct path turned out to be /storage/E7C8-5994/DCIM/Camera/20200704_09521.jpg. Foss also left something out, which is easy to figure out from context. The adb pull command has two arguments, the first being source and the second being destination. So the full command to transfer my picture was adb pull /storage/E7C8-5994/DCIM/Camera/20200704_09521.jpg /home/rjs/Pictures/Zena.