
If you’re a beginner in the world of Linux, you may find yourself lost in its directories and wonder what each of them represents. Don’t worry! I’ve been in your shoes, and I’m here to guide you through this labyrinth called the Linux directory structure. In this article, we’ll explore the basics of Linux directories, their purposes, and some tips and tricks to make the most of them. Before jumping onto it, let’s first understand the significance of Linux’s directory structure.
The importance of Linux directory structure: Organization, modularity, and maintainability
A Linux directory structure is needed for several reasons, which include organization, modularity, access control, and maintainability. Let’s explore these reasons in more detail:
Organization: The Linux directory structure helps organize files and directories in a hierarchical manner. This organization makes it easy for users and system administrators to locate specific files and directories based on their purpose or function. By following a standardized structure, users can predictably navigate any Linux system, even if they are unfamiliar with that particular distribution.
Modularity: Linux is designed to be a modular operating system, allowing users to add, remove, or replace components easily. The directory structure plays a crucial role in maintaining this modularity by keeping system files, user files, and application files separate. This separation ensures that system components can be updated or replaced without affecting user data or third-party applications.
Access control: The Linux directory structure helps enforce access control by assigning permissions to directories and files based on their location. For example, system configuration files in /etc are generally restricted to root access or users with elevated privileges. This ensures that only authorized users can modify critical system files, reducing the risk of accidental or malicious damage.
Maintainability: A well-defined directory structure simplifies system maintenance tasks such as backup, software installation, and log file analysis. For instance, user-specific files are located in /home, making it easier to back up user data. Likewise, log files are stored in /var/log, allowing administrators to monitor system activity more effectively.
Overall, the Linux directory structure is essential for maintaining an organized, modular, and secure operating system. It simplifies system administration tasks and ensures that users can quickly locate and access the files they need.
Viewing the Linux directory structure
To view the Linux directory structure in the terminal, you can use the ls command. Launch terminal and type the following command:
ls /
Here is an example output from my Pop!_OS system.
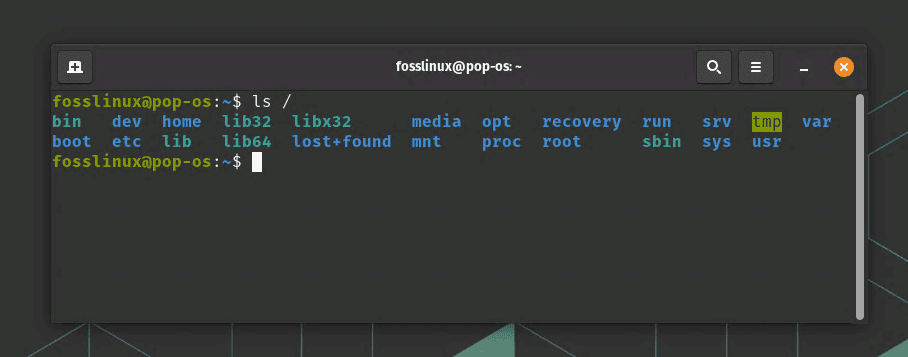
Viewing the Linux Directory Structure on Pop!_OS Terminal
Let’s now dive into the content of the Linux directory.
Linux directory structure explained
1. The Root directory: where it all begins
In Linux, the root directory is denoted by a single forward slash (/). It’s the starting point for the entire filesystem hierarchy, and all other directories are organized beneath it. You can think of it like the trunk of a tree, with branches (subdirectories) extending from it.
2. Exploring the essential subdirectories
/bin
The bin directory contains essential user binaries (executable files) that are necessary for the system to function. These commands can be used by both the system and users.
Here’s an example of using a command from the /bin directory to search for a specific file or directory:
Open a terminal window. Suppose you want to search for a file named ‘my_project_notes.txt’ in your home directory. You can use the find command from the /bin directory to perform this search. Run the following command:
find ~/ -type f -iname "my_project_notes.txt"
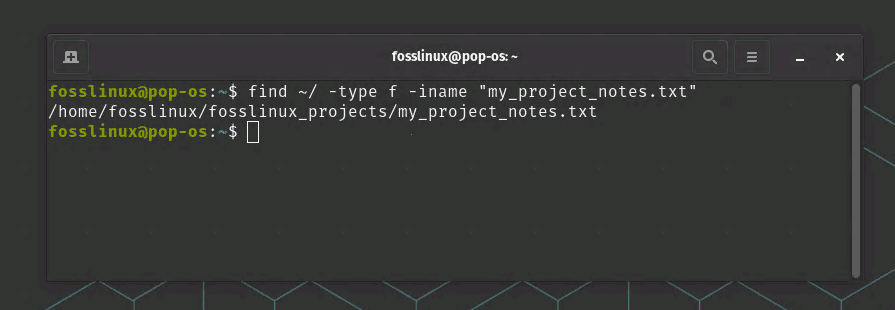
Using find command to look for a text file
In this command, the ~/ represents your home directory, -type f specifies that you’re searching for a file, and -iname is a case-insensitive search for the file name.
/sbin
This directory is similar to /bin, but it stores system binaries instead. These are commands used by the system administrator for system maintenance.
Familiarity with the commands in this directory empowers users to perform various critical tasks, such as disk partitioning, network configuration, and system initialization. To make the most of the /sbin directory, users should utilize resources like ‘man’ pages, tab completion, and custom scripts, while exercising caution with root privileges. By understanding and effectively using /sbin, Linux users can better maintain, troubleshoot, and manage their systems, ensuring stability and security.
A practical example of usage of /sbin directory
I would use this directory for managing network interfaces with the ifconfig command. Suppose you want to view the current network configuration of your Linux system, including IP addresses, netmasks, and other network-related information.
Here’s how you can achieve this using the ifconfig command:
Open a terminal window.
Since the ifconfig command resides in the /sbin directory and often requires root privileges, run the command with sudo:
sudo ifconfig
You will be prompted to enter your password. After providing the correct password, the command will execute, displaying information about the active network interfaces on your system.
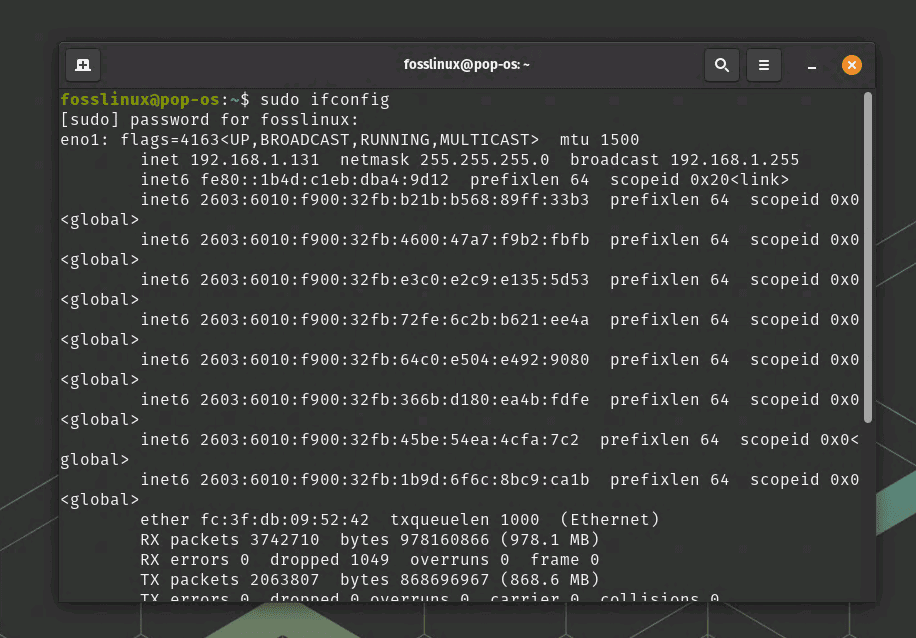
Using ifconfig command from sbin directory
Analyze the output to view details such as interface names (e.g., eth0, wlan0), IP addresses, netmasks, and other relevant information.
In this example, we’ve used the ifconfig command from the /sbin directory to view the network configuration of a Linux system. This is just one of the many practical applications of commands within the /sbin directory, which are crucial for system administration and maintenance tasks.
/etc
The etc directory is the nerve center of your Linux system, where configuration files for various applications and services reside. By modifying these configuration files, users can customize their system behavior and optimize performance. As a beginner, you might find it overwhelming, but I promise you’ll become best friends with this directory as you gain more experience, but for now, here is an example of using the /etc directory to configure the timezone for your Linux system:
Open a terminal window.
Run the following command:
timedatectl
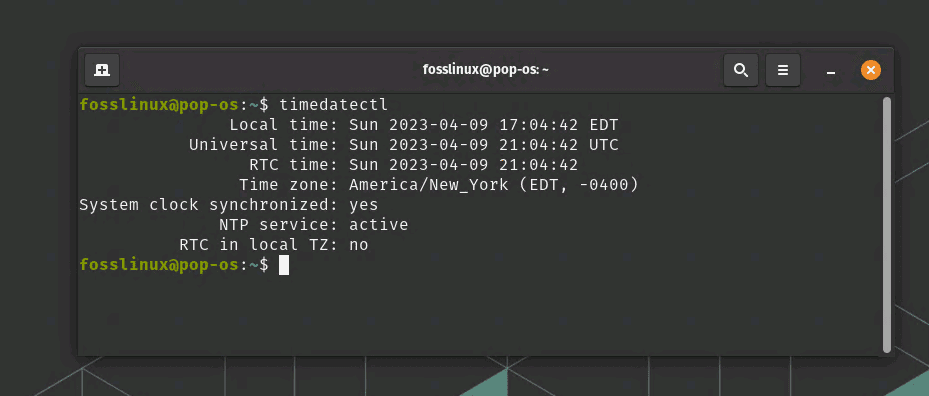
Displaying timezone using timedatectl from etc directory
This command will display various time-related information, including the currently set timezone. Look for the “Time zone” field in the output for the timezone details. If you want to change the timezone, first list available timezones by running:
ls /usr/share/zoneinfo
Choose the appropriate timezone for your location. For example, if you want to set the timezone to ‘America/New_York’, create a symbolic link to the corresponding timezone file in the /usr/share/zoneinfo directory:
sudo ln -sf /usr/share/zoneinfo/America/New_York /etc/localtime
Verify that the timezone has been updated by running cat /etc/localtime again or by using the date command:
date
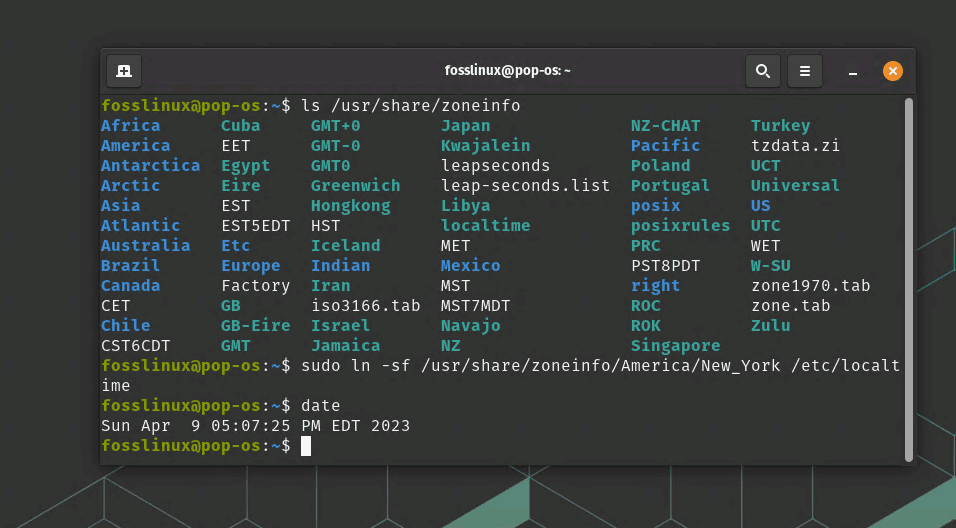
Showing and changing the time zone
In this example, we’ve used the /etc directory to configure the timezone for a Linux system by modifying the /etc/localtime file. This is just one of the many practical applications of using the /etc directory, which is critical for customizing, maintaining, and managing various aspects of a Linux system.
/home
Home sweet home! This is where user-specific directories are located. When you create a new user, a corresponding directory within /home will be created to store their personal files.
Here’s a practical example of using the /home directory to create and manage files for a user:
Open a terminal window.
Navigate to your home directory by running the cd command:
cd ~
(Note: The tilde (~) is a shortcut for the current user’s home directory.)
Create a new directory named ‘fosslinux_projects’ within your home directory:
mkdir fosslinux_projects
Move into the newly created ‘projects’ directory:
cd fosslinux_projects
Create a new text file named ‘my_project_notes.txt’:
touch my_project_notes.txt
Open the ‘my_project_notes.txt’ file with your preferred text editor, such as nano or vim, to edit and save your notes:
nano my_project_notes.txt
or
vim my_project_notes.txt
To back up the ‘fosslinux_projects’ directory, you can use a command like tar to create a compressed archive:
tar -czvf fosslinux_projects_backup.tar.gz ~/fosslinux_projects
This command will create a file named ‘fosslinux_projects_backup.tar.gz’ containing the contents of the ‘fosslinux_projects’ directory.
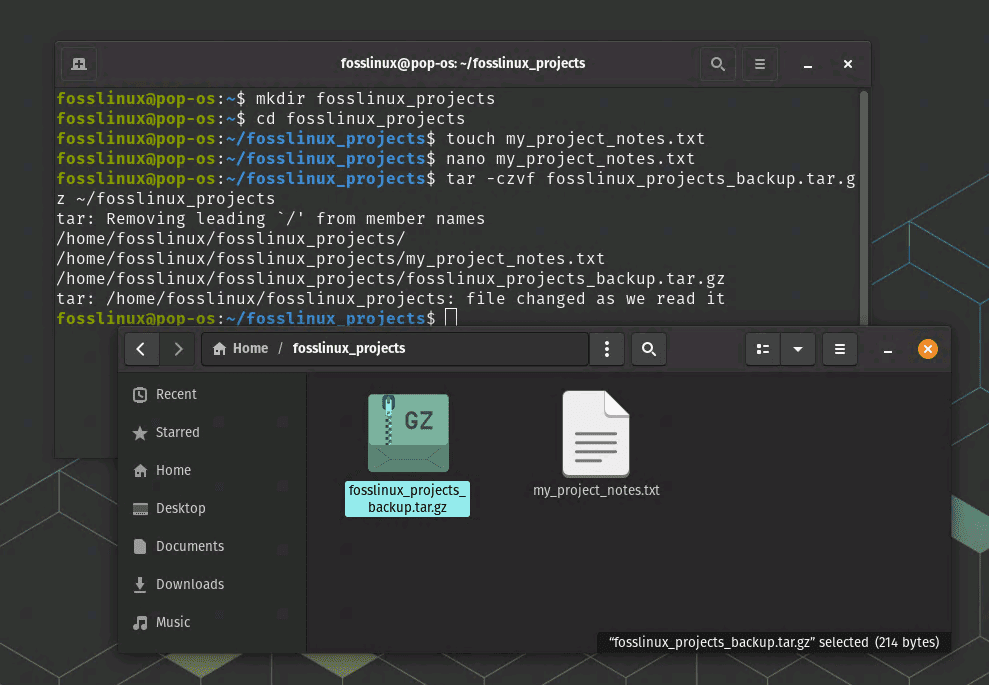
Walking through a typical process
In this example, we’ve used the /home directory to create, manage, and back up user-specific files and directories.
/opt
The /opt directory holds significant practical value in Linux systems, as it is designed for storing optional software packages and their dependencies. This allows users to install third-party applications without cluttering essential system directories, making it easier to manage, update, or remove these applications.
Let’s use another real application example that can be installed in the /opt directory. We’ll use the Visual Studio Code (VSCode), a popular code editor, for this example.
Download the latest Visual Studio Code release for Linux (available as a .tar.gz file) from the official website (https://code.visualstudio.com/download), By default it goes to ‘Downloads’ directory.
Open a terminal window and navigate to the ‘Downloads’directory using cd command.
cd Downloads
Move the downloaded VSCode package to the /opt directory:
sudo mv code-stable.tar.gz /opt
Navigate to the /opt directory:
cd /opt
Extract the contents of the VSCode package:
sudo tar -xzvf code-stable.tar.gz
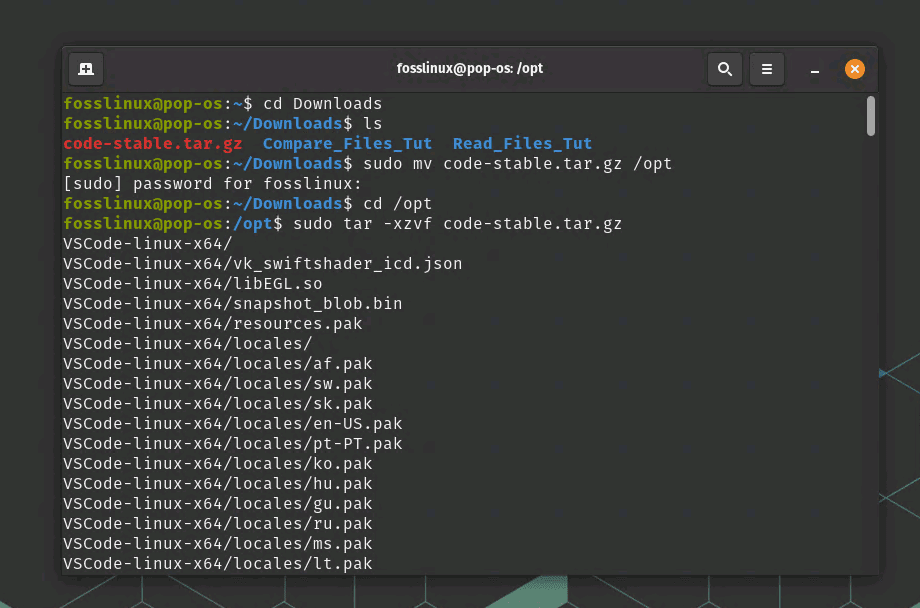
Extracting a tar file content into opt directory
Create a symbolic link to the VSCode executable in the /usr/local/bin directory to make it accessible system-wide:
sudo ln -s /opt/VSCode-linux-x64/code /usr/local/bin/code
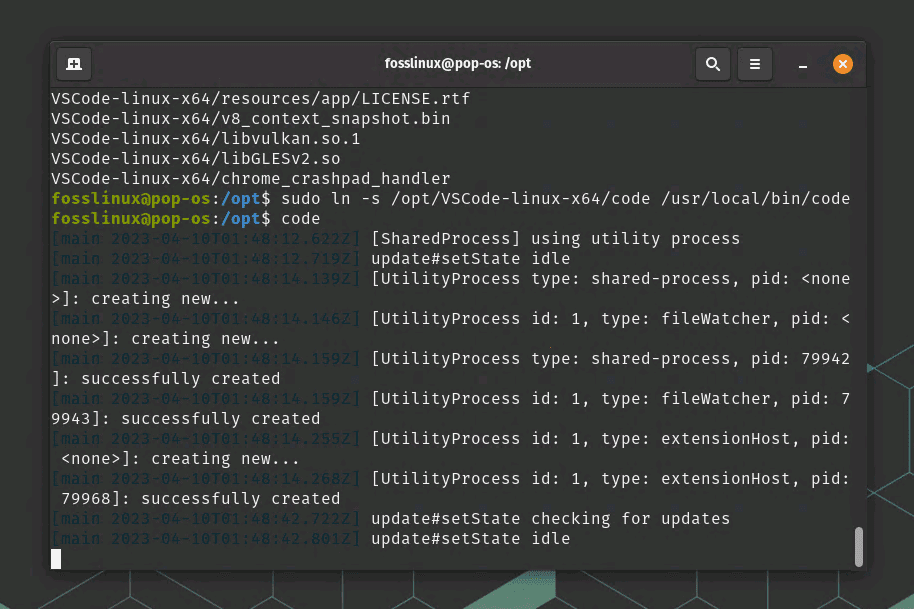
Creating symbolic link
You can now run Visual Studio Code by simply typing code in the terminal or searching for it in your system’s application launcher.
Successfully installed Vs Code
In this example, we’ve used the /opt directory to install the Visual Studio Code application, demonstrating a real-world scenario where the /opt directory is utilized for managing third-party software packages.
/tmp
The /tmp directory holds significant practical value in Linux systems, as it serves as a temporary storage location for files and directories created by the system and users. This directory is useful for storing temporary files that do not need to persist across system reboots, as its contents are typically cleared at startup or after a predefined period.
Here’s a practical example of using the /tmp directory for temporary file storage during a file conversion:
Suppose you want to convert a CSV file to a JSON format. First, install the required conversion tool. In this example, we’ll use csvkit. Install it using pip (Python package manager):
pip install csvkit
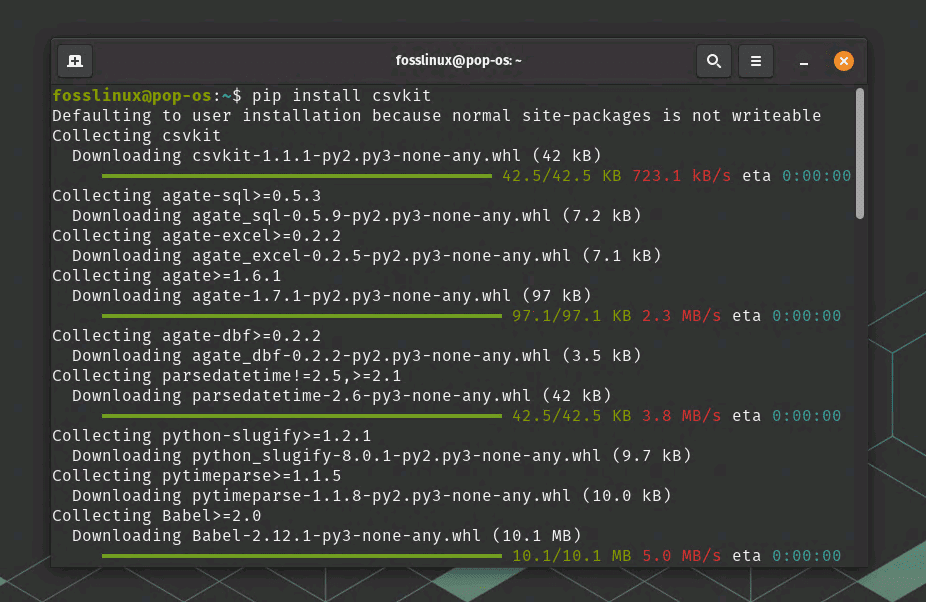
Installing csv kit
Open a terminal window.
Create a temporary file in the /tmp directory to store the converted JSON data:
temp_file=$(mktemp /tmp/converted_data.XXXXXX.json)
This command creates a unique temporary file in the /tmp directory with a random suffix and a .json extension. The temp_file variable stores the full path to the temporary file.
Convert the CSV file to JSON format using the csvjson command from csvkit and store the output in the temporary file:
csvjson input_file.csv > "$temp_file"
(Note: Replace input_file.csv with the actual name of your CSV file.)
You can now use the converted JSON data stored in the temporary file for further processing, such as uploading it to a server or importing it into a database. But you can also check the successful conversion. After running the csvjson input_file.csv > “$temp_file” command, you can check if the conversion was successful by inspecting the contents of the temporary file. To do this, you can use commands like cat, less, or head to display the contents of the temporary JSON file.
For example, you can use the head command to display the first few lines of the temporary JSON file:
head "$temp_file"
After you have finished using the temporary file, you can remove it to free up space in the /tmp directory:
rm "$temp_file"
In this example, we’ve used the /tmp directory to store temporary files during a file conversion process. This is just one of the many practical applications of using the /tmp directory, which is essential for managing temporary files and resources in a Linux system.
/usr
The /usr directory holds significant practical value in Linux systems, as it contains shareable, read-only data such as user utilities, applications, libraries, and documentation. This directory helps keep the system organized, maintain consistency across installations, and enables sharing of common files among multiple users and systems.
Let’s use the popular command-line text editor “Nano” as a real example to demonstrate the practical usage of the /usr directory. We’ll install Nano from the source code and place the compiled binaries in the appropriate directories under /usr.
Download the latest Nano source code release from the official website (https://www.nano-editor.org/download.php) or use the following command to download the source code directly:
wget https://www.nano-editor.org/dist/v7/nano-7.2.tar.xz
(Note: Replace ‘7.2’ and ‘v7’ with the latest version number available at the time of download.)
In my case, I just downloaded it from the website. By default, the file is in “Downloads” folder.
cd Downloads
ls
Open a terminal window. Extract the contents of the downloaded source code archive:
tar -xvf nano-*.tar.xz
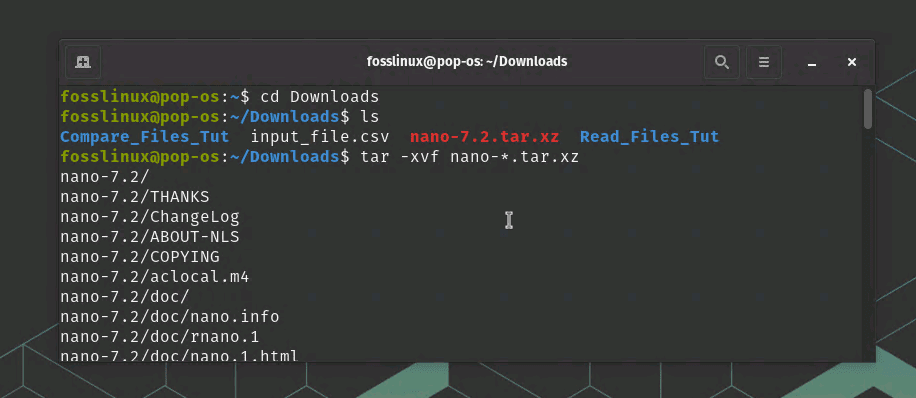
Downloading and extracting nano editor
Navigate to the extracted source code directory:
cd nano-*/
(Note: Replace ‘nano-*’ with the actual name of the extracted directory.)
Compile and install Nano using the following commands:
./configure --prefix=/usr/local
make
sudo make install
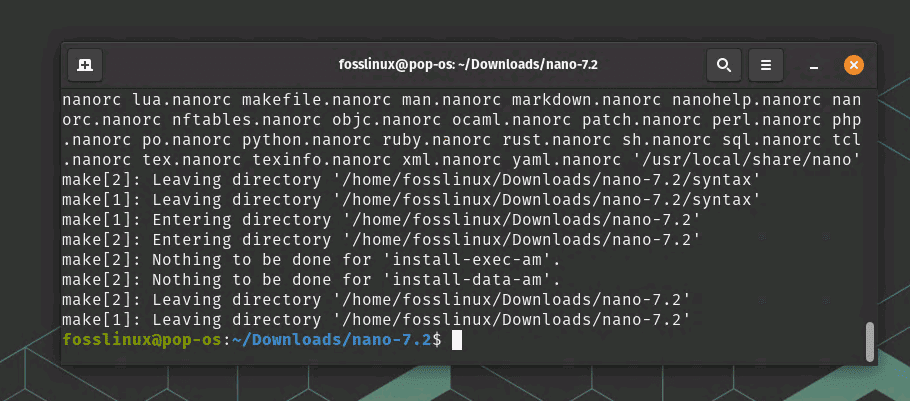
Sudo make install command
\The –prefix=/usr/local flag during the configuration step tells the build system to install Nano under the /usr/local directory. After the installation, the Nano binary will be located in /usr/local/bin, and its data files will be stored in /usr/local/share.
Running Nano
Now, you should be able to run Nano by simply typing nano in the terminal. In this example, we’ve used the /usr directory to install Nano from its source code, demonstrating a real-world scenario where the /usr directory is utilized for managing user utilities and applications.
/var
Finally, the var directory houses variable data such as log files, caches, and databases. It’s the bookkeeper for your system, helping you keep track of what’s happening. This directory ensures that the system can properly manage and store files that change over time or grow in size.
Let’s go through a practical example of using the /var directory to view and manage log files on your Linux system:
Open a terminal window. Navigate to the /var/log directory, where the system stores log files:
cd /var/log
List the contents of the /var/log directory to see available log files:
ls
To view the contents of a specific log file, such as the system log (syslog), you can use the cat, less, or tail command. For instance, to view the last 10 lines of the syslog, run:
sudo tail -n 10 syslog
(Note: Replace ‘syslog’ with the actual name of the log file you want to view.)
If you want to monitor a log file in real-time, you can use the tail command with the -f option. For example, to monitor the syslog in real-time, run:
sudo tail -f syslog
Press Ctrl + C to exit the real-time monitoring.
To search for a specific pattern or text within a log file, you can use the grep command. For instance, to search for occurrences of “error” in the syslog, run:
sudo grep "error" syslog
In this example, we’ve used the /var directory to view and manage log files on a Linux system. This is just one of the many practical applications of using the /var directory, which is essential for organizing and maintaining variable data in a Linux system.
Tips & tricks to master the Linux directory structure
- Use the cd command to navigate directories quickly. For instance, cd /usr/local takes you to the /usr/local directory.
- The ls command is your best friend when exploring directories. Use it to list the contents of a directory, and ls -la to show hidden files and detailed information.
- Create symbolic links with the ln -s command to access frequently used directories more easily. It’s like creating a shortcut on your desktop.
Feeling overwhelmed? Don’t forget the man command. Use it to access the manual page for any command or application, such as man cd for more information on the cd command.
Troubleshooting tips for common directory issues
- If you can’t access a directory, check your permissions with the ls -l command. You might need to use chmod to modify them.
- Are files missing from a directory? Use the find command to search for them. For example, find / -name “myfile.txt” searches the entire filesystem for myfile.txt.
- To recover a deleted file, use a file recovery tool like TestDisk or Extundelete. Always remember to back up your data to prevent future data loss.
Conclusion
Understanding the Linux directory structure is essential for every Linux user, whether you’re a beginner or an experienced enthusiast. It might seem overwhelming at first, but with practice and exploration, you’ll soon become a master navigator of the Linux filesystem hierarchy.
In this article, we’ve covered the basics of Linux directories, their purposes, and some tips and tricks to make the most of them. Remember to be patient and take your time familiarizing yourself with the filesystem, and don’t be afraid to ask for help from the Linux community when needed.
Now that you have a solid foundation in the Linux directory structure, go forth and conquer the world of Linux. And always remember: with great power comes great responsibility. Use your newfound knowledge wisely and enjoy the endless possibilities that Linux has to offer! Happy exploring!