
VMware Workstation Player is one of the widely used virtualization desktop applications that you can use to create virtual machines. Unlike VirtualBox, it is not an open-source application but is mostly used in the work environment.
In this guide, we shall walk you through installing the VMware Workstation Player on an Ubuntu machine. The personal version is free for non-commercial use, but don’t worry, it packs the same features as the paid business version.
Installing VMware Player on Ubuntu
To begin with, let’s update your Ubuntu PC. Launch the Terminal app and fire the following commands in it.
sudo apt update
sudo apt upgrade
Step 1. We need to install the prerequisites: gcc package and build-essential for Ubuntu.
sudo apt install build-essential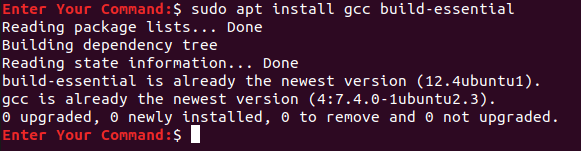
Install Recent Build-Essential Package
Step 2. Open your favorite web browser and navigate to the official VMware official website.
Step 3. Choose to download VMware Workstation Player for Linux.

Download VM Workstation Player For Linux
Step 4. Save your VMware Workstation Player and press OK.
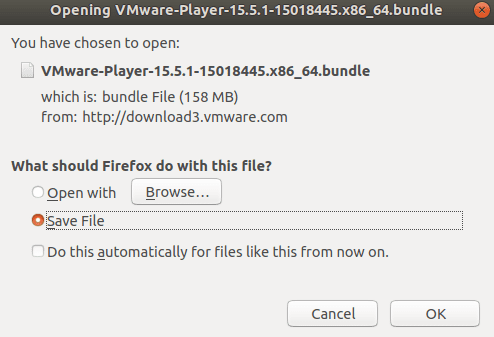
Save VM Workstation Player
Step 5. VMware Workstation Player downloaded successfully.
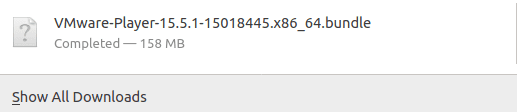
Downloaded Successfully
Step 6. Move to your download directory.
cd Downloads

Move To Downloads Directory
Step 7. Change permissions using the following command.
chmod +x VMware*
Change Permissions
Step 8. Run the VM downloaded file.
sudo ./VM*
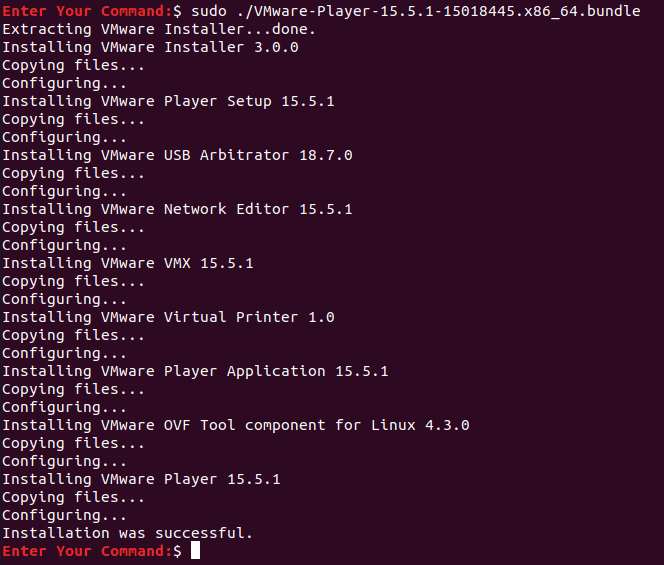
Install the VM Workstation Player
Step 9. Now from the top left of your desktop, open the Activities Menu.

Open Activities Menu
Step 10. In the search bar, search for the VMware Player and open it.

Launch the app
Step 11. Select to accept the license terms for the VMware OVF Tool and click on the Next button.
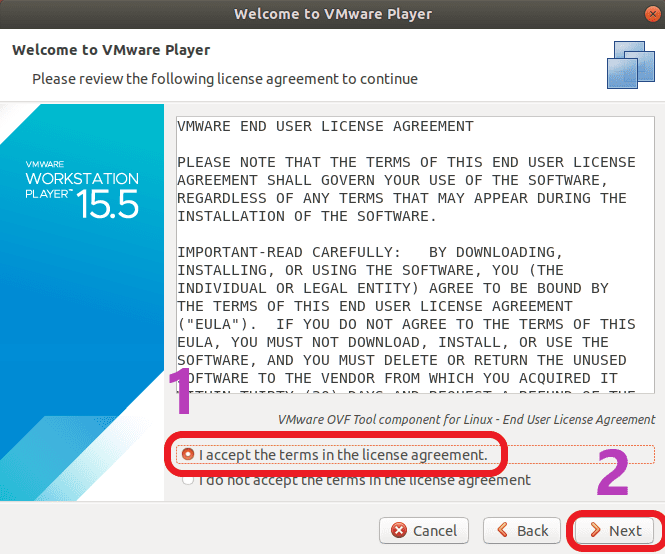
Accept Terms
Step 12. Now select if you want to receive updates during the app startup and click the Next button.
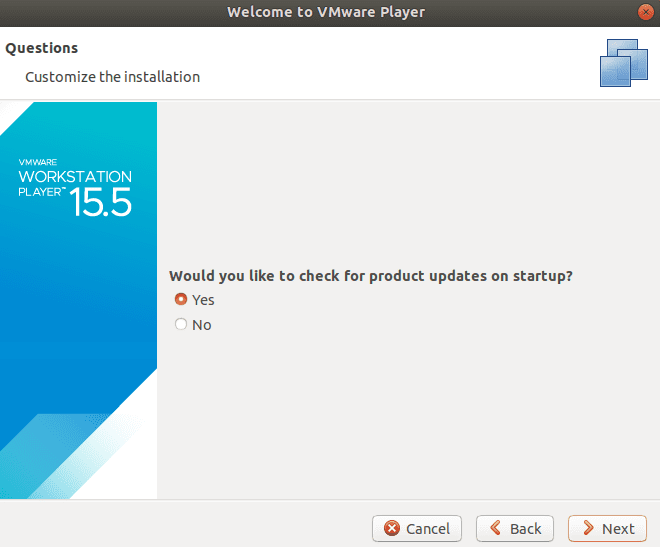
Check for updates
Step 13. Choose if you need to participate in the VMware Workstation Player customer experience or not and press the Next button.
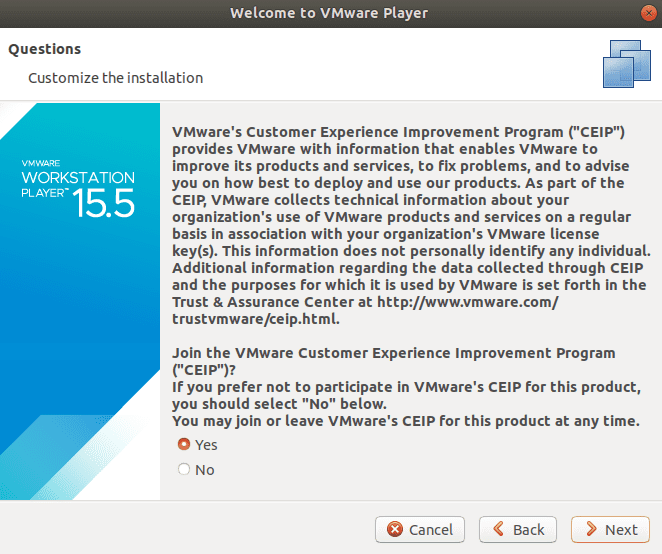
Join the Customer Experience
Step 14. Finally, if you have a VMware Workstation Player license key, you can use it now otherwise select the free non-commercial version and press the Finish button.
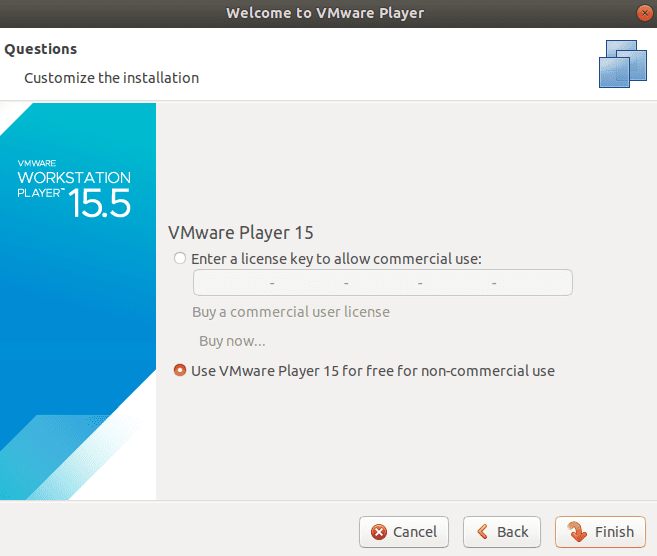
VM Workstation Player License Key
Step 15. Authentication will be required to apply changes.
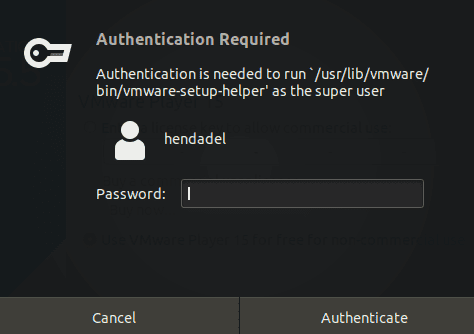
Authentication Is RequiredStep 16. Click OK for the message.
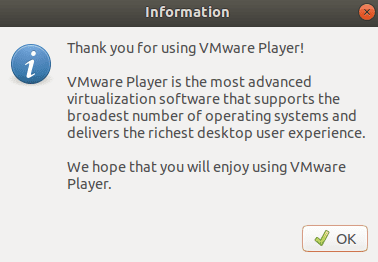
Information Message
Step 17. Welcome to your VMware Workstation Player.
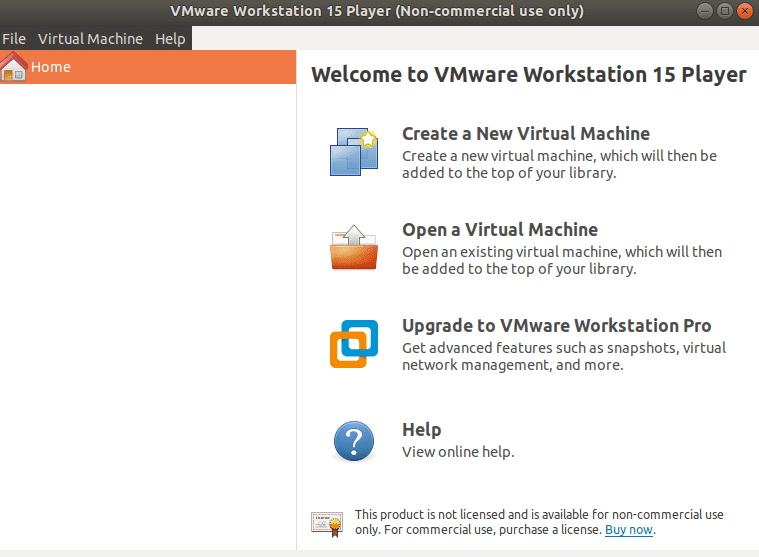
Welcome
That’s all about the installation of the VMware Workstation Player on Ubuntu.
1 comment
You can install it completely from CLI, you should add a section on your article.
https://docs.vmware.com/en/VMware-Workstation-Pro/15.0/com.vmware.ws.using.doc/GUID-42F4754B-7547-4A4D-AC08-353D321A051B.html