
LaTeX is a handy document preparation system. For those of you who don’t know, it is a system in which you can specify the components of a document, without having to format it yourself.
You can take the analogy of an HTML document, where you specify the headings and paragraphs with tags instead of having to modify the page or text.
LaTeX is widely used to display text with mathematical notations. Since it is so important, there have to be programs dedicated to editing text files with LaTeX. We’re going to talk about one such program today, TeXstudio, which can be perceived as an IDE of sorts for LaTeX.
Features
1. Interface
The interface is very welcoming and easy to understand. The main window is divided into three parts.
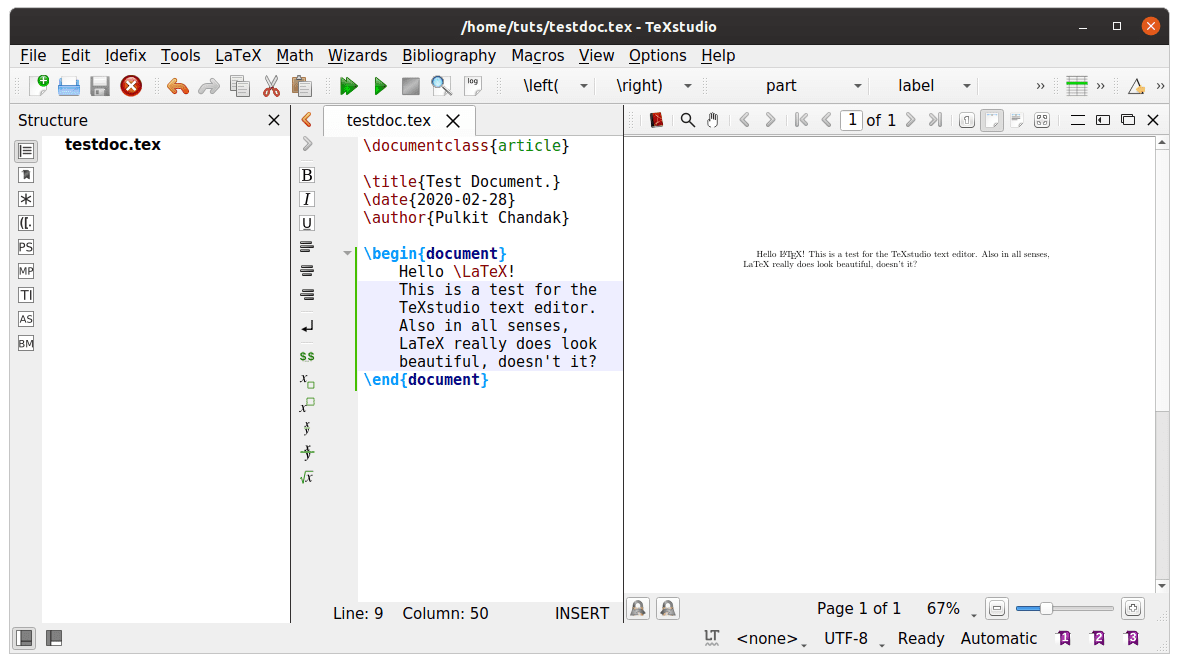
TeXstudio full interface
The leftmost division is a toolbar. It has several small buttons, representing different things and that can be used for various purposes.
Structure: Like any IDE, it shows the filesystem structure and the location of the current file in it.
Bookmarks: Shows the bookmark locations of the current file.
Symbols: Perhaps the most useful option, this can be used to add symbols with merely a click of the mouse, instead of even writing the code for it.
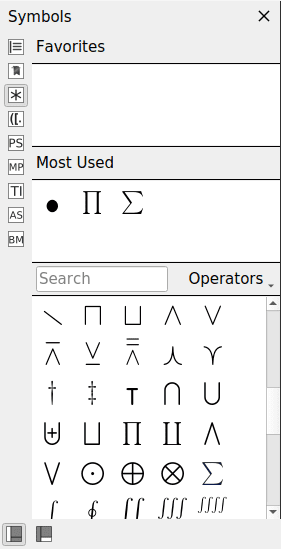
Symbols
Brackets: Enters different sorts of brackets with a single click.
PSTricks commands: PPSTricks is a set of macros that allows inserting PostScript drawings directly into LaTeX. The different commands for it are shown here and can be used directly with a single click.
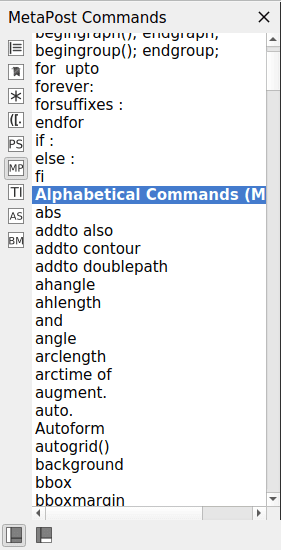
MetaPost commands: MetaPost produces graphic diagrams from geometric descriptions. MetaPost can directly be embedded into LaTeX documents here, and the standard tools are enlisted here, to be used directly.
Tikz commands: Again, Tikz is also a tool to create graphics directly in LaTeX. Commands are available in this toolbox directly.
Asymptote commands: Asymptote is also a graphical diagram creator, which can directly be embedded into LaTeX using this toolbar.
Beamer: Beamer is a LaTeX document class for creating slides for presentations. Common commands for Beamer can be accessed here.
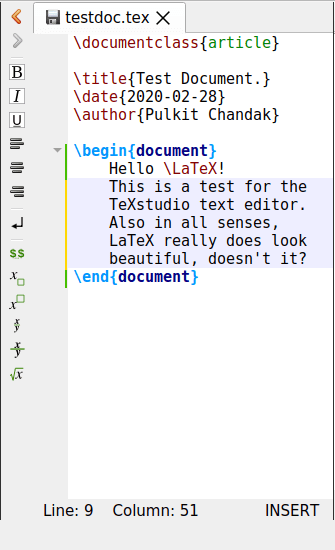
The middle section is the text editor itself. You will find all the standard formatting options here.
Editor
The right division is the preview for the document. There are several preview options available including zoom level, preview options, opening the document in an external reader, and some more options.
Apart from these three sections, there is also the top bar, which has several options available. Apart from the usual opening, creating, saving, and closing files, there is also the copy, cut, and paste options. There is the button to ‘Build and View‘ the written down the script. Compile, and ‘Stop Compile‘ options are available as well.
Top bar
The option to enter various sorts of brackets is again available on the toolbar, and subdivision options like part, chapter, section, subsection, etc. can be accessed from there as well.
2. Tools
The ‘Tools‘ menu has several useful options. Apart from those already present in the top-bar of the interface, these options are:
Commands: The option for entering commands of various toolsets are available here, like that of PDFLaTeX, LuaLaTeX, XeLaTeX, etc. There are also multiple conversions possible, like DVI to PS or PDF. Bibtex and Biber (bibliography management tools) can be accessed from here, and even some other ones, for making indexes, glossaries, etc.
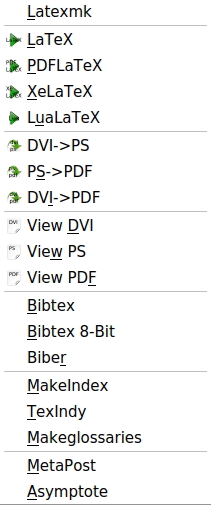
Commands
There is an option available to clean auxiliary files. These are the files stored by LaTeX between various compilations, for smoother and better usage.
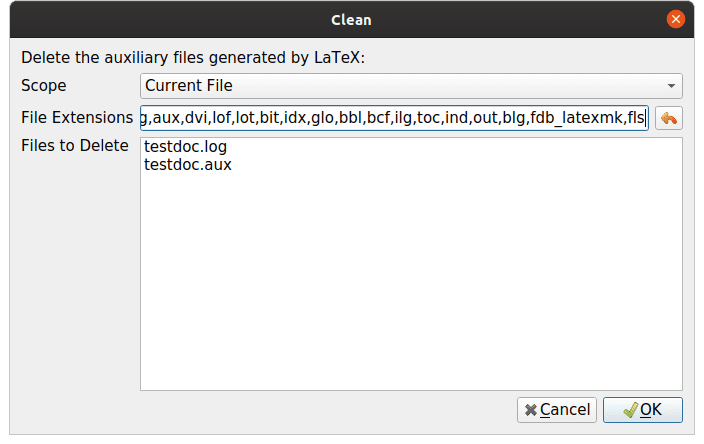
Clearing auxiliary files
‘Convert to HTML‘ option is available, which launches a resultant formatted HTML page, that looks the same. The other option, ‘Convert Source to HTML,’ provides the HTML code for the page in the editor itself.
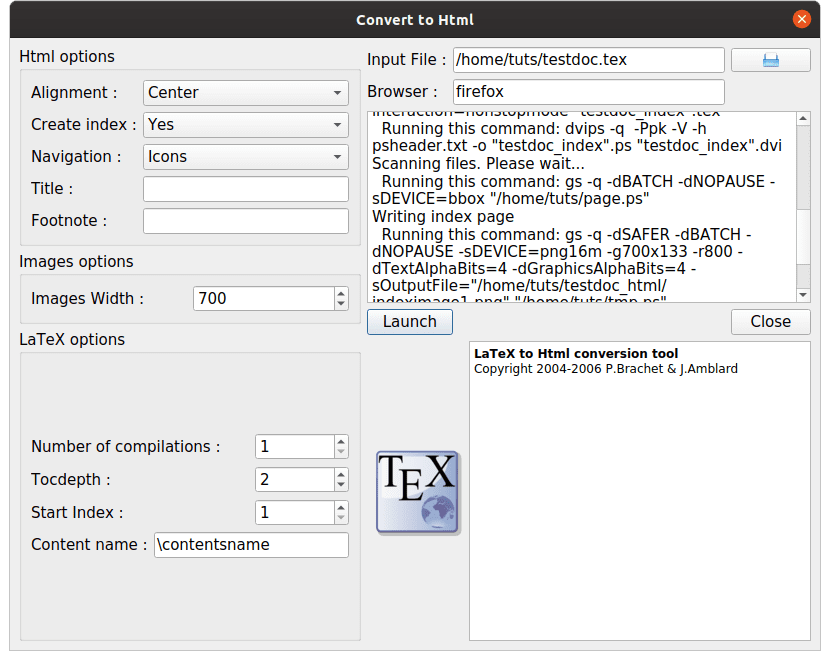
HTML converter.
Analyze text: This opens up a window describing the contents of the file. Information like relative count, total lines, phrases, etc. are enlisted and counted. You can see more about in the screenshot below.
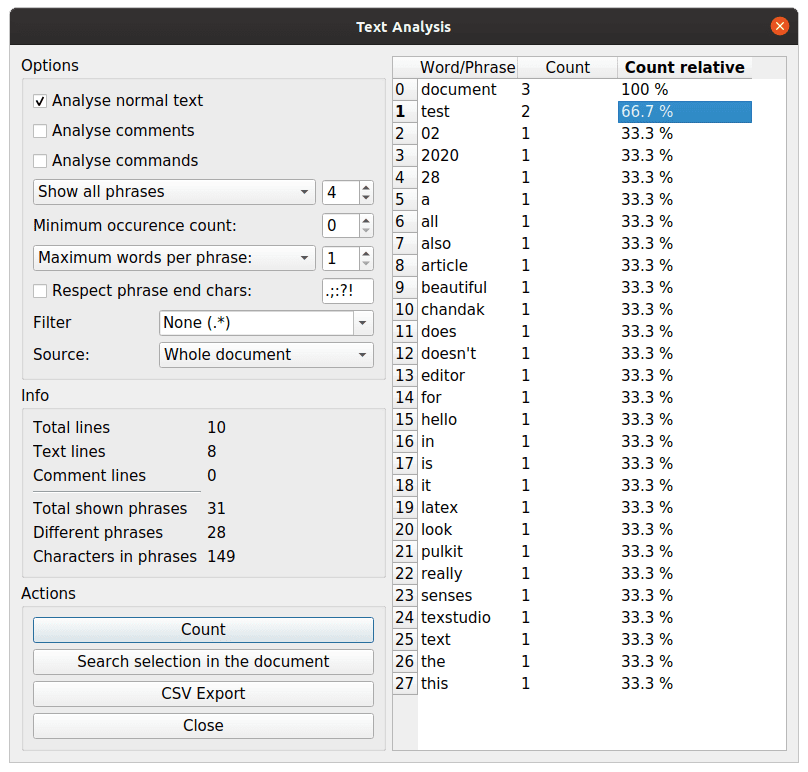
Analyze text
A random text generator window is also available in the ‘Tools‘ section.
3. LaTeX
In the LaTeX menu, you’ll find different markup tags. The general use tags, such as environment names, standalone tags, tags for boxes, spacing, font formatting, bibliography, etc. can be found here.
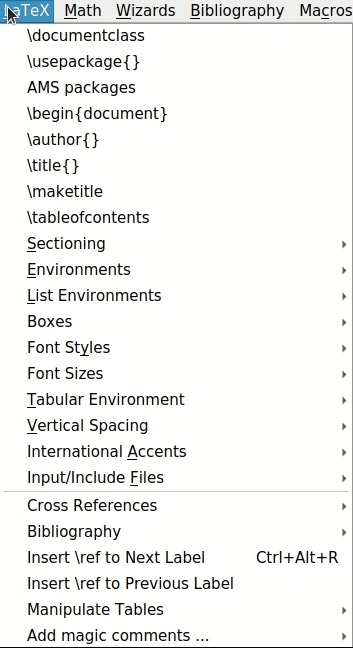
LaTeX menu.
4. Math
As evident from the name, all the math-related tags can be found here. Subscripts, superscripts, fractional notation, root, equations, functions, accents, and many more things can be found in this menu.
5. Bibliography
This category contains frames for several kinds of documents’ bibliographies. Formats like article, book, thesis, patent, booklet, etc. are available. New types can even be added to the list for repeated usage. Apart from the necessary tags, it also provides optional tags (starting with OPT), that can help clarify the bibliography entries.
6. Macros
If none of the already existing templates and commands suit your needs, you can use the option of macros to create new commands yourself. TeXstudio provides this option as well, which can be accessed by clicking ‘Macros‘ in the top toolbar.
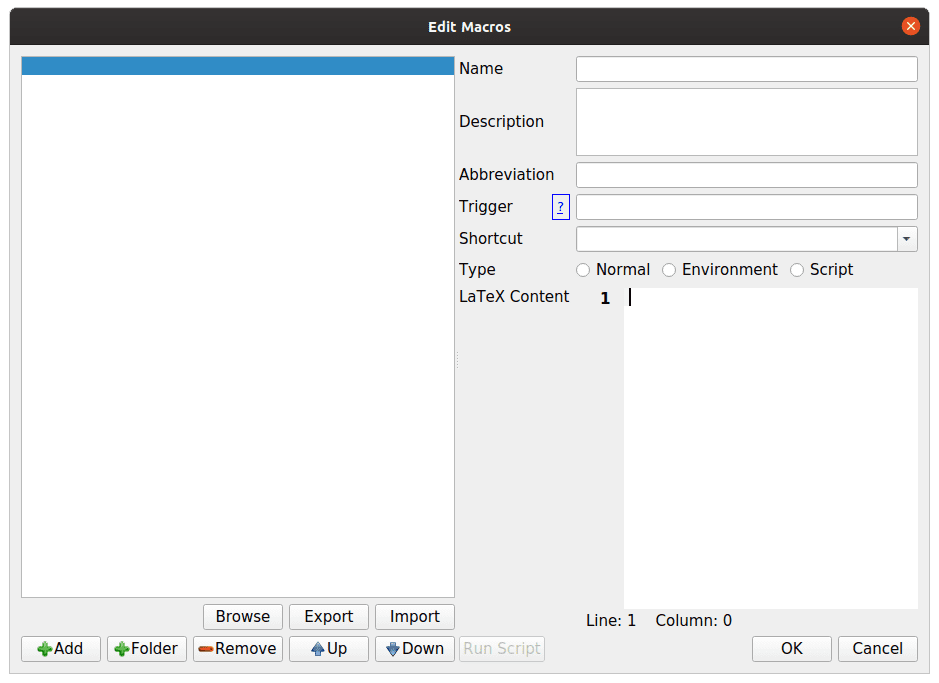
Macro editor
7. Configuration
The configuration options provided are astoundingly extensive. Here is a short description of the basic options available:
- General: The basic options of font styling and themes are available here. Update settings are available too.
- Commands: The default commands for calling tool-sets other than LaTeX are enlisted here. Users can change these as well if required.
- Shortcuts: The default shortcuts to common options can be changed here. Also, new shortcuts can be added.
- Editor: The settings for the editor, like indentation mode and font styling, can be configured. Even the inline checking modes can be turned on and off, like spelling, grammar, references, citations, etc.
- Syntax Highlighting: The default colors and configurations of syntax highlighting can be changed here, based on the command that is being configured.
- Auto-completion and language checking configurations are also given.
8. Other features
Other features of TeXstudio include multi-cursor selections, link-overlay, assistants for images/tables/formulae, table formatting, etc. More information can be found here.
Installing TeXstudio on Linux
The program is available on all major distributions’ repositories. On Ubuntu or Debian or their derivatives, enter this command:
sudo apt-get install texstudio
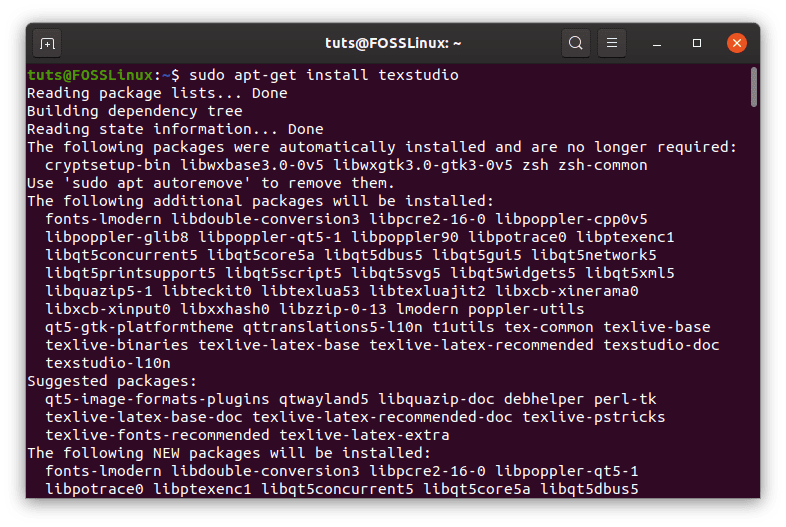
TeXstudio installation
On Fedora and its spins use the following command:
sudo dnf install texstudio
The download links to packages for other distributions are available from the official website.
Conclusion
TeXstudio is quite a feature-packed text editor and no doubt, a one-stop solution for all formatted text requirements. It has a lot of configurations available, which makes it easy to incorporate everything into one place. It might be a little intimidating for beginners, but a quick search here and there, and everything can be understood pretty smoothly for the most part. If you have any questions, feel free to use the comments section.