
gImagereader is a front-end application for the Tesseract OCR engine. For those new to Tesseract, it is an Optical Character Recognition Engine (OCR) that makes use of artificial intelligence to search and recognize printed text on images. It’s an opensource library and one of the most popular OCR engines in the market.
Every day, be it in offices, home, etc., we find ourselves in situations where we need to extract text from an image. It could be a scanned document in image format, a piece of paper, or old research work. The outright option is to type the whole text with a text editor. But this process is time-consuming. Why not use an OCR to extract the text automatically?
In this article, we shall look at one of the best OCR (Optical Character Recognition) tools we have in the market, the gImageReader.
What is gImageReader
It simplifies the whole process of extracting printed text from images. You can work with files, uploaded scanned images, PDF, pasted clipboard items, etc.
It is a cross-platform app and so works on Linux and Windows. In this post, we shall look at the installation process of gImageReader in Ubuntu and Fedora distributions.
Installation on Ubuntu
Our Ubuntu release of choice is Ubuntu 18.04 LTS. However, you can install gImageReader on earlier versions like Ubuntu 14.04 to the latest release Ubuntu 19.04.
Step 1) We need to add the PPA repository to our system.
sudo add-apt-repository ppa:sandromani/gimagereader
Step 2) Refresh all packages.
sudo apt-get update
Step 3) Install the app.
sudo apt-get install gimagereader tesseract-ocr tesseract-ocr-eng -y
Note, the -y command is optional. It is added to say Yes (Y) to any prompts automatically.
That’s it, gImageReader should get installed on your Ubuntu.
Uninstallation
In case you want to remove/uninstall gImageReader use the command below:
sudo apt-get remove gimagereader -y
Installation on Fedora
With Fedora, the installation process is quite easy. Open the terminal and execute the commands below:
sudo dnf install gimagereader-qt
In case of any arising prompts, type Y for Yes.
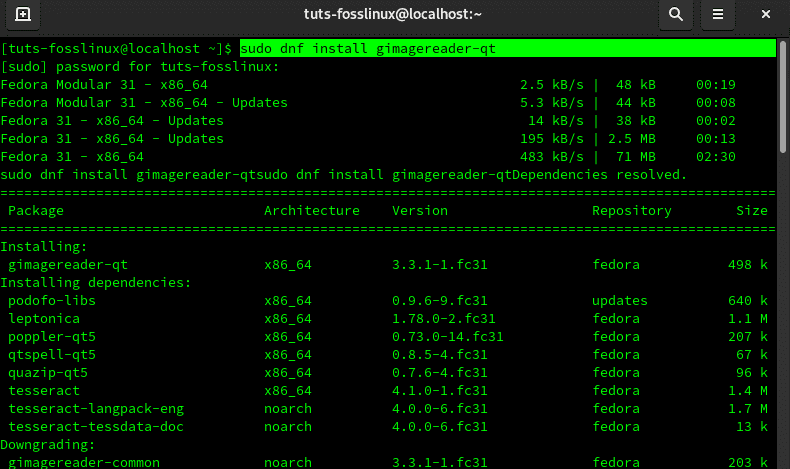
Terminal command to install gImageReader Fedora
Key Features
1. Extract text to plaintext or hOCR
Tesseract OCR engine makes use of Artificial Intelligence (AI) to recognize text from images. Therefore, the app acts as a powerful user interface for text extraction. Users can upload a picture, and in one-click, they have the required text.
The extracted text is converted to plain text or hOCR. hOCR is a general standard for text extracted using Optical Character Recognition.
2. Support import for a variety of files
gImageReader supports many file types; the most common are PDF documents and images. You don’t have to spend a penny to use online OCR tools. Just import your files into the tool and extract the text in one click.
You can also upload screenshots, clipboard, and scanned documents. If you want to edit some of the text on your hardcopy CV or certificate, upload the image to gImageReader and extract the required text.
3. Upload multiple photos and documents
Unlike other OCR tools where you work with one file at a time, gImageReader supports importing numerous files and can batch process them. Therefore, you can quickly convert an entire book into a text document in no time.
4. Manual and automatic detection of the target area
When you upload a text image to any OCR, you need to define the area from which you want to extract text. It is quite tiresome, especially if you have uploaded multiple files. With the app, it can automatically detect the area with text for extraction.
If you want a particular section, you can also specify by selecting that specific section of the image.
Manual Area Definition gImageReader
5. Post-process of the recognized text
After extracting text to plain text, gImageReader performs post-process actions like spellchecking. Depending on the language you chose (default is All English), it will underline words that have grammar errors.
Also, gImageReader enables you to select the page segmentation mode that you want to use for the extracted text.
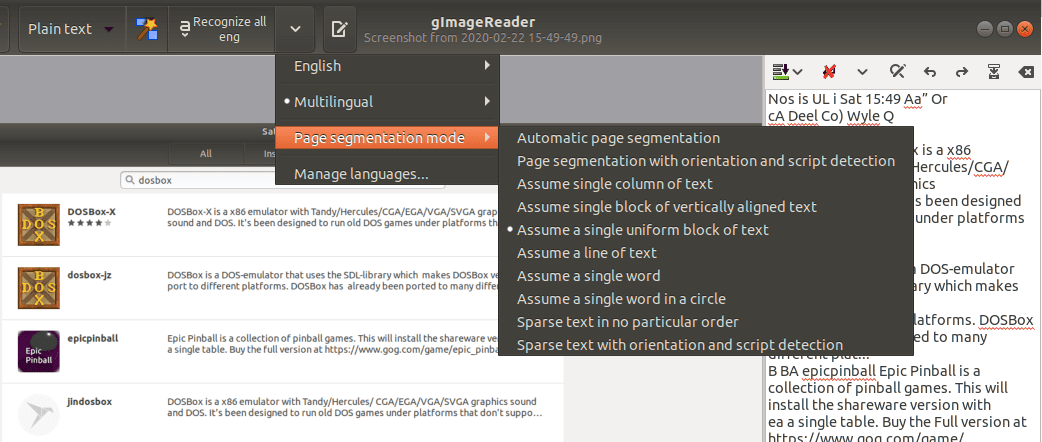
gImageReader post-process actions
6. Generation of PDF and hOCR documents
gImageReader supports three formats of the extracted text, plain text, PDF, and hOCR format. With plain text, you can edit it with your favorite text editor. If you are working with a book or scanned document, you can use the PDF format so that you don’t have to use other tools converting the text to PDF.
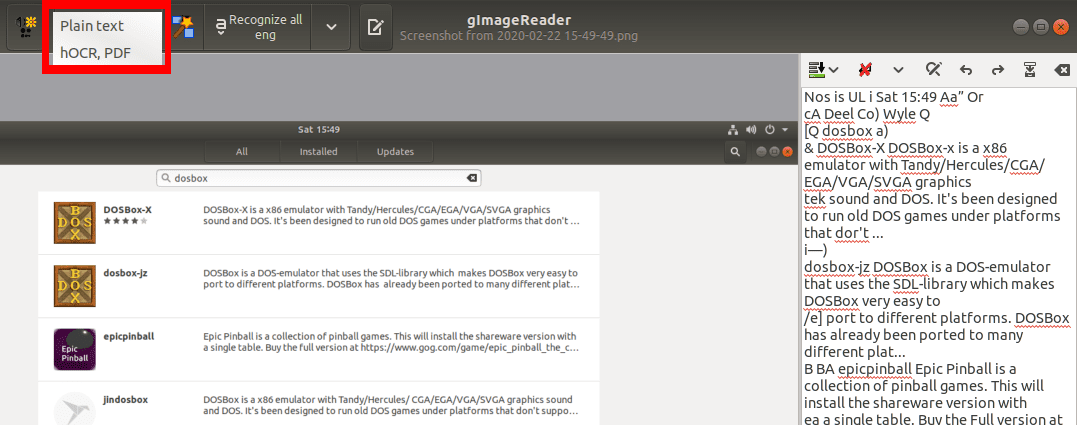
Plain Text, PDF, hOCR
Getting started with gImageReader
For both distributions, Ubuntu and Fedora, launch gImageReader from the applications menu.
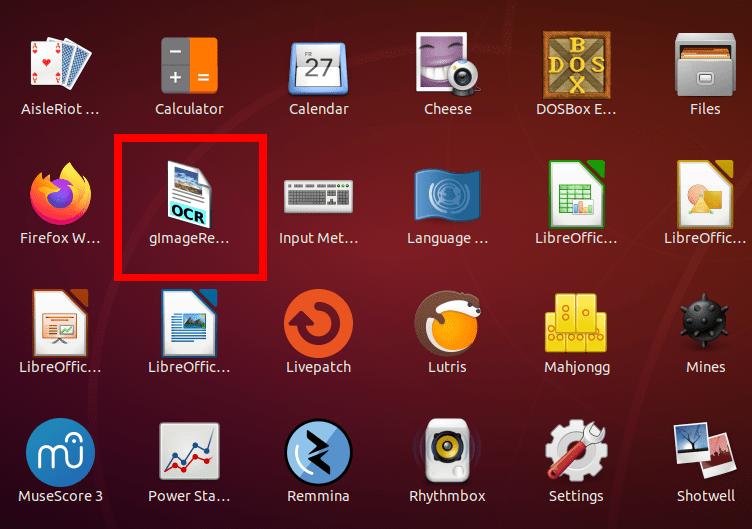
Launch gImageReader from Applications menu
By default, the app has toolbars at the top. Imported documents appear in the center work area where you shall work on it.

gImageReader window
To upload an image to gImageReader, click on the Add button to choose a file from your computer or you can take a screenshot of your Desktop.
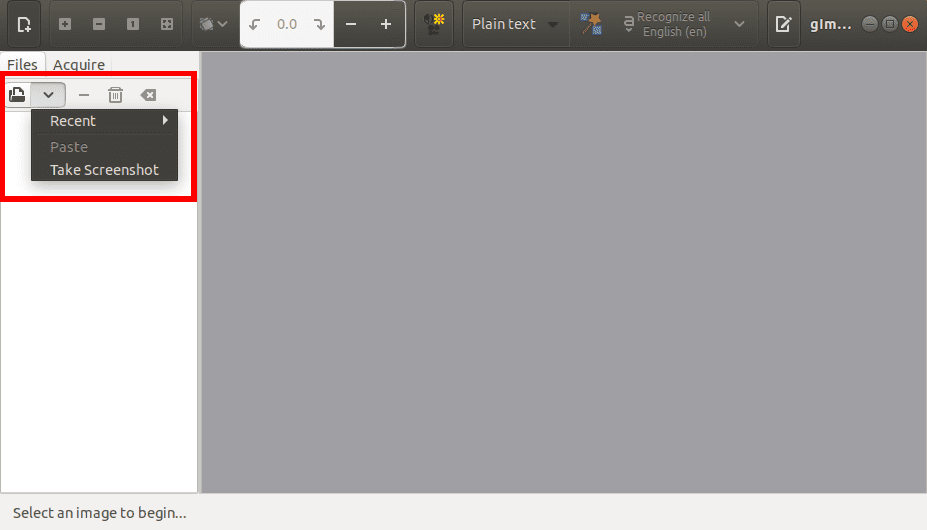
Upload Image gImageReader
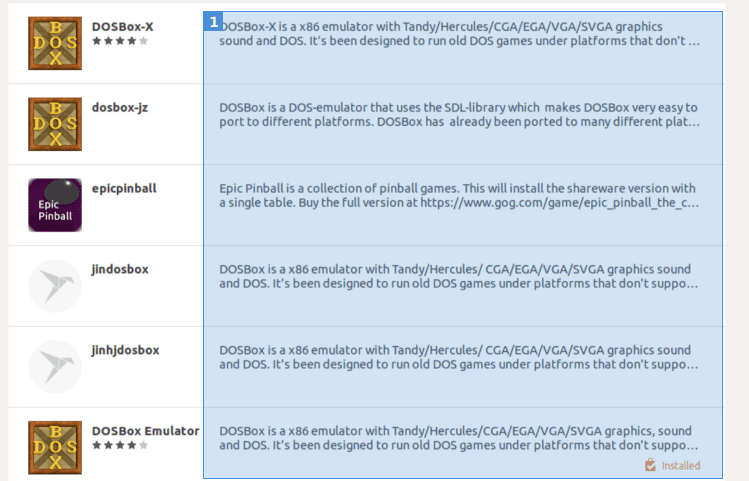
You can upload any file from an image to a PDF document. For a quick test, we shall use a screenshot from the Ubuntu Software Center.
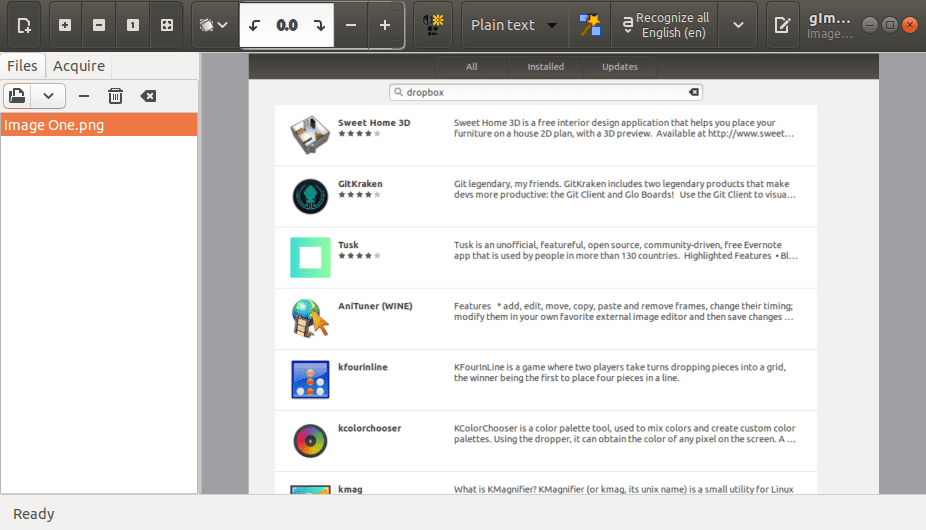
Image to extract text
Now you need to select the file format you want to use to save your extracted text. It can be plain text, PDF or hOCR.
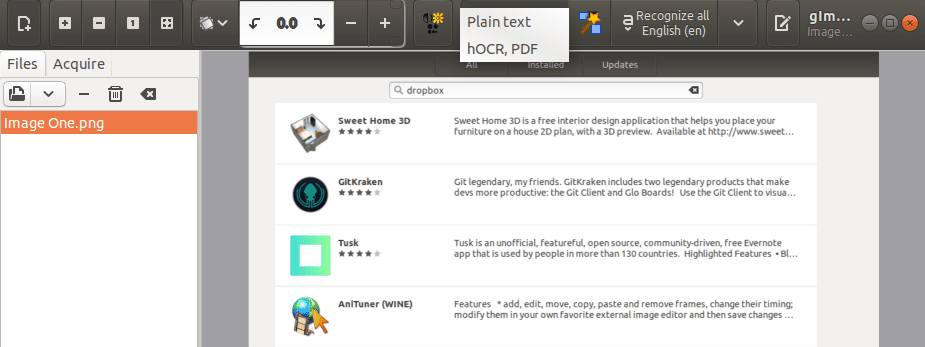
Select the format to save extracted text
Select the area definition where you want to extract the text.
Select the Area Definition
After setting up everything, click on the Recognize All English (en) button to start the text extraction process.
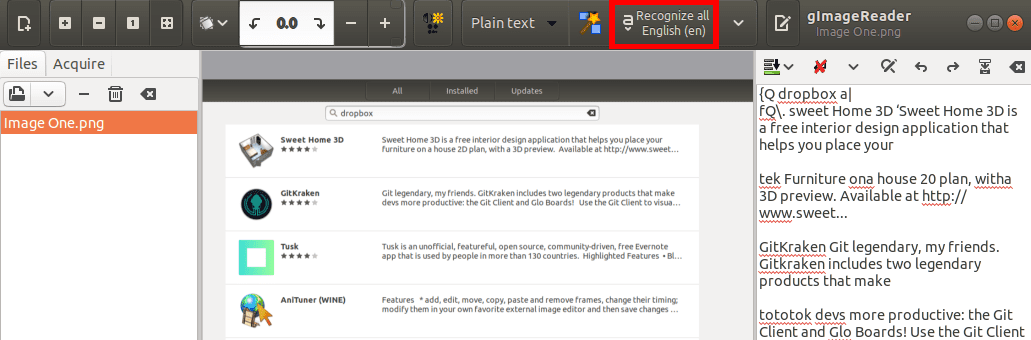
Click to start the extraction process
gImageReader will start extracting text from the image. You will see a progress button at the bottom, indicating the progress of the whole process. When done, your text will be shown on the right side of the work area. You can save the text or copy and paste it to your favorite text editor.
Conclusion
gImageReader comes with a lot more features and tools other than those discussed in this post. This app should be your PDF tool to use after you import the PDF or scanned document for further post-processing. Any new updates and information can be found on their official GitHub page.
1 comment
Very good instruction from Arun Kumar. Thanks a lot.