
In today’s fast-paced software development landscape, collaboration is essential. Whether you’re working alone or as part of a team, effectively tracking changes, managing code repositories, and maintaining smooth communication can make all the difference. This is where GitLab comes in. In this guide, we’ll explore what GitLab is, why it’s valuable, and how to install and use it on a Linux system.
What is GitLab?
GitLab is a web-based platform that combines source code management, version control, and continuous integration into a single, comprehensive DevOps solution. While often compared to GitHub, GitLab stands out by offering an all-in-one platform that spans the entire software development lifecycle—from version control to CI/CD pipelines and project management.
Why use GitLab?
GitLab offers several features that make it a powerful tool for developers:
- Collaboration: Multiple contributors can work simultaneously on the same project, with changes tracked efficiently.
- Version Control: Built on Git, GitLab allows you to monitor every modification to your codebase and revert to previous versions when needed.
- CI/CD Pipelines: Automates testing, integration, and deployment, helping teams deliver software faster and with higher quality.
- Project Management: Includes issue tracking, task boards, and milestones to keep projects organized and on track.
- Security: Provides robust security measures, including access control and vulnerability scanning, to protect your code and data.
Now that we understand the significance of GitLab, let’s proceed to the installation process on a Linux system.
Installing GitLab on Linux
GitLab can be installed on various Linux distributions, including Ubuntu, CentOS, and Debian. In this guide, we will use Ubuntu as our reference distribution. However, the steps are generally similar for other distributions, with minor variations in package management commands.
Prerequisites
Before starting, make sure you have:
- A Linux server with Ubuntu 20.04/22.04 (or similar) and root or sudo access.
- Minimum hardware: 4GB RAM, 2 CPU cores, 10GB disk.
- A domain name pointing to your server IP (optional but recommended for HTTPS).
- Firewall configured to allow ports 80 (HTTP), 443 (HTTPS), 22 (SSH).
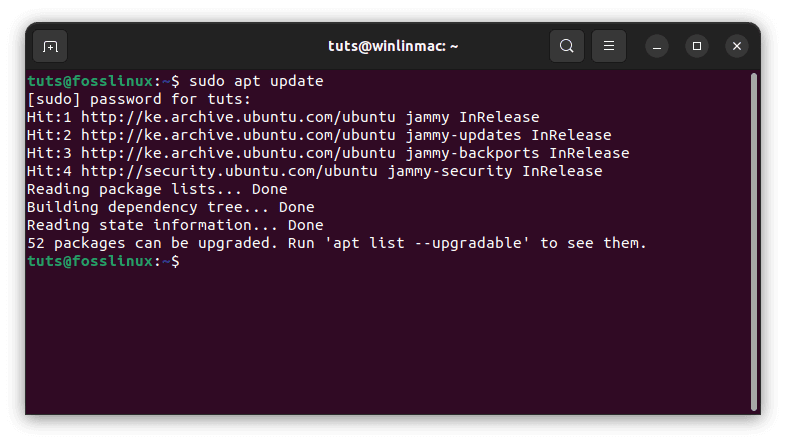
Step 1: Update the system
Ensure your packages are up to date:
sudo apt update
sudo apt upgrade -y
This ensures smooth installation and avoids conflicts.
Update system resources
Upgrading installed packages: After updating the package list, we use sudo apt upgrade to upgrade the installed packages to their latest versions. This crucial maintenance task ensures you have the current features and security updates and helps prevent software conflicts and compatibility issues.
sudo apt upgrade
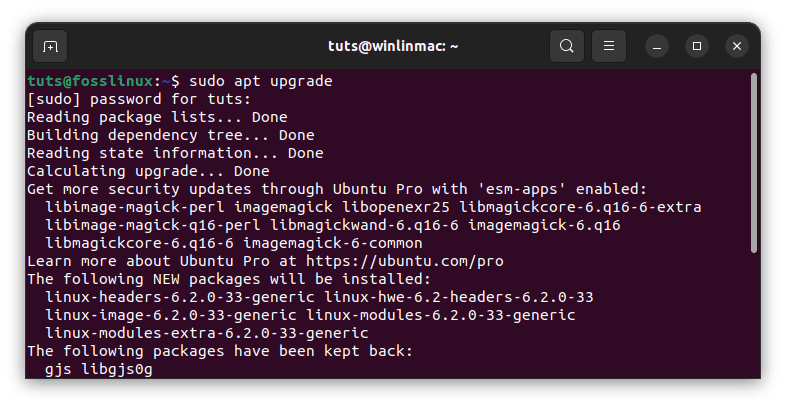
Upgrade system resources
By performing these two commands, you’re essentially putting your Linux system in the best possible state to accommodate GitLab’s dependencies and configurations.
Step 2: Install dependencies
With your system now updated, we can proceed to install the necessary dependencies that GitLab relies on. GitLab is a comprehensive platform, and to make it work seamlessly, we need to ensure that the required components are in place.
GitLab relies on several crucial dependencies, including Postgresql, Redis, and a web server like Nginx. The following commands take care of installing these components:
sudo apt install -y curl openssh-server ca-certificates tzdata perl
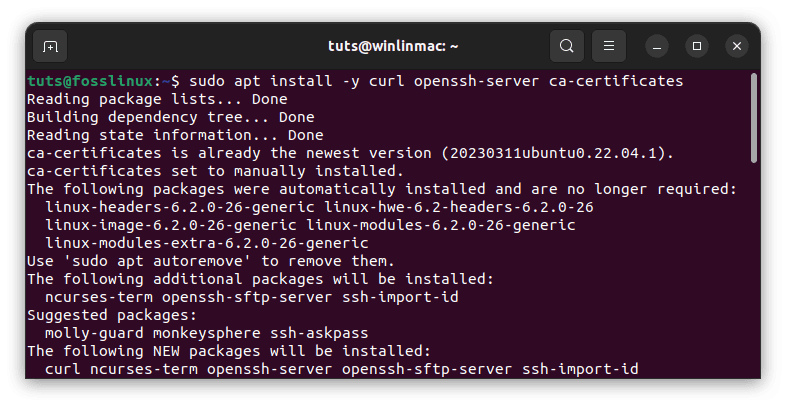
Install essential utilities
- curl: for downloading GitLab scripts.
- openssh-server: enables SSH access to GitLab repositories.
- ca-certificates: needed for HTTPS/SSL.
- tzdata: ensures time settings are correct.
sudo apt install -y postfix
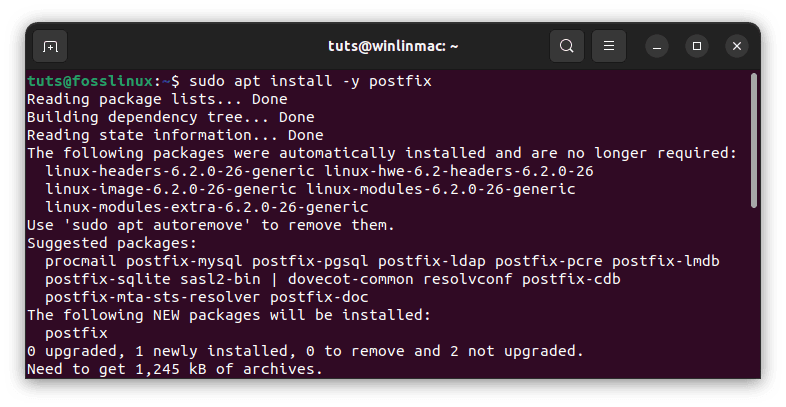
Install postfix
Postfix is a mail transfer agent, and GitLab may need it for sending email notifications. During the installation of Postfix, you will be prompted to configure it. Choose ‘Internet Site’ to set up a mail server suitable for your domain. This step is crucial for effective communication within your GitLab instance.
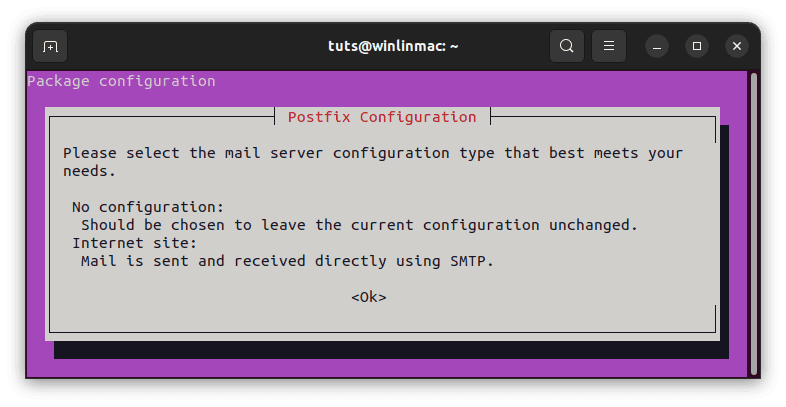
Configure postfix
By installing these dependencies, we’re laying the foundation for GitLab to function seamlessly, ensuring that it has all the necessary tools at its disposal.
Step 3: Install GitLab
Now that we have all the prerequisites, it’s time to bring GitLab onto your Linux server. GitLab provides an official installation script that simplifies this process considerably.
We fetch the installation script using this line of code:
curl -sS https://packages.gitlab.com/install/repositories/gitlab/gitlab-ce/script.deb.sh | sudo bash
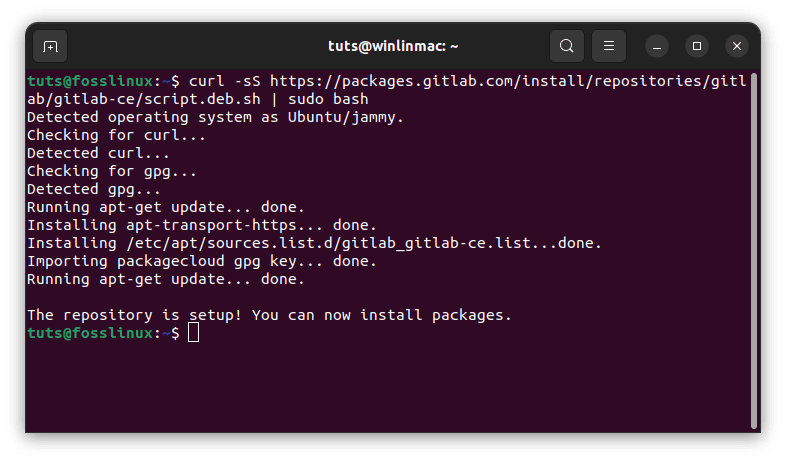
Fetch the installation script
This script sets up the necessary GitLab repositories and configurations on your system.
Code breakdown:
- curl -sS https://packages.gitlab.com/install/repositories/gitlab/gitlab-ce/script.deb.sh: This command retrieves the installation script from GitLab’s official repository on the web.
- sudo bash: By piping the script to sudo bash, we execute it with elevated privileges, enabling it to perform system-level operations.
Following the steps above, your Linux system will have the necessary sources and settings to install GitLab smoothly. Now proceed and execute the command below to install gitlab on your system.
Install Gitlab: Use the command below to install Gitlab onto your system
sudo apt install gitlab-ce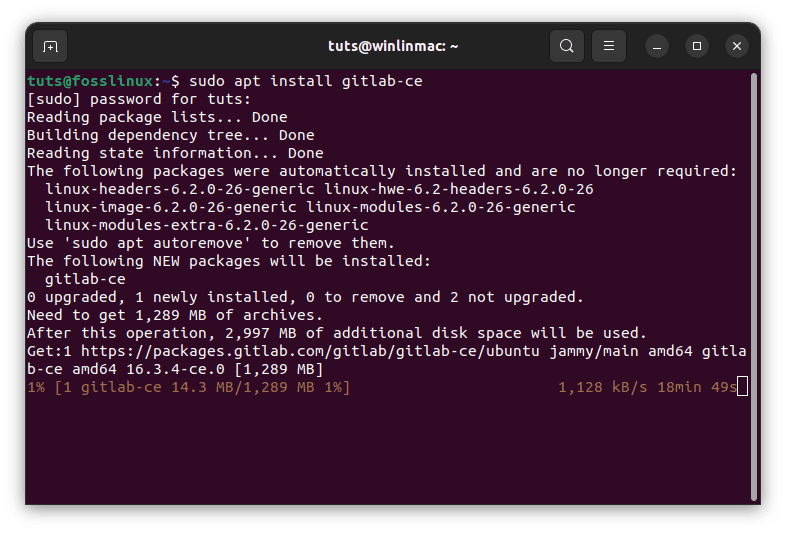
Install gitlab
Step 4: Configure GitLab
With GitLab now on your system, it’s time to tailor it to your needs. The configuration file holds the keys to customizing GitLab’s behavior according to your requirements.
Editing the configuration file: We use the command below to open the GitLab configuration file in the Nano text editor. You’ll find various options to fine-tune your GitLab instance in this file.
sudo nano /etc/gitlab/gitlab.rb
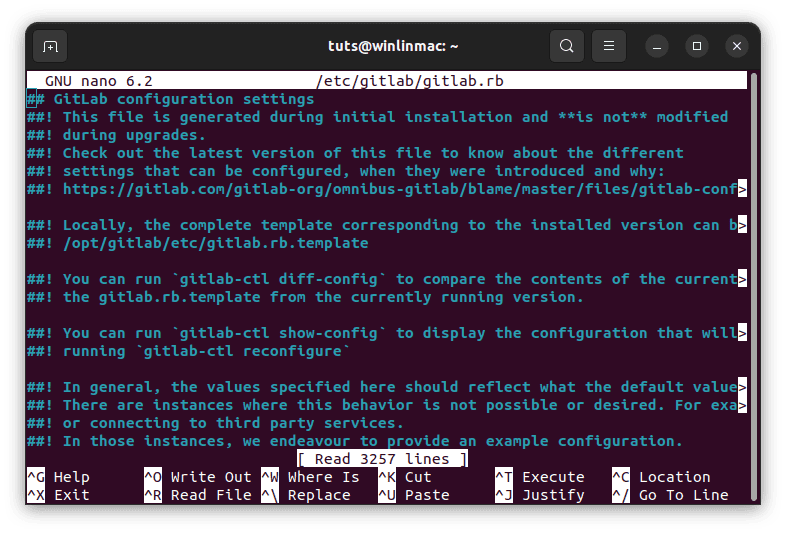
Open Gitlab configuration
- Within the configuration file, you can set the external URL corresponding to your domain name. This ensures that GitLab knows where to point users when they access your instance.
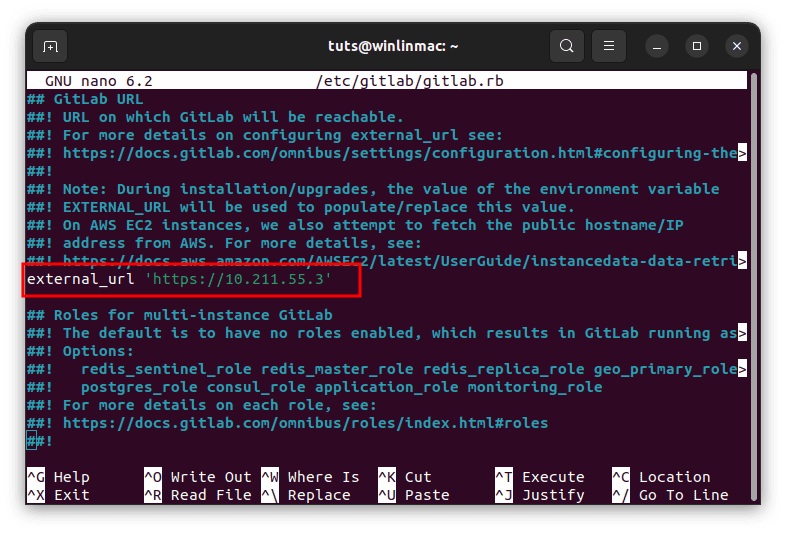
Set your external url
- You can also configure email settings here, which are crucial for receiving notifications and alerts from GitLab.
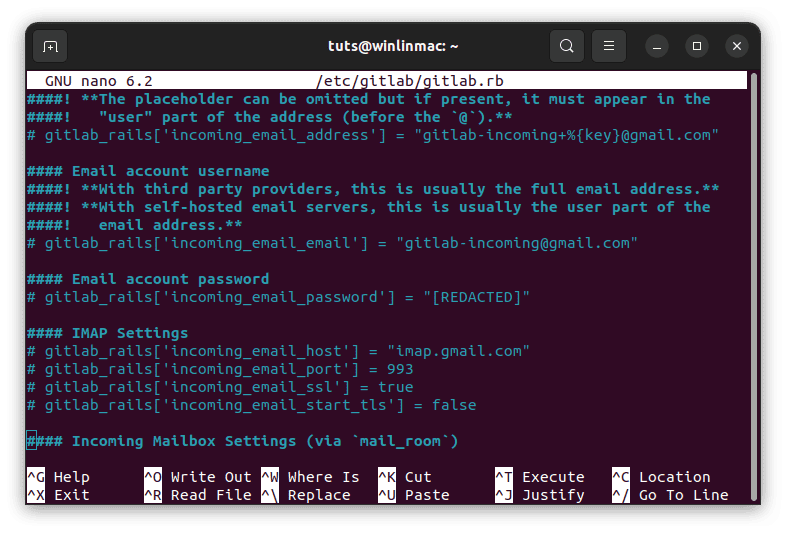
Set email (Optional)
By making the necessary changes to this file and saving it, you’re tailoring GitLab to your precise needs, ensuring that it aligns with your specific use case.
Step 5: Reconfigure GitLab
After making configuration changes, applying them to your GitLab instance is essential. The sudo gitlab-ctl reconfigure command is the key to ensuring that your GitLab instance incorporates the adjustments you’ve made.
sudo gitlab-ctl reconfigure
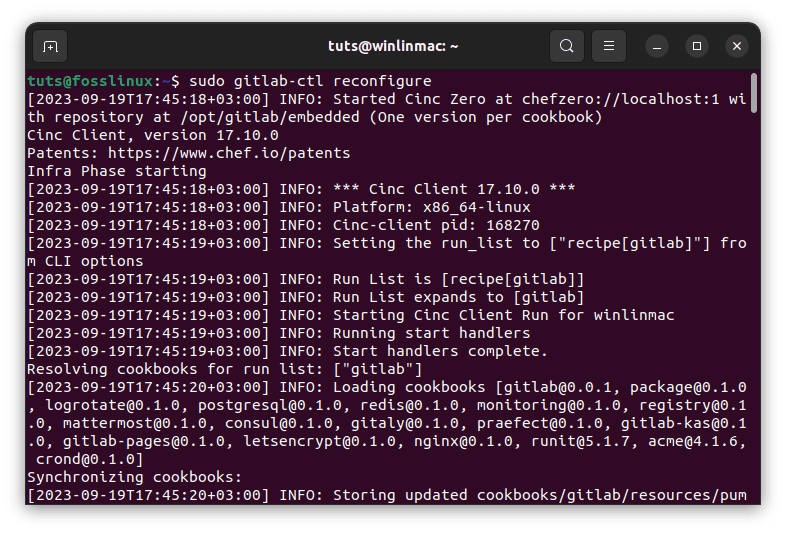
Reconfigure gitlab
This command triggers GitLab’s internal reconfiguration process. It reads the modified settings from the configuration file and updates GitLab accordingly. It’s critical to ensure that your GitLab instance reflects the customizations you’ve defined in the configuration file.
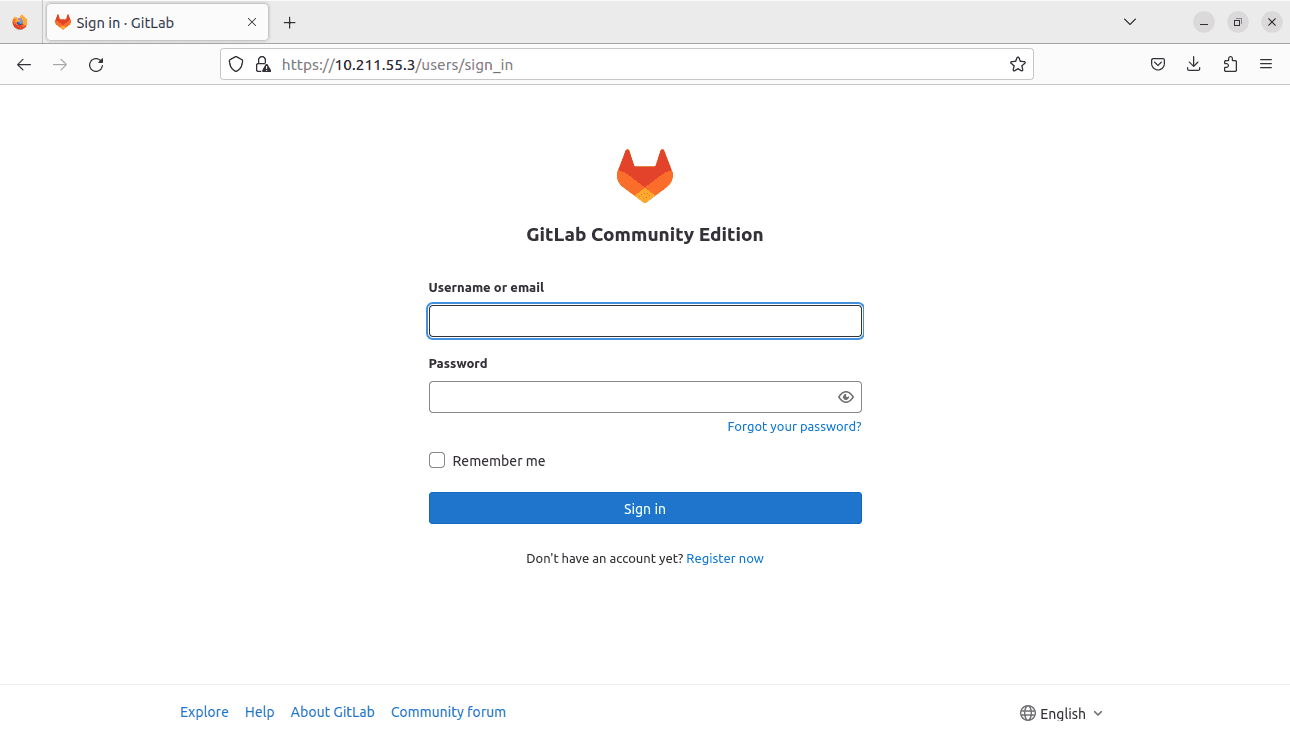
Step 6: Access GitLab
With GitLab now installed and configured, you’re just a step away from exploring its powerful features. To access your GitLab instance, simply fire up a web browser and go to your domain name or IP address. GitLab will greet you with a setup page where you can set the administrator password. Alternatively you can run this line of code and copy the password generated for you by Gitlab then instead of signing up you just login.
sudo nano /etc/gitlab/initial_root_password
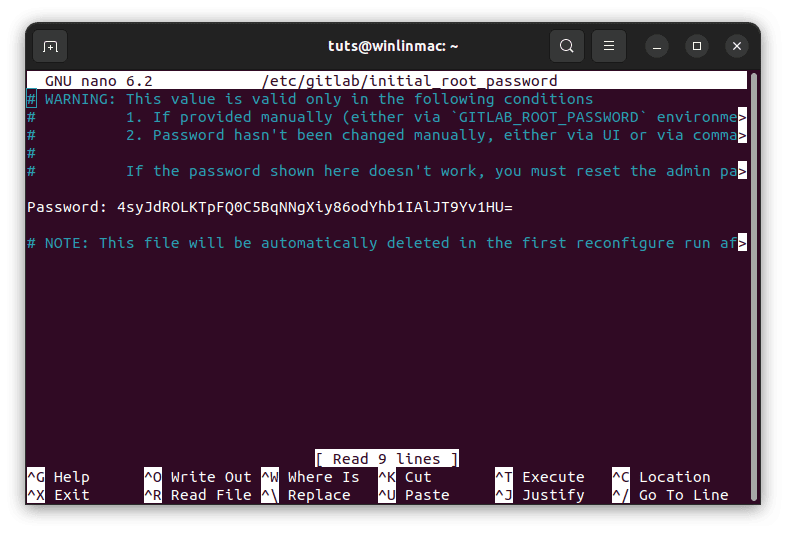
Copy generated password
For my case I will use my server’s IP address as that is what I configured in the Gitlab configuration plus the copied password to login:
10.211.55.3
Input IP address to login to Gitlab
This password is vital for maintaining control over your GitLab instance. It’s your master key to the GitLab kingdom, allowing you to manage users, projects, and the overall configuration.
Note: The default username is root as shown in the screengraph below:
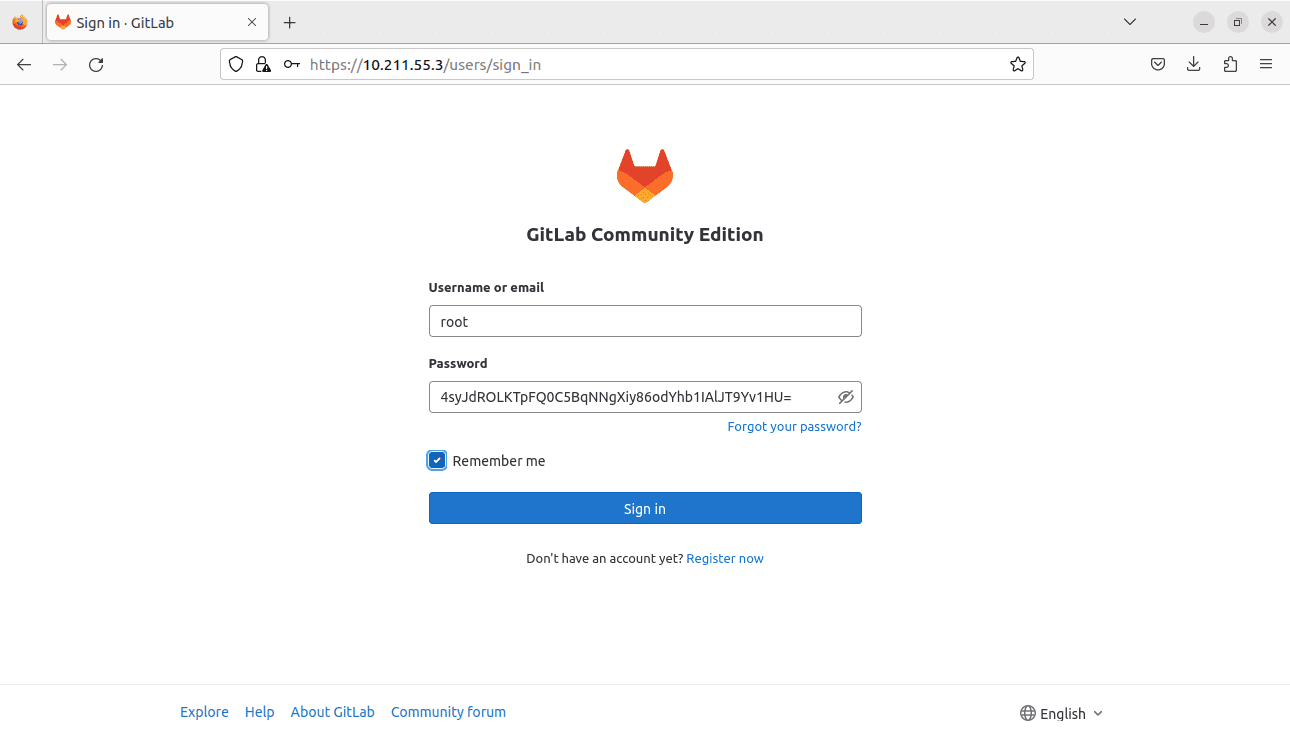
Login as root
By reaching this stage, you’ve successfully installed GitLab on your Linux server, configured it to your liking, and are now ready to embark on a collaborative and efficient software development journey.
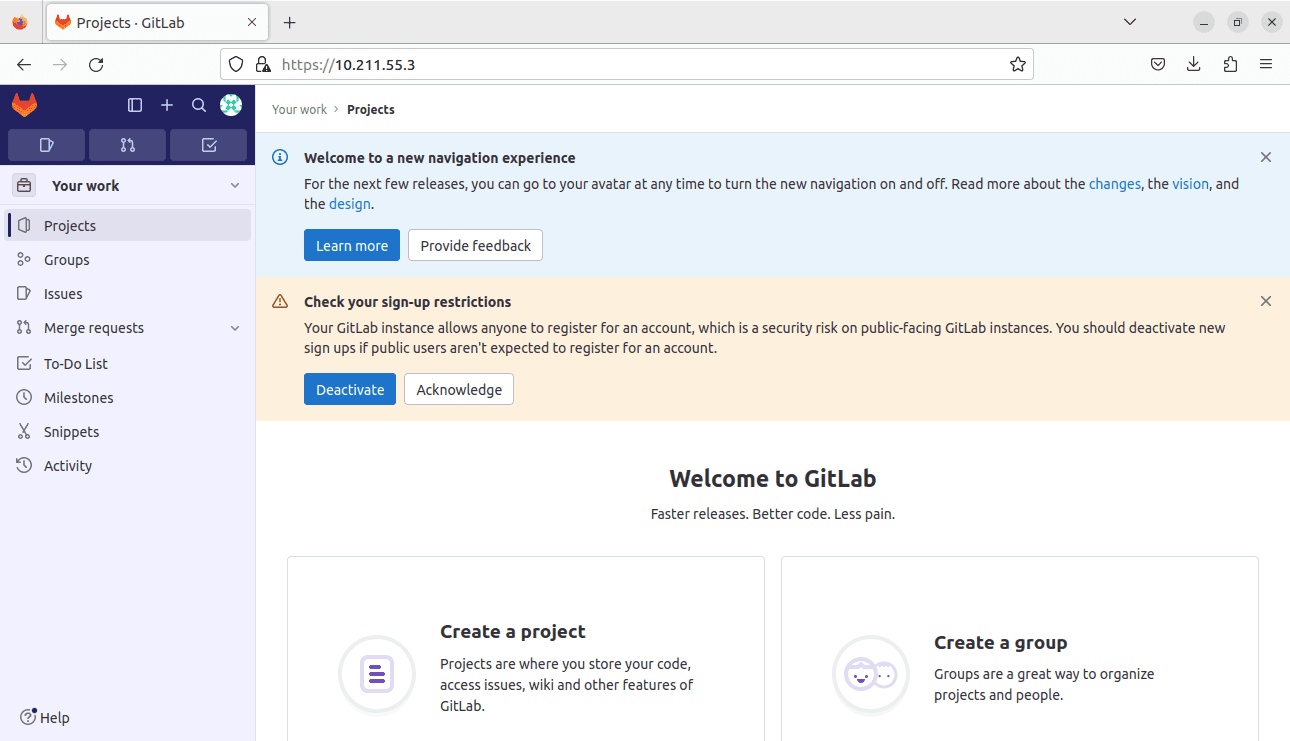
Successful login
In the subsequent sections of this guide, we’ll explore how to create projects, manage code repositories, and harness GitLab’s features for streamlined software development and collaboration. GitLab isn’t just a version control system; it’s a robust platform that can revolutionize your development workflows.
Using GitLab’s essential features
Now that you have successfully set up and configured GitLab on your Linux server, it’s time to dive into the platform’s essential features and understand how to use them effectively. GitLab is not just a version control system; it’s a comprehensive platform that can streamline your software development workflows. Let’s explore some of the key features and how to leverage them.
Creating a project
You’ll need a project to work on to get started with GitLab. Creating a project in GitLab is a straightforward process:
- Log in: Log in to your GitLab instance as an administrator or with an account with project creation permissions.
Successful login
- Create a new project: Click the “+ New Project” button once logged in. This initiates the project creation process.

Create new project
- Project details: Provide essential details for your project, including a project name, description, and visibility level. GitLab allows you to set the visibility of your project to public, internal, or private, depending on your requirements.
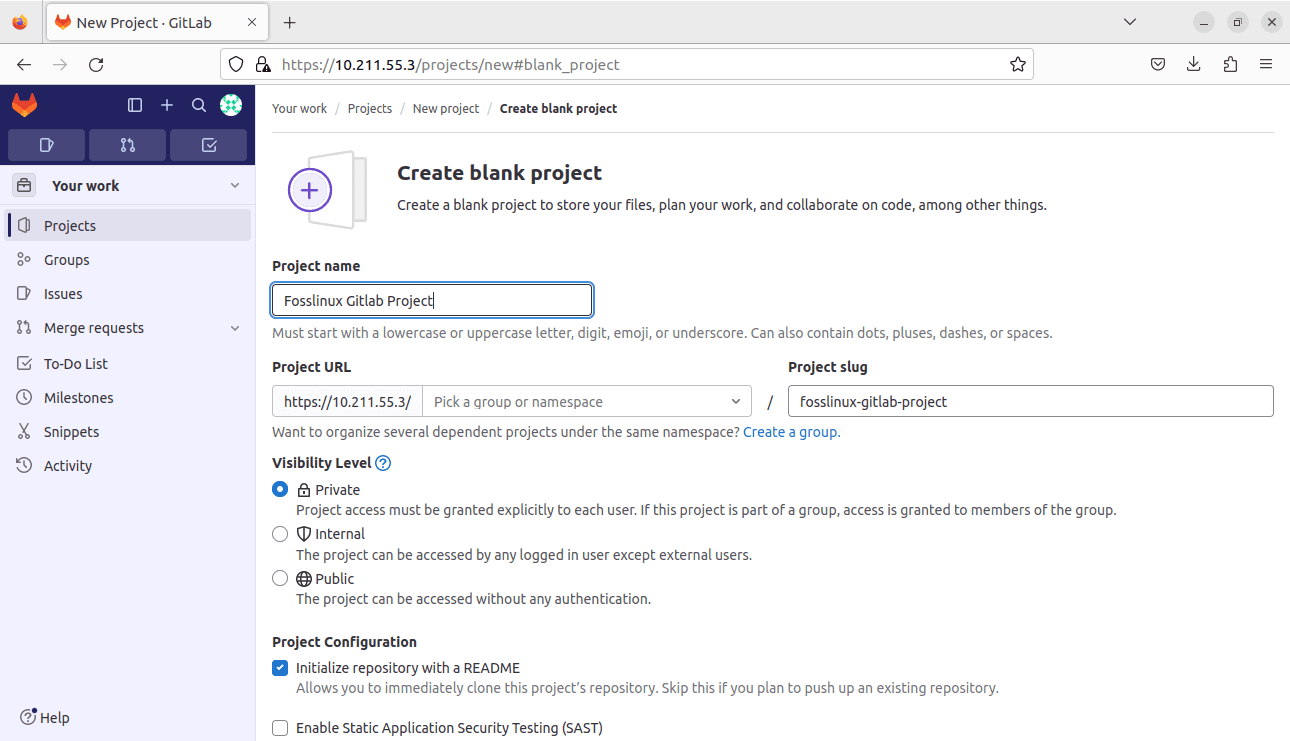
Project details
- Additional settings: GitLab offers additional project settings you can configure, including project features, repository settings, and container registry settings. You can fine-tune these settings to align with your project’s specific needs.
- Create project: After configuring the project details and settings, click the “Create Project” button to create your new GitLab project. You now have a dedicated space to collaborate on your code and manage your project’s development lifecycle.
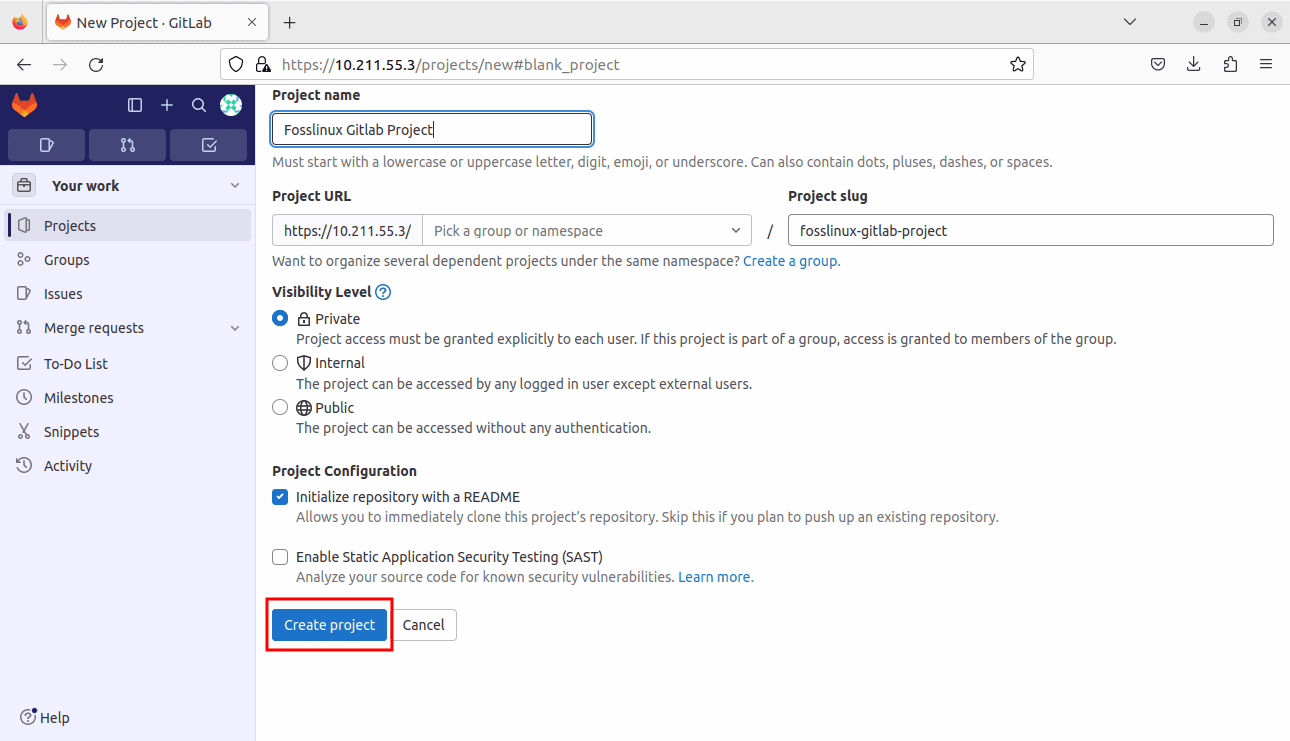
Create project
Cloning a repository
Once you’ve created a project, you’ll want to start working on its codebase. To do that, you need to clone the project’s repository. GitLab provides two options for cloning repositories: HTTPS and SSH. Choose the one that best suits your needs:
- HTTPS cloning: If you prefer to clone using HTTPS, you can use the following command:
git clone https://your-gitlab-domain/your-username/your-project.git

Git clone using https
SSH cloning: For those who prefer SSH, GitLab offers an SSH URL for cloning:
git clone git@your-gitlab-domain:your-username/your-project.git
This step is crucial as it enables you to access the project’s codebase on your local machine, making it possible to make changes and contribute effectively.
Making commits
With the repository cloned locally, you’re ready to start making changes to the codebase. The process of recording these changes is known as committing. Here’s how you do it:
Adding changes: Before committing, you must stage the changes you want to include in the commit. Use the following command to stage all changes:
git add .
After staging the changes, commit them with a meaningful message that describes the purpose of the commit:
git commit -m "Your commit message here."
 A good commit message is concise but informative, explaining what the commit accomplishes.
Pushing changes
Once you’ve committed your changes locally, you’ll want to push them to the GitLab repository so that they become part of the project’s history and can be shared with collaborators. Use the following command to push your committed changes:
git push -u origin branch-name
Change the “branch-name” with the name of the branch you’re working on. This step is vital for collaboration, ensuring others can access your changes.
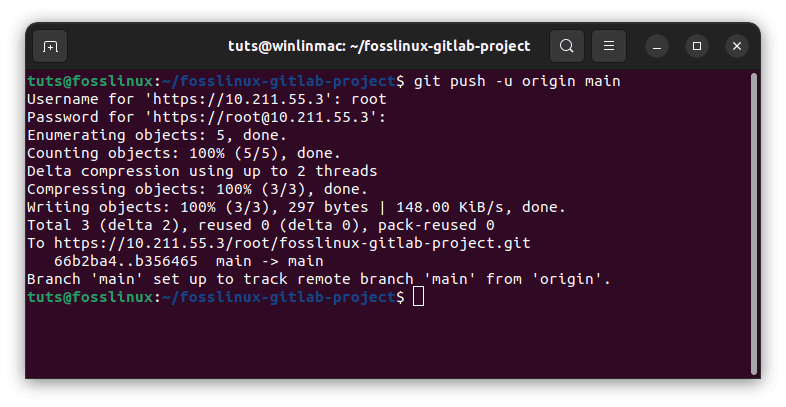
Push changes
Merge Requests (MRs)
GitLab facilitates collaborative development through merge requests (MRs). MRs provide a structured way to propose changes and collaborate with team members. Here’s how you can create an MR:
- Go to the “Merge Requests” Tab: Within your GitLab project, navigate to the “Merge Requests” tab.
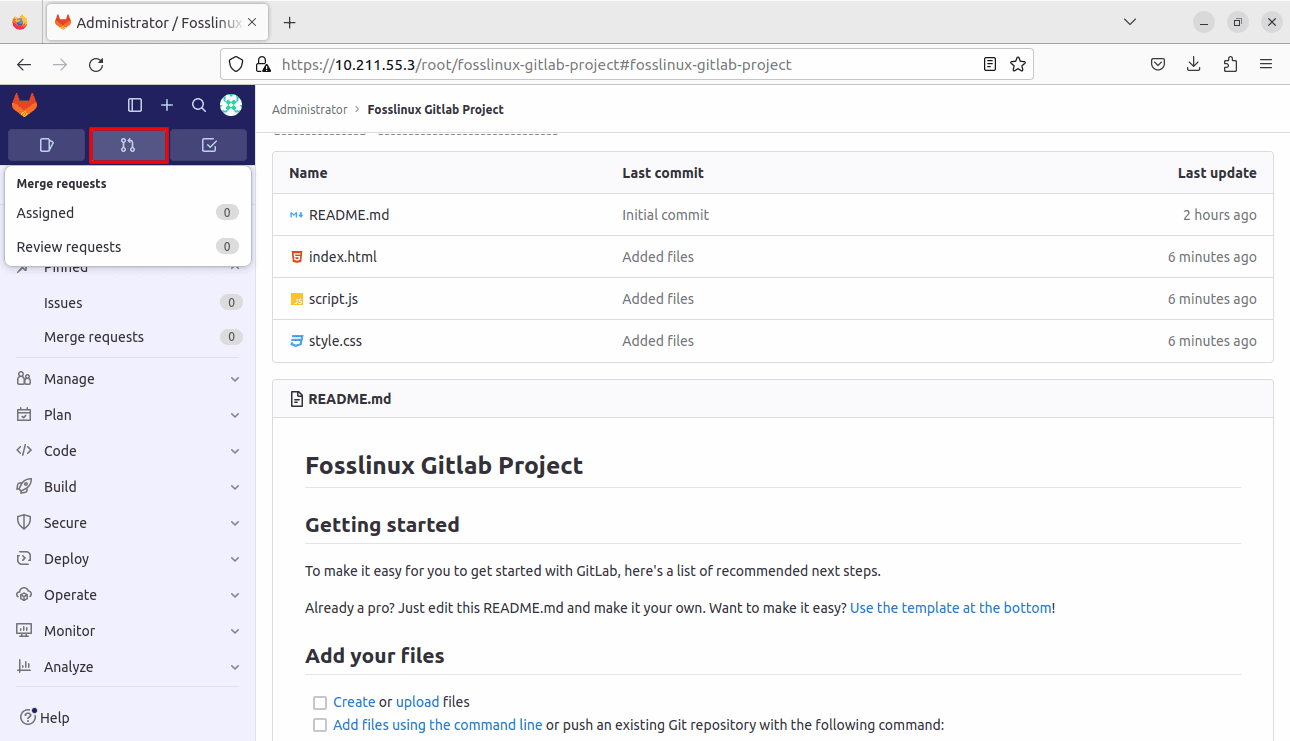
Merge requests tab
- Initiate a new MR: Click the “New Merge Request” button to start the process. (In some versions you will find the new merge request in the + button as shown below)
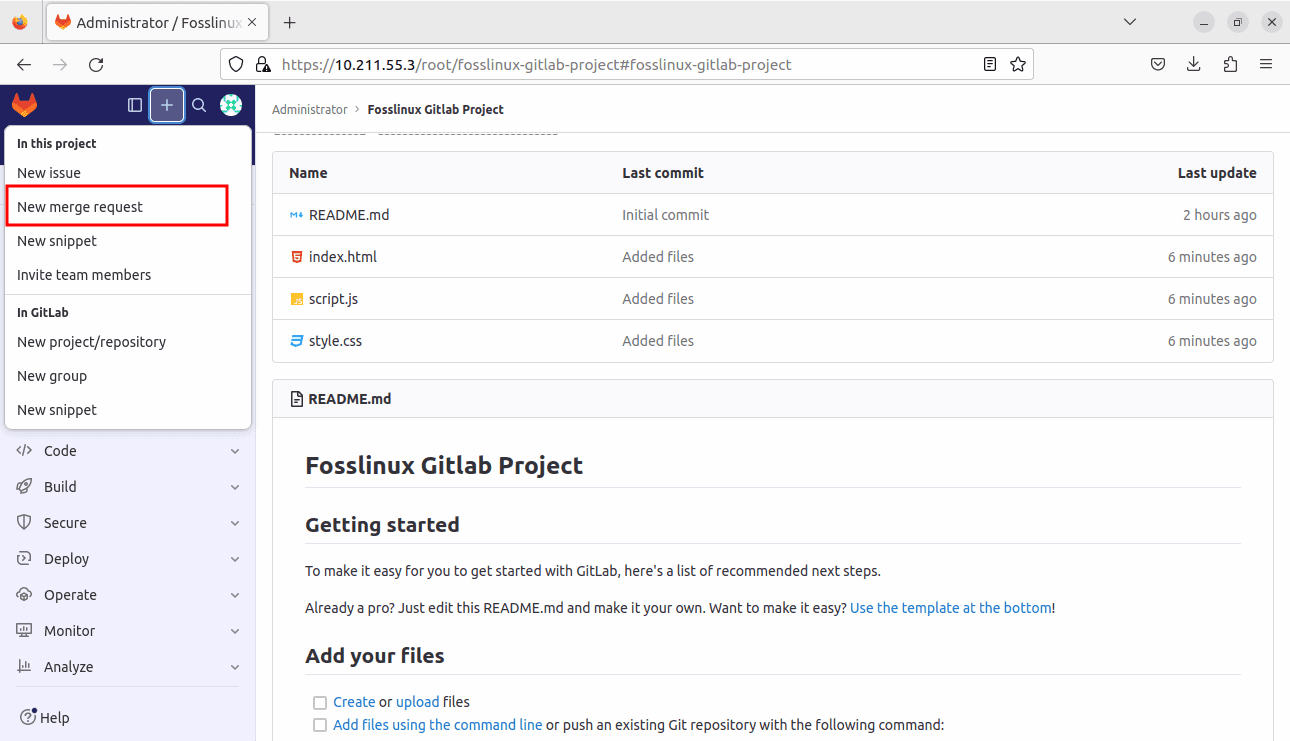
New merge request
- Source and target branches: Choose the source branch (the branch containing your changes) and the target branch (the branch where your changes will be merged into).
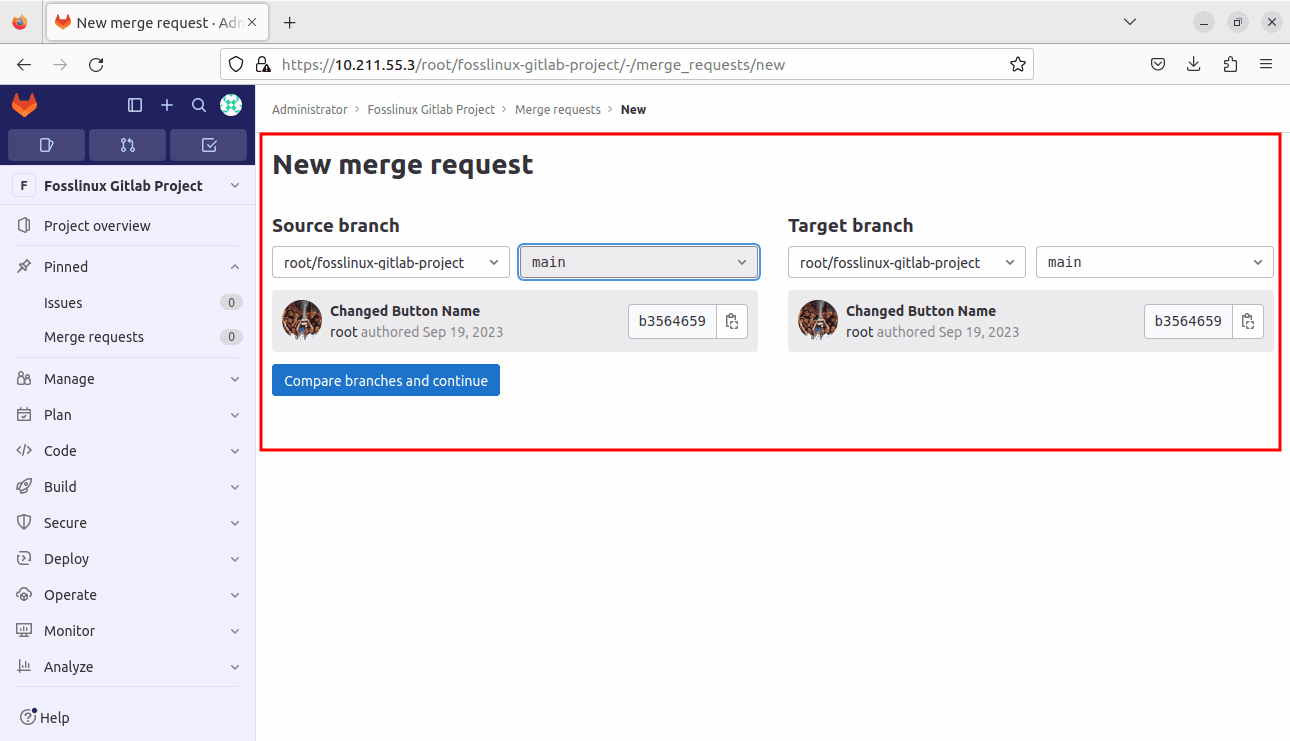
Choose the source and target branches
- Title, description, and reviewers: Provide a descriptive title and a detailed description for your MR. You can also assign reviewers who will assess and approve the changes.
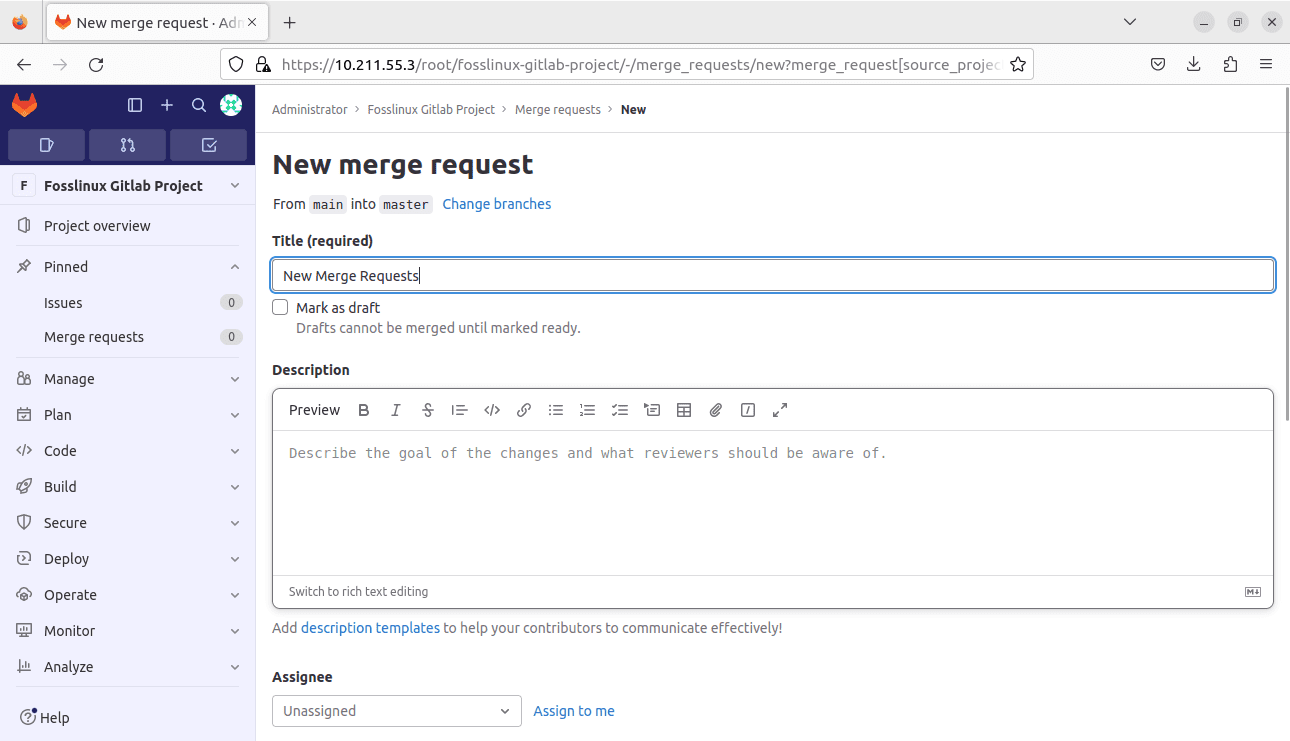
New merge request title and description
- Submit merge request: Finally, click “Submit Merge Request” to create the MR. This action signals your team that you have changes ready for review and integration.
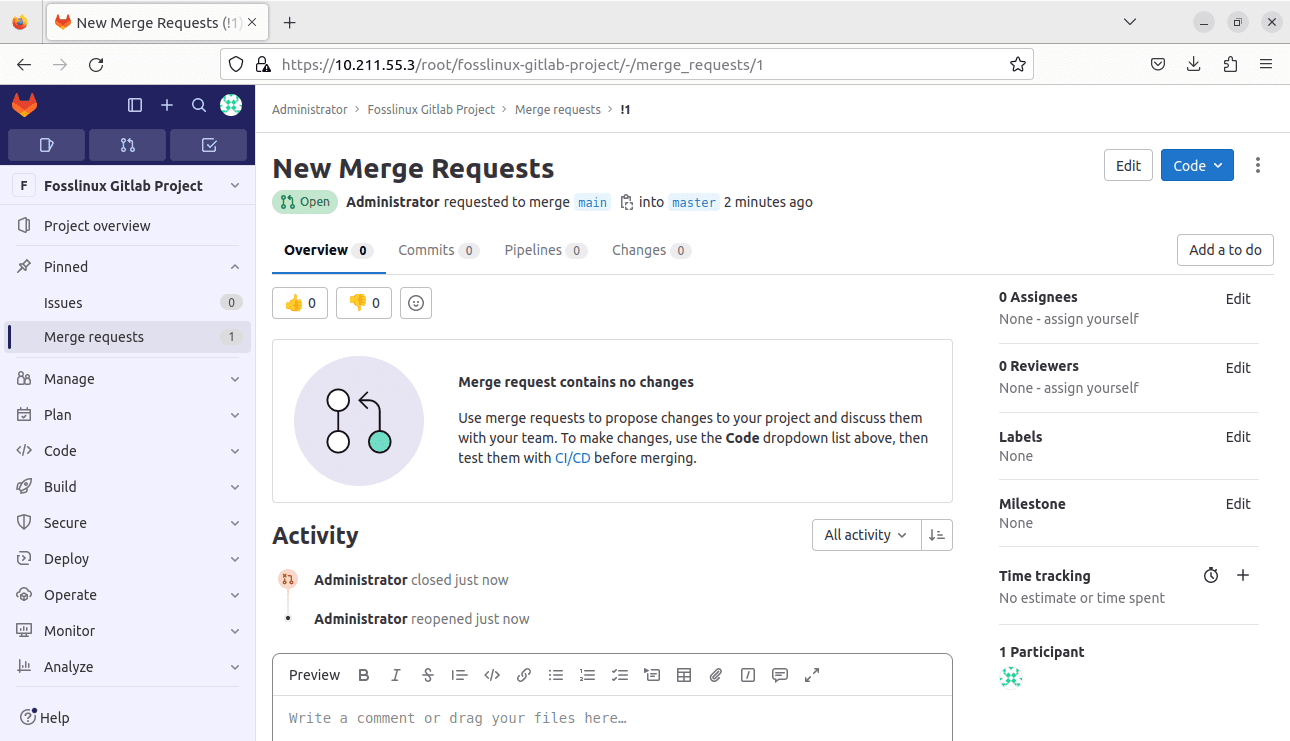
Submit a merge request
CI/CD pipelines
GitLab’s CI/CD pipelines automate various aspects of the software development process, including building, testing, and deployment. Setting up a CI/CD pipeline is a powerful way to enhance the quality and efficiency of your projects:
- Create a .gitlab-ci.yml file: In your project’s root directory, create a .gitlab-ci.yml file. This file defines the steps and stages of your CI/CD pipeline, including build and deployment processes.
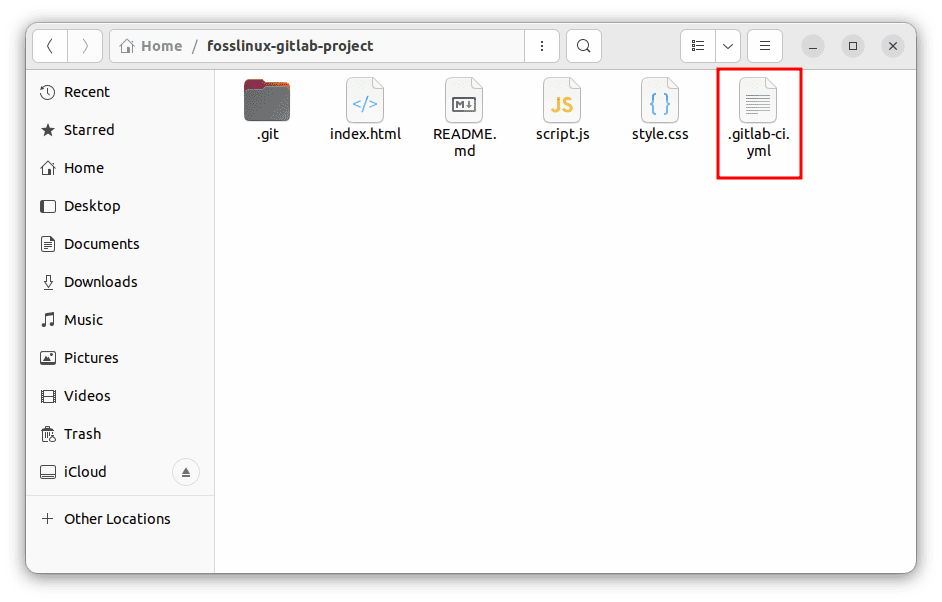
Create yml file
- Automatic pipeline trigger: GitLab automatically detects your project’s .gitlab-ci.yml file and triggers a pipeline whenever changes are pushed to the repository.
- Monitor pipeline progress: You can monitor the progress of your CI/CD pipeline and view detailed build logs in the GitLab CI/CD interface. This lets you quickly identify and address any issues arising during the automated processes.
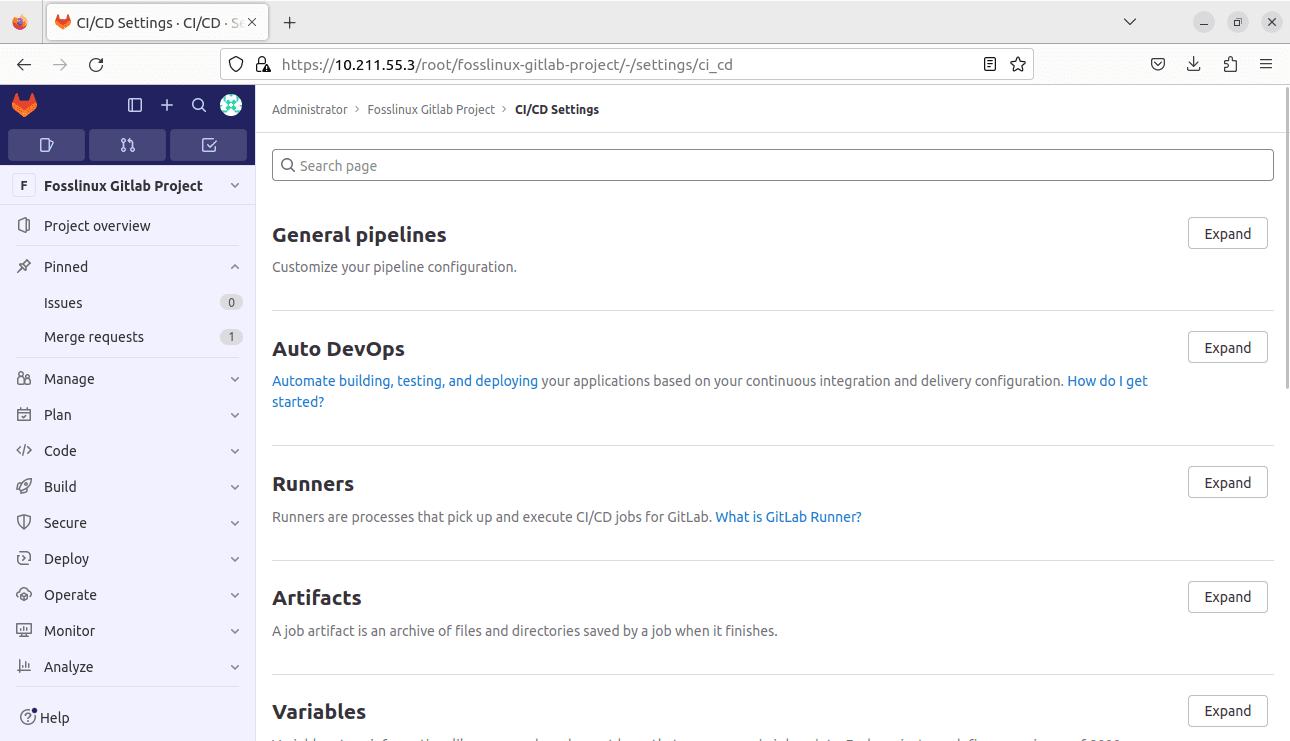
CI-CD Pipeline interface
Issue tracking
Effective project management often involves tracking tasks, bugs, and feature requests. GitLab’s issue-tracking system provides a structured way to manage these aspects of your project:
- Go to the “Issues” tab: Within your GitLab project, navigate to the “Issues” tab.
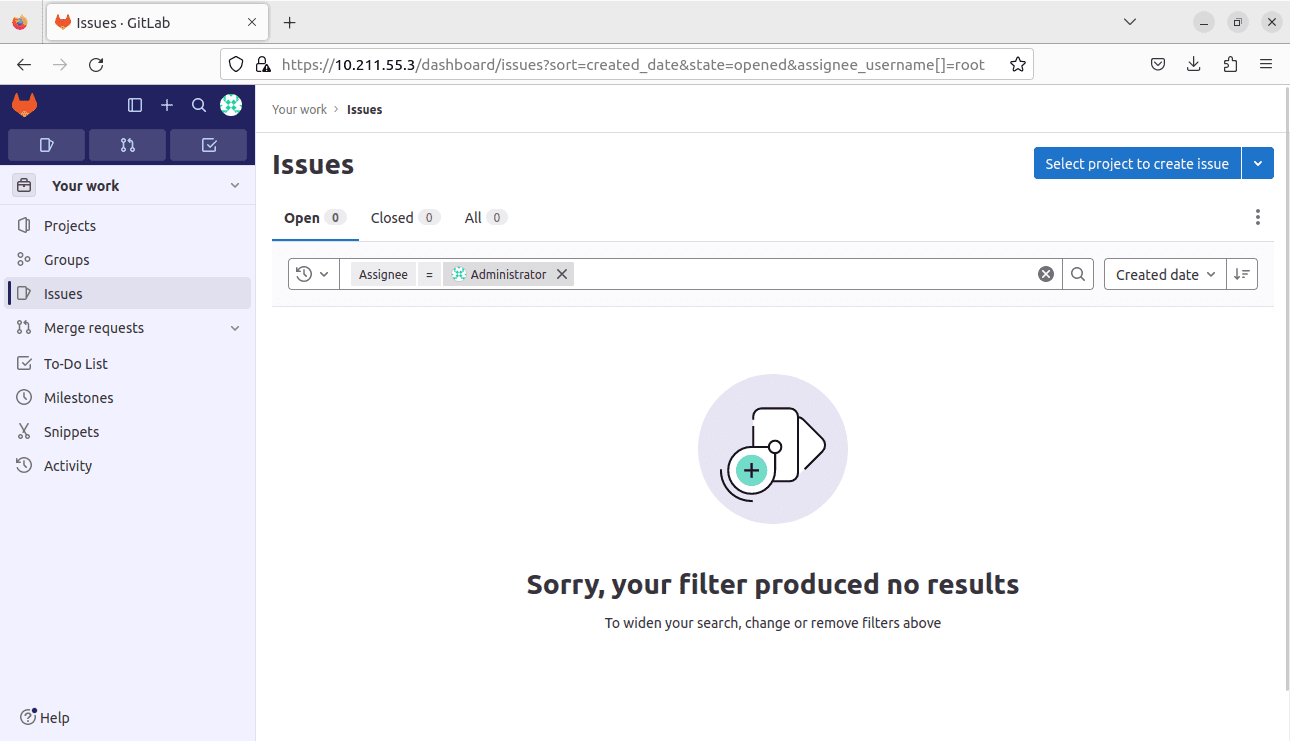
Issues tab
- Create a new issue: Click “New Issue” to initiate the creation of a new issue.
- Issue details: Fill in the necessary details for the issue, including its title, description, and assignees (team members responsible for addressing the case).
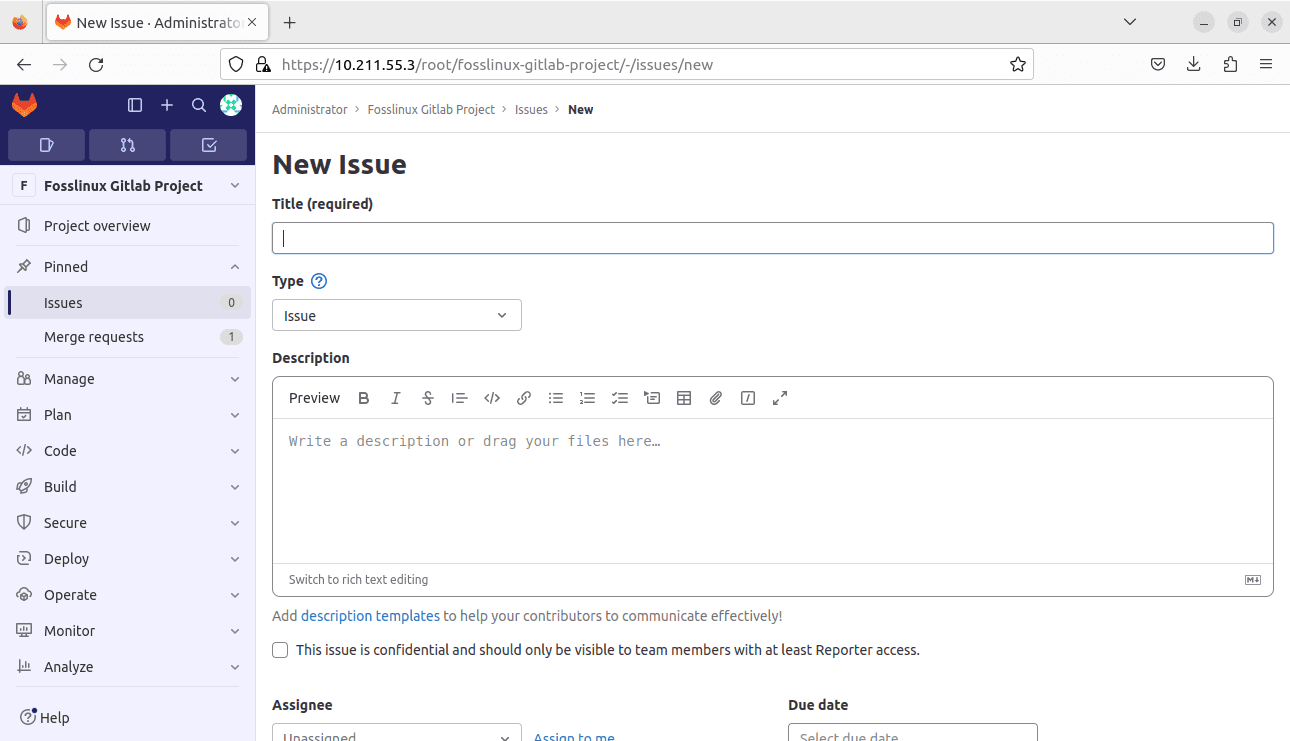
Create new issue
- Submit issue: Click “Create Issue” to create the issue. This action adds the issue to your project’s tracking system, allowing you to prioritize, assign, and monitor progress.
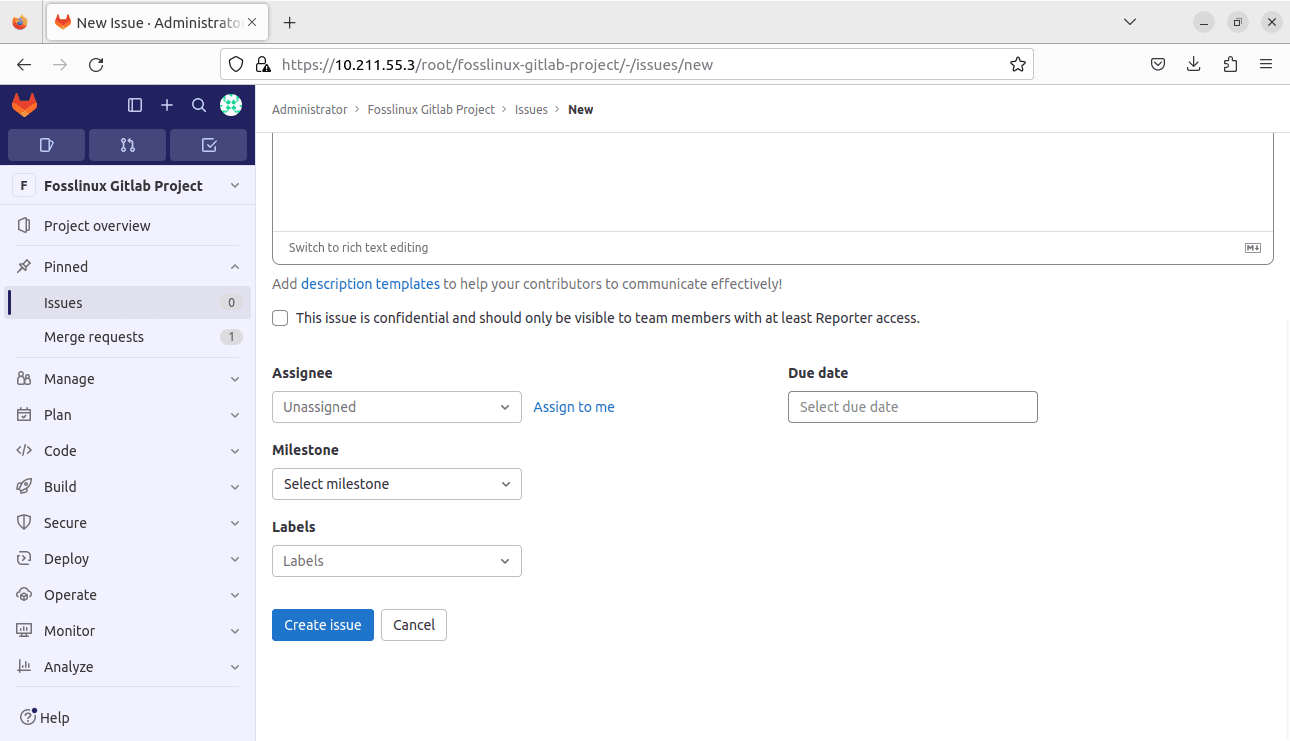
Create issue
Security scanning
Security is paramount in software development. GitLab offers built-in security scanning tools to help you identify vulnerabilities in your code and ensure that your projects are secure:
- GitLab automatically scans your code for security issues, including vulnerabilities in dependencies and potential code flaws.
- When security findings are identified, GitLab provides remediation guidance, allowing you to address and resolve security issues promptly.
- You can review and manage security findings in your GitLab project’s “Security & Compliance” section, ensuring that your codebase remains secure throughout the development process.
Utilizing these GitLab features allows you to streamline your development workflows, enhance collaboration, and maintain the security and quality of your projects effectively. GitLab is more than just a version control system; it’s a comprehensive platform designed to empower developers and teams in their software development journey.
Conclusion
In this guide, we’ve explored the significance of GitLab in modern software development and provided a step-by-step tutorial on how to install and use GitLab on a Linux system. From setting up GitLab on your server to creating projects, managing code repositories, and utilizing essential features like CI/CD pipelines and issue tracking, you’re now equipped to harness the full power of GitLab.
GitLab streamlines collaboration and enhances the security and efficiency of your development processes. So, whether you’re a solo developer or part of a team, GitLab is your go-to platform for taking your software development projects to the next level.
Thank you for sticking around this comprehensive guide, and happy coding with GitLab on Linux!