
The Linux based systems have been an indomitable part of system management, especially most of the back-end systems. There are many tools designed just for that, even if we simply look at the Linux kernel + GNU utilities.
A critical part of any administrator is the ability to manage user accounts. In this article, we are going to demonstrate the different ways in which a user account can be locked and unlocked in a Linux system. This is distro independent.
Locking and Unlocking the User Accounts
Locking Passwords
It is important to note that the first two methods that involve locking the password of the user account only work if there are no alternate ways of login available to the user. For example, if the user has the option to log in through SSH, locking passwords will be useless in that case. The latter options show how to fix this.
1. usermod command
The usermod command is a one-stop solution for modifying a user account and houses an option to lock a user account password. With a simple -L flag, usermod just does the job. The command looks like this:
sudo usermod -L [Username]
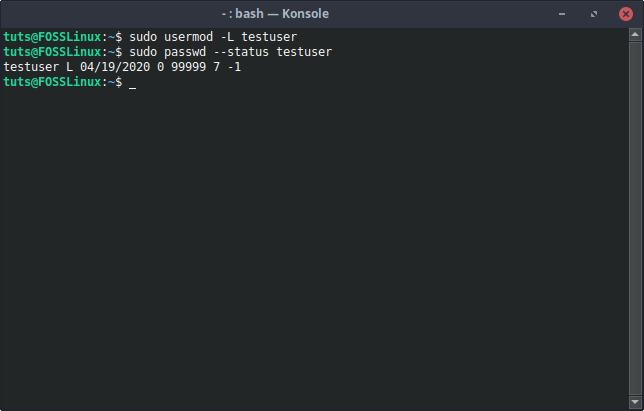
usermod Password Lock
Unlock
The command to unlock a user locked this way uses the -U flag. The command is as follows:
sudo usermod -U [Username]
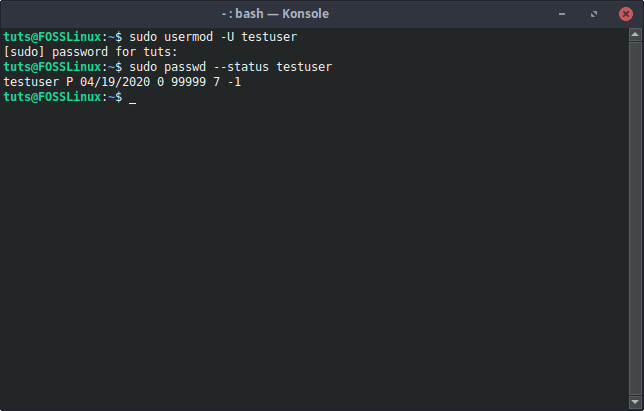
usermod Password Unlock
2. passwd command
Another option when it comes to managing passwords is the passwd command. It also has an option to lock the password of an account.
Syntax:
sudo passwd -l [Username]
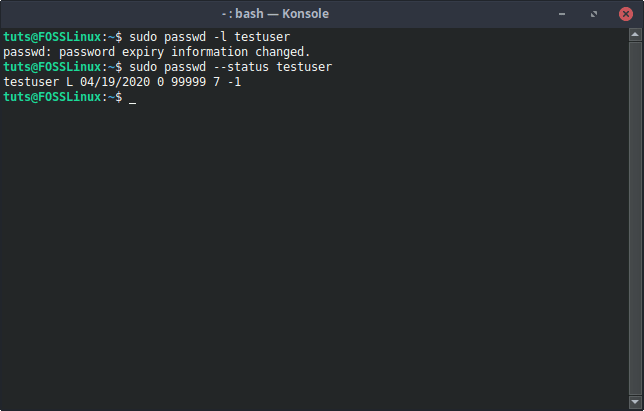
passwd Lock
Unlock
To unlock the user locked with the -l flag of passwd, the -u (unlock) flag needs to be used. The command looks like this:
sudo passwd -u [Username]
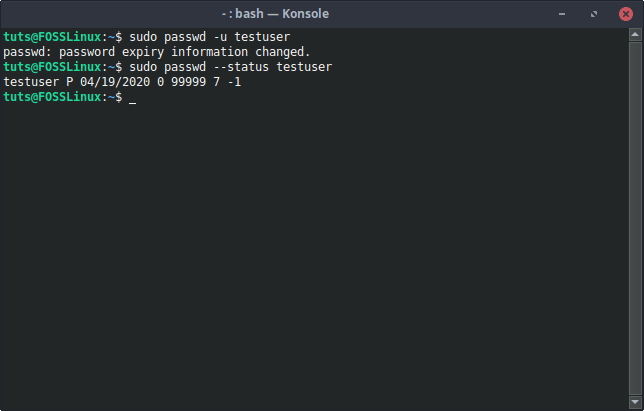
passwd unlock
Under the Hood
What happens when you issue either of these commands can be seen in the /etc/shadow file. This file holds an encrypted version of the password along with the user name. If you check before and after locking the password of a user, you can see that there is an exclamation mark (!) before the encrypted password, which indicates that the password has been locked.
Before password lock:
Normal state of the account
After password lock:
After locking password
Of course, you can also do this manually, and it will have the same effect. We do not recommend it though.
Check Status
There is a simple command to check whether an account is locked or not. The command is:
sudo passwd --status [Username]
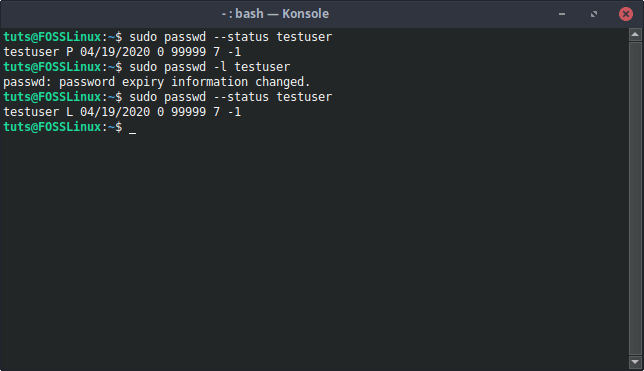
Password status
If there is “L” present in the output after the username, that means that the user account is locked.
Locking Accounts
It is repeatedly mentioned, even in the man page of the passwd command and the usermod command, that locking the password is not an efficient way of locking out a user. It can be bypassed if the user can use SSH authentication to log in. To fix that, we can lock the account itself. We can achieve this by expiring the user account.
1. usermod
There is no denying the fact that usermod really in the one-stop solution to almost all account configurations needed. We could lock the password through usermod, and we can also expire the user account so that no further logins are even possible.
Syntax:
sudo usermod --expiredate 1 [Username]
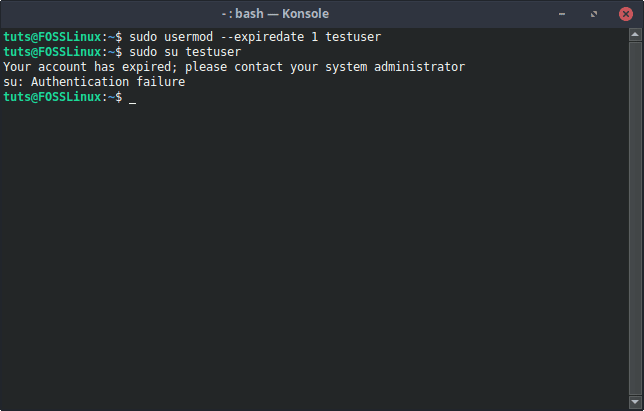
usermod Account Lock
This immediately disables the user account.
2. chage
The chage command is used to modify user account expiry information. We can use the -E flag to set the expiration date to 0, which is disabling the user account.
Syntax:
sudo chage -E0 [Username]
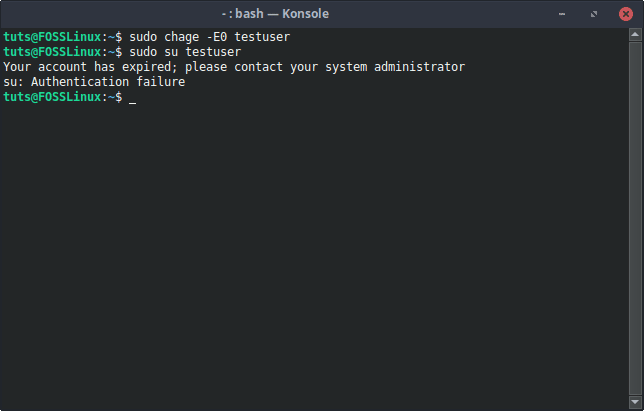
Expiring account with chage
Unlocking
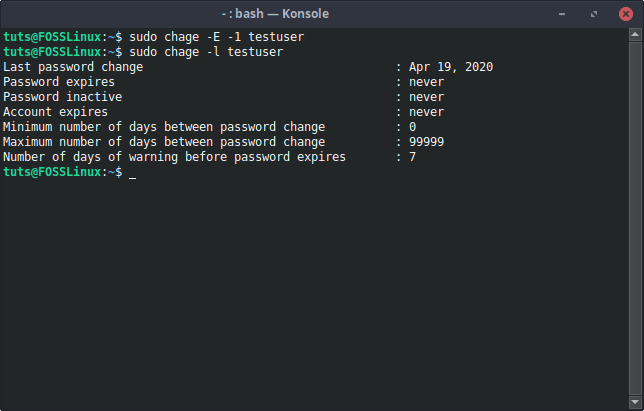
Since we are terminating the user account here, the obvious antidote to the situation is changing the expiry date of the user account to something else. If you want it so that the user account never expires, you can use this command to achieve that:
sudo chage -E -1 [Username]
Otherwise, if you’re going to set a specific date, you can do that too:
sudo chage -E YYYY-MM-FF [Username]
Check Status
We are expiring the account here, and such information can easily be checked using the chage command again. The command to verify the information is:
sudo chage -l [Username]
Reset Expiry
Under the Hood
Similar to locking a user account password, the /etc/shadow file changes when a user account expires. Before the last colon of the entry of the user, there will be ‘1’ instead of it being empty. That space indicates the expiry of an account.
Normal state:
Normal state of the account
After expiring account:
After expiring account
Again, you can do this manually, but we do not recommend it.
Changing Shell
When a user logs in, he/she is using what is called a login shell. You might not have seen this a lot of times, but if you dare, try this combination: CTRL+ALT+F1, and you will get a text-based interface, which prompts you for a login and password before letting you use any commands. This is called a login shell.
1. Changing the shell to nologin
Naturally, one way of locking out a user is to not even let that user log in, in the first place. Thus, the shell of that user can be changed to the nologin shell with this command:
sudo usermod -s /sbin/nologin [Username]
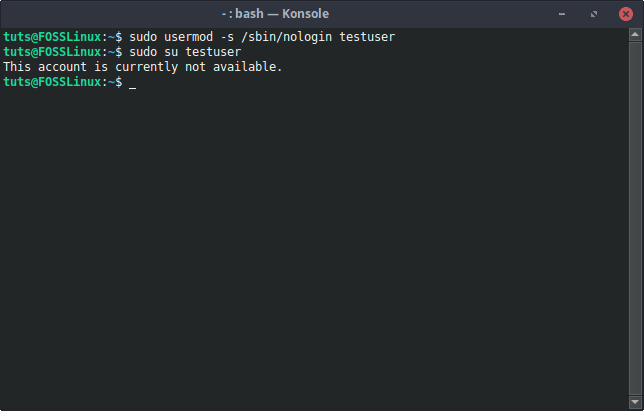
Changing shell to nologin
This displays a polite message indicating that the user is not allowed to log in.
2. Changing the shell to false
There is also the option of changing the shell to false, which unlike nologin (which displays a message), just logs the user back out whenever the user tries to log in. It’s a bit extreme, but also useful.
Syntax:
sudo usermod -s /bin/false [Username]
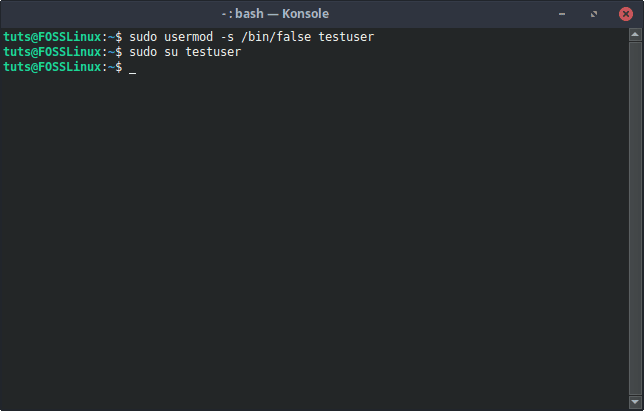
Changing shell to false
Reversal
This can be reversed by changing the shell back to the default shell of the user. You can find what the default shell is by comparing the shells of the other users of the system in the /etc/passwd file. Generally, it is the Bash shell on most Linux systems. So to set to that:
sudo usermod -s /bin/bash [Username]
Under the Hood
You can see the difference here, too. If you read the file /etc/passwd, you will be able to see the shells being used by the users. Now, if you see the shell being used by the concerned user, it will probably be /bin/bash by default. When the shell is changed, the content of the file changes.
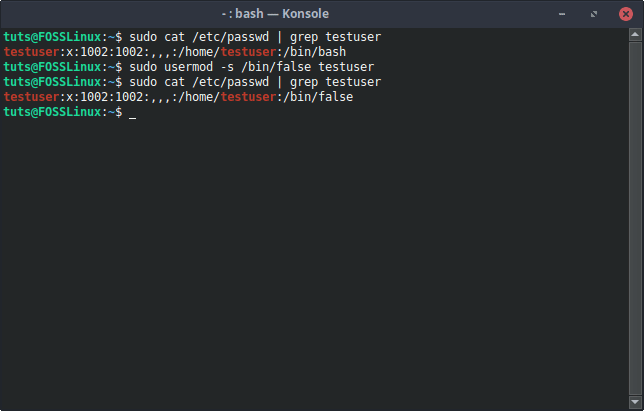
Shell Change
You can directly change the contents of /etc/passwd to change the shell to achieve the same results given by the above commands. There is a risk, though, and we do not recommend it.
Conclusion
This one simple activity of locking a user account alone demonstrates how great Linux systems are for administrative tasks. There is a multitude of options available to achieve any given result, and such flexibility is always appreciated. If you have any questions, feel free to use the comments section.