
Ubuntu MATE 20.04 LTS looks more polished and stable than ever before, and the review we published a day ago has all the details you need to know. With so many new features and improvements cooked into the 20.04 LTS release, you may want to upgrade your current Ubuntu MATE installation to the latest version.
With a few precautions taken, the upgrade should be smooth. I upgraded my test PC running on Ubuntu MATE 18.04 LTS to Ubuntu MATE 20.04 LTS, a 100% successful upgrade. I had to reinstall certain apps, including Shutter and VirtualBox, but that was notified by the upgrade tool before I took the plunge, and those reasons were not big enough to be a roadblock for the upgrade. So here we go. Let’s upgrade your Ubuntu MATE.
Upgrading to Ubuntu MATE 20.04 LTS
It’s possible to upgrade to Ubuntu 20.04 LTS from either Ubuntu MATE 18.04 LTS or Ubuntu 19.10.
1. Update your current system
Before proceeding any further, I recommend updating your current Ubuntu MATE version with the latest fixes and updates. Launch the Terminal and enter the following commands one at a time, followed by pressing the enter key.
Launch Terminal
sudo apt update
sudo apt upgrade
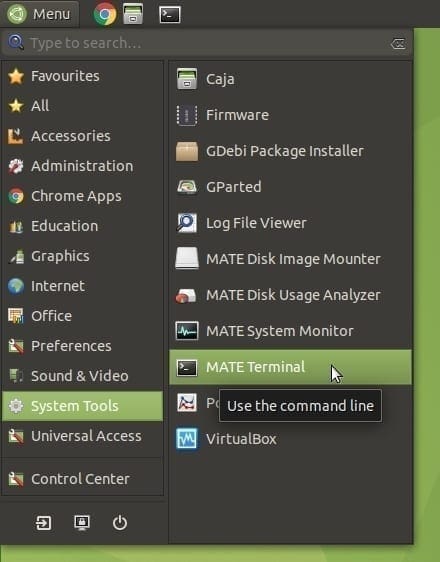
2. Change Software & Updates settings
Click on the Brish menu, start typing for “software,” and then click on “Software & Updates.”
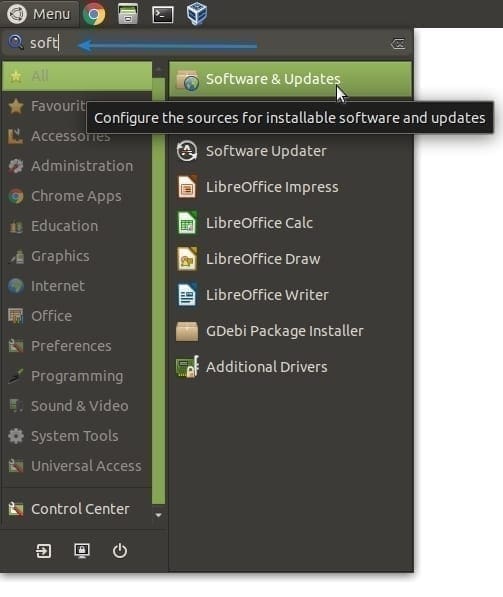
Software and Updates
Click on the “Updates” tab. If you are on 18.04 LTS, ensure the “Notify me of a new Ubuntu version” drop-down menu is set to “For long-term support versions.” Set it to “For any new version” if you use 19.10.
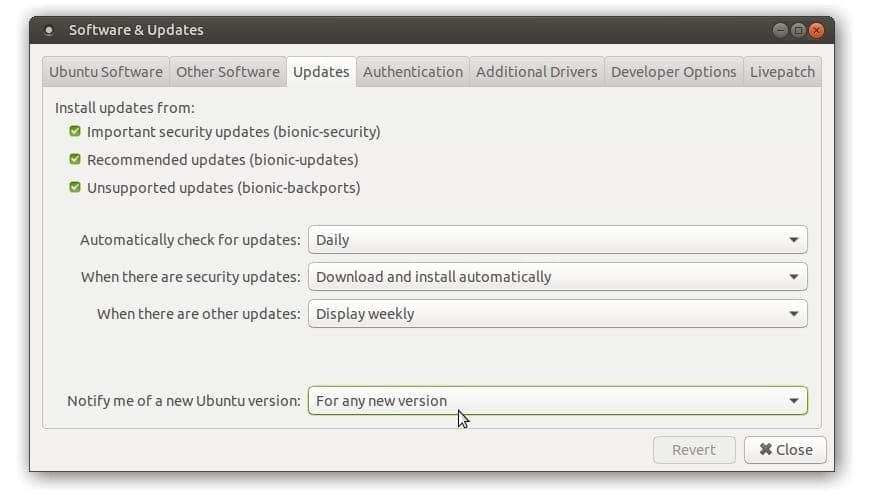
Update Setting
3. Force Update Manager
Press Alt+F2, type in sudo update-manager -c -d in the command box as shown, and click “Run.”

Run Application
Update Manager should notify you that your system is up to update, but ‘Ubuntu 20.04” is now available.

Ubuntu 20.04 upgrade notification
Click “Upgrade” and enter your password to authenticate. You should see the Focal Fossa release notes saying that the release is still in development (again, this depends on when you upgrade). Don’t worry; Focal Fossa is officially released, and you will be installing the stable version. Click “Upgrade.”
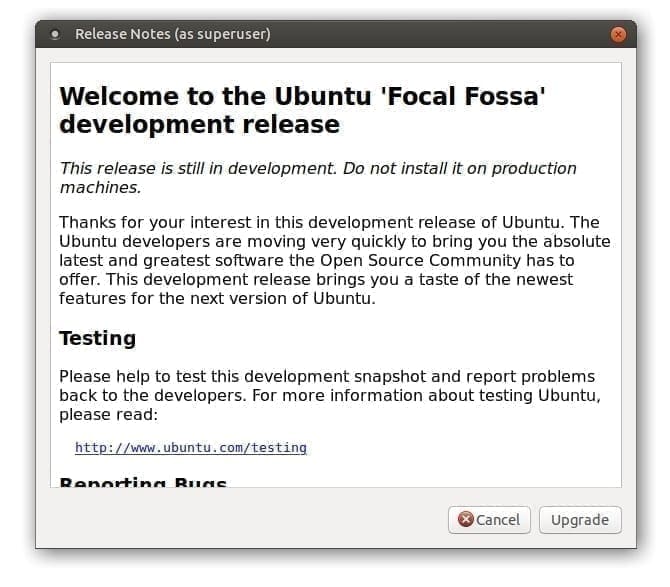
Focal Fossa Release Notes
You may see a notification that the third-party software repository is disabled. That’s perfectly normal. Click OK; we will deal with it later after the upgrade.
Upgrade Check
This is it—your last chance to think. Once you click on “Start Upgrade” from here, there is no going back. The updater tool will summarize a helpful list of what will happen to your system, including the apps that get installed, deleted libraries, and, most importantly, the deleted Apps. Your primary attention should be on the “Remove” items that will be deleted due to conflict in dependencies. You can reinstall all of them later. In my case, it listed atom, gimp plugin, Shutter app, libgoo-canvas-perl required for Shutter editing functionality, and VirtualBox. I can reinstall all these without any issues. Hence, I would click on “Start Upgrade.”
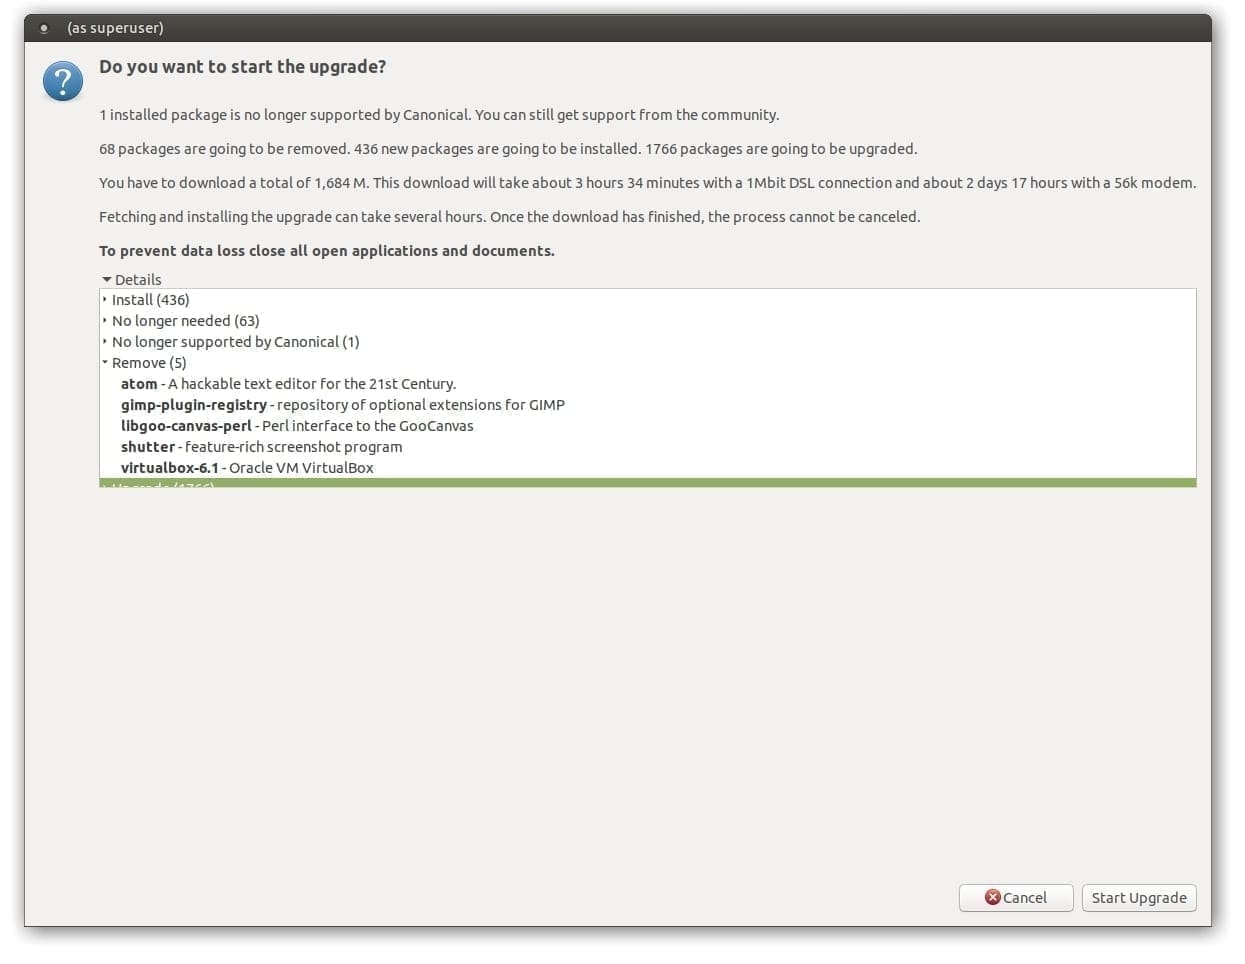
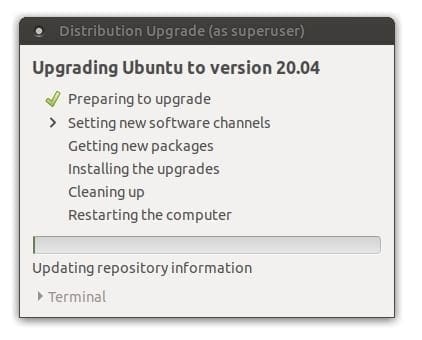
Start the Upgrade Process
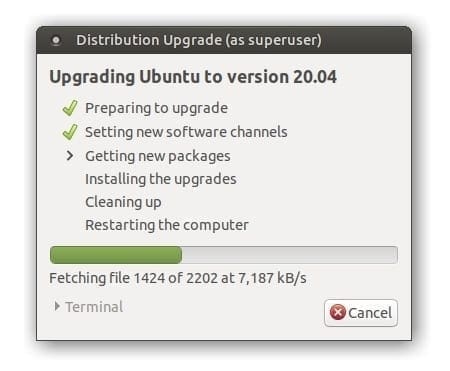
Upgrade Started
After a while, you should see a notification on whether to remove the obsolete packages. I would never keep the junk because these will not work with the Focal Fossa. I would click on “Remove.”
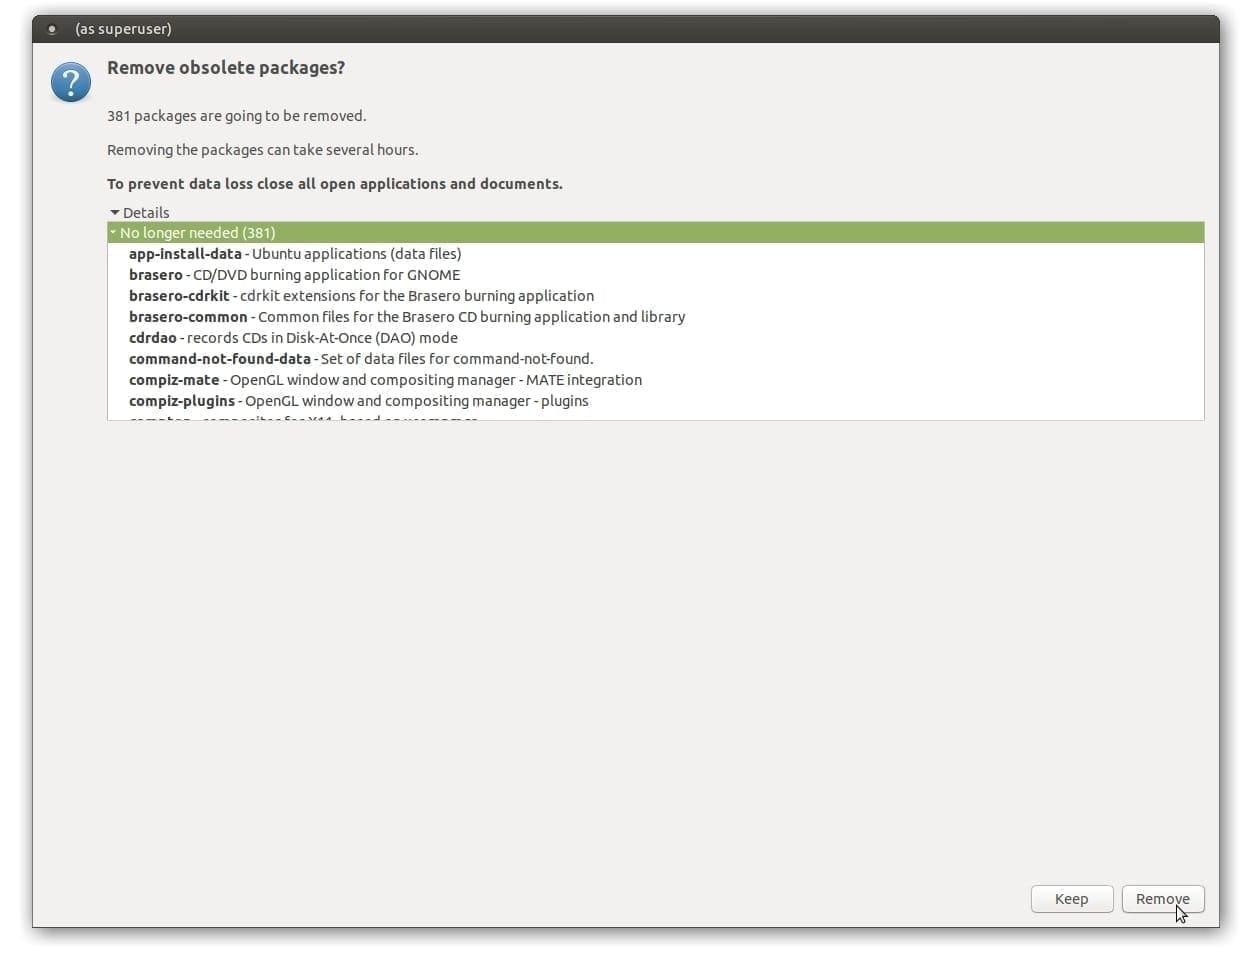
Obsolete Packages
After the upgrade is complete, you will be asked to restart your system. Click “Restart Now.”
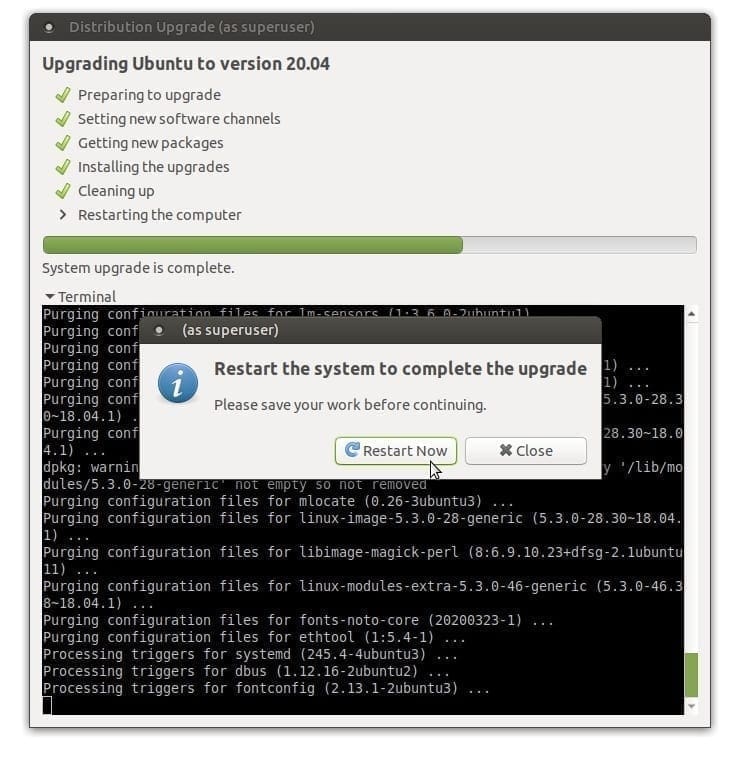
System Upgrade Complete
After reboot, you will boot into the shiny Ubuntu MATE 20.04 LTS! For some reason, I didn’t see the welcome screen. It could be because I clicked No on a notification to send system data, which I thought later should have accepted to send the system data to improve the future versions of Ubuntu MATE.
Nevertheless, you can relaunch the welcome screen from the Brisk menu.
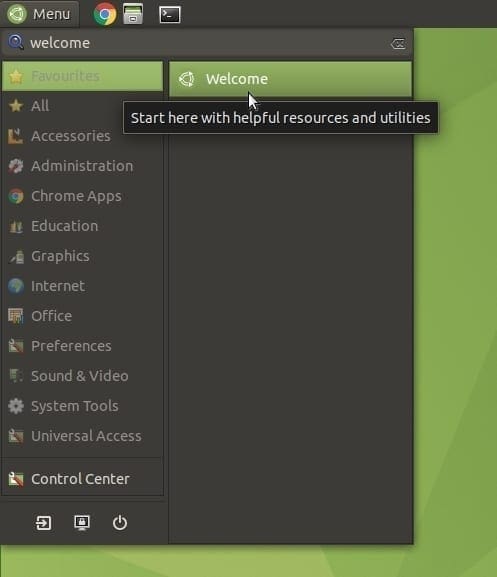
Launch the Welcome Screen
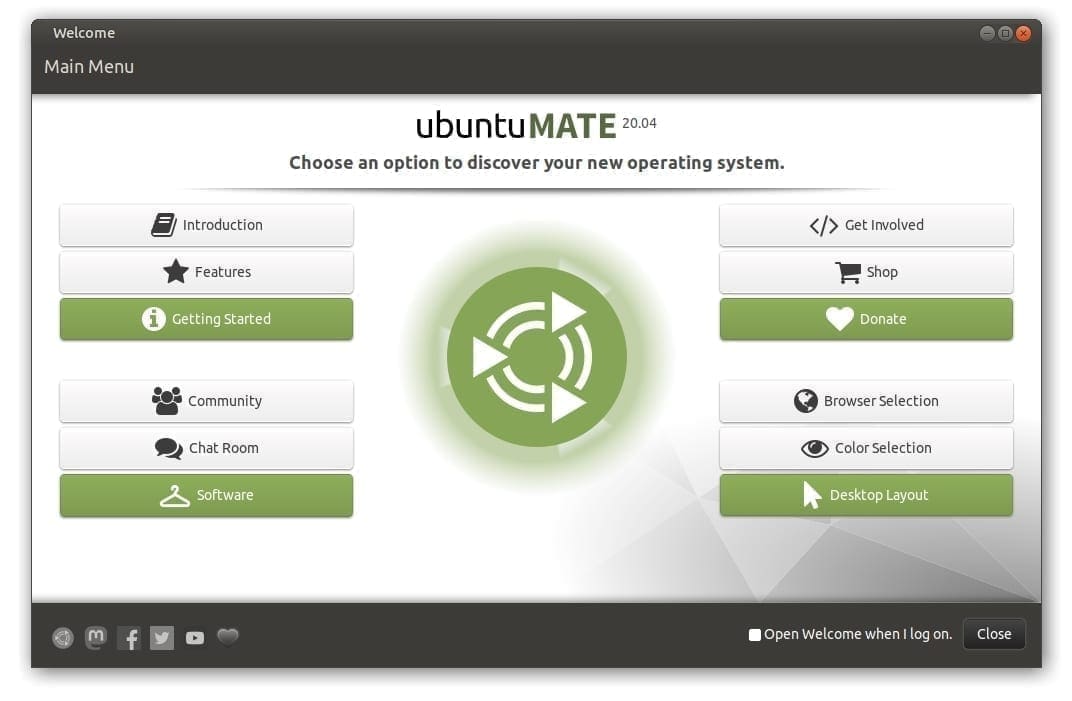
Ubuntu MATE 20.04 Welcome Screen
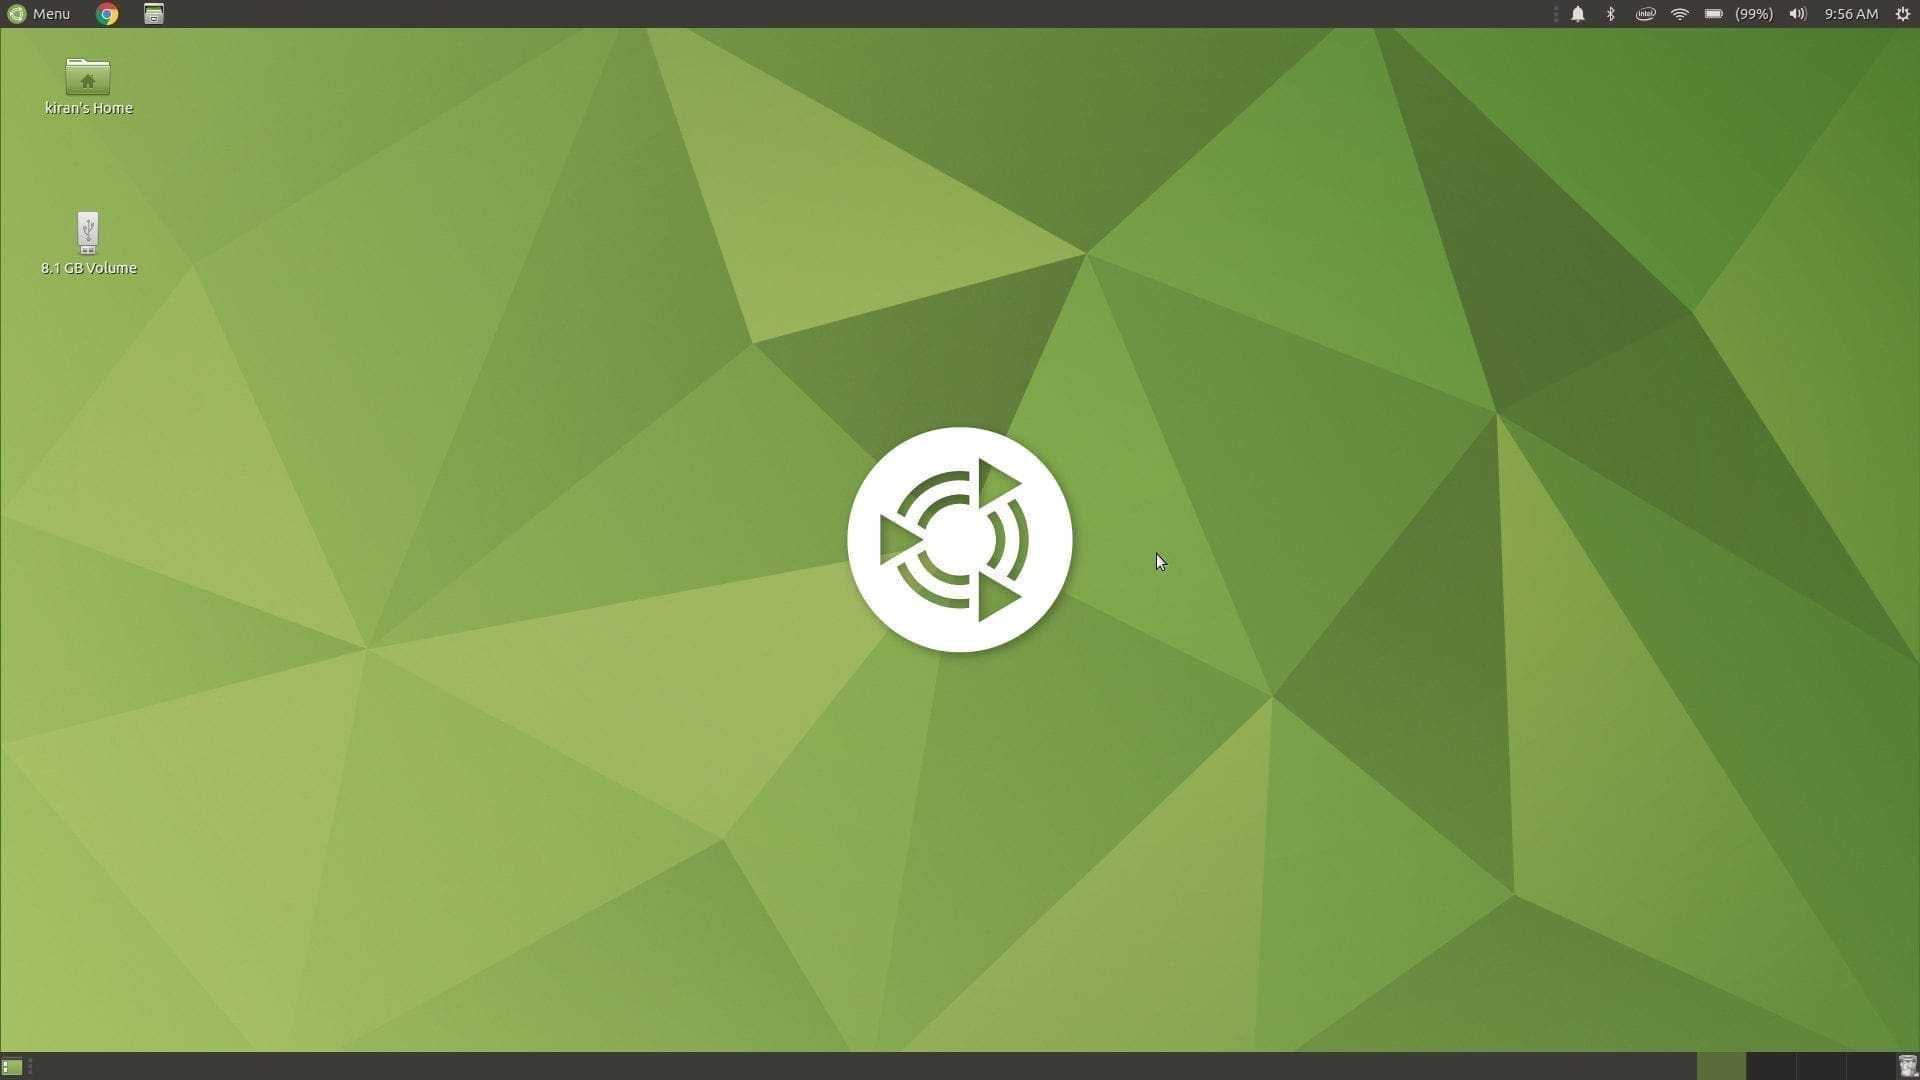
Ubuntu MATE 20.04 LTS desktop
Conclusion
That’s all about the process of upgrading your older version of Ubuntu MATE to 20.04 LTS. This new version is expected to receive official support until April 2025. Before I head off, remember the third-party software disabled notification while in mid of the upgrade process? Let’s take care of it. Launch “Software & Updates” and click the “Other Software” tab. To avoid conflict and for security reasons, the updater tool disables all the third-party repos during installation. You will have to enable the needed ones manually. For example, I have enabled the Team Viewer’s repos, which were disabled.
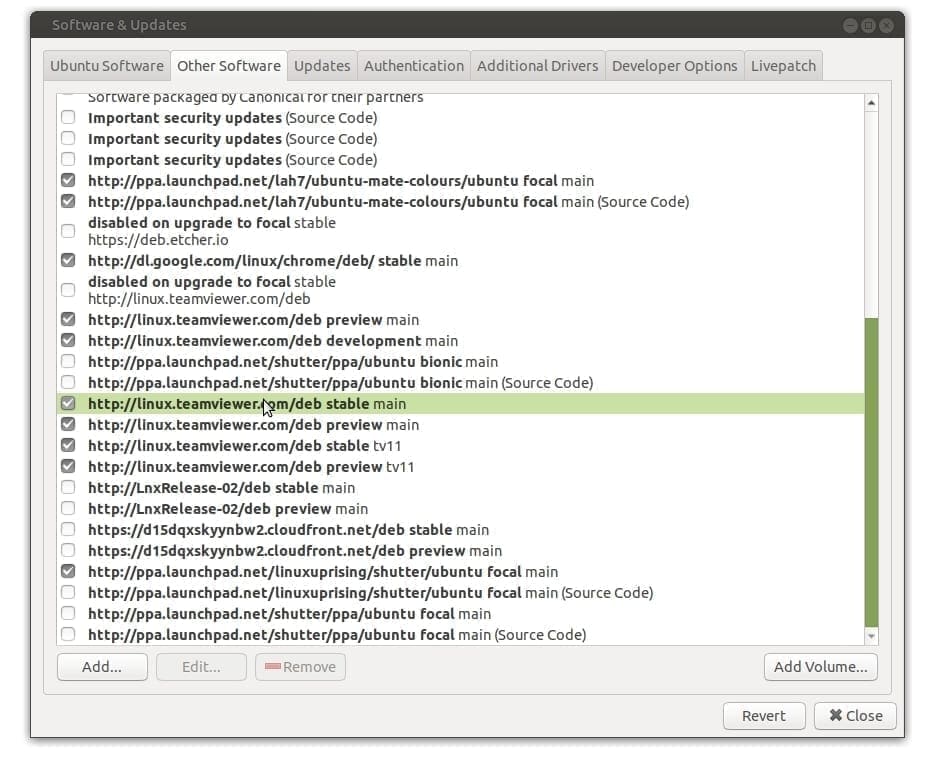
Re-enable Software Repos
What Next? Check out what’s new in Ubuntu MATE 20.04 LTS, and maybe you are interested in splashing some color on your desktop over a dark theme. It’s all yours to try. I love the refreshing Aqua theme!
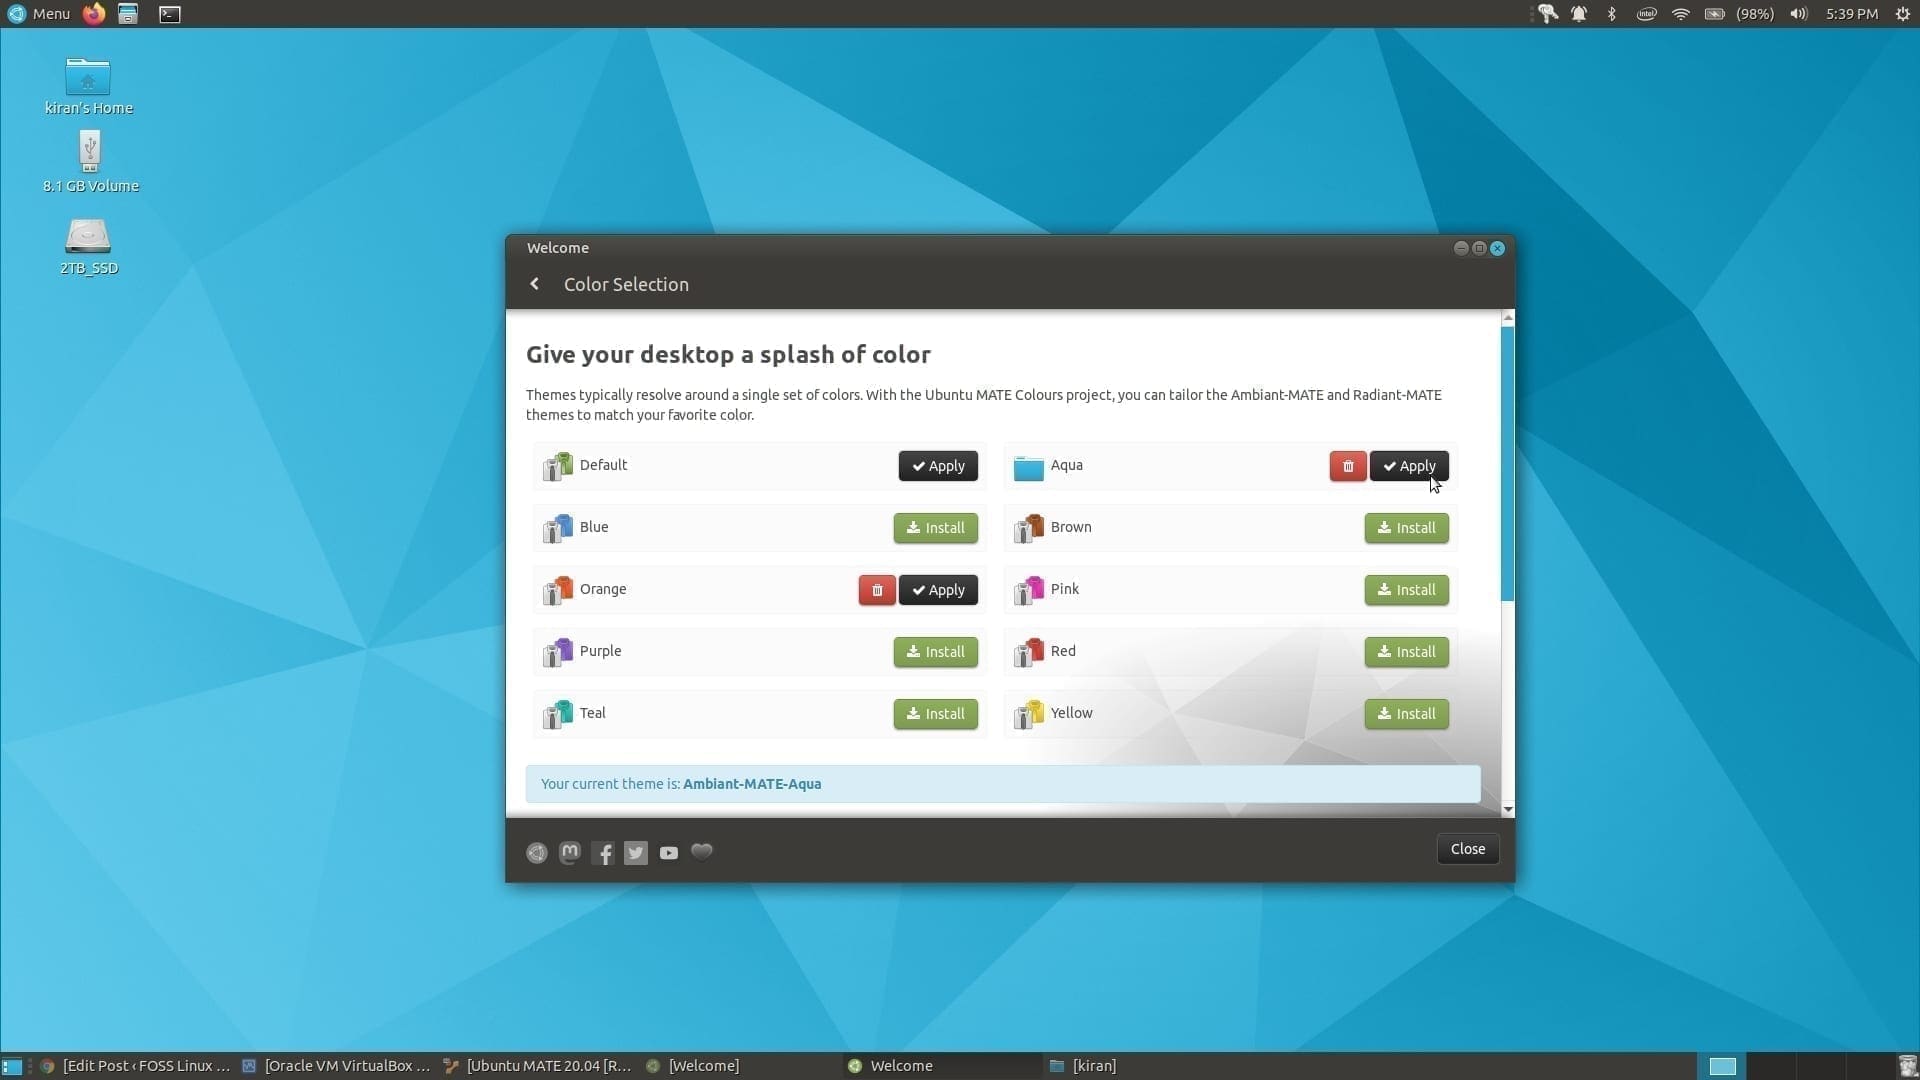
Ubuntu MATE Color Choices
3 comments
Thank you for a great tutorial! Just one error that I found after going through your tutorial and encountering an error; I used sudo update-manager -c -d then it worked fine. You haven’t mentioned the “sudo” part.
All the best
Carl.
Thanks for taking the time to lay out the process. My 18.04 software updater told me I could not update to 20.04 “using this tool,” but that may be a result of the HP-14z laptop’s peculiar graphics setup. I can install 20.04 directly, but after installation the screen is scrambled unless I run nomodeset in grub. I’m hoping I can migrate freedom 18 to 20 without that happening. Thanks again.
thanks much.