
Compression is an important computer science technique that is used by programs, services, and users to save space and improve the quality of service. For instance, if you download a game through a gaming platform, it generally downloads a compressed version so that it can save time and space. The uncompression takes place after the file is downloaded or during the installation process.
But why am I telling you all this? Well, today, I will go through Linux File Compression and show you everything you need to know.
Understanding Compression
Before we go forward and learn about the Linux Compression, let’s first understand more things about compression.
Compression is a technique of reducing the file size on a given disk using different mathematical calculations and algorithms. The primary purpose of compression is to save space. This is possible in how files are stored on hard disk drives. The algorithms or mathematical calculations find a pattern and compress that part of it so that it can generate it back with little or no loss in detail. In short, the repeated content paves the way for compression to work.
There are two types of compression that you should know about. They are Lossy and Lossless compression.
Lossless compression
It is a compression technique that does not lose information, and the actual data can be retrieved from the compressed file. Lossy compression is useful for reducing the file size without losing the quality of the original file.
Lossy compression
On the other hand is a the lossy compression technique that compresses a file to save space, but the compressed file cannot be used to retrieve the original file content. In this case, information is lost.
To understand this, let’s go through an example. You can take a raw image and then compress using the lossy and lossless mode. In the lossless compression, the image size will decrease slightly, and you will be able to retain back the original image if you decompress the image. In most cases, a PNG format is used for lossless compression. However, if you use the lossy compression, then you will get an image output that cannot be reverted to the original one. In this case, the resulting image is a JPEG/JPG format.
The compression algorithms are excellent in their way and provide value to the user. The newer algorithms use an adaptive method where they are fast and more accurate in their compression technique.
Different ways of compressing files on Linux
To understand compression in Linux, we first need to create a file for testing compression methods. To do so, we can randomly generate a file using the following procedure.
base64 /dev/urandom | head -c 3000000 > mynewfile.txt
To know the size of the newly created file, you can run the following command.
ls -l --block-size=MB
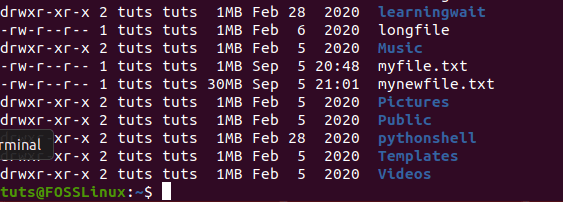
Checking the file size of the newly created file
You can also check the file size by using the file explorer and checking the file size in its properties.
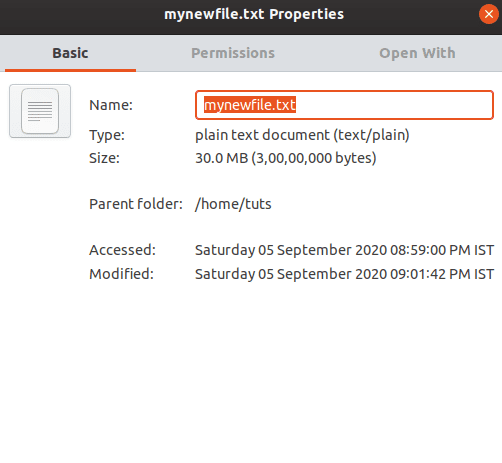
Checking file properties
Let’s create multiple copies of the file so that we can use it to test out compression techniques.

Creating multiple copies
The total size of the folder in which the files are stored is 150 MB.
Zip compression
One of the standard compression techniques that you will find in Linux is the zip compression technique. To run zip command on the files we have, you need to run the following command.
zip <output>.zip <input>
So, to compress the five files we have in the folder, we need to run the following command.
zip testing1.zip *
The command will take some time to run, and you will see it happen in front of your eyes.
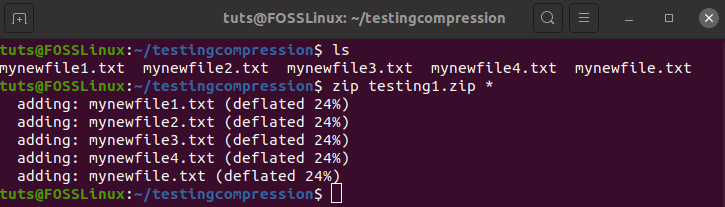
Zip compression in action
As you can see, each of the files got reduced by 24%. With 24% saving, the final size stands at 114 MB. That’s quite good. The result would have been different if we used additional source files. One more thing that you would have noticed is that it uses the deflate compression technique.
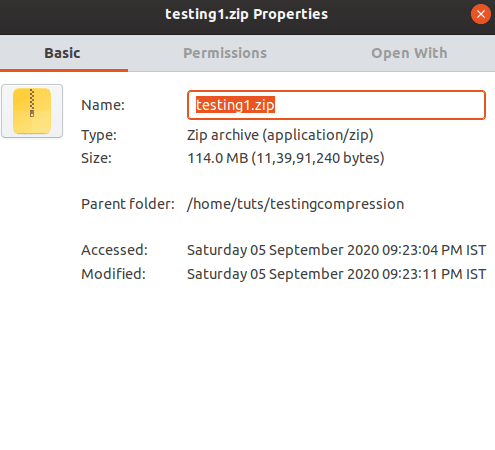
The final size of zipping after compression
To uncompress the file, you need to use the following command.
unzip <filename>.zip -d <destination>
As you can see, you can set a destination. You can also unzip in the same folder by simply using the command without the destination parameter.
Gzip Compression
Now that we have gone through the zip compression, it is now time for GNU Zip or gzip compression. It is also a popular method to compress the files on Linux. Jean-Loup Gailly and Mark Adler create it.
Also, it is better than the zip compression method as it offers better compression. The syntax to use Gzip compression is as below.
gzip <option> <input>
To compress the files that we have, we need to use the following command.
gzip -v mynewfile1.txt
This will compress the file, “mynewfile1.txt,” and then name it “mynewfile1.txt.gz.”

Testing Gzip
The final size of the file is 22.8 MB, which is quite an impressive compression.
You can also compress the whole folder by using the -r recursive flag. The syntax for it is as below:
gzip -r <folder_path>
You can also customize the compression level for the Gzip. The value of the compression level can be set from 1 to 9. 1 stands for the fastest and least compression, whereas nine stands for the slowest compression but best compression.
gzip -v -9 mynewfile1.txt
To uncompress the gzip file, you need to use the following command.
gzip -d <gzip_file>
Bzip2 Compression
The last compression type that we are going to discuss is Bzip2. It is an open-source and free tool. It utilizes the Burrows-Wheeler algorithm.
The compression technique is quite old as it was first introduced in 1996. You can use Bzip2 in your daily work. It is fast and works similarly to that of the gzip tool. The syntax for the Bzip2 compression technique is as follows:
bzip2 <option> <input>
Let’s try to compress the file using bzip2.

Bzip 2 compression
Just like gzip, you can also set the strength of the compression from 1 to 9.
To uncompress the file, you need to use the following command.
bzip2 -d <filename>
Archival
There is another important term that we need to learn here.
Archival is the method of backing up data to a secure location using a compressed format(generally). In the Linux server, you would find the tar file extension that means that it is an archived file. The tar format is excellent when it comes to manipulating and addressing different files. It can keep intact metadata and permissions and hence is mostly used in archival purposes on Linux systems.
The tar command syntax is as below.
tar <option> <output_file> <input>
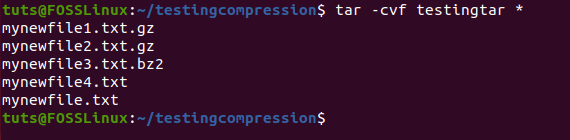
Tar compression
To extract, you need to use the following command.
tar -xvf <archieved-file-name>
Conclusion
This leads us to the end of our Linux compression guide. As you can see, there are many ways you can do file compression. Also, the archival process has its unique use. So, what do you think about Linux file compression? Do you use it a lot? Let us know in the comments below.