
Sometime back, the process of installing an operating system required users to pop a bootable media disk into their DVD or CD drive and use it to boot the PC. But times have changed. Nowadays, the most common way of installing an OS is booting from a USB drive. The use of USB drives is further propelled by the current production of slim and lightweight laptops with no support for DVD/CD drives.
In this post, we will give you a Master Guide to Boot your Windows or Linux PC from a USB Drive. We will also dive into understanding the Legacy BIOS mode and UEFI boot mode.
Create a Bootable USB drive
Before getting started, we will need to create a bootable USB drive containing the Operating System you want to use. Say Windows 10 or any Linux distribution. We will be required to use specific applications since we can’t copy an OS image file directly to the USB drive. If you are on a Linux system, you can use the “Startup Disk Creator” tool or read our post on How to use MultiBootUSB to create a bootable USB drive. On Windows systems, you can utilize applications like PowerISO or YUMI.
Once we have our bootable USB drive, we are good to go. But not so fast. The booting process of a PC is managed by two motherboard firmware. We currently have the Legacy BIOS mode, the UEFI boot mode, and the Legacy+UEFI compatibility mode. Let’s take a look at both UEFI and Legacy BIOS modes.
Legacy BIOS boot mode
BIOS is an abbreviation for Basic Input-Output System. It is low-level software that resides in a ROM (Read Only Memory) chip on the PC’s motherboard. BIOS is loaded immediately; you start your PC. It is responsible for starting your computer’s hardware components and executing the boot loader, which boots your operating system. That can be a Windows system or a Linux system.
As the name implies, Legacy BIOS has been there for a long time and regarded as a traditional boot mode. It is most popular with earlier Windows system before Windows 8. Even the MS-DOS PCs first released in the 1980s had a BIOS! The Legacy BIOS has evolved and had some improvements like the inclusion of the ACPI (Advanced Configuration and Power Interface), which enabled BIOS to manage and configure devices much more straightforward and perform power management functions like sleep.
However, the Legacy BIOS had severe limitations that needed to be solved. Some of them are listed below.
- Legacy BIOS can only boot from drives of 2.1TB or less.
- It supported the MBR partitioning scheme, which allowed only up to four primary partitions.
- Legacy BIOS runs in a 16-bit processor mode with only one MB space to execute in. That leads to a slower boot process since it has trouble initializing all hardware interfaces at once.
UEFI boot mode
UEFI, which is an abbreviation of Unified Extensible Firmware Interface, came to replace the traditional Legacy BIOS. It brings forth a lot of new features and advantages that cannot be achieved with the conventional BIOS mode. UEFI stores all the initialization and startup information in a ‘.efi.‘ file held in a separate partition called the ESP (EFI System Partition). This partition also contains the boot loader program for the installed Operating System.
Some of the notable features with UEFI boot mode include;
- Supports booting from drives larger than 2.2TB with a theoretical limit of up to 9.4 zettabytes
- Uses the GPT partitioning scheme, which supports up to 128 primary partitions
- UEFI offers ‘Secure Boot’, which checks for any malware in the boot process
- UEFI doesn’t go through ‘Self-Test’ during the boot time, thus offering a faster booting process
From the above explanation, UEFI seems to be carrying the day. However, this doesn’t mean the Legacy BIOS mode is not supported nowadays. Most manufacturers release PCs that enable users to switch between the two boot modes. Some have also included support for the Legacy+UEFI compatibility boot mode.
Therefore, if a system detects a system installed with Legacy, it will start the Legacy boot mode. Alternatively, if it installed with UEFI, it will select the UEFI boot mode.
Additionally, the UEFI ‘secure boot’ doesn’t seem to work well with most Linux images. With the ‘Secure boot’ feature enabled, you can only boot certified signed OS images. In the original UEFI specification, Microsoft was the only signing authority. Some Linux distros have tried to adopt the UEFI secure boot feature by providing signed images. Even though this might be an adequate solution, with more than 600 Linux distributions in the market, not many are willing or have the resources to do it.
If you are working with a Linux image using the UEFI boot mode, I recommend you disable ‘Secure boot’ from the BIOS / UEFI setup screen. Let’s look at how you can access the BIOS/UEFI setup screen.
How to Access BIOS / UEFI Setup Screen
You can access the Boot setup screen when your computer is booting by pressing particular key combinations on the keyboard. These combinations depend on your PC brand—some PC show which keys to press, briefly once you press the power button. The table below shows the key combination to access the Boot setup screen in some of the popular laptop brands.
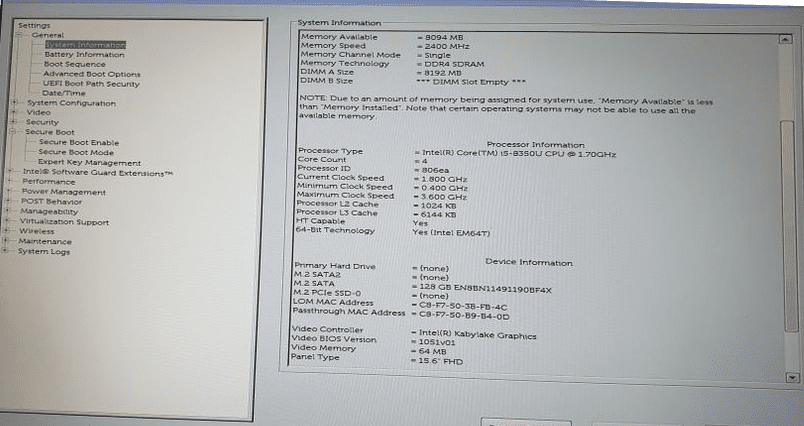
Dell BIOS/UEFI setup screen
| PC Brand / Manufacturer | BIOS/UEFI setup screen key combinations |
|---|---|
| HP (Alternative, Tablet PC) | Esc / F2 / F10 / F12 |
| Dell (Dimension, Inspiron, Latitude, OptiPlex, Precision, Vostro, XPS) | F2 |
| Dell (older or other models) | Ctrl + Alt + Enter / Fn + Esc / Fn + F1 / Delete / Reset twice |
| HP (OmniBook, Pavilion, Tablet, TouchSmart, Vectra) | F1 |
| Lenovo (3000 Series, IdeaPad, ThinkCentre, ThinkPad, ThinkStation) | F1 / F2 |
| Lenovo (older models) | Ctrl + Alt + F3 / Ctrl + Alt + Ins / Fn + F1 |
| Samsung | F2 |
| Sony | F1 / F2 / F3 |
| Toshiba | F1 / Esc |
Navigating BIOS / UEFI Setup
Each BIOS / UEFI screen interface differs from PC to PC. However, they share the most basic navigation principles. The options for setting up the boot options are sometimes hidden under submenus, which you can navigate using the arrow keys or the mouse for the UEFI interface. Select the Boot mode you want to use. That can be Legacy BIOS, UEFI, or Legacy+UEFI compatibility mode but can differ from PC to PC.
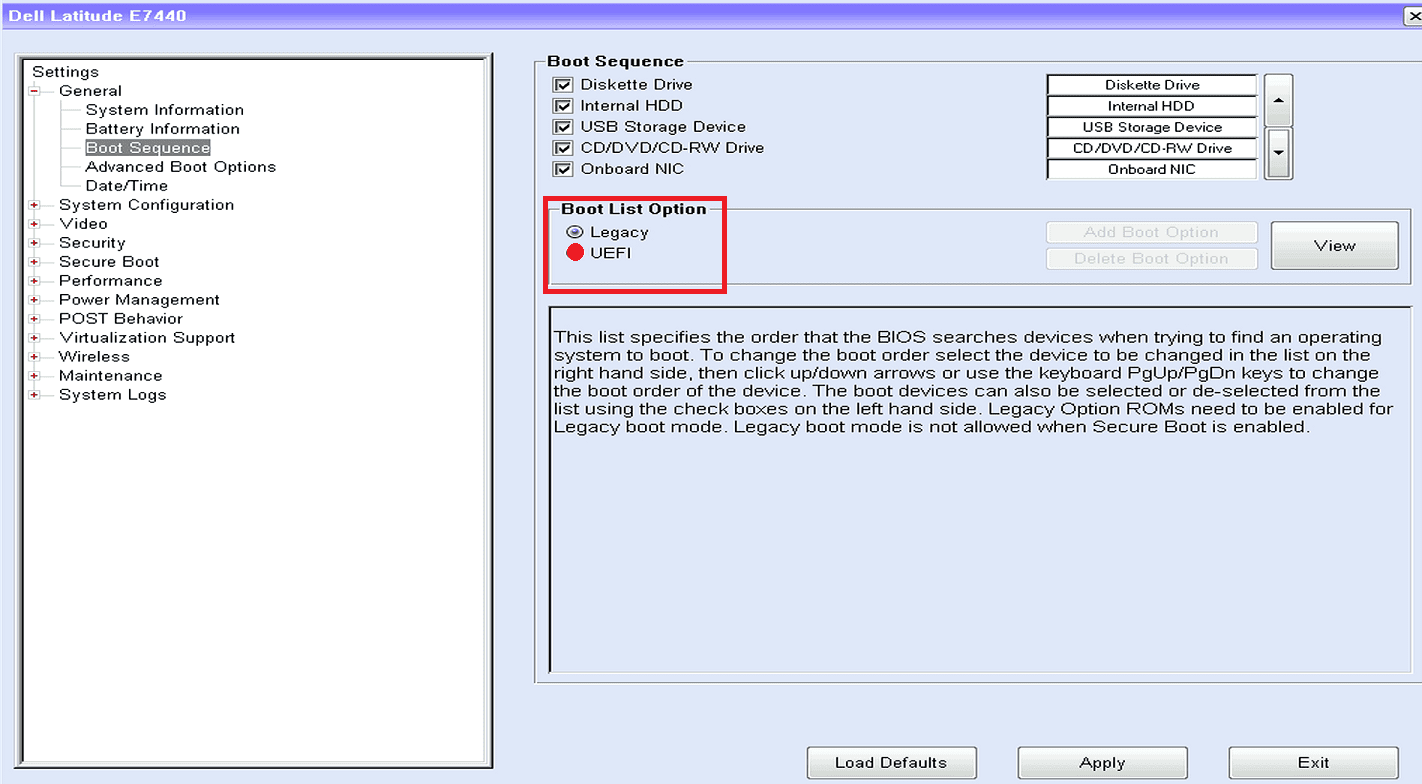
UEFI/BIOS Boot select screen
You can also change the boot order by selecting which devices will boot first, second, etc. For example, if you set your first boot device as the USB drive when you start your PC, it will first look for any connected bootable USB drives before booting the installed operating system. Once done, save your changes and exit. Your PC will reboot, applying the new configurations.
Booting your PC from a USB drive
Now that you have a good understanding of the available boot modes let’s proceed to boot our PC from the USB drive. If you had put the USB drive as the first in the boot order screen, insert it and wait for the PC to boot from the USB. If it is not the first or you are not sure, we will need to access the boot menu to select which devices to boot from.
Note, the boot menu we are talking about is different from the BIOS/UEFI setup screen. To access it, we will need to use certain keyboard combinations. Below is a table showing the boot menu keys of common PC brands.
| PC brand | Command |
|---|---|
| Acer | Esc / F9 / F12 |
| Asus | Esc / F8 |
| Dell | F12 |
| Compaq | Esc / F9 |
| HP | F9/Esc |
| Lenovo | F12 or the Novo button located at the side of the laptop |
| Samsung | Esc |
| Toshiba | F12 |
| Fujitsu | F12 |
When you see the boot menu on your screen, select your bootable USB drive and use it to boot your PC. After pressing the F12 key on my Dell laptop, I saw the following menu.
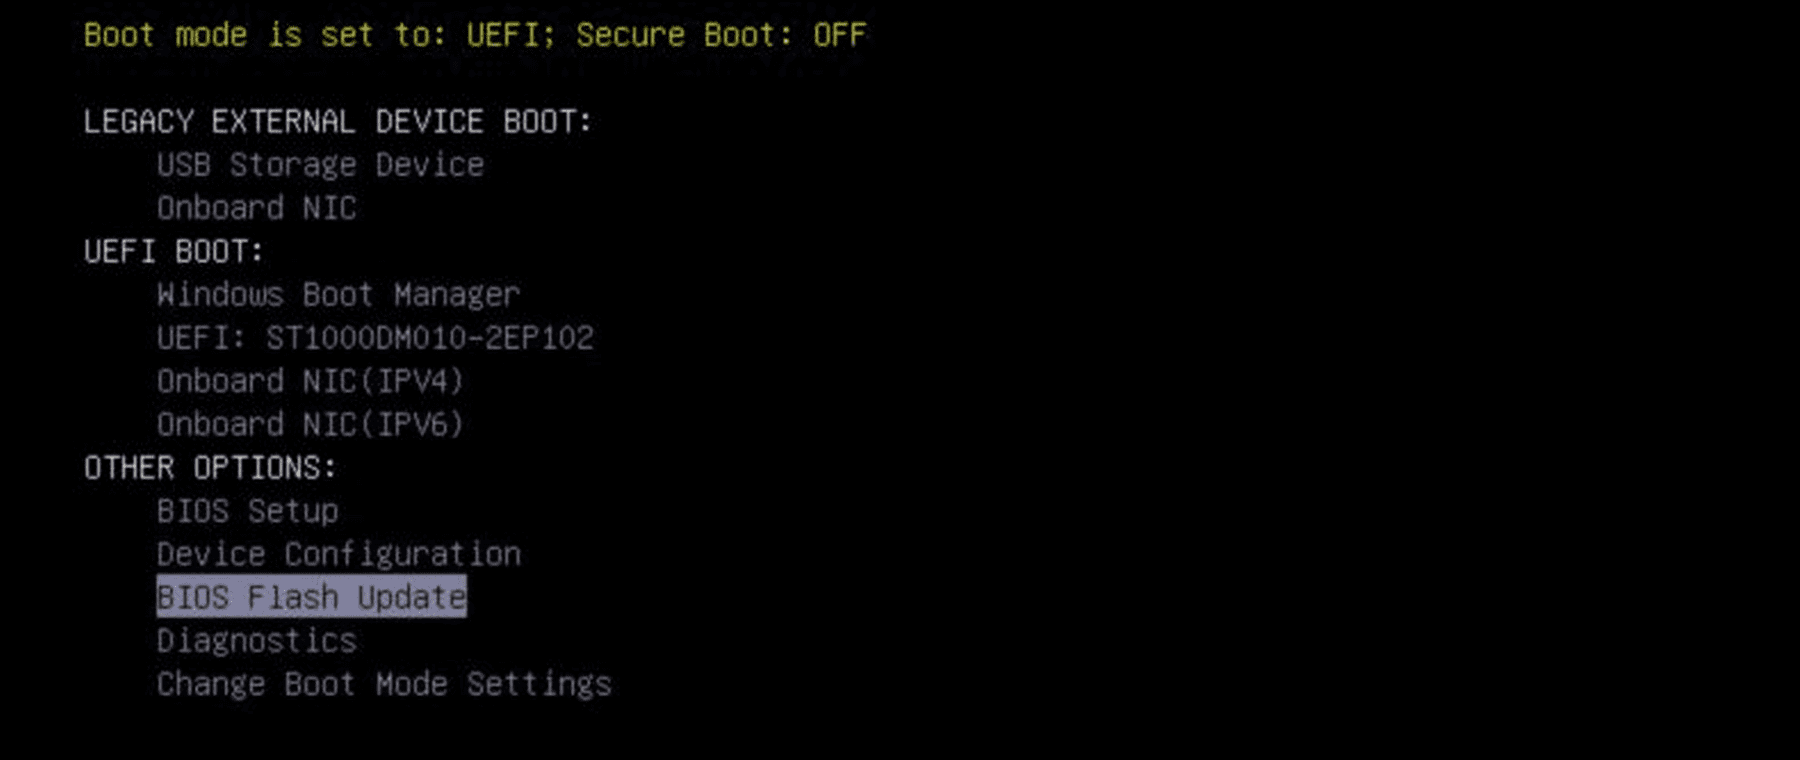
Dell Boot Menu
Now your PC will boot the operating system in the USB drive. That can be a Windows OS or any Linux distribution.
Why boot your PC with a USB drive?
Unlike DVD/CD drives, USB drives have proved to be more efficient since they can be reused, they are much portable, and are not vulnerable to scratches like the DVDs. Other than installing an operating system, USB drives have also proved useful when you want to run a Live Linux system without installing it in your hard drive. It is done when troubleshooting your system or by penetration testers trying to test the vulnerability of a System.
Additionally, there are other applications like Anti-viruses, disk manager utilities, or backup tools that require you to run them as a Live USB drive.
That was a complete guide on how to boot your PC using a USB drive. Due to the many PC brands, we have today, the BIOS/UEFI setup screen might have different configurations, which can be confusing at times. Please share your experience or related information with our readers below, and be sure to mention your laptop brand.
1 comment
Great Article!