
Do you want to install Flutter and start creating awesome Android and iOS applications? Then you have come to the right place. Here is a comprehensive tutorial on how to install Flutter on Linux. If you are new to Flutter, don’t worry, we got that covered too as we shall go in-depth understanding of Flutter and what it brings to the table.
What is Flutter?
Flutter is a UI toolkit from Google that can help you create beautifully-designed, natively-compiled applications for the web, desktop, and mobile (both Android and iOS).
The best part of Flutter is that it uses a single codebase. As such, with the same effort, you will be able to develop apps for multiple platforms, Android as well as iOS.
Install and Configure Flutter on Linux
For the sake of this tutorial, we will be focusing on installing Flutter to help us create Android applications. To do this, we first need to download and install Flutter on our Linux PC. Once that’s done, we will need to install an editor. In this case, we will be installing Android Studio to create our Android apps. Also, we are using Ubuntu 20.04 (Focal Fossa) for this guide. If you are on any other distro, the installation process should be similar, with minor distro-specific differences.
So without further ado, let’s get started:
Download and Install the Flutter SDK
Before you download and install the Flutter SDK, make sure your Linux PC meets the minimum system requirements:
- Operating system: Linux (64-bit)
- Disk Space: 600 MB (excluding the disk space required by the IDE/tools)
If your system checks out with the minimum system requirement, you can get started with installing Flutter. There are two ways to do this.
Installing Flutter using the Snap Store
This is a more comfortable option. If you have Snap Store enabled, all you have to do is enter the following command in your terminal and Flutter will be installed on your system:
$ sudo snap install flutter --classic
To learn more about snap packages and how to enable it on your Linux PC, read this guide.
Let’s say you don’t have snapd, or for some reason, you can’t use it. In that case, you will need to install the Flutter SDK manually. Here is a comprehensive step-by-step guide to help you out with the process.
Note: Flutter uses Google Analytics to anonymously collect and report feature usage statistics as well as bash crash reports. By downloading the Flutter SDK, you automatically agree to Google Terms of Service.
Installing Flutter SDK manually, without Snap Store
Step 1: Download the Flutter Installation Bundle.
You need to head on over to their official website and download this installation bundle, as shown in the image below. The button in the below picture is only for your reference. It’s not clickable!
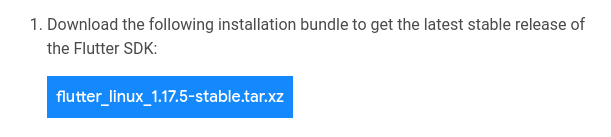
Download Flutter Installation Bundle
Step 2: Extract the archive file.
After downloading the archive file, you will need to extract it to your desired location. Using the following command, we have extracted it to our Documents folder.
$ cd ~/Documents
$ tar xf ~/Downloads/flutter_linux_v1.17.5-stable.tar.xz
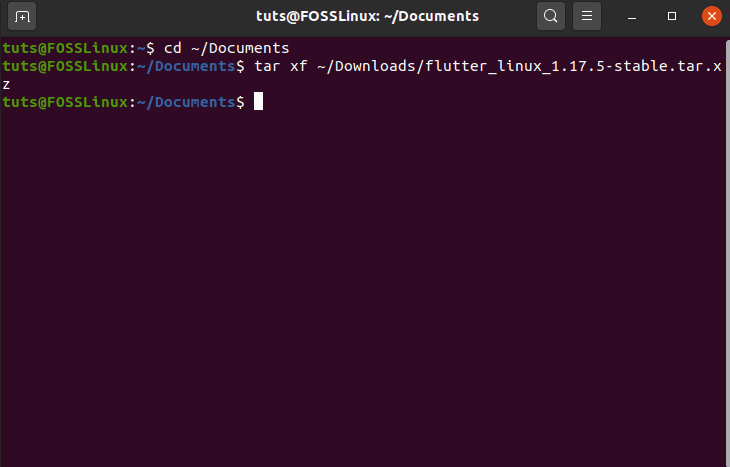
Extracting Flutter
Step 3: Update Path to add the Flutter SDK
To do this, you will need to open the rc file for your shell. Since our system and most other Linux distros use Bash shell by default, we will be editing $HOME/ .bashrc. To do this, open your terminal and enter the following command:
$ cd /home/{current-user}
gedit .bashrc
Note: replace {current-user} with the actual user name.
This is going to open up the following file for editing.
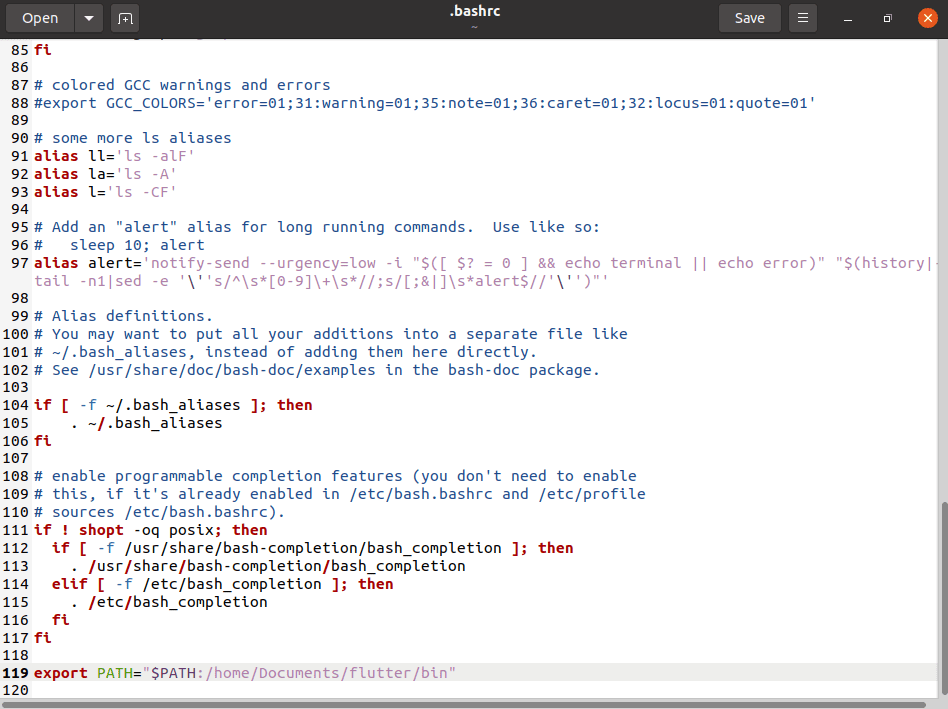
Update PATH for Flutter SDK
Caution: Be careful about making any accidental changes to the file as it contains all your system configurations.
Just scroll down to the bottom of the file and add the PATH as shown in the image:
export PATH="$PATH:{Path-To-Flutter-Git-Directory}/flutter/bin"
Note: Replace {Path-To-Flutter-Git-Directory} with the actual path. Since our Flutter SDK is located in /home/Documents, we have entered this line (119), as shown in the above image: export PATH=”$PATH:/home/Documents/flutter/bin.”
After entering the PATH, Save and Close the file. After that, Close the terminal.
Step 4: Check If Everything is Working Properly
Next, you will need to open a new terminal and check to see if the updated path to the Flutter SDK is showing. To do this, enter the following command:
$ echo $PATH
Next, enter the following command to see if Flutter is working correctly:
flutter doctor
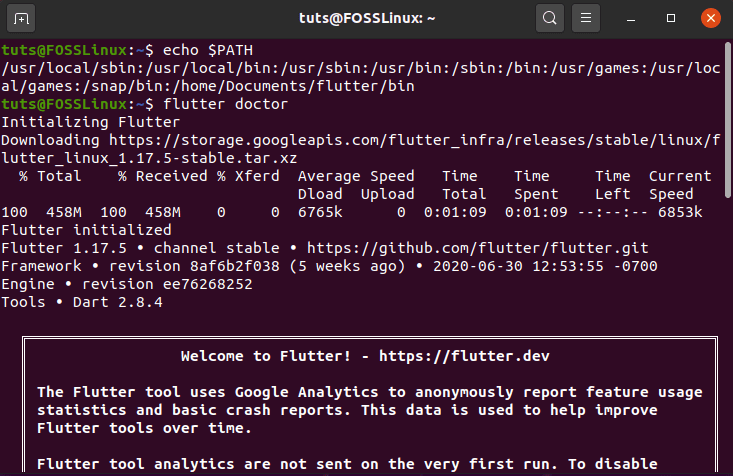
Running Flutter Doctor Command
As you can see, the PATH has been successfully updated and is showing in the echo command. The Flutter Doctor command is also running properly. However, there are still some issues that need to be resolved:
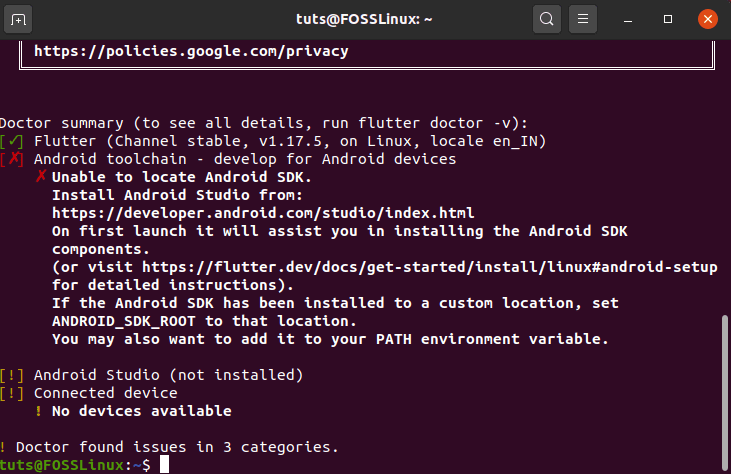
Flutter Doctor Issues Found
To run and develop Android applications, we need to have Android Studio installed on our system, which is what the messaging is referring to. That being said, it’s time to install Android Studio on your Linux PC.
Download and Install Android Studio
Similar to before, you first need to check whether your system supports the minimum requirements for Android Studio.
- Operating System: Linux (64-bit), capable of running 32-bit apps
- Memory: Minimum 3 GB of RAM and an extra 1 GB for Android Emulator
- Disk Space: 4 GB (including 500 MB for the IDE and 1.5 GB for Android SDK and emulator system image)
- Display: 1280 x 800 screen resolution
Once you make sure your system checks out for the minimum requirements, it is time to download and install Android Studio on your system.
Step 1: Download Android Studio
You will need to head over to the Android Studio download page and download it by hitting the big green button, as shown in the image.
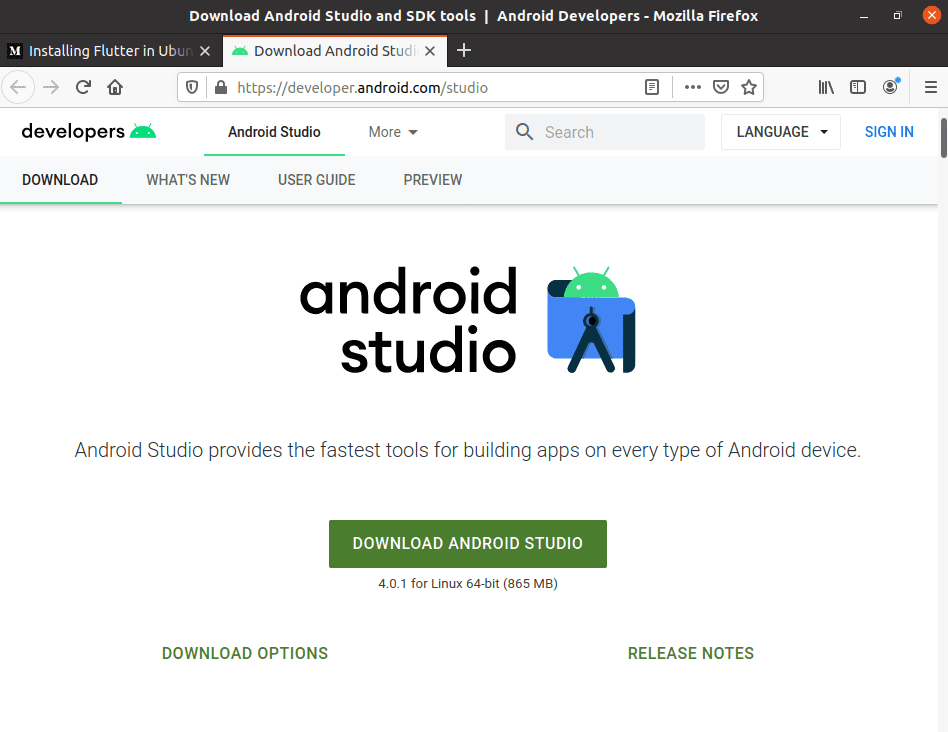
Download Android Studio
Step 2: Extract it
After the download finishes, extract it to your directed location. For the sake of this tutorial, we have extracted it straight onto the home directory.
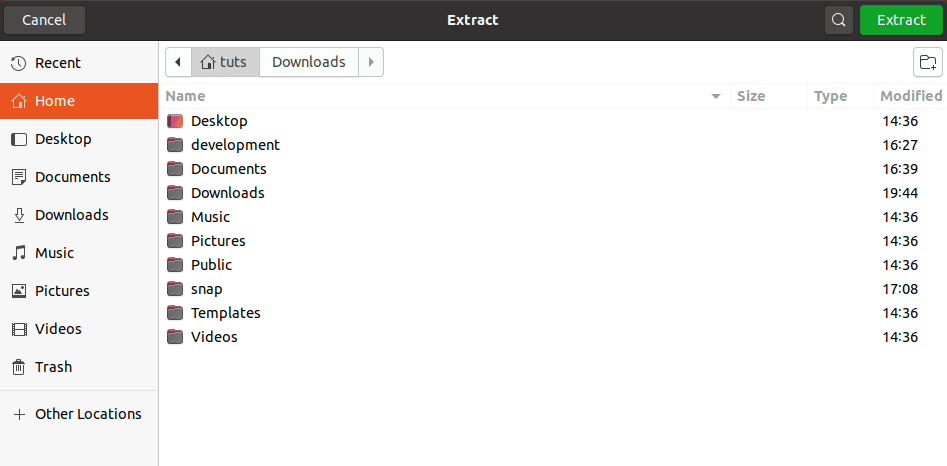
Extract the Android Studio Package
Step 3: Execute studio.sh
Next, open your terminal, go to the android-studio/bin/ directory, and execute the studio.sh file. To do this, enter the following command:
$ cd android-studio/bin
$ ./studio.sh
Note: The command cd android-studio/bin only works because we have extracted it on the home directory. If you have extracted it elsewhere, adjust your directory path accordingly.
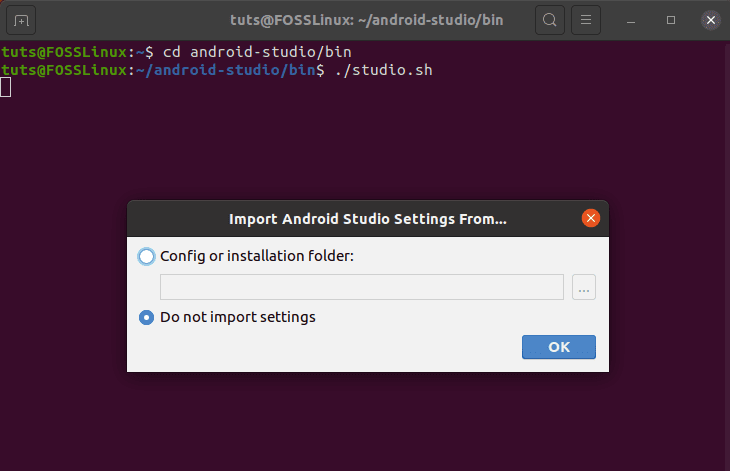
Launching Android Studio
As you can see from the image, after executing the command, a pop-up prompt will appear, asking whether you want to import any previous Android Studio settings or not. After selecting your preferred option, click on OK, and the installation process will commence.
Note: The Android Studio installation process will force you to download the latest Android SDK, so you have to download that.
Step 4: Android Studio Setup Wizard
Android Studio comes with a dedicated setup wizard to help you install the application properly.
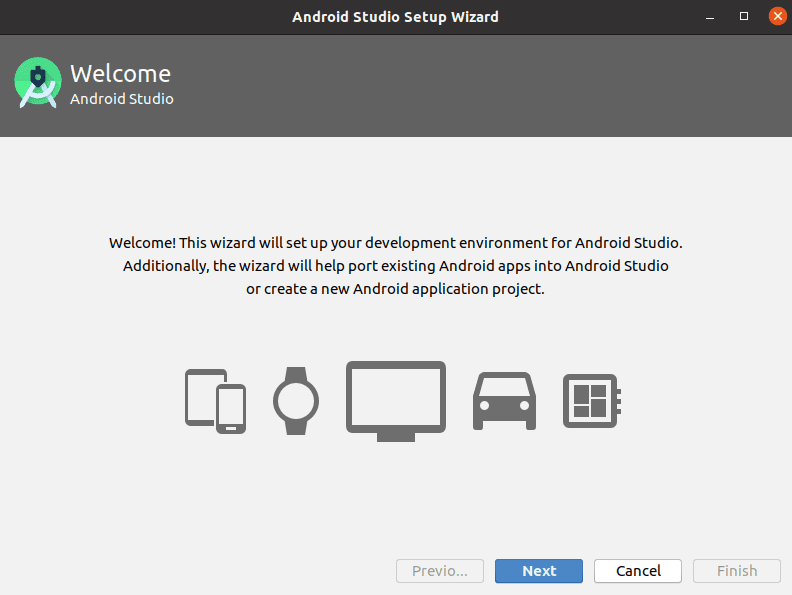
Android Studio Setup Wizard
Just follow the given steps, and Android Studio will begin to install on your system.
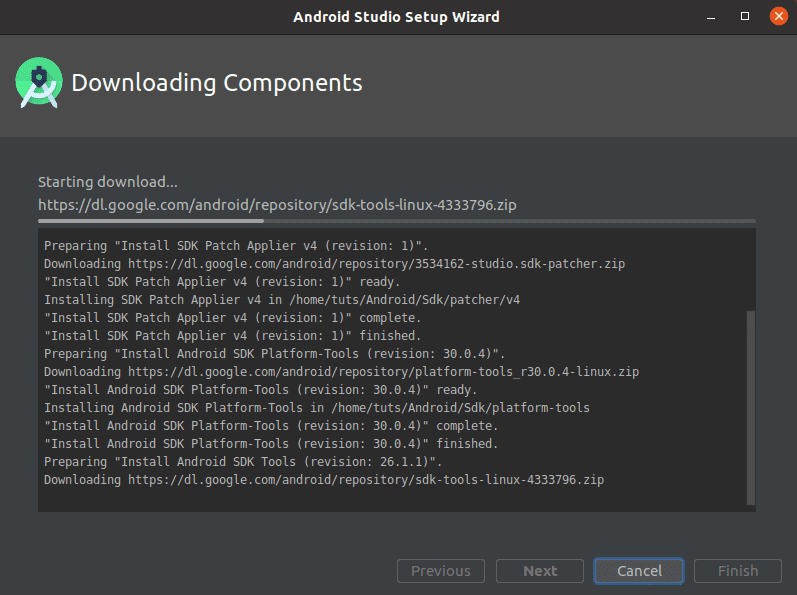
Android Studio Installation Process
Step 5: Launch Android Studio
Once the installation process is completed, Android Studio will automatically launch.
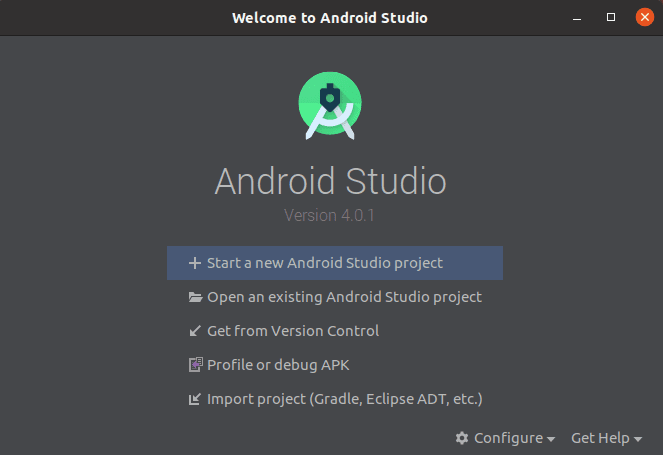
Android Studio Successfully installed
Click on ‘Start a new Android Studio Project’ to create a sample Android project and see if everything is working correctly.
Step 6: Create a Desktop Entry
If you want to set up a desktop entry for Android Studio, all you need to do is click on Tools > Create Desktop Entry, as shown in the image below.
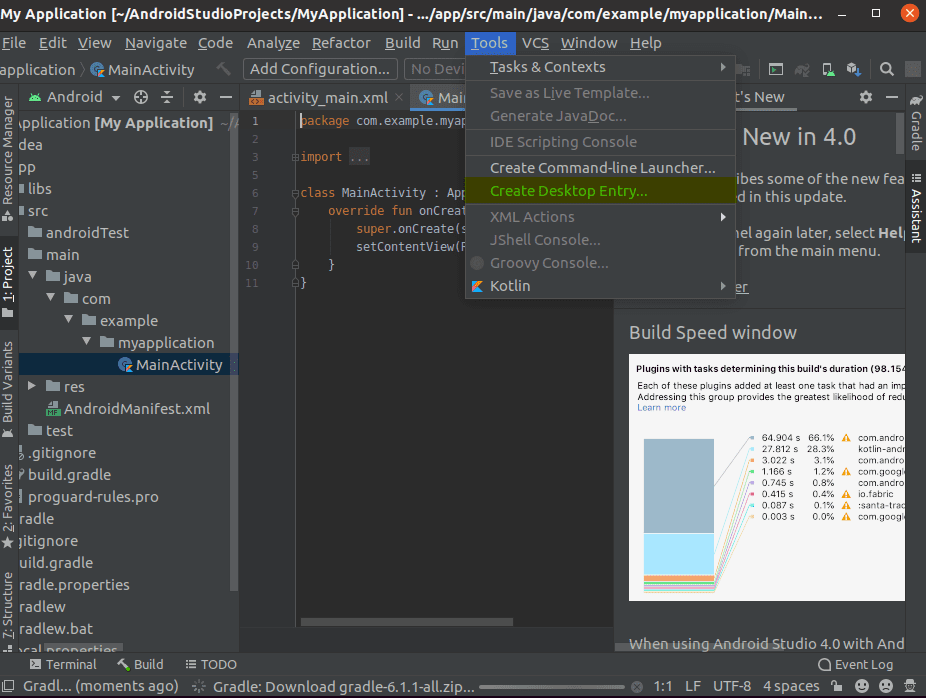
Creating Desktop Entry for Android Studio
You should be able to open Android Studio directly from the launcher as well as pin it to your Favorites.
Step 7: Install the Flutter Plugin
All that’s remaining is to install the Flutter plugin in Android Studio. To do this, navigate to File > Settings > Plugin. Next, search for Flutter in the provided search field.
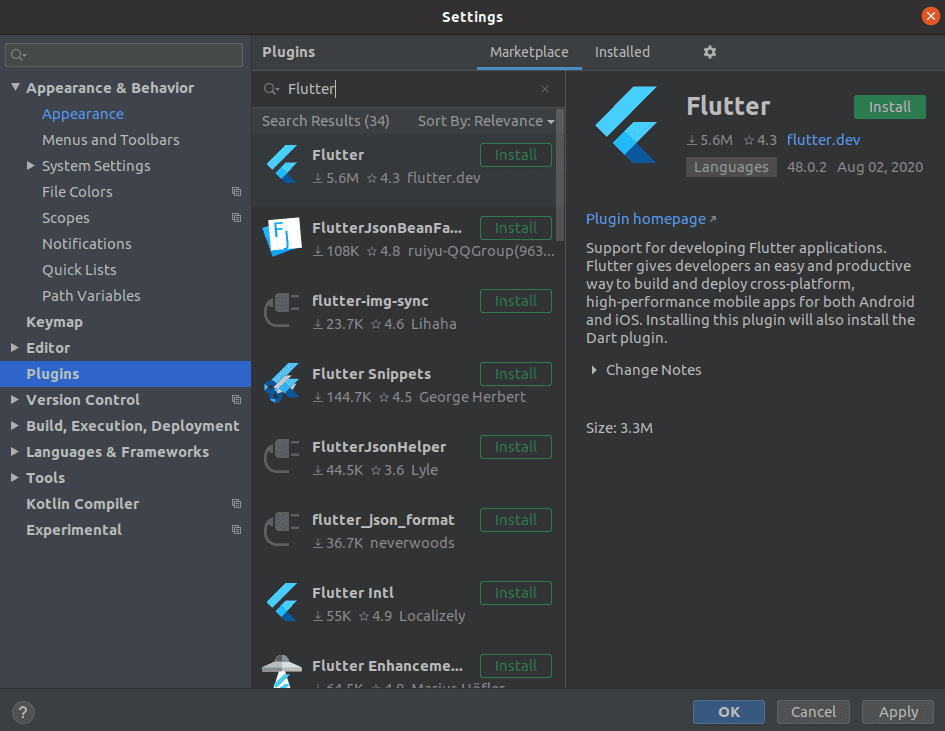
Installing Flutter Plugin
Install it, and you are ready to start developing apps with Flutter using Android Studio on Linux.
Wrapping Up
So this was our comprehensive guide on how to install Flutter on Linux. As you can see, installing Flutter is a pretty simple and straightforward process, albeit a long one. The best less-error-prone approach would be to install it via the Snap Store instead of taking the manual route, as it involves editing .bashrc, which can cause problems if you are not careful.
That being said, if you do come across any errors or issues during the installation process, don’t hesitate to let us know down in the comments below. Our community of readers and we will try our best to solve your issue asap.
3 comments
Hello there,
Thanks for providing quality content, I just want to know that from where shall I download flutter from – “Snapstore” or “Manually”??
Which option is better and best!!
try method 2. becuase you must not install snapstore. BTW snapstore can download from repository. search to install snapstore on ubuntu you will find it.
Simply download flutter file from official website and follow the steps written in this blog.
Thank you for sharing this information. I was stuck on the ínstallation from Snapstore.