
As the name suggests, a virtual machine is generally software that allows multiple copies of the same Operating system or several other different operating systems to run in the same host machine, enabling better resource management.
Creating a virtual machine is one of the most suitable solutions if you want to do a test drive of a new OS without installing it on bare metal alongside your primary Operating system.
Quick tips on installing VMware workstation Player
This article will take you through installing the VMware workstation player in your Ubuntu system.
The VMware workstation player, popularly known as VMware Player, falls under the most usable and loveable virtualization software. It is available in two variants: The VMware Workstation Player and VMware Workstation Pro.
The software efficiently helps virtualize and utilize your hardware, be it the server, laptop, or personal desktop, to the fullest. It gives you the flexibility to use several OSs directly from your host OS without tampering with your host operating system. Additionally, it allows you to delete or reinstall any OS as much as you want without distorting the working of the host OS.
Use cases of VMware Player
- Allows secure and isolated installation of the second instance of Virtual machine on your PC
- Allows you to explore new OSs and applications.
- Important for educators, students, Technology enthusiasts, and faculty.
Talking about monetary instances, the VMware workstation player is free for personal use. However, this version has a limited number of features. Still, if you want to use it commercially and improve the interactivity of the features on the application, VMware workstation pro can be the best shot for you.
Note: For macOS users, you can make use of the VMware Fusion to explore more.
Below are some of the requirements needed for one to successfully run a VMware workstation on their PCs.
Hardware Requirements
- A Hard disk space of 100GB or more based on your preference on the Virtual OS requirements.
- A Random Access Memory(RAM) of at least 4GB
- A processor at least 2GHz or more
Features of VMware
- Allows running of multiple virtual machines, containers, or Kubernetes clusters on a single PC.
- It has boosted 3D graphics supports for DirectX 11 and up to 8GB of vGPU memory.
- It has leveraged VM snapshots, clones, and virtual networking for maximum efficiency.
- The software can be run on the latest releases of Windows 10 and significant Linux distros.
VMware workstation player download
You can download the VMware workstation player for Linux. It is free for personal use but not open-source.
On the other hand, the workstation player pro is paid for because it is an extended version of the Workstation player as it provides a better User Interface (UI). Additionally, the pro version is accompanied by advanced features like the UEFI Secure Boot and snapshots, which the workstation player lacks.
How to install VMware workstation player in Ubuntu using the command line method
The first step here is to install the build dependencies. To do this, open your terminal and run the following commands:
As usual, we will update our system using the following command:
sudo apt update
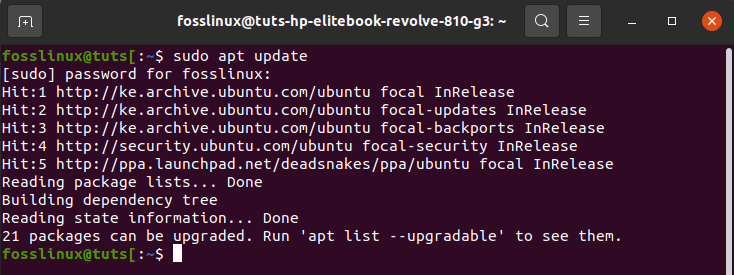
update the system
in case your system has packages that need to be upgraded, run the following command:
sudo apt upgrade
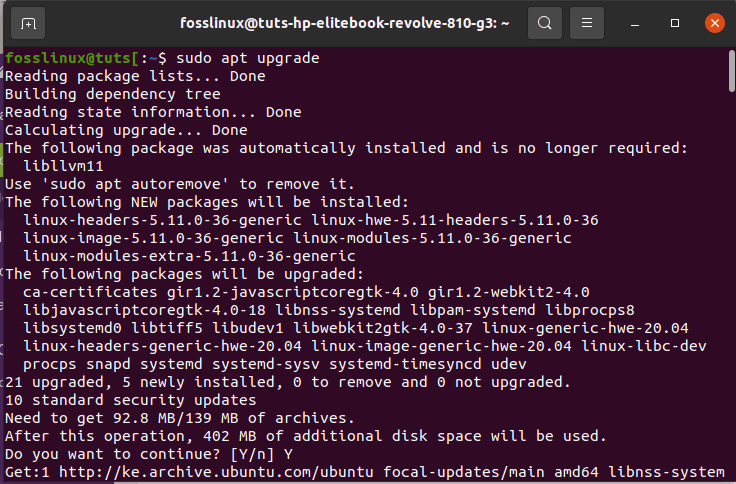
upgrade the system
At some point, you will be asked if you want to continue; select “yes” to proceed.
After that, run the dependencies installation command:
sudo apt install build-essential linux-headers-generic
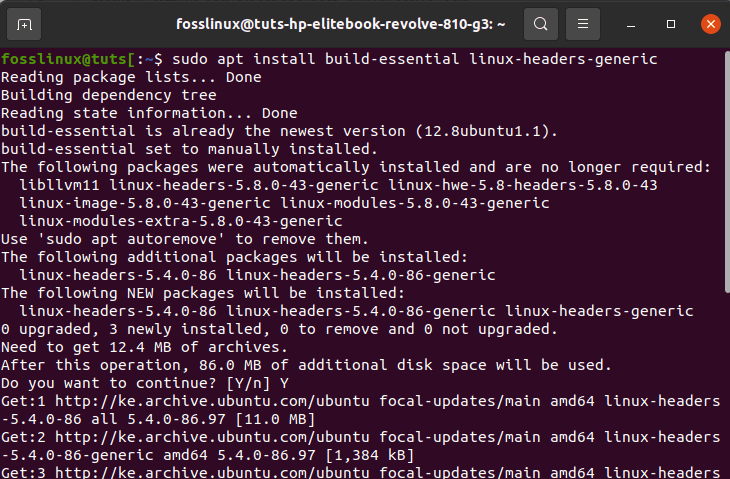
install dependencies
Since we are using the command line method, we will not go to the VMware official page to download the VMware file; we will instead use the wget, a command utility for downloading files from the internet to download the installation bundle:
wget --user-agent="Mozilla/5.0 (X11; Linux x86_64; rv:60.0) Gecko/20100101 Firefox/60.0" https://www.vmware.com/go/getplayer-linux

wget command to download VMware
The above command will download the latest version of the VMware Player, which at the time of writing this article, is version 16.1.2
Once the download is completed, you will have to make the installation file executable using the following command:
chmod +x getplayer-linux

make file executable
The installation is pretty straightforward, so just run the installer and follow the on-screen instructions:
sudo ./getplayer-linux --required --eulas-agreed
On the above command, the –required option forces the installer to only display the essential questions.
Upon running the command, you will be patient for a while as the installation takes several minutes. During the installation, you will see such information about the progress.
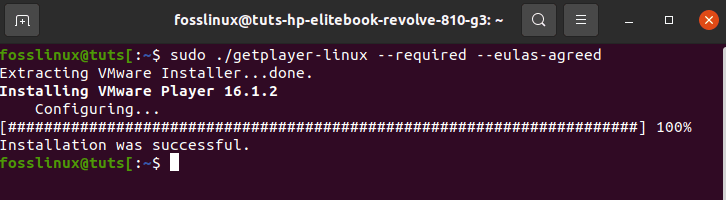
installer success
At this point of the installation, you have the VMware workstation player installed on your Ubuntu system.
Post-installation of the VMware Workstation In Ubuntu
Here, you will launch the Player first by going to the activities menu. After that, you will type “VMware workstation player” on the search bar and click on the application’s icon.
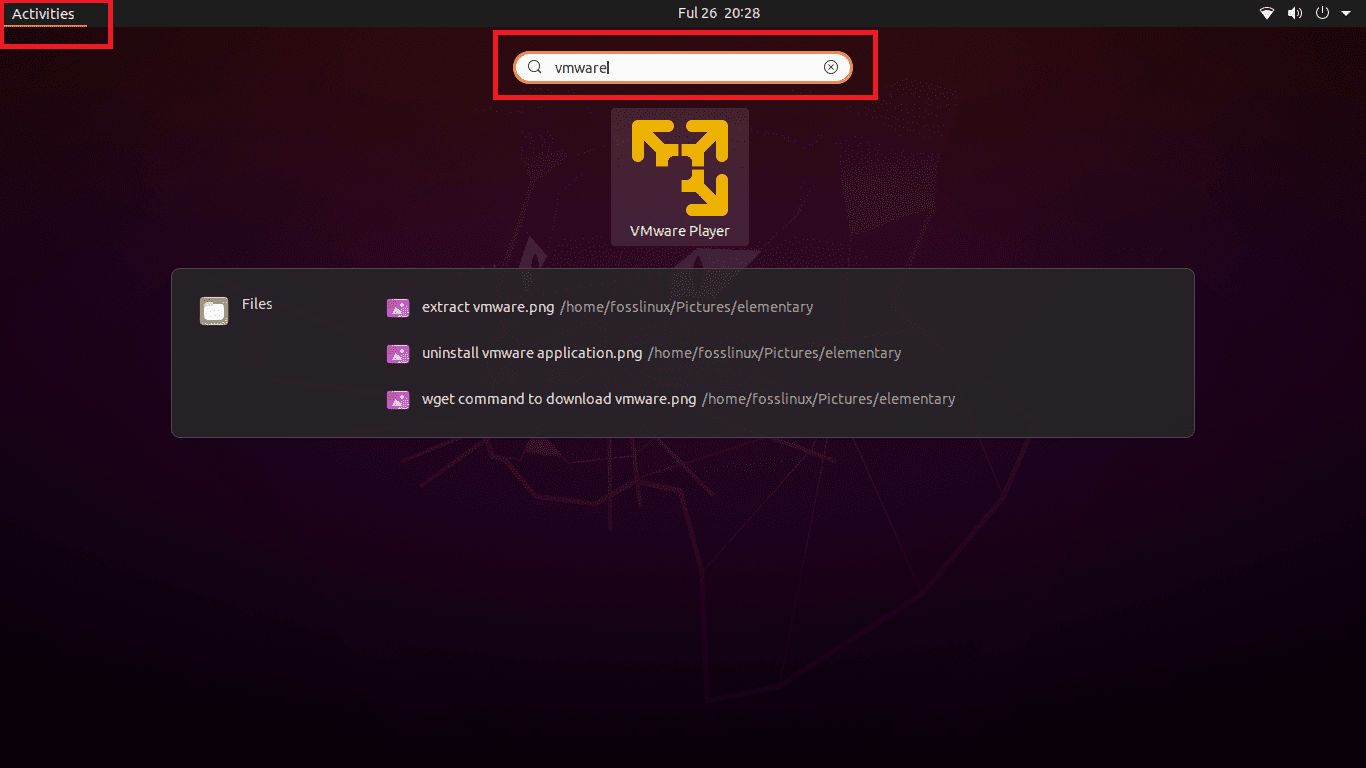
select-VMware
When you start the application for the first time, such a window will appear querying you on the installation mode you like (commercial for those with licensed software or personal non-commercial use for those who want to use it for free.)
After making your selection, click on the “OK” button, and the Player will start.
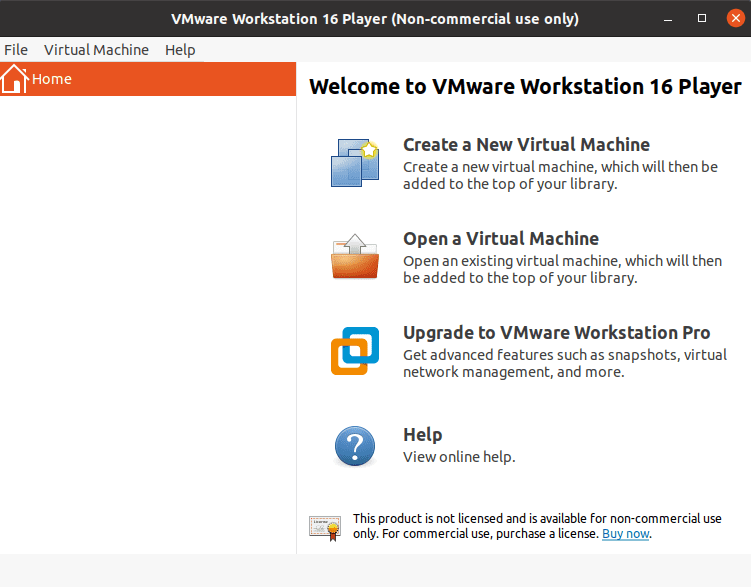
final window
That is all there is about installing the VMware workstation player using the command line method. With that being said, let us now turn our attention to the second method.
[if you are a fedora user, you should check out how to install VMware Workstation on Fedora]How to install VMware station in Ubuntu using GUI method
Use the following steps to install the VMware workstation using the Graphical User Interface (GUI) method.
Step 1: Download the installation file
First, you will visit the Vmware workstation’s official page and download the installer file. Once you visit the official download site, you will see two options; the windows and Linux download options. Select the Linux download option by clicking on the download now button, and the VMware bundle will begin downloading
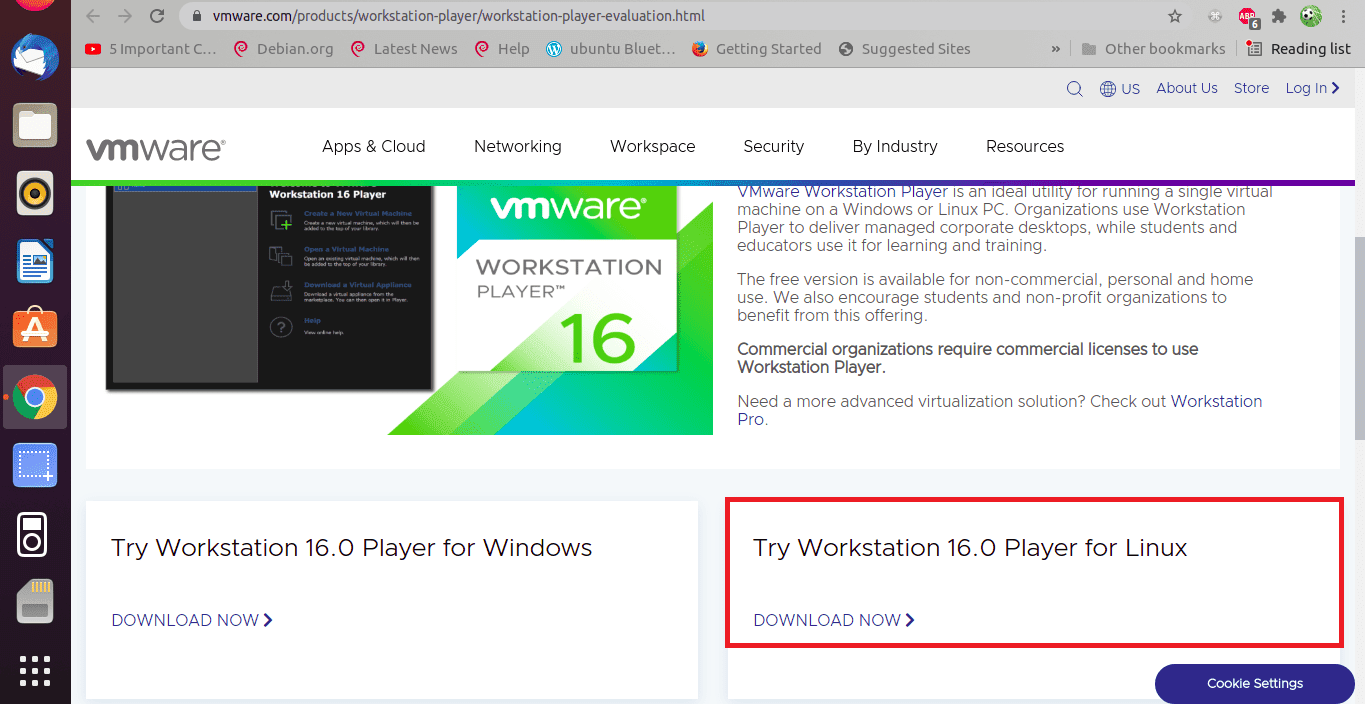
select-Linux-player
Installer bundle downloading:

VMware downloading
Step 2: Installing VMware Player
After the download process is over, you will have to set execute permission on the downloaded installer file just like we did in the command-line method, only that we will not use the command line in this section. So, go to the folder where the downloaded file is and right-click on it.
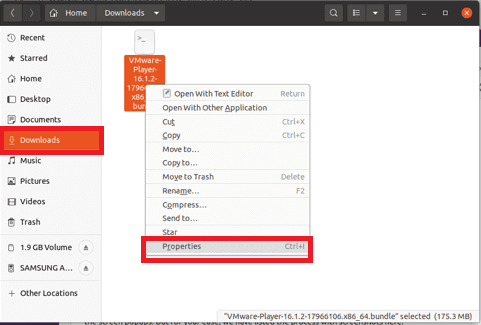
select-properties
Right-click on it, select properties located at the bottom of the drop-down menu. After that, a window will appear; here, look at the permission button after the basic button, and check the button next to “Allow executing file as a program.”
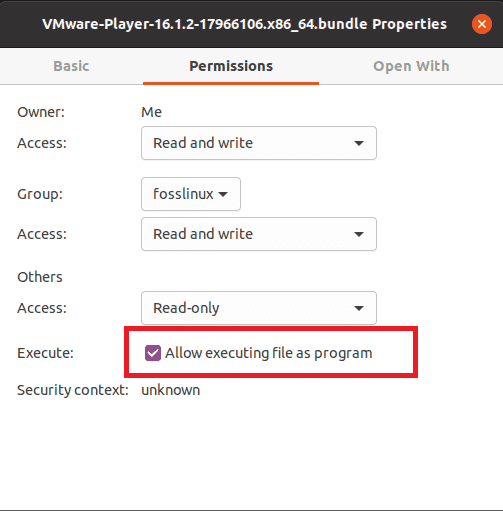
select-allow-executing-file
After that, double-click on it to run the VMware installer.
Step 3: Installing VMware Player
From this point, it is no rocket science. Just like any other application, you will click on next in most of the screen popups. But for your ease, we have listed the process with screenshots here:
Step 4: License Key
In the next window, you will be asked to enter the license key for the workstation. Do not panic since you don’t need one if you want to use the free VMware player for non-commercial purposes. However, you can purchase the license key if you’re going to use it for business purposes.
To select the free version, check the use of the VMware workstation 16 Player for free for non-commercial use and click on “continue.”
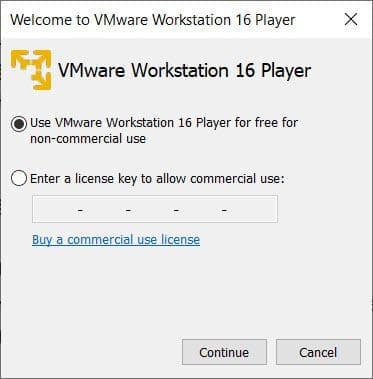
license
Step 5: License Agreement
Before using VMware to create virtual machines, you first need to go through a configuration setup. In this section, you will have to accept the license agreement by selecting the “I accept the terms in the license agreement” After that, click on “next.”
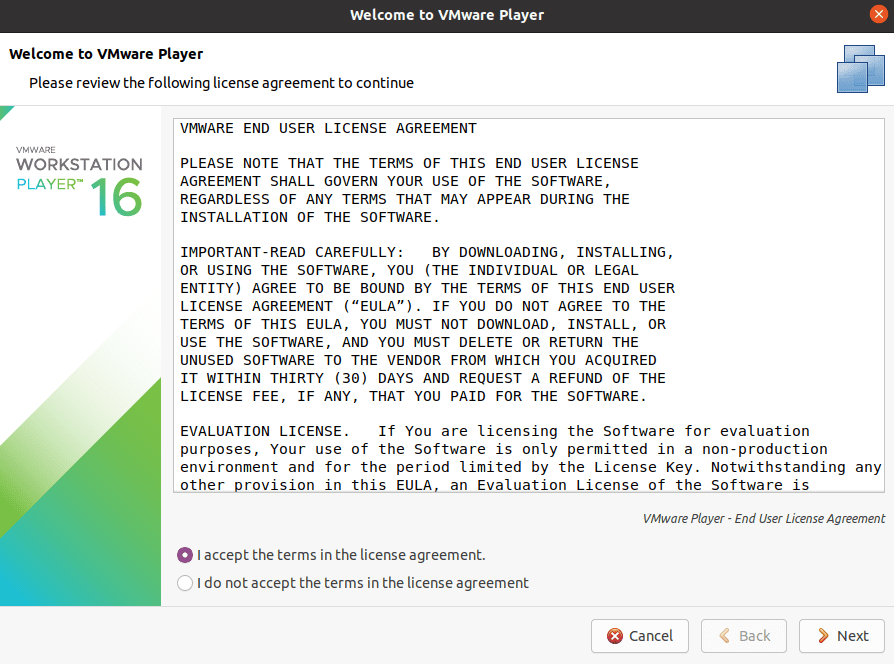
select accept
After hitting next, you might be queried if you would like to check for product updates on startup. In case you receive such a window, it is best practice if you select “yes.”
You can also be asked if you would like to help make the VMware software better by sending anonymous system data and usage statistics to VMware. This generally means that your system will be sending feedback to VMware developers. Here, it will be upon you to either accept or decline the offer.
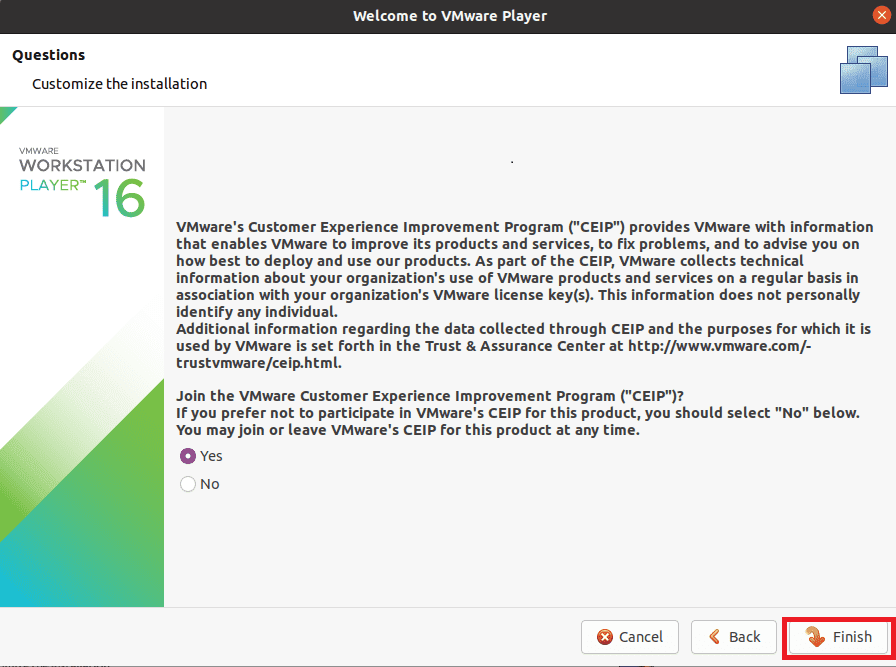
select yes
Step 6: Installing
After that, hit the finish button to complete the installation process.
And that is it on installing the VMware workstation using the graphical user interface method (GUI).
Uninstalling VMWare
If, for some reason, you want to uninstall the VMware player entirely from your Ubuntu system, then you can do so using the “VMware-installer” command.
Step 1: First, check the VMware products installed on your system and note down the name using the following command:
$ vmware-installer --list-products
Or

$ vmware-installer -l
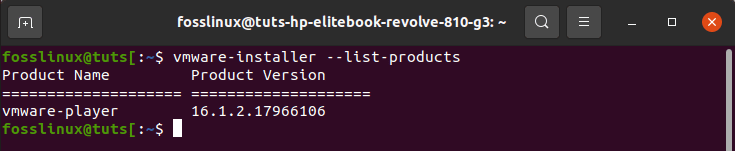
list products
Step 2: Using the following commands, uninstall the workstation completely
$ sudo vmware-installer --uninstall-product vmware-player

Or

$ sudo vmware-installer -u vmware-player
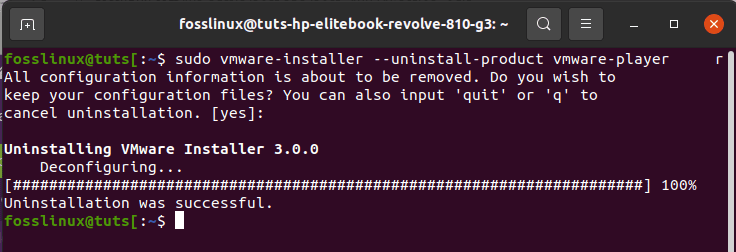
uninstall formula 1
Alternatively, you can use the following command to carry out the uninstallation
sudo /usr/bin/vmware-installer -u vmware-player
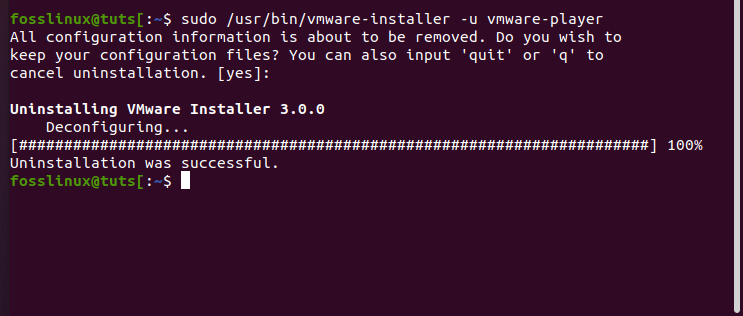
uninstall VMware application
Immediately you run the command; you will be asked if you want to keep the configuration files:
Press “Enter,” and the VMware player will be removed from your system.
Conclusion
The article has divergently shown you how to install a virtual machine, specifically the VMware workstation player, on your Ubuntu system using the command line method and, later, the Graphical User Interface method (GUI).
Additionally, we also looked at the uninstallation steps just in case you no longer need the software on your machine for some reason. To this point, you can now explore the application’s options and start creating your first virtual machine and explore more.
3 comments
Thanks for the good explanation, I’ve managed to install it but when i open it i get the message:
‘Before you can run VMware, several modules must be compiled and loaded into the running kernel.’
When i click install i get the following error:
‘Build environment error! A required application is missing and Modconfig can not continue. xzCheck the log for more details.’
You or anyone knows how to fix this?
Thanks,
Thijs
step1: file VMware-Horizon-Client-5.4.1-15988340.x64.bundle
step2: chmod +x VMware-Horizon-Client-5.4.1-15988340.x64.bundle
step3: sudo ./VMware-Horizon-Client-5.4.1-15988340.x64.bundle
if you get gtk error then run below command between step2 and step3
step2.1: sudo apt-get install python-gtk2
Love you, this was spot on. You are the best, thank you