Open-source media file converter MystiQ or MystiQ Video Converter enables you to convert video and audio files into various popular formats. For its backend, it employs FFmpeg and C++. MystiQ can run on Linux, Windows, and Mac OS X. Various techniques of encoding these audio and video data into efficient and portable formats have been developed due to advancements in audio and video capture technology.
In some circumstances, you may be obliged to save a file in a specific format to send it over the internet. As a result, you may have to convert the media file into a compressed format. In addition, the material must be converted into a format that will not be corrupted upon access to the file.
Using only a few clicks, you can change the format of your media files with MystiQ. It contains a simple, graphical user interface that makes it simple to operate. This tutorial will teach us how to set up and use MystiQ on Linux.
Let’s get started!
MystiQ features
MystiQ has a plethora of features, some of which are listed below:
- The interface is user-friendly and straightforward.
- Support for various platforms
- Multiple language support
- Free-to-use
- The Advanced Options menu gives the user extensive control.
- It converts almost every audio and video format available.
Installing MystiQ on Linux
There are two methods one can use to install MystiQ on Linux distros, as shown in this article guide:
Method 1: Using Terminal to install MystiQ
Using the Command Terminal is one method of installing MystiQ on Linux. To install from the apt repository, you can run the instructions one at a time.
Installation packages are available for a variety of Linux distributions.
This is how you install MystiQ on Linux using Terminal:
- To begin, press Ctrl + Alt + T to launch Command Terminal.
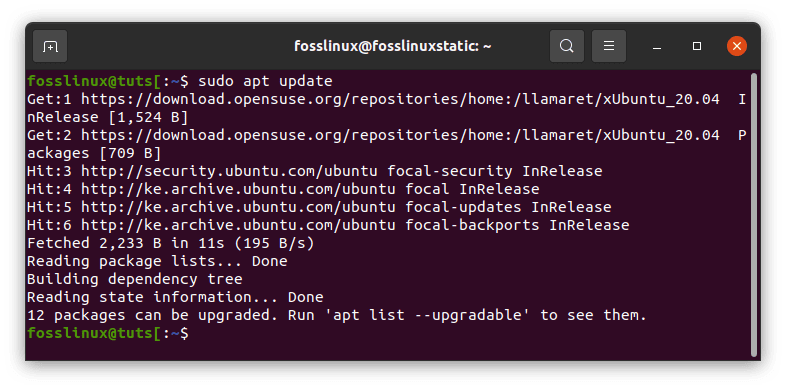
- A window should automatically open. Execute the following command to update and repair the system packages.
sudo apt update
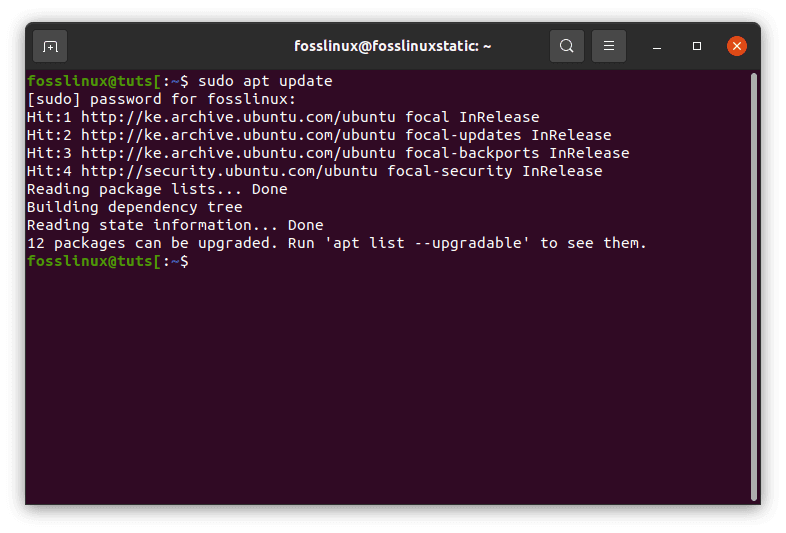
Update
- Now, enter the following lines to add and install the MystiQ package repository:
sudo sh -c "echo 'deb https://download.opensuse.org/repositories/home:/llamaret/xUbuntu_20.04/ /' > /etc/apt/sources.list.d/home:llamaret.list"
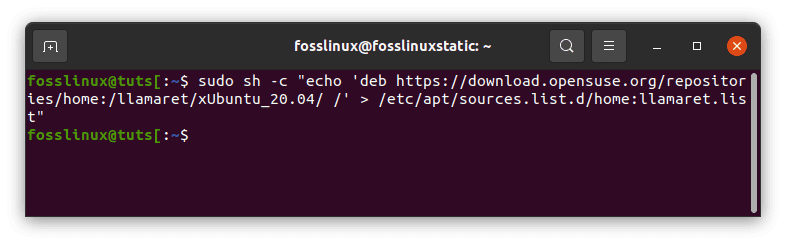
MystiQ package repo
- Then, execute the following code to install the repository key.
wget -nv https://download.opensuse.org/repositories/home:/llamaret/xUbuntu_20.04/Release.key -O Release.key
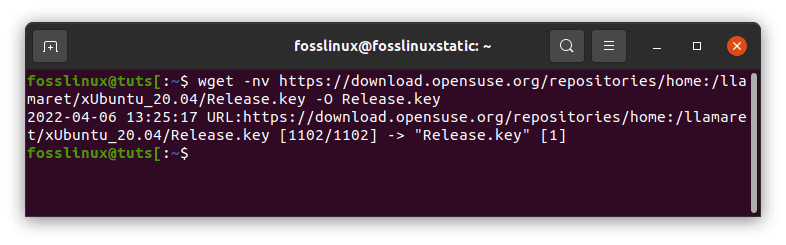
Install repo key
- Then, using the command below, add the release key to your Linux system.
sudo apt-key add - < Release.key
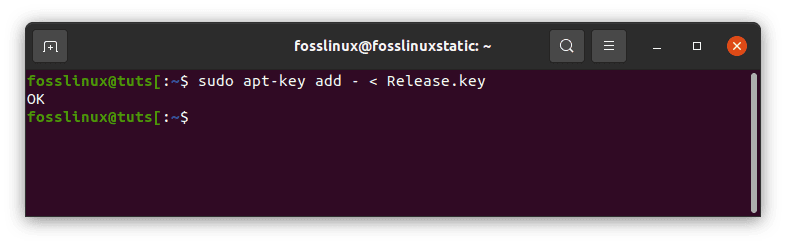
Release key
- After adding the packages, execute this command to accept the newly added MystiQ repo.
sudo apt update
Update resources
- After adding the repositories, use the following lines to install MystiQ.
sudo apt install mystiq
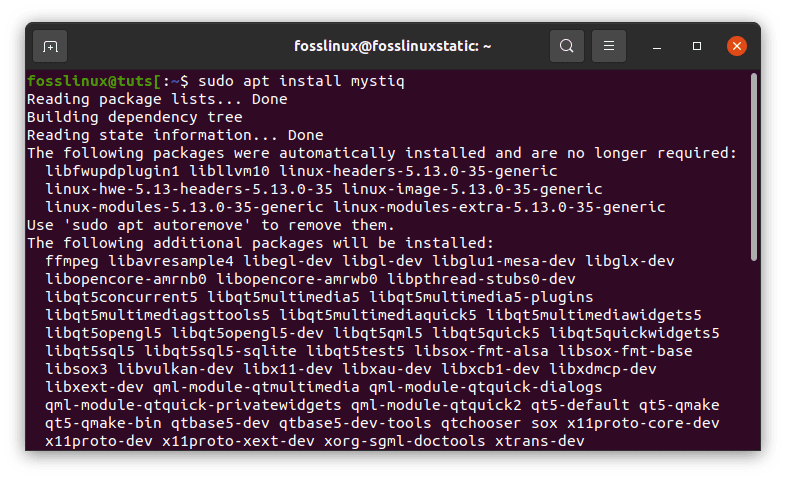
Install MystiQ
MystiQ will now be installed in your system after completing all of the above steps. When you try to search for a converter on the Linux computer’s search bar, MystiQ will be displayed on the results dropdown.
Method 2: Using AppImage to install MystiQ
In Linux, an AppImage is a file format for distributing software that doesn’t require the user to have root access to install. Since its debut in 2004, it’s been a fan favorite.
There are no alterations to the operating system when you use AppImages. Installing MystiQ via AppImage is as simple as following the steps below:
- Download the MystiQ AppImage from the GitHub repository.
- To save the MystiQ AppImage compressed file, choose a location.
- Press Ctrl+Alt+T to bring up the Command Terminal.
- Next, use the command below to locate your download location.
cd Downloads
Downloads
- After that, use this command to alter the file permissions of the downloaded file.
sudo chmod +x ~ MystiQ-20.03.23.zip
Alter file permissions
- Alternatively, right-click the file and select Properties from the context menu that appears. Go to the Permissions tab and tick the box next to Allow this software to operate.
- Finally, use the command below to start the converter.
sudo ./MystiQ-20.03.23.zip
MystiQ will be installed via AppImage when all of this is done.
Assuming you followed the instructions exactly, you should now have MystiQ up and running on your computer. This next section will teach you how to use MystiQ to convert various media files.
How to begin using MystiQ
After successfully installing MystiQ, the next step is to utilize it to convert media files to the video and audio formats of your choice.
MystiQ can be used for a variety of purposes. For example, you could wish to convert your multimedia content to a format that your apps support.
As previously noted, MystiQ’s primary feature is its ability to convert many audio and video formats. This portion of the tutorial assists you in getting started with MystiQ. In this example, we’ll change the format of a video file.
To begin, launch the MystiQ video converter. This may be accomplished by typing “MystiQ” into the search field and selecting the first result:
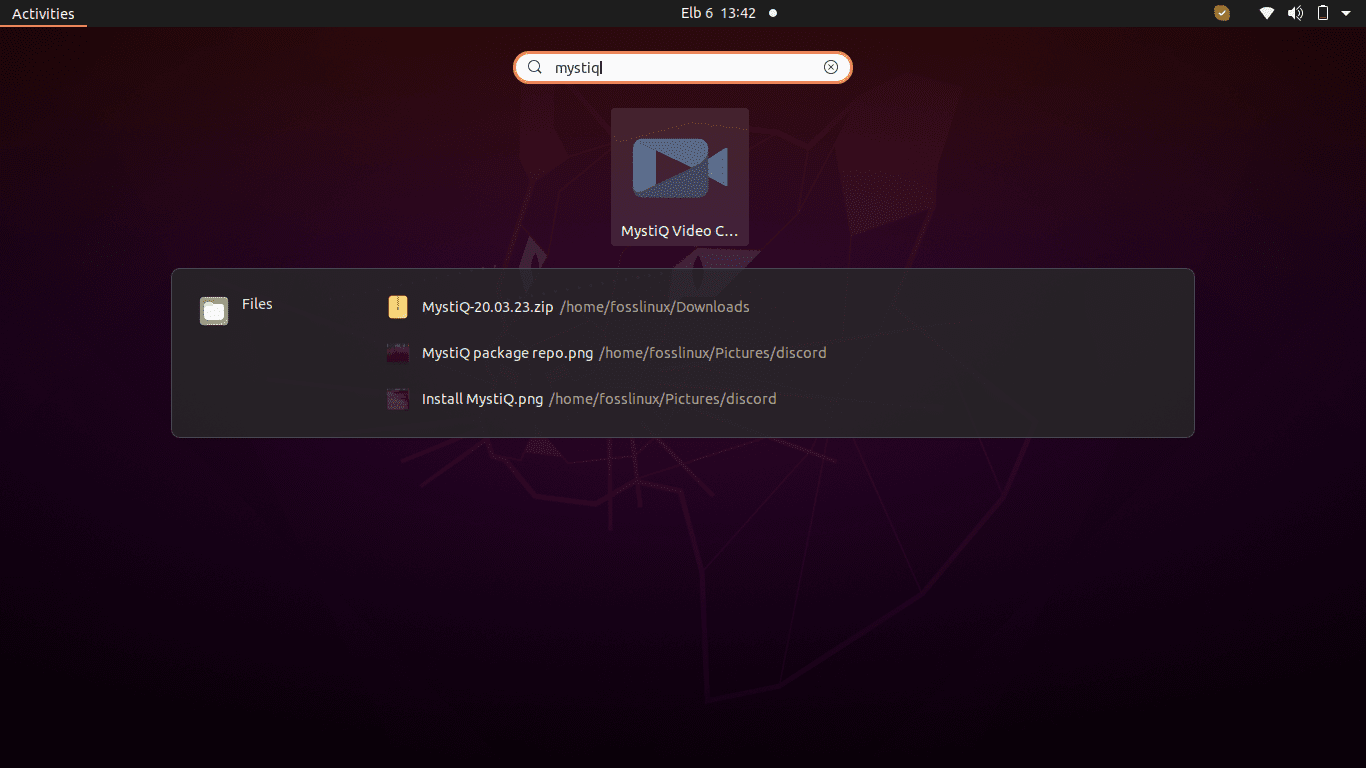
Mystiq
Once the converter is launched, a window similar to the one below should appear:
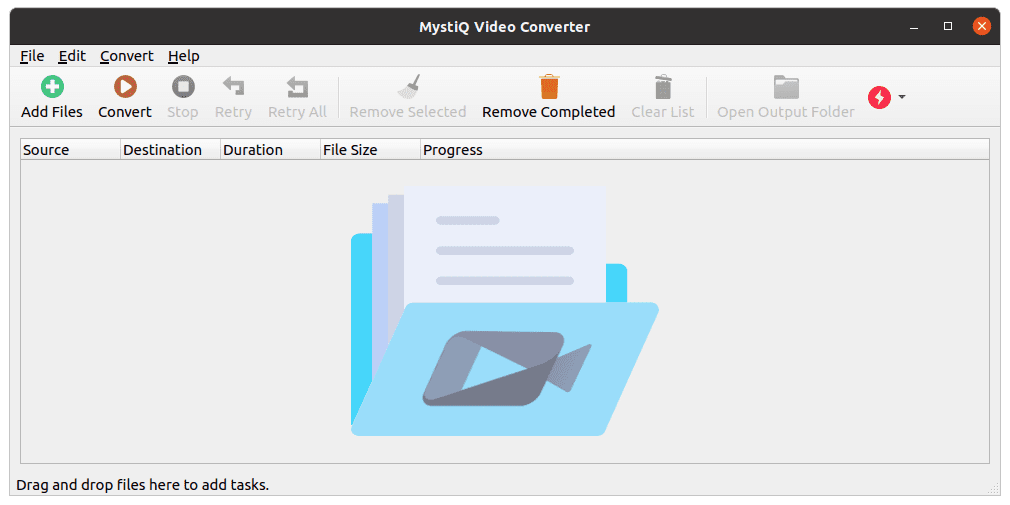
MystiQ video converter
Click “Add Files” in the application’s window. This will fire up a new window containing a file explorer. Navigate to the video that you wanted to convert using the file explorer:
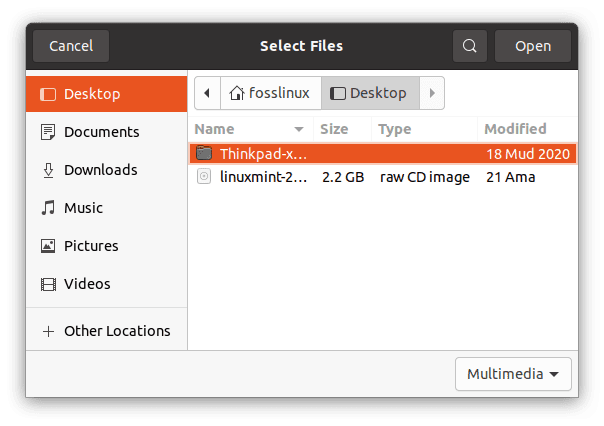
Select files
Once you’ve highlighted the files you want to convert, they should show in the “Add Tasks” window. Click “Next” to navigate to the next phase after evaluating these files:
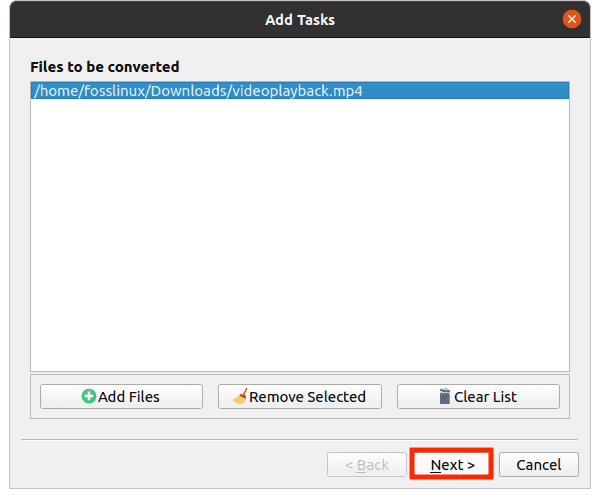
Click next
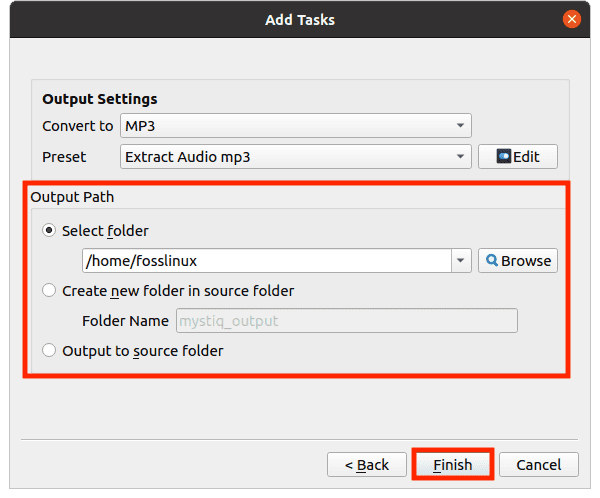
You should see the option to convert your file into the chosen format on the Output Settings page. Choose your file’s format and the path of the new file from the “Output Path” window. After you’ve made your choices, click “Finish.”
output settings
Finally, click “Convert” to start the conversion. If you have many files or if they are large, the process may take a bit longer to complete.
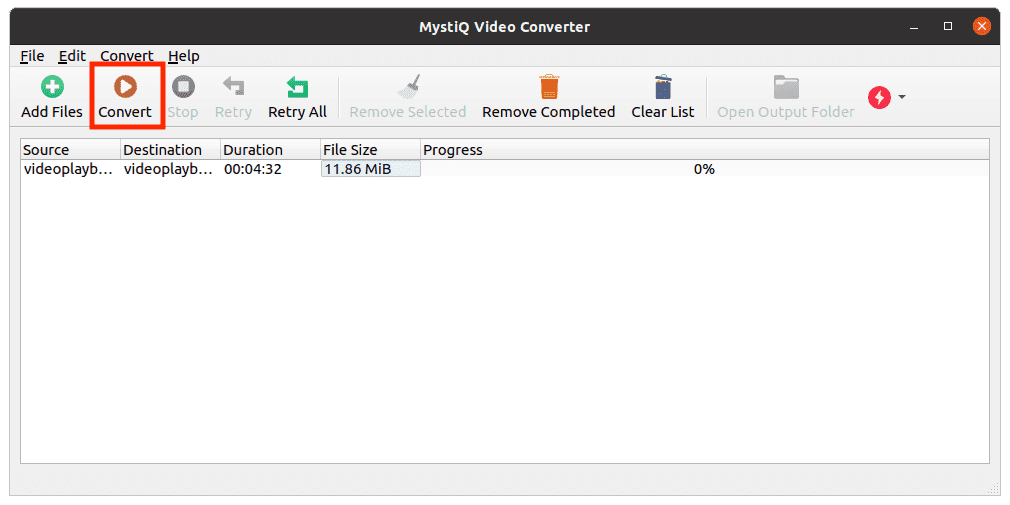
Convert
Your files will be converted to the format you specified and saved to your specified location when you’re finished.
Uninstalling and reinstalling MystiQ
During the installation of MystiQ, you may encounter an error. As a result, your system may contain a corrupted package. To resolve this, you must uninstall the incomplete application and reinstall it.
Here’s how to uninstall MystiQ using the Command Terminal:
To begin, open Command Terminal by pressing Ctrl + Alt + T.
The Terminal screen should be visible. Now, execute the subsequent line of code to uninstall the MystiQ media converter.
sudo apt remove mystiq
MystiQ has been successfully uninstalled using the Terminal. However, that’s not all, as you can also use the GUI to remove it.
Here’s how to use the Graphical User Interface to uninstall MystiQ:
Enter Software & Updates into the search bar.
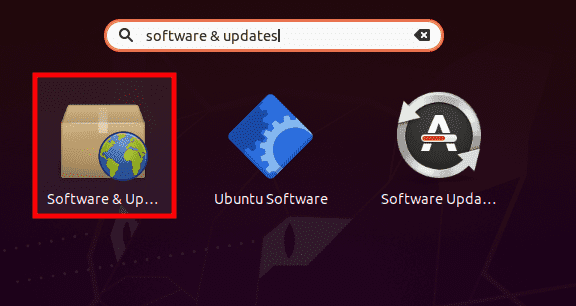
software updates
A window should open. Go to the Other Software section.
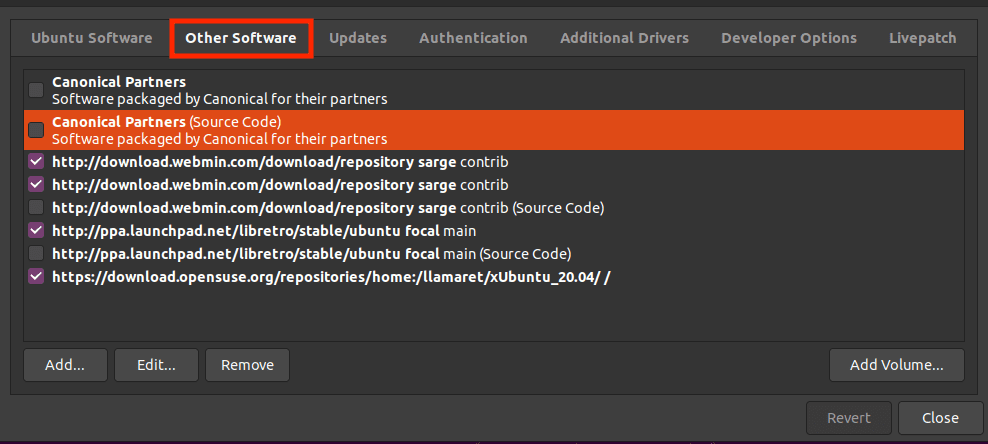
Other Software
Now, select the program to be uninstalled and press the Remove button.
The converter will be removed from the system due to this action. You can then set up MystiQ again by following the steps outlined above.
Conclusion
We hope this guide helped teach you how to use MystiQ on Linux. We went over the installation process and a demo of using it. We also discussed how to remove it if necessary. With this, we hope you have a great time using the MystiQ video converter. Thanks for reading.