
Microsoft has consistently demonstrated its affection for Linux, as evidenced by WSL. With the current Windows 10 update, regular users will access the WSL 2, an enhanced version of the WSL 1. WSL stands for “Windows Subsystem for Linux,” This sophisticated functionality is built into Windows 10 and Windows Server 2019. WSL supports the execution of Linux binary files.
Without the need for virtual machine software such as VMware or Virtual Box, the Windows Subsystem for Linux, or WSL, enables you to comprehend and code Linux operating system instructions directly on Windows platforms. It’s straightforward to use several Linux operating system capabilities on Windows laptops and desktop computers with the aid of WSL.
Ubuntu 20.04.4 LTS, the newest version of this Linux distribution, became accessible for download and installation on Windows 10 for WSL. Still, unfortunately, the popular CentOS server Linux distribution is not included. Perhaps this is because CentOS is less popular among users of conventional Desktop Linux. However, this article is tailored for you if you want to use CentOS using WSL. Stay put to the end to learn how to install CentOS using WSL.
Before looking at the installation process, let us examine the benefits WSL offers its users.
Benefits of WSL
There are various advantages to adopting WSL, which include the following:
- It consumes fewer resources than virtual machines.
- WSL enables you to install and set up Nginx web servers, Apache, various Linux distributions, and applications, including Ubuntu, Kali Linux, Debian, and OpenSUSE.
- It enables users to examine the file system.
- WSL enables the testing of Linux applications without installing a virtual machine.
- WSL enables you to run Linux in the bash shell using your chosen distribution.
Installing CentOS using WSL (Windows Subsystem for Linux)
This section will focus on the installation process. Here we shall look at everything you need to know to complete the installation process of CentOS with the aid of WSL. Make sure you stick to the article to the end to learn more.
Prerequisites
- Internet connection
- Windows 10 PC
- WSL installed on Windows 10
Once you have all the prerequisites, follow the steps provided herein to complete the installation process.
This article assumes you already have WSL installed on your Windows 10 PC. However, if that is not the case, don’t freak out since we shall provide a concise guide on installing it on your Windows 10 PC.
Note: Before trying the installation process, you must ensure you are running Windows 10 version 2004 and higher or Windows 11, or else the installation process will fail.
Once you have ascertained you have the suitable Windows version, launch the Windows Command Prompt or PowerShell as administrator and execute the following line of code:
wsl --install
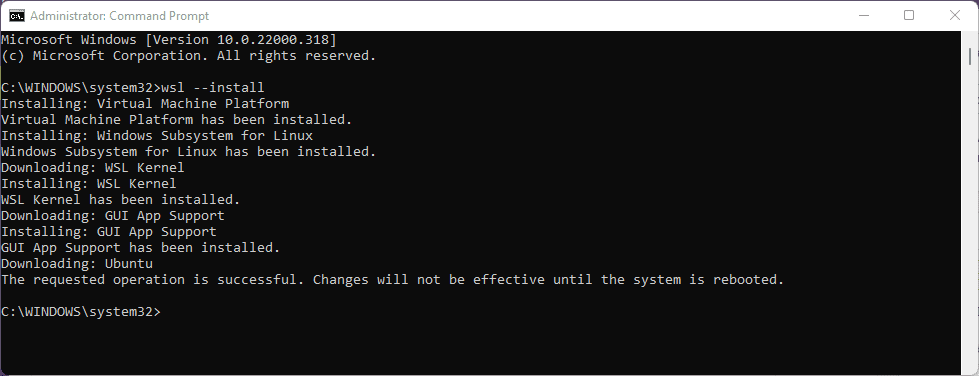
Install WSL
The code above will activate the necessary optional components, download the newest Linux kernel, set WSL 2 as the preferred option, and install a Linux system for you. By default, it installs Ubuntu but doesn’t worry since we shall show how to install CentOS later in this article guide.
When you boot a newly installed Linux system for the first time, a console window will pop up, prompting you to wait for files to decompress and be placed on your system. All subsequent launches should be much faster; hence no need to worry.
After installation, you can now proceed to the other steps as shown herein:
Step 1: Enable WSL
If your system already has the Windows subsystem for Linux activated, you may go to the next step. However, individuals who still need to enable it can do so by starting Powershell as Administrator and pasting the following code into it. Restart your machine after the process is complete.
Enable-WindowsOptionalFeature -Online -FeatureName Microsoft-Windows-Subsystem-Linux
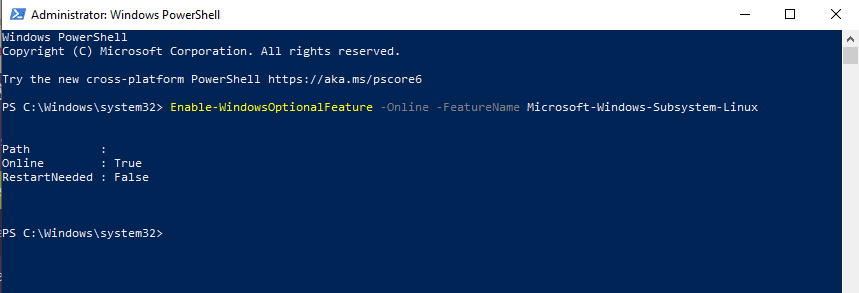
Enable WSL
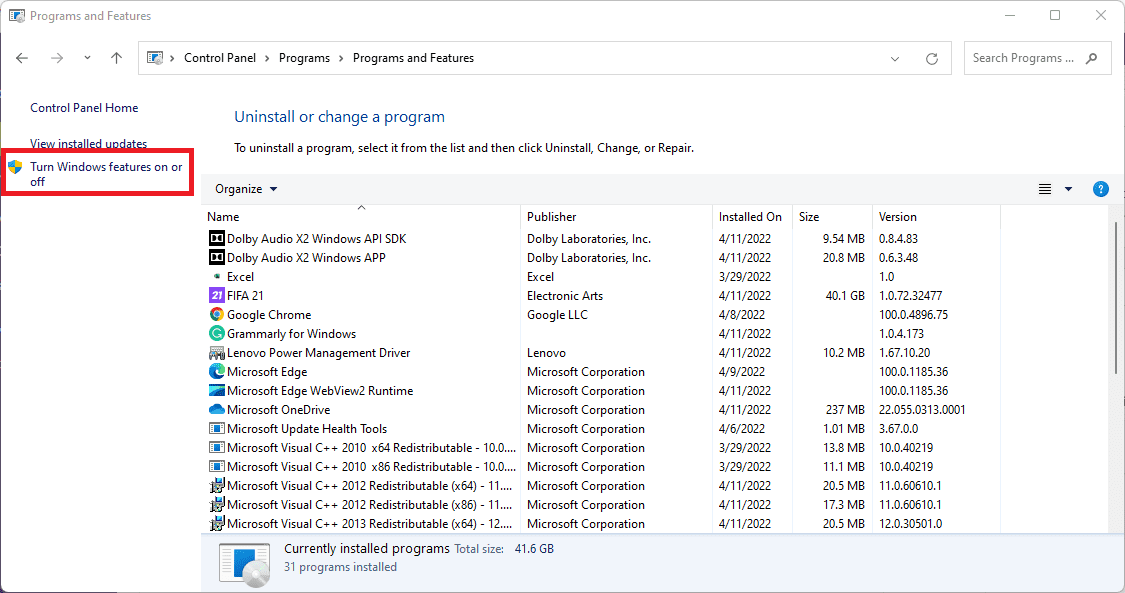
Alternatively, you can enable it via the “Control Panel” as illustrated below:
- Open your system’s “Control Panel.”
- Select “Programs” from the Control Panel.

Programs
- Click the “Turn Windows features on or off” option.
Windows features
- Now, look for the “Windows Subsystem for Linux” function, tick it, and click “OK.” This operation will enable your Windows system’s WSL feature.
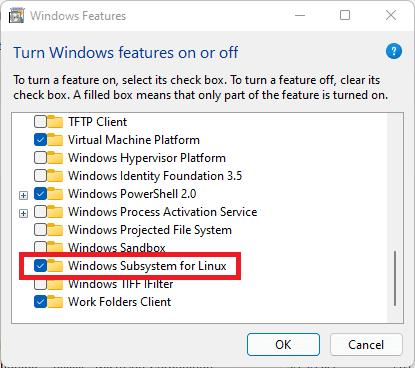
Tick WSL
- Wait a few minutes while the WSL is installed on your system:
- Now choose the “Restart now” button to apply the changes made and enable WSL on your Windows 10 PC.
Step 2: Download CentOS WSL files
Use the following link to obtain the CentOS WSL files
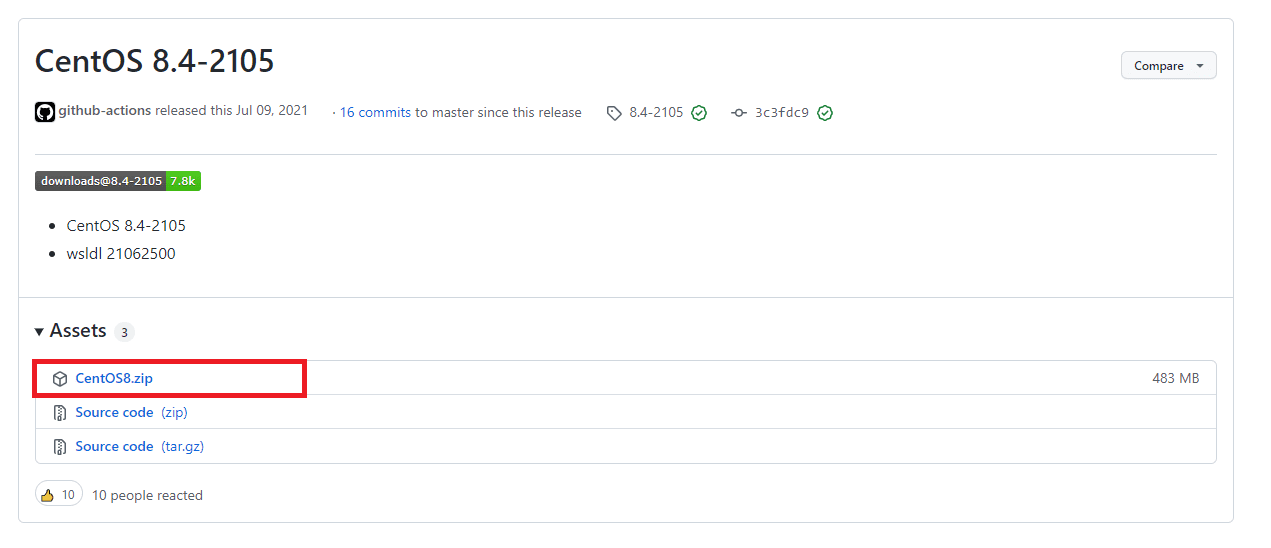
CentOS8
Step 3: Extract CentOS WSL files
Extract the “CentOS8” zip file on your PC by right-clicking on it and choosing the “Extract All” option
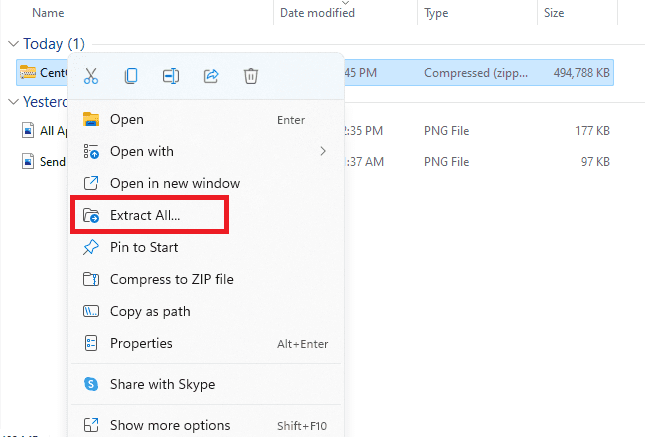
Extract All
Step 4: Install CentOS WSL
Start the CentOS8.exe file by opening the extracted folder. If Windows expresses doubt, pick the option “Run Anyway.”
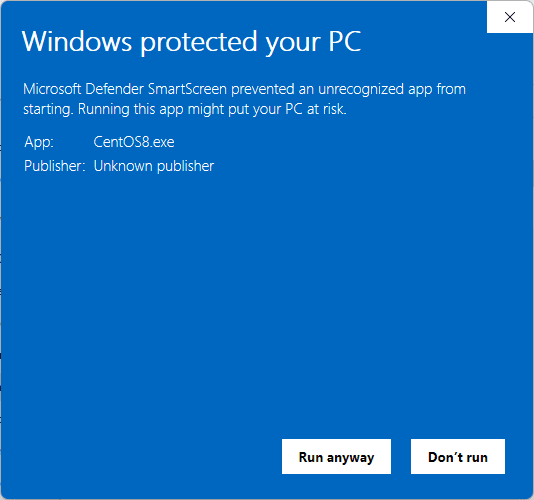
Run anyway
Note: Ensure you run the .exe file as an administrator.
Running the .exe file above will extract and register all essential files on your WSL.
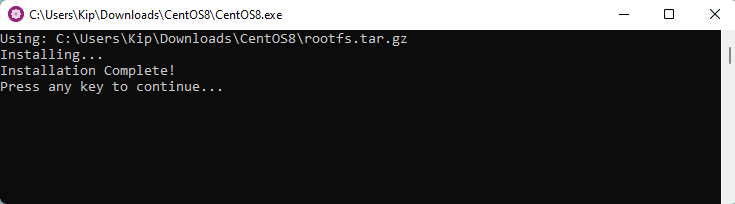
Run CentOS app
Step 5: Run the CentOS8 Linux application
Once the installation is finalized, return to the CentOS8 extracted directory. You will find the files listed below, right-click on CentOS8 and re-run it as an administrator. This time around, you will see a terminal. Alternatively, you can run the application by searching for CENTOS on your Windows PC.
Terminal
This CentOS WSL enables you to run any command you would run on a CentOS computer. For example, to update the systems repo, we will run the following command:
yum update -y
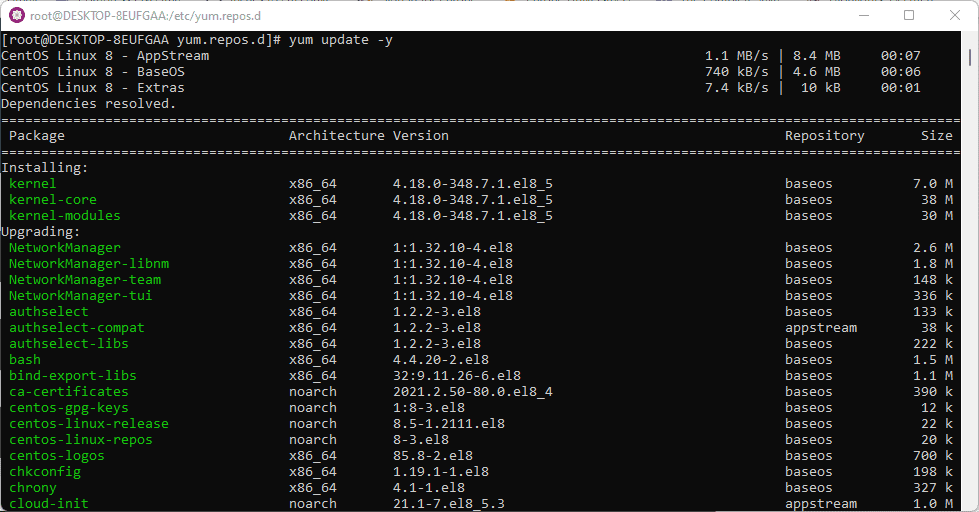
update resources
Uninstalling CentOS8 from WSL
If you wish to uninstall this Linux application, do not delete the CentOS 8 unzipped folder; otherwise, reinstalling the application will be impossible; instead, correctly deregister the application and delete the files. You can do so by sticking to the simple steps provided below:
Press and hold the shift key while right-clicking on the file’s folder and choose the “Open a PowerShell window here.”
Once the PowerShell command windows have launched, execute the following command:
./CentOS8.exe clean
That’s all. CENTOS will be uninstalled properly from your WSL.
Conclusion
This short article tutorial has covered all the aspects you need to know about installing CentOS with the aid of WSL. We hope it was helpful. If yes, please leave a remark in the comments section to let us know your experience with CentOS using WSL.
6 comments
Ran into an issue with this install where it left a message when opening.
ERROR:[2] Could not read registry key
When attempting to run the update got the following:
CentOS Linux 8 – AppStream 219 B/s | 38 B 00:00
Error: Failed to download metadata for repo ‘appstream’: Cannot prepare internal mirrorlist: No URLs in mirrorlist
Hey does anyone know how to manually install these files? I have the go ahead to install any distro I want but I don’t want to run random executables even if open source
I’m experiencing the same problem as Mike. @Abraham, an update would be nice.
Well. Im going to throw this out there for people. This worked for me so use at your own risk. 🙂
CentOS 8 reached EOL on 2021-12-31.
Therefor, the URLs to the mirrors don’t work anymore. Instead of using sed to modify the URLs to point to the archived mirrors, CentOS officially recommends to convert from CentOS Linux 8 to CentOS Stream 8 via:
cd /etc/yum.repos.d/
sed -i ‘s/mirrorlist/#mirrorlist/g’ /etc/yum.repos.d/CentOS-*
sed -i ‘s|#baseurl=http://mirror.centos.org|baseurl=http://vault.centos.org|g’ /etc/yum.repos.d/CentOS-*
yum update -y
Confirmed solution.
CentOS9-stream.zip (CentOS 9-stream-20220718) is now available. Can we use that instead of CentOS 8.4-2105?