
If you have to manage huge amounts of data then you will find yourself one day wishing for a tool that would simply point out the anomalies or inconsistencies in the data and alert you in real time.
What is ElastAlert?
ElastAlert is designed to exactly do that. It is a simple framework that alerts when it detects anomalies, spikes, or other patterns of rules from data added in the Elasticsearch.
For example, you could be setting up a ‘frequency’ alert, which will notify you when there is X number of events in Y time.
Or you may want to be immediately warned when there is a ‘spike’ event, that is when the rate at which an event occurs suddenly increases or decreases.
Other rules types that are included are:
- ‘flatline’ – when there are less than X events in Y time
- ‘blacklist/whitelist’ – when a certain field matches ‘blacklist’ or ‘whitelist’
- ‘any’ – when an event that matches a given filter happens
- ‘change’ – when a field has two different values within a specified period of time
Supported Alert Types
Currently, ElastAlert has built-in support for the following alert types.
- Command
- JIRA
- OpsGenie
- SNS
- HipChat
- Slack
- Telegram
- GoogleChat
- Debug
- Stomp
- theHive
Install ElastAlert with Elasticsearch on Ubuntu
In this article, we show you how to install ElastAlert on ubuntu 18.04.
Requirements
- Elasticsearch
- ISO8601 or Unix timestamped data
- Python 2.7
- pip, see requirements.txt – (https://github.com/Yelp/elastalert/blob/master/requirements.txt)
- Packages for ubuntu – python-pip python-dev libffi-dev libssl-dev
Installing Prerequisites
Install Python 2.7:
sudo apt-get install python-minimal
Check the Python version:
sudo python --version
Then you will get output for python 2.7.

Python Version
Install needed packages:
sudo apt-get install python-pip python-dev libffi-dev libssl-dev
There are few different ways to install ElastAlert and here we are going to do the installation by cloning git repository.
So we need to install “git” before proceeding. Usually, Ubuntu 18.04 has git already installed.
Check for the installed or available version of git:
sudo apt-cache policy git
This will give the details of the installed and candidate git versions.
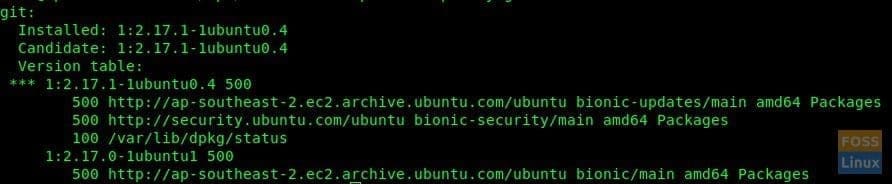
Git version
If you can’t see installed git version, run following command.
sudo apt-get install git
We are going to clone ElastAlert repository to “/opt” folder, therefore change directory.
sudo cd /opt
Now clone a git repository.
sudo git clone https://github.com/Yelp/elastalert.git
Now install modules.
sudo pip install "setuptools>=11.3"
sudo python setup.py install
You may get an error like this.

Pip Error
Then run below command to install “PyOpenSSL”
sudo pip install PyOpenSSL
Here we are going to integrate with Elastic search 6.x. So Elasticsearch 5.0+ will be installed here.
sudo pip install "elasticsearch>=5.0.0"
Configure ElastAlert
We cloned ElastAlert repo to “/opt”directory, so change directory before continuing.
sudo cd /opt/elastalert/
Now we get a copy of config.yaml.example file as a config.yaml
sudo cp config.yaml.example config.yaml
Modify config.yaml file.
vim config.yaml
Uncomment the following lines and modify.
ElasticSearch Hostname or IP
es_host: elk-server
ElasticServer port
es_port: 9200
Uncomment basic-authentication:
es_username:
es_password:
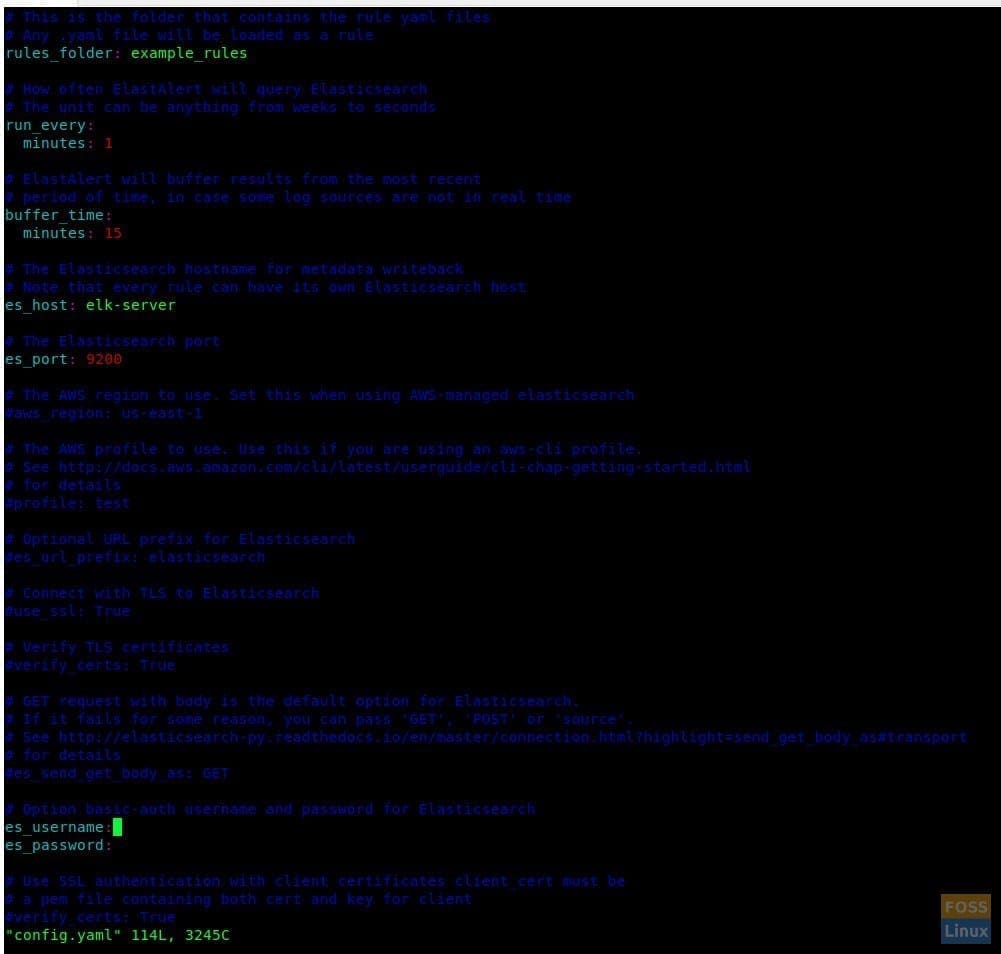
Config Yml File
Save and close the file.
Create ElastAlert index.
sudo elastalert-create-index
Creating a Rule
Now edit the file titled “example_frequency.yaml” inside the “/opt/elastalert/example_rules/” folder
sudo vim example_rules/example_frequency.yaml
Uncomment and modify index as follows:
index: filebeat-*
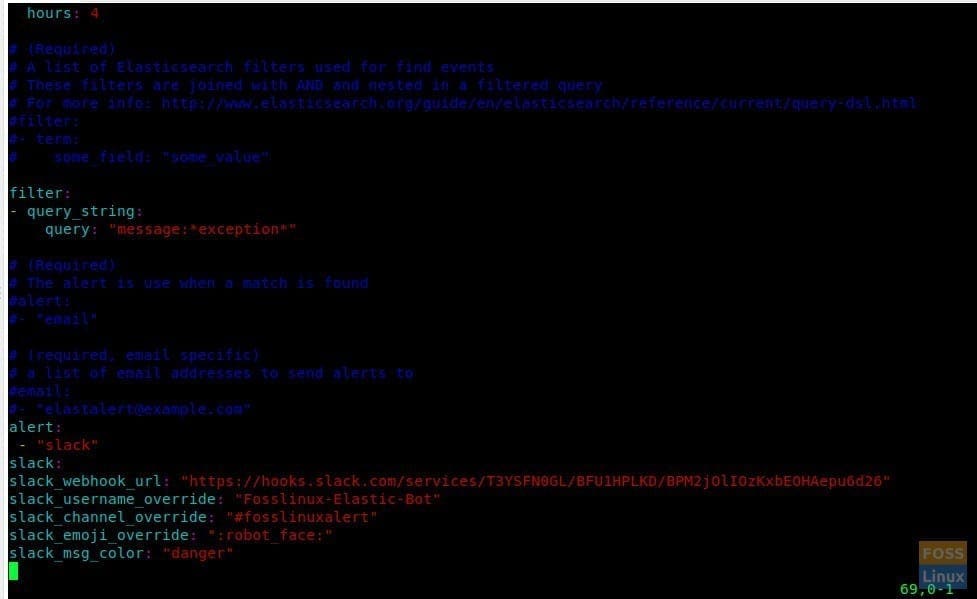
Now define a filter for an alert. Here we filter keywords with the string “exception”.
filter:
- query_string:
    query: "message:*exception*"
Configure Alter with Slack. Here you need to create a Slack channel and incoming webhook. Then add configuration details as follows.
alert:
 - "slack"
slack:
slack_webhook_url: "https://hooks.slack.com/services/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"
slack_username_override: "Fosslinux-Elastic-Bot"
slack_channel_override: "#fosslinuxalert"
slack_emoji_override: ":robot_face:"
slack_msg_color: "danger"
You can follow below steps to create Slack channel.
Configuring Slack channel for ElastAlert
If you don’t have a slack account, you can get one by simply signing up. Go to “slack.com” and enter your email address and click “GET STARTED”.

Sign Up Slack
Then click ‘create new workspace’ and verify your email address. Now you can log in and view the dashboard.
Go to Browse apps -> Custom Integrations -> Incoming Webhooks -> New Configuration

Slack New Configuration
Then click on ‘Create new channel’ to create a channel for send Alerts.

Create Channel
Then click the ‘Create Channel’ button and you will be taken to the Webhook integration page.
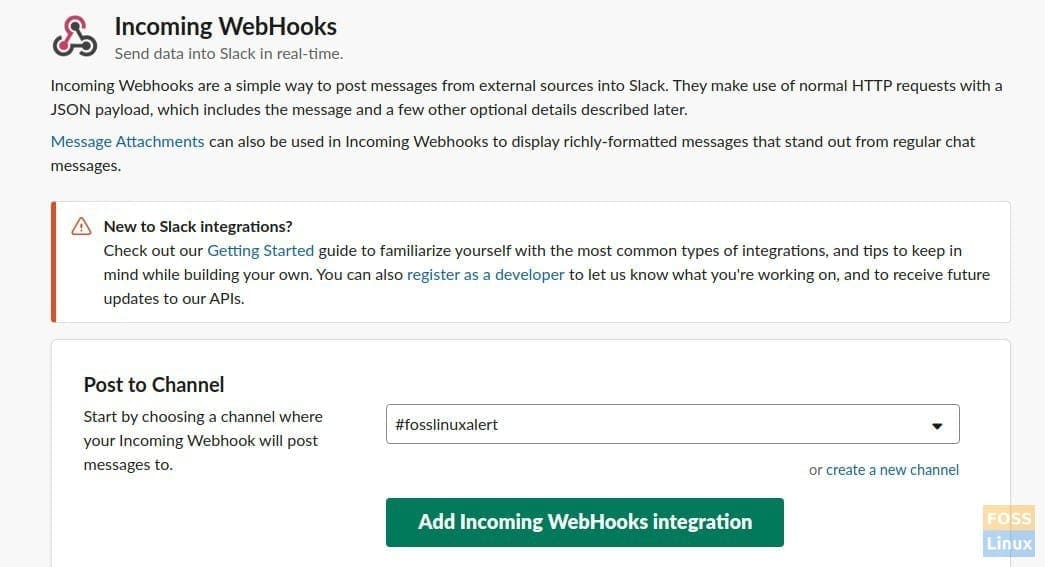
Incoming Webhooks
Click ‘Add Incoming WebHooks Integration’ button. This will create integration settings.

Slack Settings
Test Rule
Change Directory to ElastAlert.
sudo cd /opt/elastalert/
Run below command to test configured rule.
sudo elastalert-test-rule example_rules/example_frequency.yaml
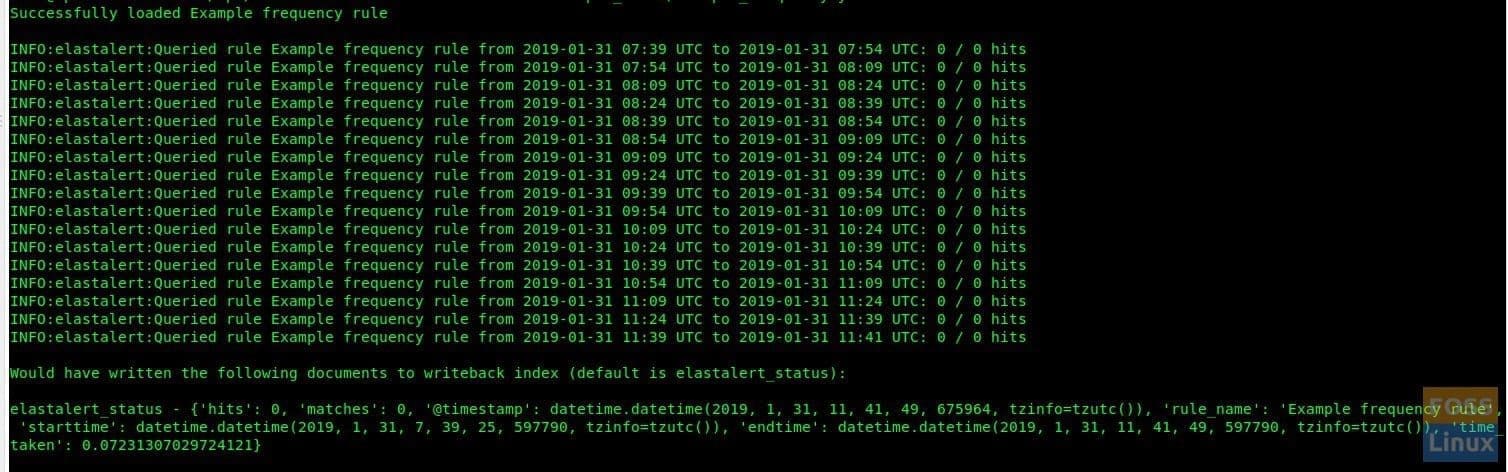
Test Rule
Run ElastAlert
We will start ElastAlert as a background service. This command should be run inside “/opt/elastalert/” folder.
sudo python -m elastalert.elastalert --verbose --rule example_frequency.yaml &

Started ElastAlert
Now ElastAlert will begin to check queries on Elasticsearch (On ELK server). If there is a match it will shoot alert to Slack.
Alert triggered.

Alert Sent
Alert will go to Slack Channel.

Slack Alert
That’s it, we successfully installed and configured ElastAlert with the elastic search, and also set up alerts to Slack. We hope this exhaustive tutorial will help you to install ElastAlert and set up some rules to trigger alerts easily. Questions and feedback are welcome in the comments section.
1 comment
HI,
I am getting error when starting elastalert.
TypeError: search() got an unexpected keyword argument ‘doc_type’