
As one of the most popular Linux desktop environments, MATE offers a variety of features, such as it’s traditional desktop experience, low resource consumption, and highly customizable interface, that makes it a good fit for Arch Linux, a lightweight, minimal Linux distribution.
In this article, we will show you the process for installing the MATE Desktop environment on Arch Linux.
Installing MATE Desktop on Arch Linux
Prerequisites
You will need:
- A computer or VM with at least 1GB of RAM and 20GB of storage with Arch Linux installed.
- An Internet connection
Installing MATE Desktop
1. Check Internet Connection
If you have not done so already, please ensure that the Arch Linux installation that you wish to install MATE on has a stable Internet connection, as it will be needed to download MATE and it’s dependencies. This can be done by using the ping command:
$ ping -c 3 google.com
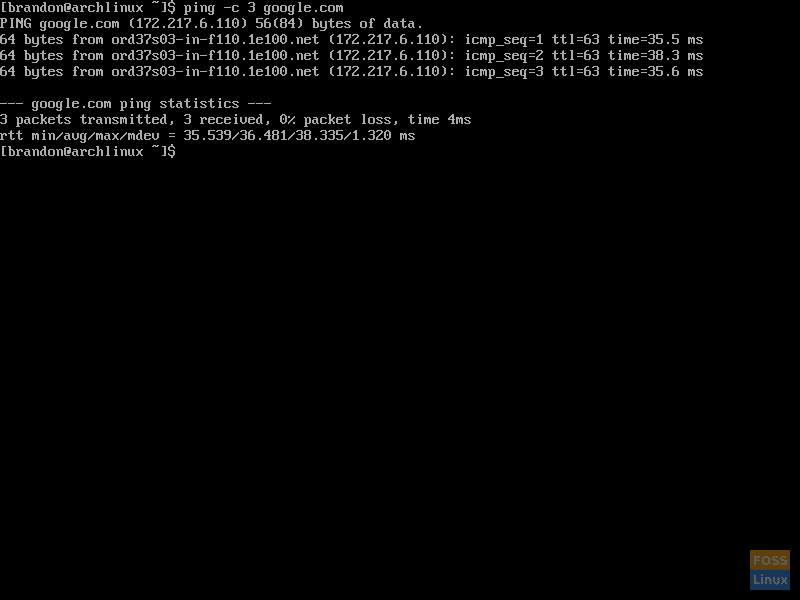
Screenshot of ping results
2. Use Pacman to Update System
Once you have verified that you have a working Internet connection, use Pacman to update the system by running the following command:
$ sudo pacman -Syu
Depending on your system configuration, you may be prompted for a password when using `sudo`. If there are any software packages that have updates available, you will be asked if you want to continue with the installation. Type `y` and press enter.
NOTE: Since I am using a fresh installation of Arch Linux, there are no packages to update yet. You may see different output.
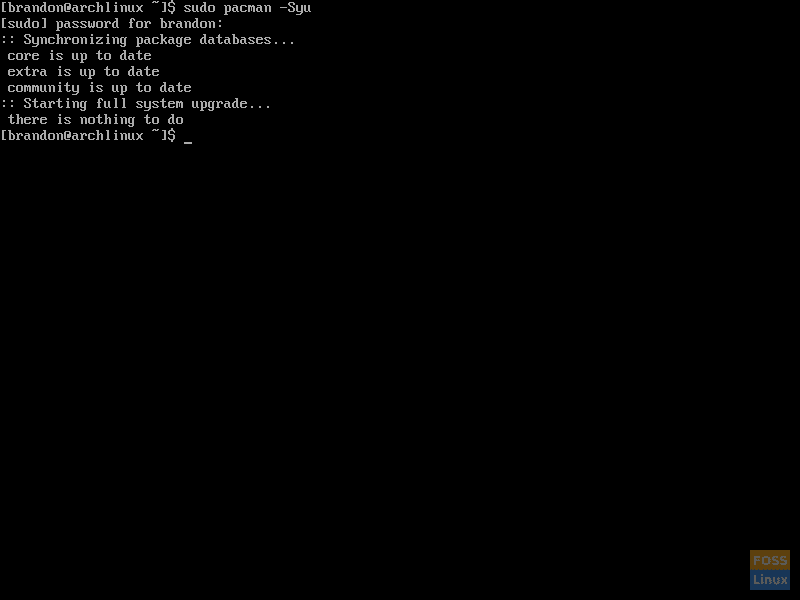
System update with Pacman
Reboot the system using:
$ sudo reboot
3. Install Xorg
Now it is time to install Xorg, a popular display server for Linux if you have not already done so. To check whether or not you have Xorg installed, we will use Pacman:
$ sudo pacman -Qi xorg
If Pacman shows that you have Xorg installed, you may skip this step.
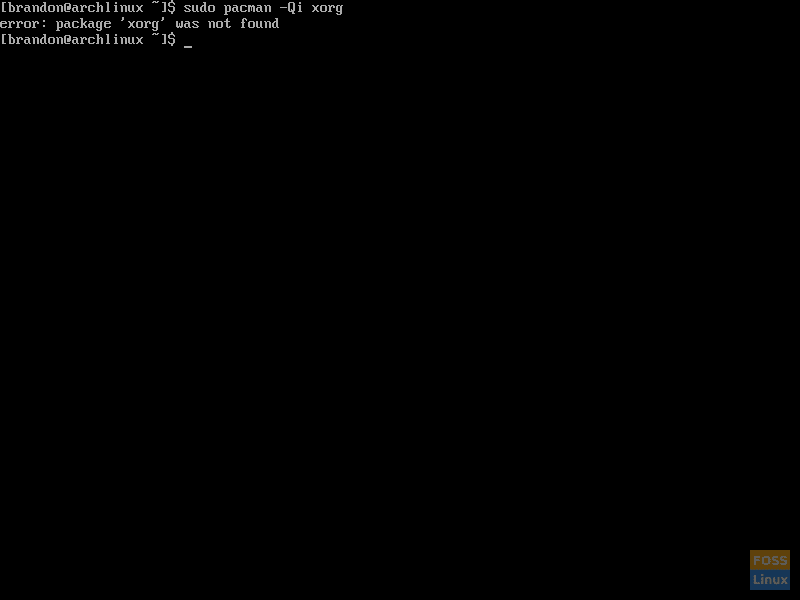
Using Pacman to check if Xorg is installed
If you do not have Xorg installed, you will have to install it. To do so, run:
$ sudo pacman -S xorg xorg-server
You will be prompted to enter a selection by Pacman. Press ENTER and proceed with the installation.

Using Pacman to install Xorg
4. Install MATE Desktop Environment
Once Xorg is installed, we can install the packages for the MATE Desktop Environment itself. This is done using Pacman:
$ sudo pacman -S mate mate-extra
Again, you will be prompted to enter a selection by Pacman. Press ENTER and proceed with the installation.

Using Pacman to install MATE
5. Install LightDM Display Manager
LightDM is a display manager, a software that allows for graphical logins. To install it, run:
$ sudo pacman -S lightdm
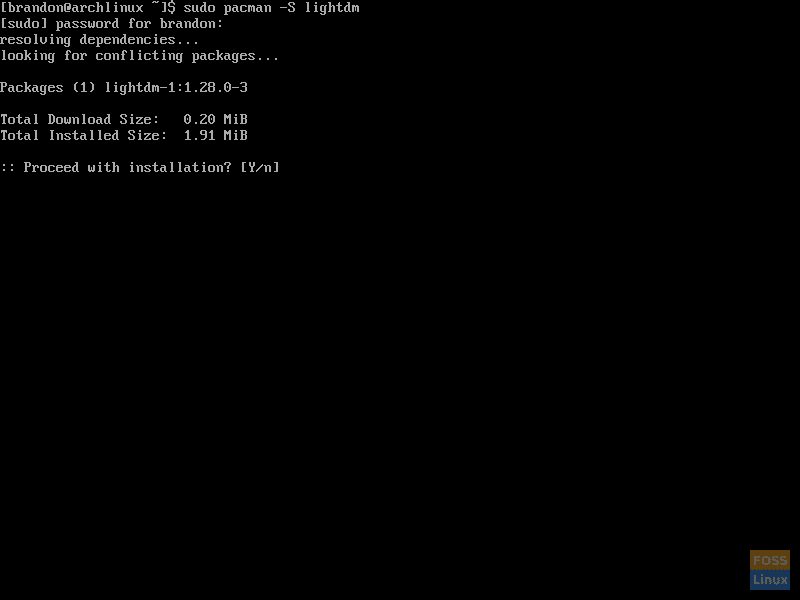
Using Pacman to install LightDM
Next, we need to install a greeter, which is a software that works alongside the display manager to provide a GUI login screen. The greeter can be installed with:
$ sudo pacman -S lightdm-gtk-greeter
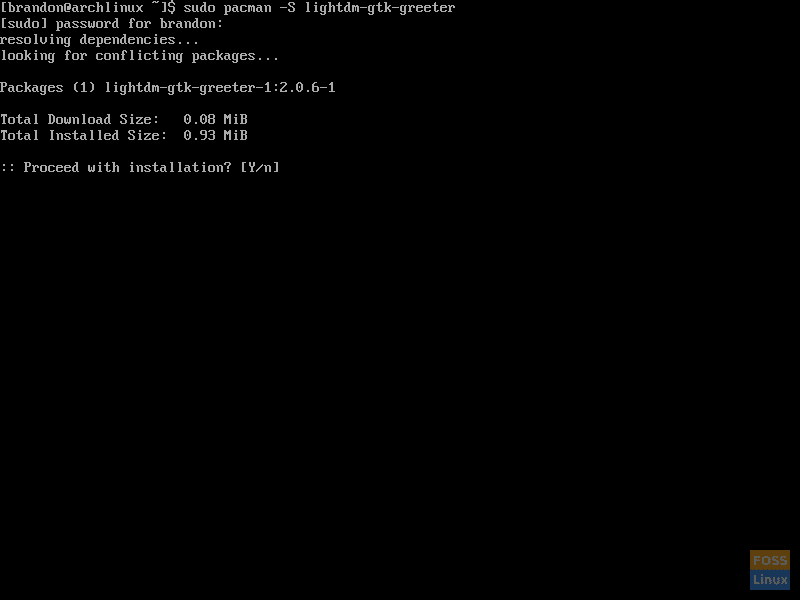
Using Pacman to install lightdm-gtk-greeter
6. Enable LightDM
Before LightDM can be used, it’s service, `lightdm.service`, must be enabled. To enable LightDM, we will use `systemctl` as shown below:
$ sudo systemctl enable lightdm.service
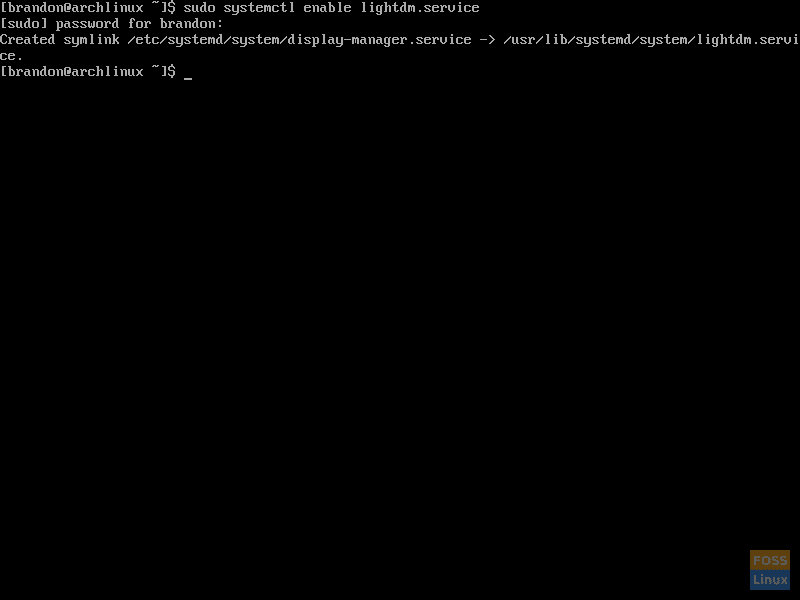
Enabling LightDM
Now that LightDM is enabled, it will start on boot once the system is restarted. To restart the system, use:
$ sudo reboot
7. Login to Newly Installed MATE Desktop
Now that you’ve rebooted, LightDM should start automatically and present you with a graphical login, like the one shown below.
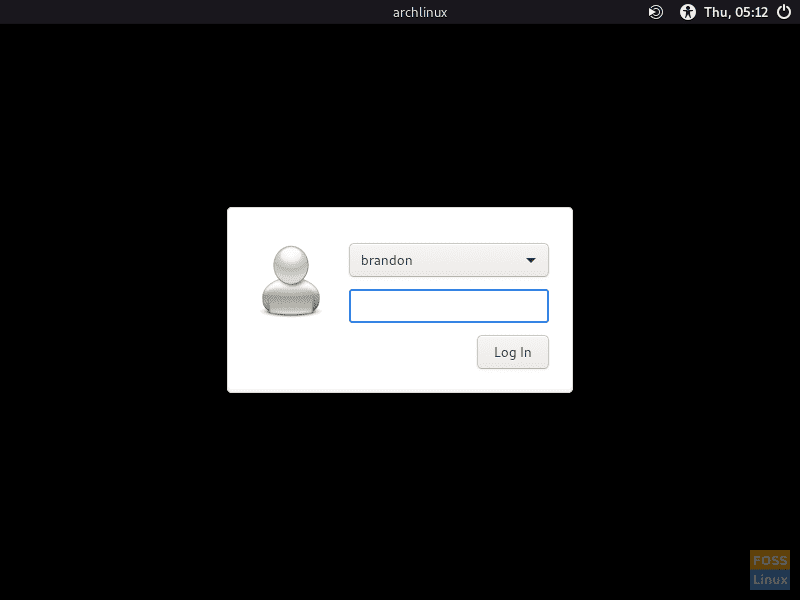
Graphical login
After you log in, you will be presented with your freshly installed MATE Desktop Environment.
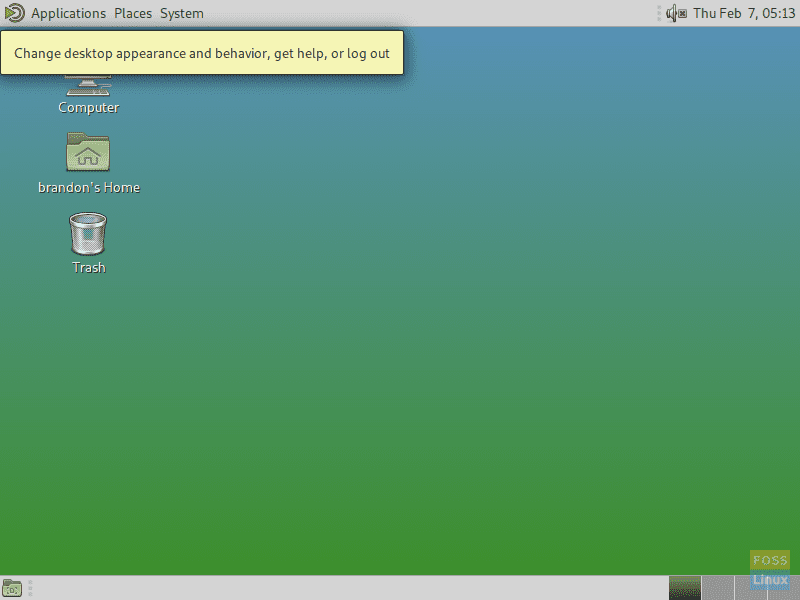
Screenshot of MATE Desktop Environment
Conclusion
Now, MATE should be fully installed on Arch Linux. By the end of this tutorial, you should have installed Xorg, MATE, LightDM, and a greeter onto your machine, and you should be looking at your new graphical desktop environment.
From here, you can tweak the desktop environment to suit your needs, install graphical software, or explore the included software, which includes:
- MATE Terminal – The included terminal emulator
- Caja – The file manager of MATE
- Pluma – A simple text editor
- Atril – The included document viewer
- EOM – Eye of MATE, the image viewer
- Engrampa – A graphical archive manager
What you do with your new graphical environment from here is up to you. For anything from editing documents and browsing the web to running complicated development or rendering software, MATE has you covered.
2 comments
Hi< I`m a nooby, and just installed the above. Works great.
My appreciation for your contribution.
Thanks Brandon,
Mike
Thanks really helpfull guide for installing arch linux