
Git is software for keeping tabs on changes in any set of files, usually utilized in coordination work. This primarily works among programmers collaboratively developing source code during software development. Version control systems like Git are necessary for modern software development best practices.
A version control system is a system that permits you to keep track of your software at the source level. And due to that, you can track any changes, revert to previous stages, and also branch to generate alternate versions of files and directories.
Instead, Git is a de-facto standard for a distributed version control system that is used by a more significant number of developers today. Git, developed by Linux Torvald(the creator of Linux) ) has now emerged as the globe’s most-known source code management system in the software development industry. It is true to say Git has outshined every other version control system, including Subversion and CVS.
If you are a DevOp or learning to be one, you might want to know how vital a version control system is. As such, here are reasons why you should use Git.
Why use Git?
Here are some of the filtered advantages of using Git, which makes it such a good tool:
- Small and fast – Git is lightweight and straightforward, as most of its operations can happen locally on your computer.
- Open-source and free – Git is a program in which its source code is available to the general public for use and modification. A strong and dedicated community also maintains it.
- Distributed and secure – You don’t need to worry about data loss, as a distributed version control system takes care of that. This is because every user owns a copy of the repo. Furthermore, every file is checksummed to prevent incorrect or corrupt data.
- Branching and merging – When you need to split your work into smaller sections/parts, then Git permits that by generating a branch of your code. This is significant in helping you categorize your tasks on the level of importance. Something great also is merging the code back, which only takes seconds.
- Staging area – This feature makes Git outstanding from the rest as it is an immediate area to review and format every commit of your repo.
That said, let us turn our focus and look at the set up process of Git on our Ubuntu system.
Installing Git on Ubuntu
There are two steps to be followed to attain Git’s full functionality. The first is installing Git, and the second is configuring it on our Ubuntu PC. However, you need to pay keen attention to these prerequisites before we get started.
Prerequisites
- Ensure that your PC is running on Ubuntu.
- Login as a root user or instead use a user with sudo privileges.
In this guide, we will take you through two different installation formats. The first is installing Git with APT, and the second one is installing Git from the source.
Installing Git with Apt/Default packages
This is the ideal way of installing Git if you want to get it up and running quickly and if you prefer a widely-used stable version.
Before installing Git, you will first have to update your Ubuntu system’s file list repos by running the following command:
sudo apt update
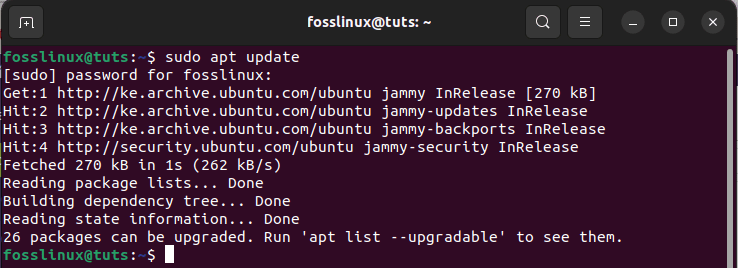
Update system
After that, run the following command to upgrade the apt-cache in case the update command provides packages that need to be upgraded, like in our case, 26.
sudo apt upgrade
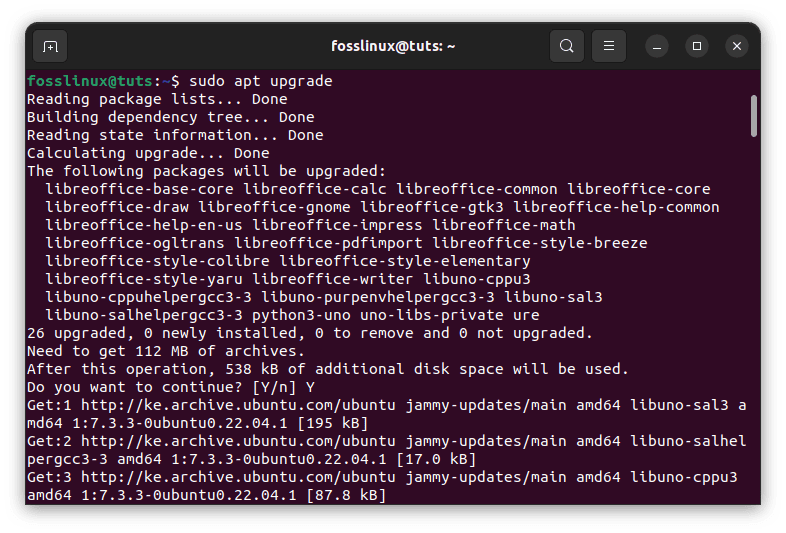
Upgrade system
Once the update and upgrade of the system’s package repo are done, go ahead and install Git by issuing the following command:
sudo apt install git
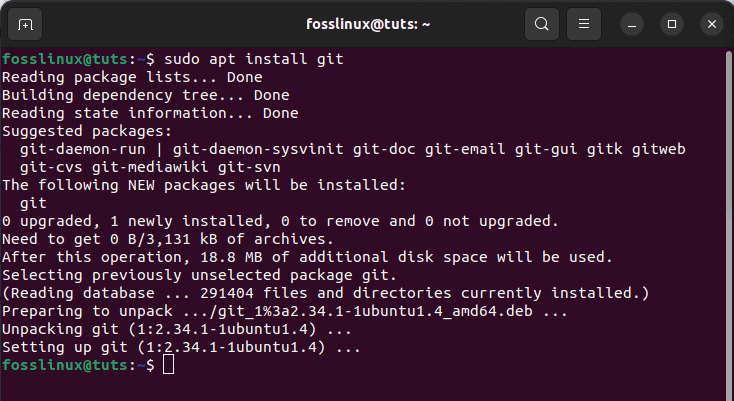
Install Git
Upon running the above command, the installation of Git will start. However, you may be asked to affirm your decision to proceed with the installation during the setup process. “Do you want to continue? [Y/n]” Type in y or Y to agree. Alternatively, you can just hit the “Enter” button to initiate the setup process.
Once Git is set up, run the following command that will help verify the installation by checking the version of the currently installed Git.
git --version

Git version
As seen in the snapshot above, Git version 2.34.1 has been installed. Let’s look at the second method of installing Git onto our system.
Installing Git from the Source
Another way to compile Git is from the source, which permits you to set up the latest Git version and customize the build options. Nonetheless, you will not be allowed to maintain your Git installation via the apt package manager.
First, install the dependencies needed to build Git on your Ubuntu system by separately running the following commands:
sudo apt update

sudo apt install make libssl-dev libghc-zlib-dev libcurl4-gnutls-dev libexpat1-dev gettext unzip
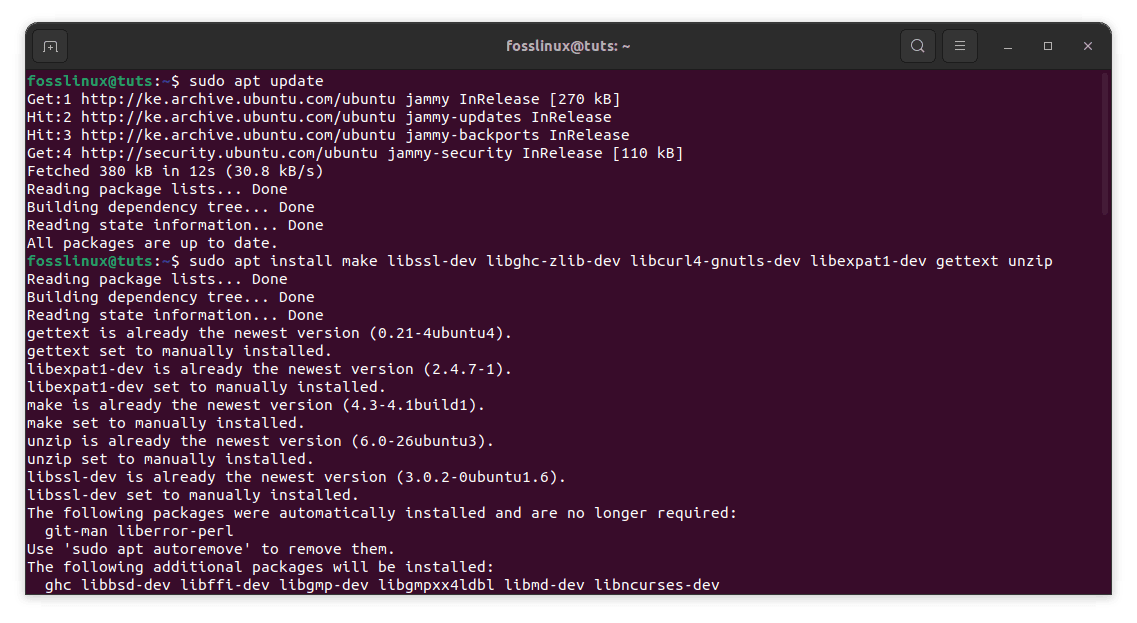
Run command to install dependencies
After the installation, visit the following Git project website, where you will navigate to the tarball list available at this link and download the version of your choosing.
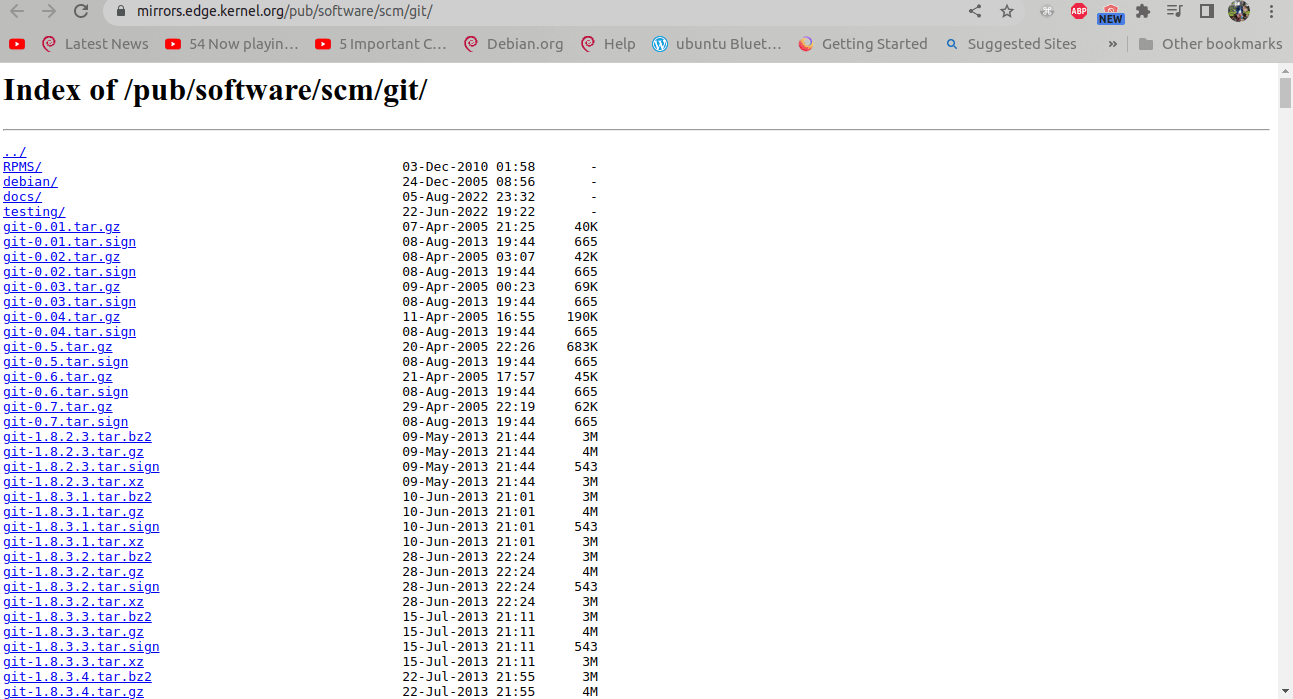
tarball list
In our case, we will go with the latest version and copy the most recent release link URL that ends in .tar.gz:
The current stable Git version at the time of this writing is 2.37.1:
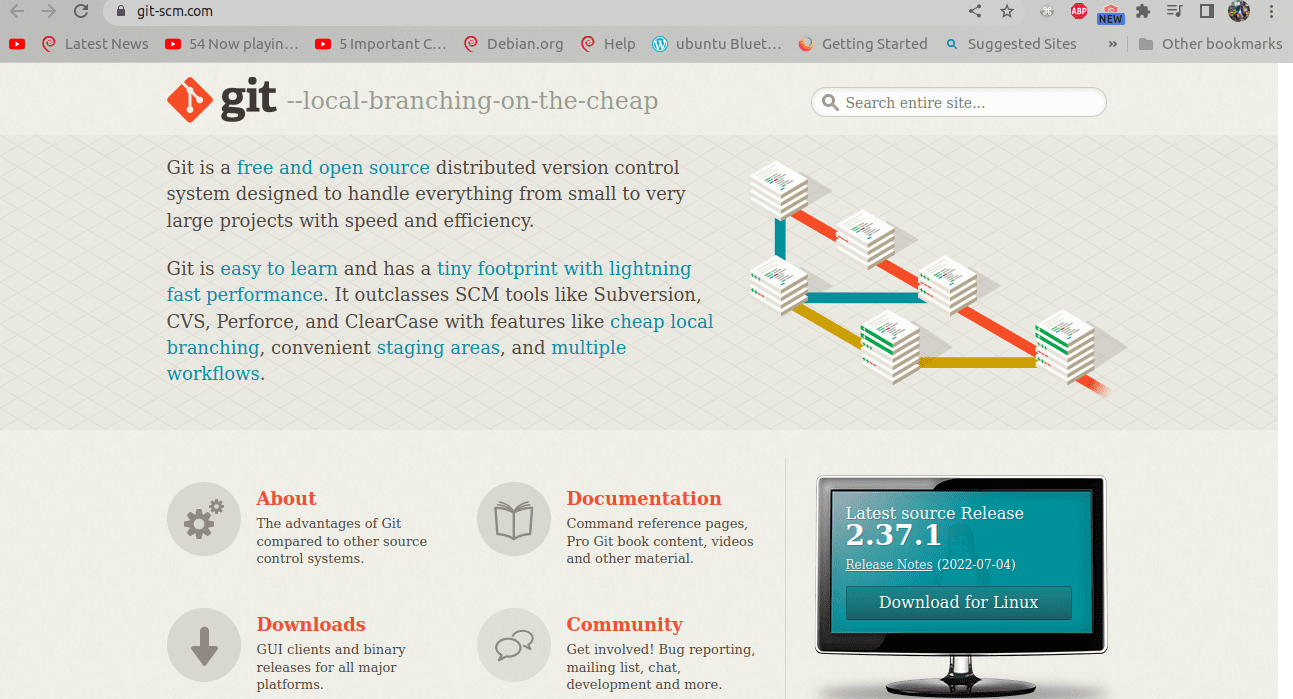
Current stable version
Now, download the file as git.tar.gz using the following command:
curl -o git.tar.gz https://mirrors.edge.kernel.org/pub/software/scm/git/git-2.37.1.tar.gz
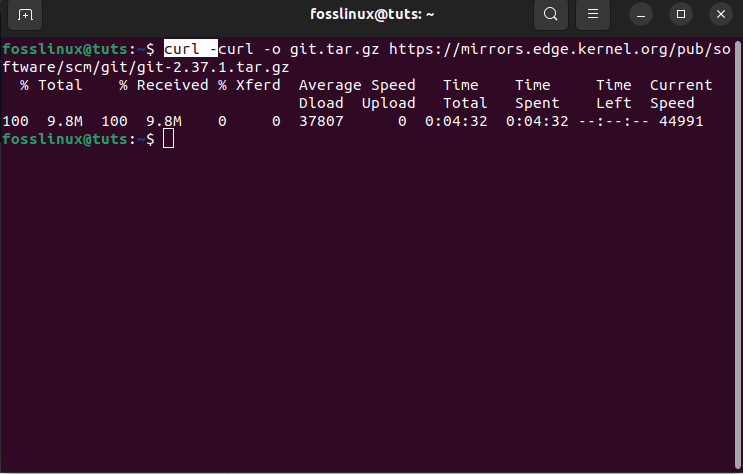
Download git.tar.gz file
Next is the extraction process, where you will unpack the tar.gz file by typing:
sudo tar -xf git.tar.gz

Extract the file
Next, move into the new Git directory using the following command:
cd git-*

Navigate to the git directory
Then run these two commands separately to help in the compilation and installation of Git on your Ubuntu system:
sudo make prefix=/usr/local all
sudo make prefix=/usr/local install
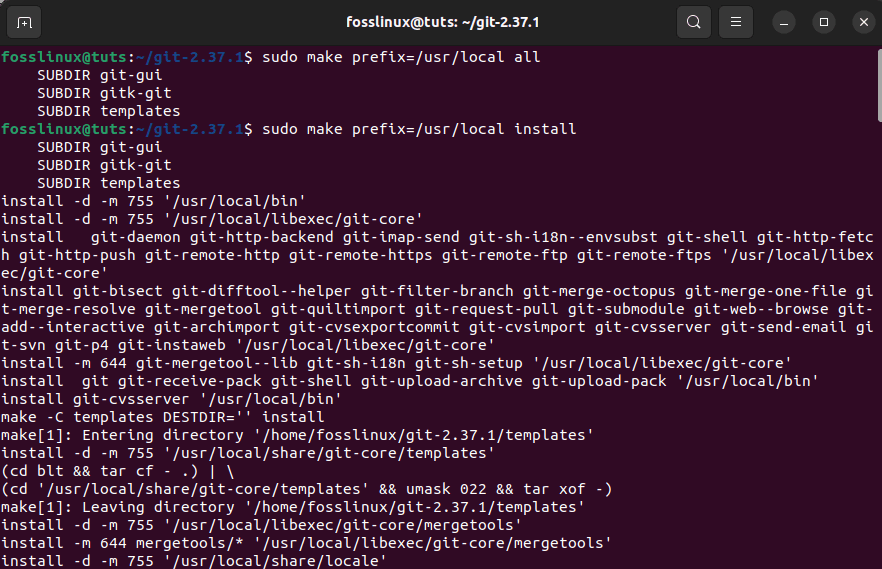
Compile and install Git
Now, replace the shell process such that the version of Git we just installed will be used:
exec bash

Replace shell process
Now verify the setup by typing the following command to printout Git’s version:
git --version

Git version
Let us now look at how we can set up Git.
How to set up git
After you are done with the installation section using either method, you should consider configuring Git so that the created commit messages you make will encompass your correct info and support you in building your software project.
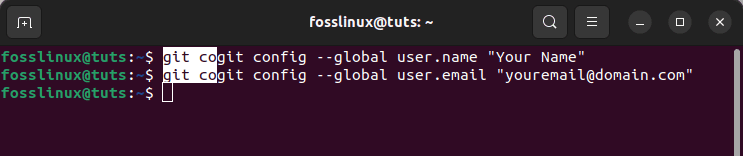
You can attain configuration using the git config command. You mainly need to provide your name and the email address because Git embeds this info into each commit you do. You can proceed and add this info by using the following syntaxes:
git config --global user.name "Your Name"
git config --global user.email "youremail@domain.com"
Configure Git
Note: To avoid inconveniences, it is critical to remember to replace the “Your Name” and “youremail@domain.com” syntaxes in the above command with your exact name and email.
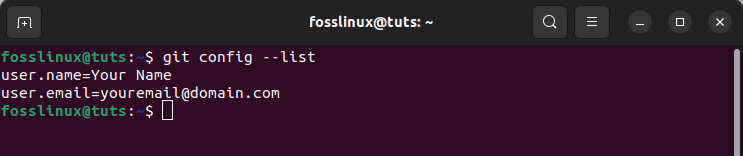
We can also show all of the configuration items that have just been set by issuing the following command:
git config --list
List configurations
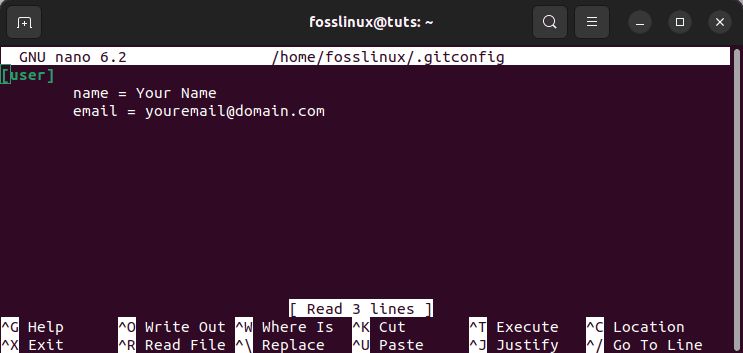
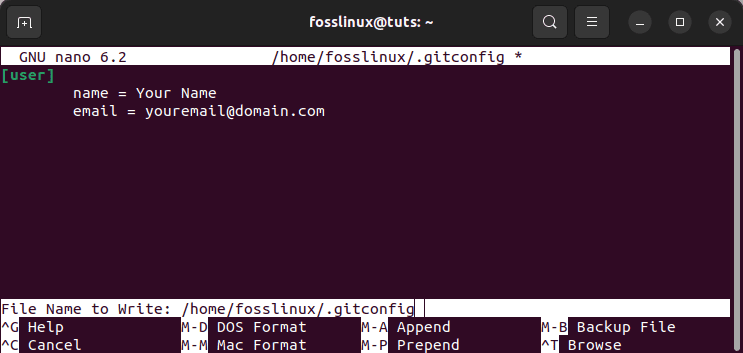
The info you enter is kept in your Git configuration file, which you can willingly edit with a text editor of your preference; in our case, we will use the nano editor:
nano ~/.gitconfig

Open nano editor
After that, the config file details will be displayed; you can now make changes to your preference.
Edit the file
After editing, press “CTRL+X.”
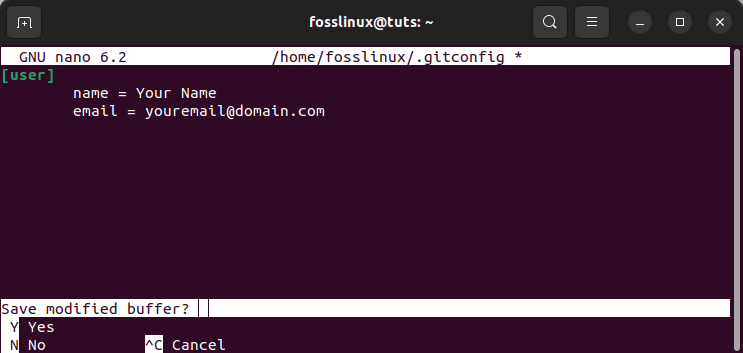
Press CTRL + X
And type ” Y,” then hit the “Enter” button to save and exit the text editor.
Then type Y
You can set other options, but the two covered are the most significant ones needed.
Note: If you skip the above step, you will likely see warnings when committing to Git. This increases your workload because you must revise your commits with the correct information.
After covering the configuration section, here are some useful Git commands to get you started:
| Command | Description |
|---|---|
| CREATING REPOSITORY | |
| git clone ssh://username@somedomain.com/repo.git | It clones an existing repository |
| git init | This one creates a new local repository |
| WORKING WITH LOCAL CHANGES | |
| git status | It changes files in the working directory |
| git diff | Change to tracked files |
| git add . | it appends all changes to your next commit |
| git add -p | Appends some changes into your next commit |
| git commit -a | Used to commit all local changes in tracked files |
| git commit | Commit earlier staged changes |
| git commit -amend | Used in changing the last commit |
| CHECKING COMMIT HISTORY | |
| git log | display all commits |
| git log -p | Display changes over time for a particular commit |
| git blame | Check who changed the commit and when the change took place |
| CREATING BRANCHES AND TAGS | |
| git branch -av | display all existing branches |
| git checkout | Switch to a branch |
| git checkout — track | Generate a new branch based on a remote branch |
| git branch -d | Delete a local branch |
| git tag | Mark your current commit with a tag |
| UPDATING AND PUBLISHING | |
| git remote -v | Display all currently configured remotes |
| git remote show | Show info about a remote |
| git remote add | Append a new remote repository |
| git fetch | Download all changes |
| git pull branch | Download all changes from branches and merge into HEAD |
| git push | Push changes from local to remote |
| git branch -dr | Delete a branch on the remote |
| git push — tags | Publish your tags |
| MERGING AND REBASING | |
| git merge | Merge into current HEAD |
| git rebase | Rebase current HEAD |
| git rebase — abort | Abort a rebase |
| git rebase — continue | Continue a rebase after resolving conflicts |
| DISCARDING CHANGES | |
| git reset — hard HEAD | Get rid of all local changes in your working directory |
| git checkout HEAD | Get rid of all local changes in a specific file |
| git revert | Revert a specific commit |
| git reset — hard | Reset your HEAD to a preceding commit by getting rid of all changes |
| git reset | Re-initialize your HEAD to a previous commit but preserve all unstaged changes |
| git reset — keep | Reset your HEAD to a previous commit and preserve uncommitted local changes |
Additionally, you can look at our other detailed article for practical examples of Git commands.
Wrapping up
Git is one if not the best-distributed version control system in the globe. This open-source, free tool packs lots of useful features that aid DevOps manage their codes and repos.
This guide teaches you the steps to install Git on Ubuntu. To summarize, we have covered the two essential methods of installing Git on your system. The first is through Apt, and the second one is the source. Moreover, we also added a list of significant commands you can utilize to operate the software. We hope this was educative enough. Keep following FOSSLinux for more guides and tips.