
Vagrant is an open-source software used to manage and generate different virtual environments using virtualization techs such as VirtualBox, VMware, and more. It simplifies the config management of virtual machines to boost productivity with the aid of provisioners. Provisioners fundamentally permits the customization of the configuration of virtual machines.
Vagrant gives many development environments to DevOps, allowing the developers to work beyond several operating systems. One exciting feature of Vagrant is that you can install this tool on nearly all Linux distros. It is essential to know that Vagrant is a command-line generated tool.
Also, you must ensure that you have a virtualization engine like Hyper-V, VirtualBox, or Docker setup on your system since you cannot run the Vagrant tools without virtualization software. The Vagrant plugin system also supports KVM and VMware.
Installing Vagrant on Ubuntu 22.04
With that covered, let us get the article going to find out how we can set up Vagrant on our Ubuntu 22.04 system using VirtualBox as a virtualization hypervisor.
Prerequisites
The virtual machine is needed to install Vagrant. In this case, you can choose any virtual machine, from Hyper-V, Docker, VirtualBox, to VMware, but in our instance, we will be using VirtualBox in this tutorial. Alternatively, if you are a VMware fanatic and need guidance on installing VMware on Ubuntu, you can visit our other published article.
VirtualBox
VirtualBox is a cloud computing virtualization tech software that allows one to run multiple applications and OS workloads on one server, enabling better resource management by crafting a virtual machine that behaves precisely like an actual computer. If you haven’t set up VirtualBox on your Ubuntu system, here is a detailed post on how to get it done.
This article will focus on three methods of installing Vagrant on Ubuntu 22.04:
- Using apt
- Using apt-get
- Using aptitude
Let us get the article underway.
Method 1: How to setup Vagrant on Ubuntu 22.04 using apt
You can quickly achieve the installation of Vagrant on Ubuntu in a pretty straightforward way by following the given steps:
Step 1: Update Ubuntu packages
First things first, update the system repo to the latest versions. To do this, open your terminal by hitting the “CTRL+ALT+T” shortcut keys together and issue the following update command:
sudo apt update

Update system
Step 2: Upgrade Ubuntu packages
Once you run the update command, you will be alerted of the number of packages that require an upgrade at the end of the update command. This tells you that the mentioned number of packages have released newer versions. To upgrade them, run the following command, and remember that you can skip this step once you find out that all of your packages are up to date:
sudo apt upgrade
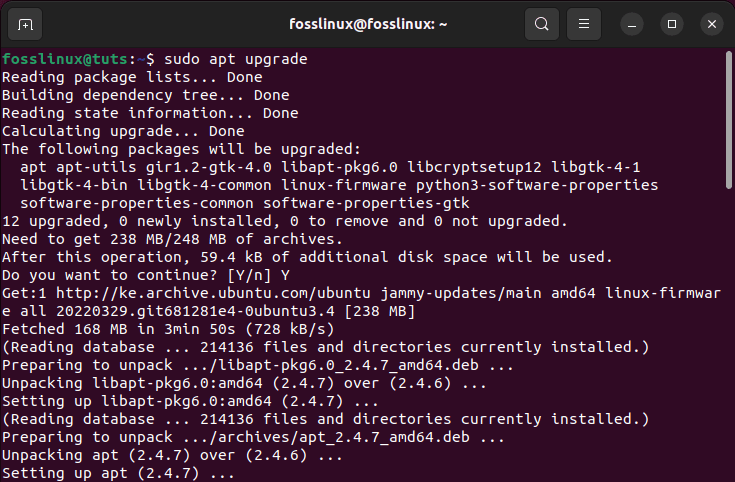
upgrade system
Step 3: Install VirtualBox
Next up, we will install VirtualBox on our system using the following command:
sudo apt install virtualbox
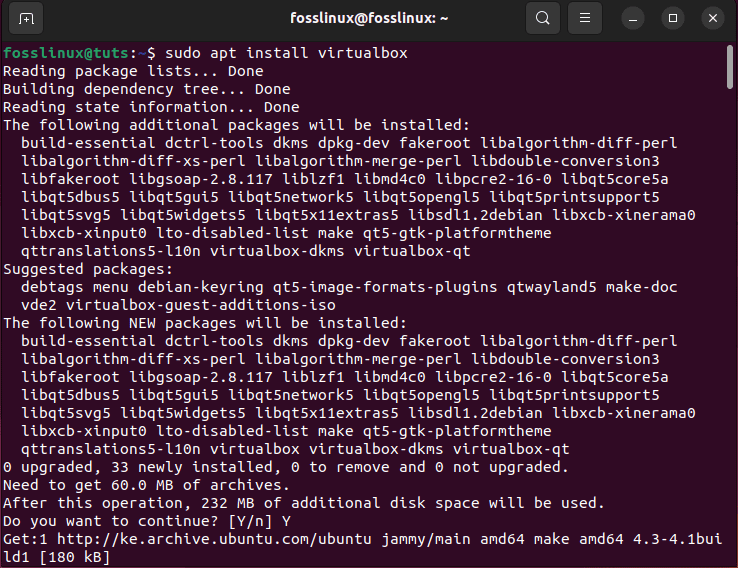
install VirtualBox
Step 4: Install Vagrant
After you are done installing VirtualBox, it is time to download the Vagrant deb package by running the following command on your terminal:
wget https://releases.hashicorp.com/vagrant/2.2.19/vagrant_2.2.19_x86_64.deb
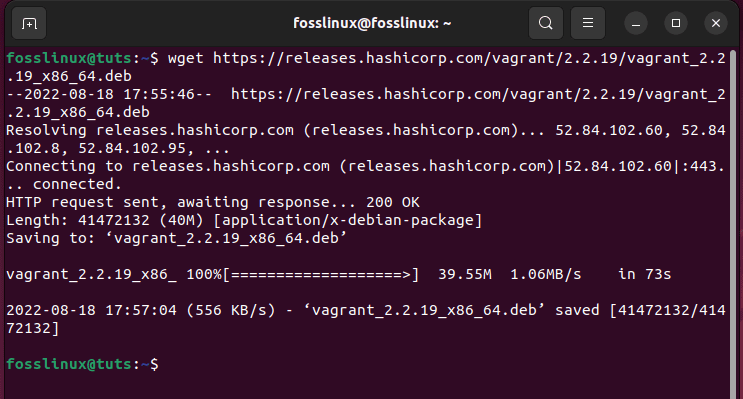
Download vagrant
Subsequently, use the following command to install the deb package from the apt installer:
sudo apt install ./vagrant_2.2.19_x86_64.deb
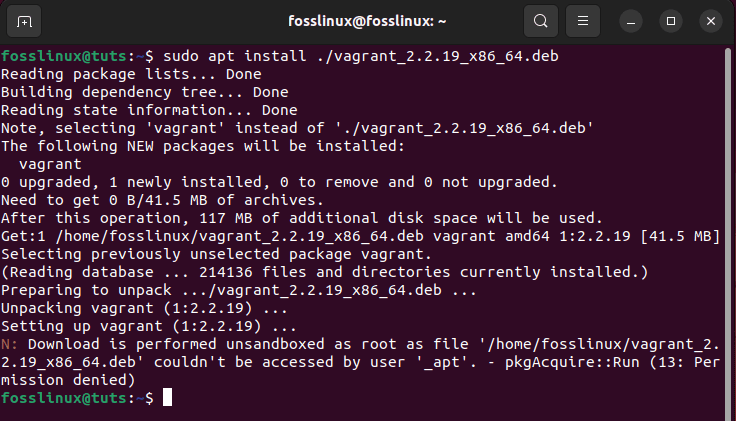
install Vagrant
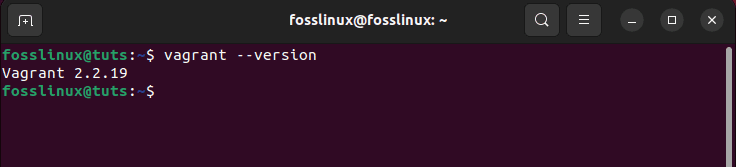
Step 5: Verify Vagrant installation
vagrant --version
vagrant version
The above output explicitly tells that Vagrant is successfully set up on our Ubuntu system.
Here are the complete details of the vagrant package:
Package: vagrant
Architecture: all
Version: 2.2.19+dfsg-1ubuntu1
Priority: optional
Section: universe/admin
Origin: Ubuntu
Maintainer: Ubuntu Developers
Original-Maintainer: Debian Ruby Team
Bugs: https://bugs.launchpad.net/ubuntu/+filebug
Installed-Size: 3476
Depends: libarchive-tools, curl, openssh-client, rsync, ruby, ruby-bcrypt-pbkdf, ruby-childprocess, ruby-ed25519, ruby-erubi, ruby-i18n, ruby-listen, ruby-log4r, ruby-mime-types, ruby-net-ssh, ruby-net-sftp, ruby-net-scp, ruby-rexml, ruby-zip, ruby-vagrant-cloud
Recommends: vagrant-libvirt
Suggests: virtualbox (>= 4.0)
Breaks: virtualbox (>= 6.2)
Filename: pool/universe/v/vagrant/vagrant_2.2.19+dfsg-1ubuntu1_all.deb
Size: 473364
MD5sum: 8295ce230e36e17a3a60f65a514e717c
SHA1: 92a370b18cff0be7ff54be9ef1be69a7f84b0331
SHA256: 4ef003a92282a98d01e12f6f368413ee4f08b995af457d64bfc375ba9fc9d71f
SHA512: b487fabc8f7fe3bba6de5b7a12cb7a6af54a5e75a8017990e7e7aa7b8dba9b4eeba1e0880fcfa5f914777e06c56f8d159ed174cba1c3d827814856b71d2ca79c
Homepage: https://www.vagrantup.com
Description: Tool for building and distributing virtualized development environments
Description-md5: aeaa276f3844f8ad6c87b93eb0f56ea5
Ruby-Versions: all
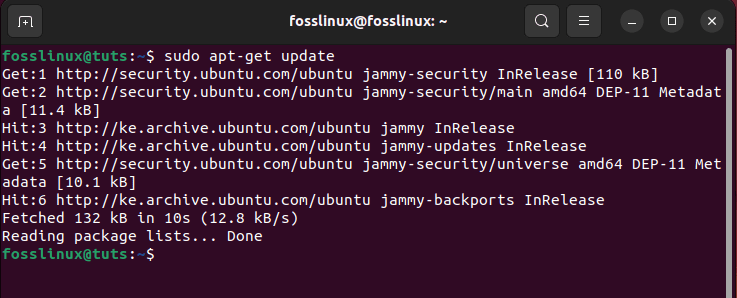
Method 2: How to install Vagrant on Ubuntu using apt-get
sudo apt-get update
Apt-get update command
Then upgrade the packages if there are any that need to be upgraded using the following command:
sudo apt-get upgrade

Apt-get upgrade command
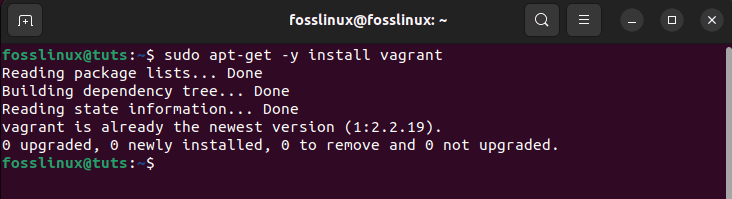
After updating and upgrading the apt database, proceed further and install Vagrant using apt-get by running this command:
sudo apt-get -y install vagrant
Apt-get to install Vagrant
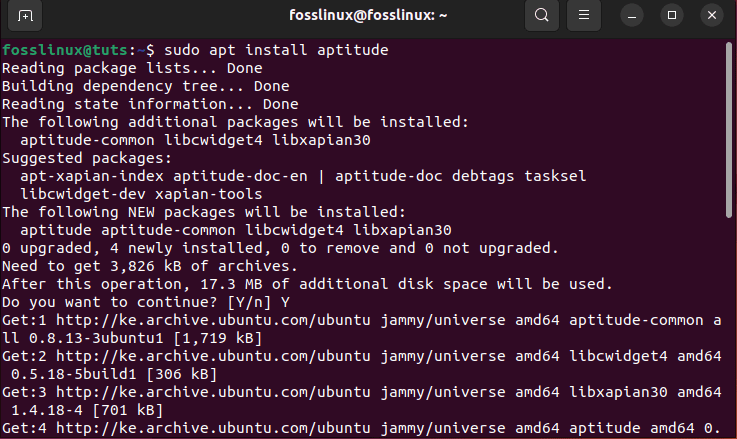
Method 3: How to install Vagrant using aptitude
sudo apt install aptitude
install aptitude
Once aptitude is setup, run the following command to update the apt database using the aptitude command:
sudo aptitude update
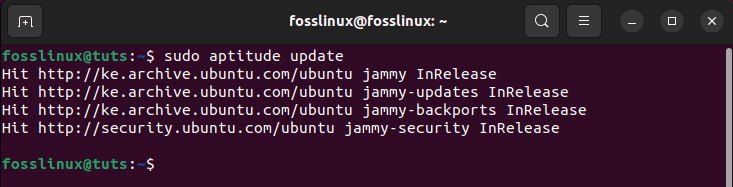
aptitude update
Once the update process of apt is done, you can now go ahead and install Vagrant using aptitude by running the following command:
sudo aptitude -y install vagrant
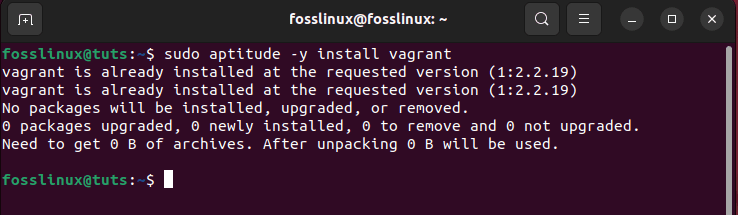
aptitude install vagrant
Now that the installation process is done, let us turn our focus and look at how we can put this special software into action.
How to use Vagrant on Ubuntu 22.04
mkdir ~/project_name
mkdir ~/fosslinux_project

Make a directory called fosslinux
Note: Ensure you replace the “project_name” with your preferred project name to avoid errors.
cd ~/fosslinux_project
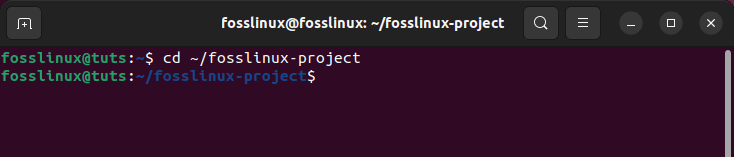
Navigate to the directory
Step 3: Visit the Vagrant official website and select your VagrantBox (built-in virtual environment image of your operating system). In our instance, we chose “debian/jessie64.” After that, run the following command:
vagrant init debian/jessie64
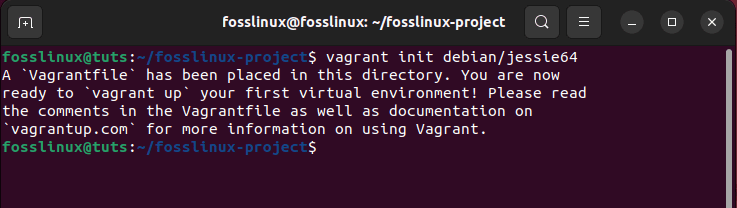
Create vagrant file
Step 4: Next, we need to create and configure the virtual machine. To do this, run the following command:
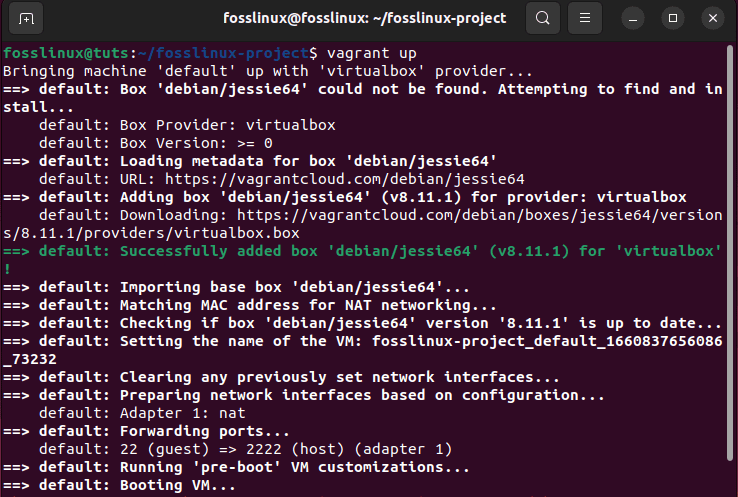
vagrant up

Vagrant is up
The above-given command will append the selected “debian/jessie64” to your VirtualBox environment, as shown in the final image below:
setting up jessie64
To have a glimpse, open the VirtualBox on your Ubuntu system as displayed in the snapshot below:
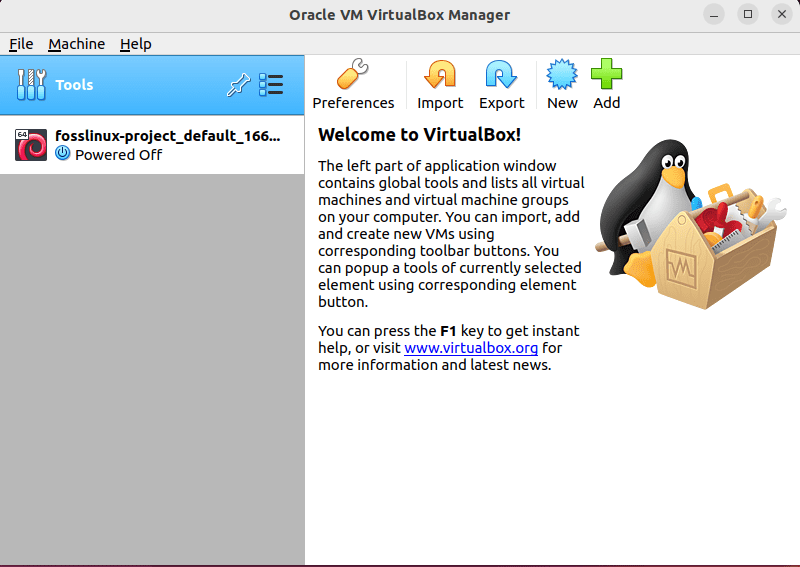
fosslinux_project created
- How to uninstall Vagrant on Ubuntu.
- How to uninstall Vagrant and its dependencies.
- How to uninstall vagrant configurations and Data.
- How to uninstall vagrant configurations, data, and all of its dependencies.
How to uninstall Vagrant on Ubuntu 22.04
sudo apt-get remove vagrant
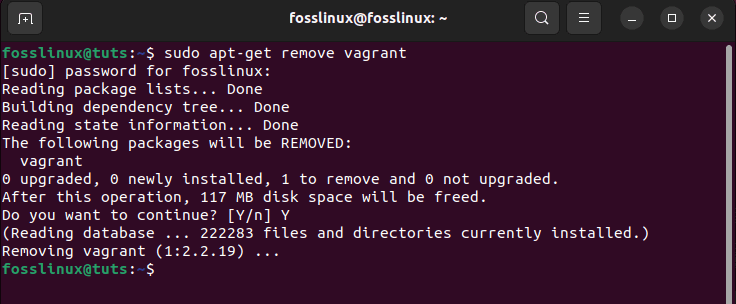
get-remove vagrant
Let us now emphasize how we can uninstall Vagrant and its dependencies.
How to uninstall Vagrant and its dependencies
sudo apt-get -y autoremove vagrant
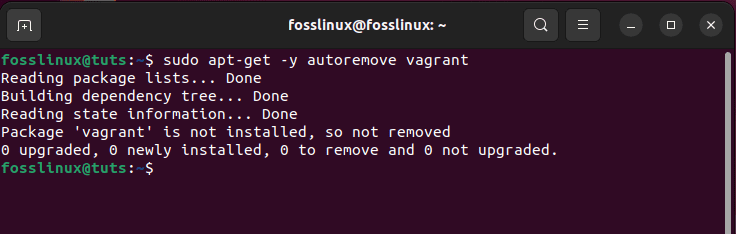
autoremove command
Let us also take you via the method needed to remove vagrant configurations and Data.
How to uninstall vagrant configurations and data
sudo apt-get -y purge vagrant
purge command
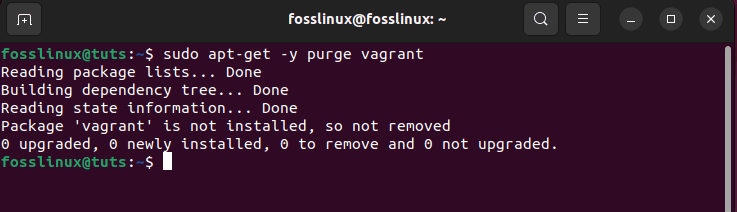
Finally, let us see how we can remove vagrant configs, data, and all of its dependencies from our Ubuntu system.
How to uninstall vagrant configuration, data, and all of its dependencies
sudo apt-get -y autoremove --purge vagrant
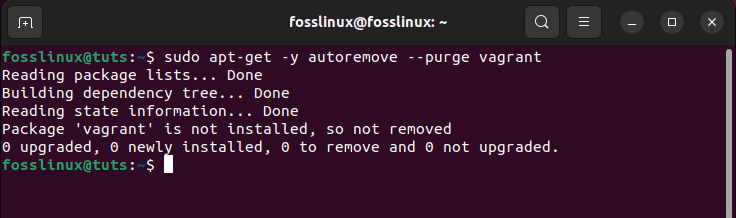
autoremove purge command
At this point, Vagrant should be removed from the system, plus configurations, data, and all of its dependencies.