
Sometimes you need to back up your important files weekly, run a command to monitor system daily, or even run a script at night automatically without having to stay up late to execute it.
Automating tasks on Ubuntu can be done through a package called cron. Crontab is an abbreviation for cron table and is a configuration file used to schedule shell commands to run periodically. Usually, the crontab file is stored in the /etc or a directory under /etc. Only system administrators with root privileges can edit the crontab file.
In this article, we will walk you through crontab file and how-to setup a cron job on Ubuntu easily.
Automate and Schedule Task using Crontab in Ubuntu
First, you have to make sure that your system is up to date by using the following commands:
sudo apt-get updateAfter entering the sudo password, the output should be something like that:

System update output preview
sudo apt-get upgradeOutput:
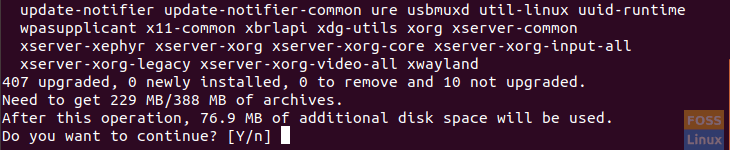
System upgrade output preview
Press Y and wait until upgrade finish.
Now, check if the cron package is installed:
dpkg -l cronOutput:

Cron package installed
In case the cron package is not installed then try installing it:
sudo apt-get install cronCheck if the cron service is running:
systemctl status cronOutput:

Cron service status
If it is not running try starting it:
systemctl start cronOpen the crontab file using your favorite editor:
sudo vi /etc/crontabOutput:
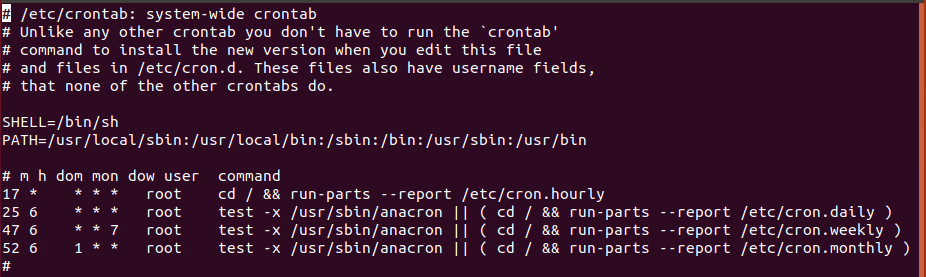
Crontab file
To edit in the crontab file you need to be careful and follow the syntax which is:
Minute Hour day-of-Month Month Day-of-Week user command
So, let’s say for example you need to create a directory and move a backup file to it. And you need this task to be run daily at 2.20. Then edit the crontab file and add the following line:
20 2 * * * hendadel /bin/mkdir testdir && mv backupfile testdir/
Note that, asterisk (*) in the crontab file means all valid values.
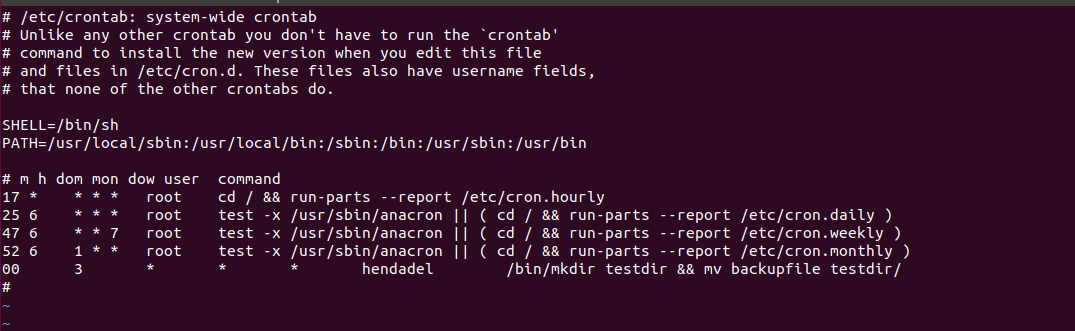
Edit crontab file
Next restart the cron service:
systemctl restart cronAnd voila, the directory was created and the log file was moved successfully.
Output:
testdir created
You can redirect the output of the cron job into a separate file and this can help you in case the cron job generated an error. For example, let’s run the previous job again with adding a redirection to the output to a separate file called logfile (obviously it will give an error cause the directory already exist). Do not forget to change the job time.
Output:

Edit crontab file to redirect error
Check the error written in the logfile:
Error written to logfile
Finally, I hope you find this tutorial helpful, and if you need to get more information about the cron or crontab you can check their manual pages. Enter the following commands in the Terminal.
man cron
man crontab