
In this article, we’re going to explain how can the GNOME GUI can be installed on CentOS minimal version. Since the interface is CLI mode, this is only going to be a bunch of simple terminal commands.
GNOME is a part of the GNU project and is a very simple DE that focuses on ease of usage and elegance. It uses the KISS principle (Keep it simple, stupid), and is the default DE of many distributions like Debian, Fedora, Red Hat Enterprise Linux, Kali Linux, etc. Find out more about GNOME here.
Installing GNOME on minimal CentOS
Let’s straightaway get to it.
Assumption
We’re going to assume that users already have installed CentOS and have access to the root user, or a superuser. We’re going to write the commands according to the root user for the sake of simplicity. If you’re not the root user, just put sudo in front of all commands.
Start up the system and proceed:
Installation
Step 1 – Connect to the internet
You need an internet connection for this. So, if you’re on a wired connection, there’s nothing to do. However, if you want to connect to a wireless network, enter this:
nmtui
It stands for Network Manager Textual User Interface. It is still not a graphical interface, but it’s close, and if you ask me, it is cool too. You can connect to the wireless network here. You should see a menu like this:
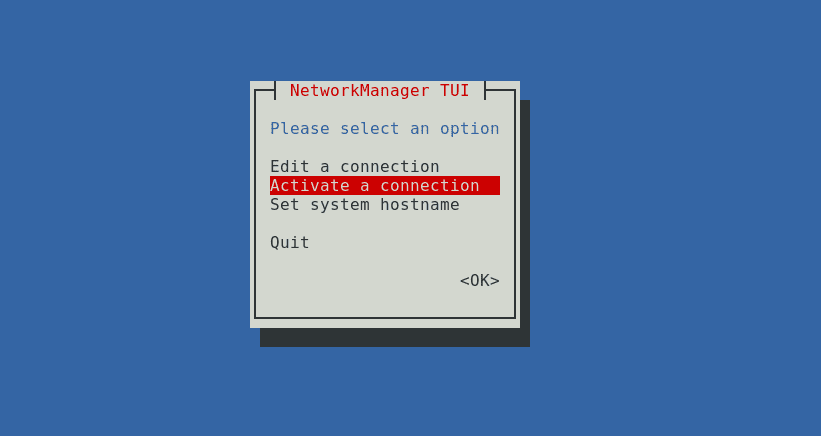
Connecting to a wireless network.
Navigate to ‘Activate a connection’ and press Enter. A list of available networks should appear. Choose the one that you want to connect to, enter its password, and you’ll be connected.
Step 2 – Update your system
First, we update the system. It is not always required, but its good practice.
yum update
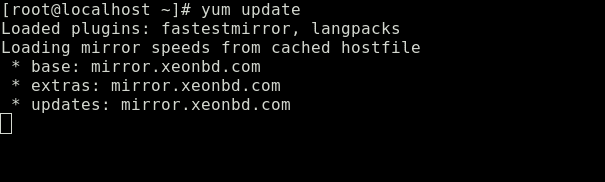
Updating CentOS
Let it finish and proceed.
Step 3 – Install the GNOME package
Now, we install the GNOME packages. To install those, we’re going to use a command that installs all packages related to the GNOME DE.
sudo yum -y groups install "GNOME Desktop"
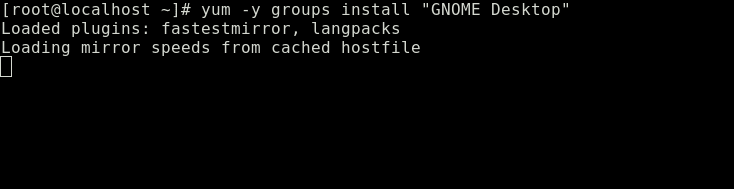
Installing GNOME packages
It may take a while, so lay back and get some snacks.
Step 4 – Configure the X window system
The program that runs a graphical environment on most Linux systems is called the X Window System. So, first, you’ll have to tell X that GNOME is the default DE that you want to use for the graphical environment. So enter this command:
echo "exec gnome-session" >> ~/.xinitrc
Now we’re done with the installation of GNOME and configuration of the X Window System. So let’s test it with:
startx
After this program runs, you’ll see the GNOME graphical interface, something like the image below, which means it works.
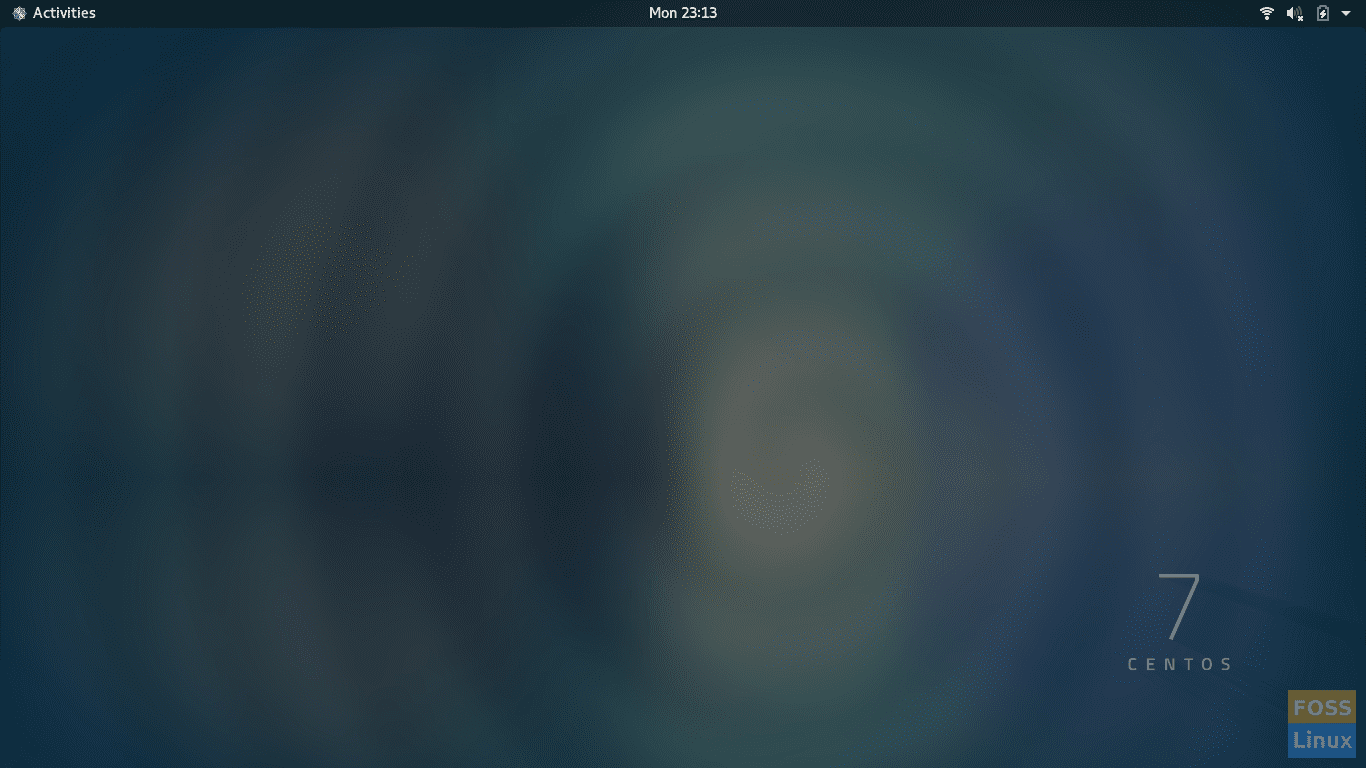
GNOME DE
Step 5
Now it has been installed and tested. However, we don’t want that every time that you start up your system, you have to enter startx to get the GUI. So let’s make it start automatically during startup. Use the following command:
systemctl set-default graphical.target
Conclusion
You are done with installing GNOME on CentOS. Easy, wasn’t it? Now next time you boot, you should see the GNOME login screen. Enjoy the GNOME DE on your system.
We hope this article helped you. Cheers!