
Solus was launched in 2011 with the Debian flavor. The team then decided to start from scratch rather than proceeding with the carryover development. Solus uses Budgie desktop environment and eopkg for package management.
Starting from scratch comes with a lot of hard work, but has an essential advantage over others. They are independent, which makes them release future editions much faster. They need not spend months of work to make compatible code to match the base code. Instead, they can spend time writing new code for new features.
Create Solus Live USB Drive
STEP 1: Get a blank USB flash drive of at least 2 GB capacity. I don’t recommend more than 8 GB because not all PCs can boot through USB drives of more than 8 GB capacity.
STEP 2: Download Rufus utility for Windows. It is a portable utility, so there is nothing to install. Just download, and it’s ready for use.
STEP 3: Download the latest version of Solus from their website. You got three flavors to choose from, including Budgie, GNOME, and MATE. Solus Budgie is their most popular edition with the latest technologies embedded in it.
The downloaded file will be in ISO format. The ISO should look something like this: Solus-1.2.1.iso. The version number may vary depending on when you are downloading.
STEP 4: Right-click on the downloaded Rufus program and click ‘Run as Administrator.’
STEP 5: Rufus Settings:
(#1) Click on the CD drive icon near the checkbox ‘Create a bootable disk using ISO Image’ and select the Ubuntu ISO file that you downloaded, for example, mine says Solus-1.2.1.iso.
(#2) In the same interface, click on the drop-down list under the ‘Partition scheme and target system type,’ select the ‘MBR partition scheme for BIOS or UEFI.’
(#3) Next select file system as ‘FAT32’.
(#4) Finally, click ‘Start.’

Rufus Settings
STEP 6: Keep the ISO Image mode to write when prompted and click OK.
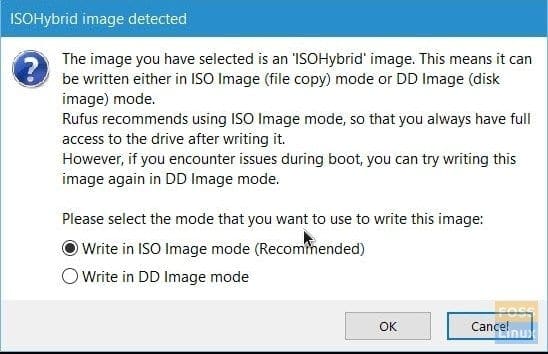
Rufus Prompt
STEP 7: Wait until Rufus writes the data to the USB flash drive.
That’s it! Your Solus live USB drive is ready. You can boot into it and test drive it. It also serves as an installation media just in case you decided to install it.
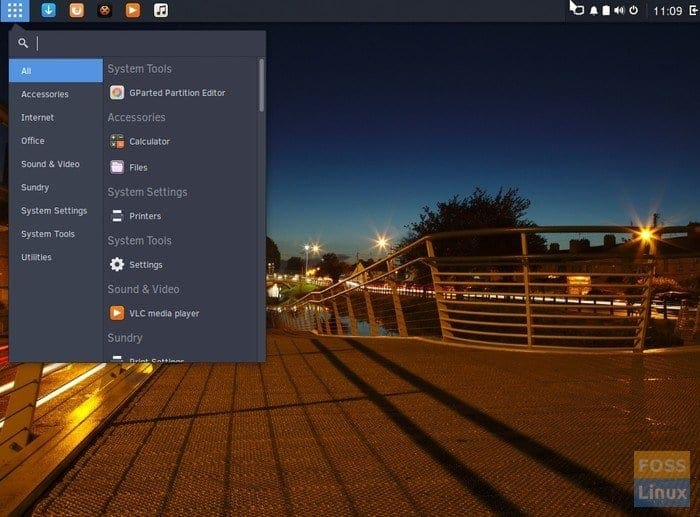
Solus Desktop
3 comments
Gooooood ! Solus is the most beautiful linux distribution of all. I have migrated from a MAC!!!!!!!!!!!!!!!!!!!!!!!!!!!!!!!!!!!!!!!
Yess!
Great guide, took me away from my other partition manager, Rufus is superior!