
One of the things open source programs are great to work with is flexibility. You can access the source code, which means that you can turn it into anything you want. Users have the permission to configure it however desired so that they can make it suit any system or add/remove any feature. Program developers often release their program in what is known as source code.
What is the Source Code?
The source code is a collection of code written using a readable programming language, which is typically a plain text. It is then transformed by a compiler into binary code for making ready to install packages like .deb, rpm, etc.. Most of the popular packages are readily packaged into the easily executable deb and rpm packages, but there are also thousands of other packages that aren’t compiled. Developers provide them ‘as is’ in the source code format.
Formats of Source packages
The most common formats and the ones that we are going to show here are .tar.xz, .tar.gz and .tar.bz2 packages. TAR is an archiving utility provided by GNU. The different formats use different archiving methods. Other than that, there is not much difference between the three.
Compiling and Installing Source Packages
We are going to show three different package types with three different scenarios. These are the situations that you are most likely to find while installing any kind of source package. The following image shows the three packages that I have:
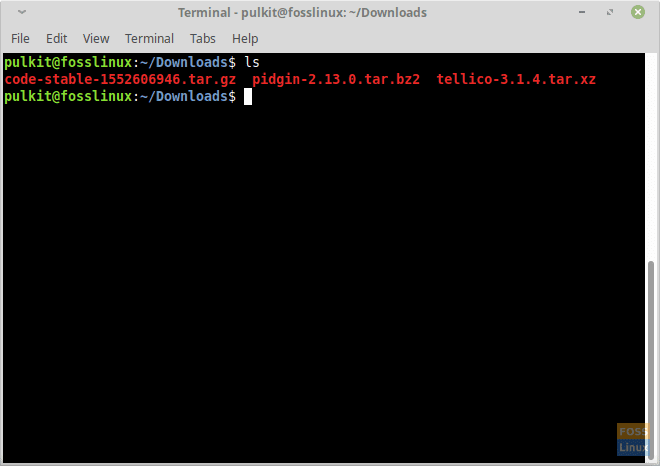
Source packages
Step 1 – Extract the content of archive packages
First off, extracting the source packages. The following are the commands for all three kinds of packages:
For .tar.bz2
tar -xjvf <package-name>
- The ‘x‘ stands for extract.
- The ‘j‘ tells the system that the package uses bzip2 utility.
- The ‘v‘ means verbose, which means that your system will show the names of the file as they are being extracted. This is not necessary, but useful.
- The ‘f‘ means that you are referring to a file with the name, that you are going to write next.
For .tar.gz
tar -xzvf <package-name>
- The ‘x‘, ‘v‘ and ‘f‘ are the same as the previous case.
- The ‘z‘ tells the system to use gzip utility.
For .tar.xz
tar -xvf <package-name>
Step 2 – Install the package
Case I: Configure
Once you extract the package a new directory will be created by the name of the program. In my case of Pidgin, its named pidgin-2.13.0. To proceed further, you need to make that the working directory. To do that, just use this:
cd <directory name>
So for me, it would be:
cd pidgin-2.13.0
The first thing to do now is to run the ls command. Your further steps depend on the output of this. In the output of ls, look for a file named ‘configure‘.
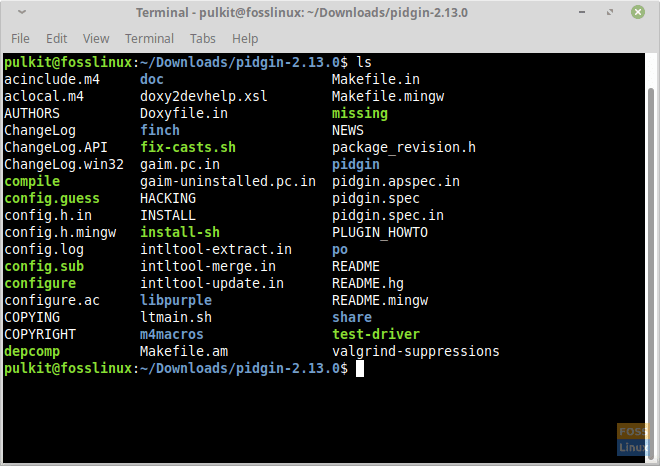
Case 1: ‘configure’ present
If its present, proceed like this:
./configure
This basically runs the executable ‘configure‘ file, which compiles the program according to your system. This also shows any unmet dependencies that you might encounter as it does in this case:

Displaying unmet dependencies
Now you can install these dependencies individually with your terminal. So the tool in this case in ‘intltool‘, and I can install it with this:
sudo apt-get install intltool
Now recompile it by running ‘./configure‘.
We’re done with compiling it. So now we can install it. To install, first run this:
make
And then the following command to install it.
sudo make install
We’re done with the first part. Luckily, this is the way it goes in the majority of the cases. Now let us look at another case.
Case II: Program file
Many times, after extracting the program, there is no ‘configure‘ file. What to do then? Look for a file with the name similar to the name of the program you’re trying to install. For the example of the VS Code, this is the output:
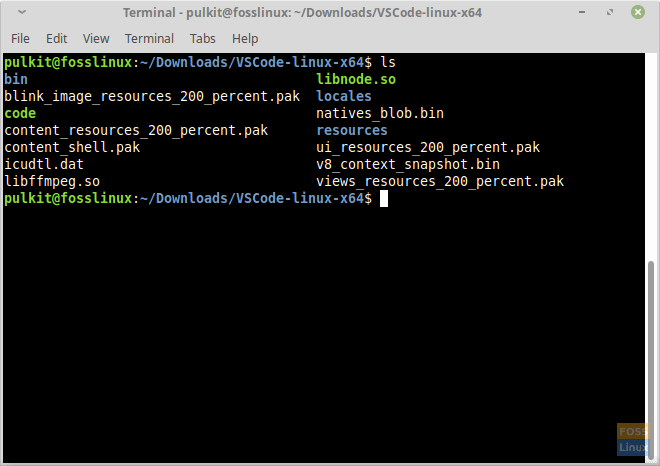
File with program’s name
So we do have a file named ‘code‘ here, which is the actual name of the program. In cases like this, you have to run the program right from the directory. So you can either double-click on it in the file manager, or you can run a command from the terminal in the following format:
./<filename>
So for me, it was:
./code
The program will start running. This is inconvenient, obviously, to run it from the directory again and again, but one thing you can do is add an entry in your application launcher, or add a keyboard shortcut to open the file. Explaining those methods are out of the scope of this article as the steps vary between Linux distros.
When you set it up, you will be asked for a command to execute to run the program. For that, you just have to write the whole path of the file and put a ‘./’ in front of it. In this case, the command is:
./home/pulkit/Downloads/VSCode-linux-x64/code
Case III: Instructions
The first two cases generally ought to cover most cases. Now the third case, where there is neither a ‘configure‘ file and nor a file with the name of the program.
Case III
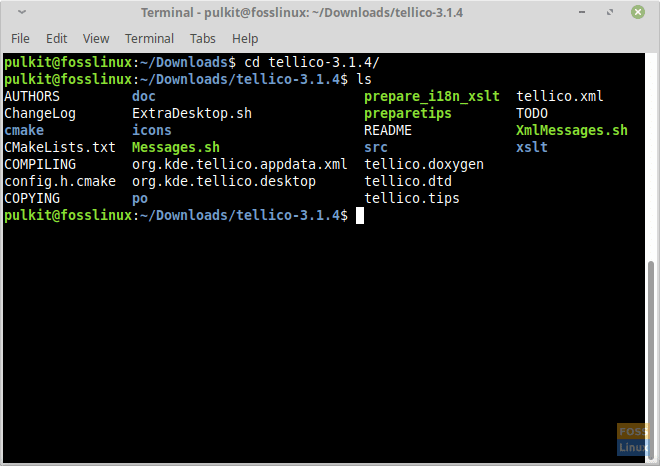
What do you do? Well, for these cases, there will always be a ‘README‘ or ‘COMPILING‘ file. Just open that file, and you will find the instructions. For example here, in Tellico, there is a ‘COMPILING‘ file, and the instructions are present there. To read the file, run this command:
cat <filename>
For in this case:
cat COMPILING
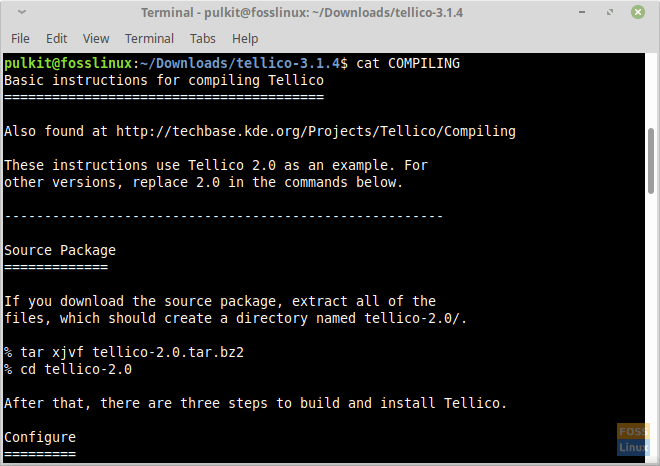
Instruction in the ‘COMPILING’ file
Conclusion
That’s all about the various ways to compile and install the applications from the source codes. The source packages are a little complicated, but they have their perks. Easy configuration, extreme flexibility, and adaptability make it an ideal package. In any program, if there is just one package for installation, it has to be a source package. This is why almost all programs always provide a source package.
Let us know about any issues that you might have or anything that you would want to say in the comments below. Cheers!
3 comments
Hi. I have an ASUS 2n1 tablet. Would FOSS or someone have a set of screen prints or lines for DOS that I could use to download a Linux distribution? After downloading, I would like to use DOS if available to install Linux. I cannot for some reason get into to BIOS to have the ASUS recognize a ‘Live’ USB. I want to install the Linux over MS Pro. That’s all…Thank-you
This article is a perfect set of instructions… Thank you so much for the effort you put in to this to make it clear for a newbi like me. Thank you a million times.
It is incredible how thoroughly pedagogical you are. I had difficulty to understand and learn this subject, and you made it easy for me. I follow you on Telegram and I receive the weekly emails. Thanks a lot.