
MKV is a popular video format known for its high quality and large file size. However, not all devices support it, which is why you may need to convert your MKV videos to MP4. MP4 is a widely supported format that provides excellent video quality and is suitable for use on many devices, including smartphones and tablets. In this guide, we will show you how to convert MKV to MP4 on Ubuntu using the open-source program “Handbrake”, “VLC Media Player”, and “FFmeg”. We will walk you through the process step-by-step so that you can easily convert your MKV videos to MP4 on Ubuntu.
In this guide, we will cover a couple of ways of converting mkv to mp4 format using:
- VLC player
- FFmpeg
- Handbrake
But before we kickstart the guide, let’s briefly introduce the MKV file format.
What is the MKV file format?
Most people often find it difficult to understand, in general, what the MKV file format means. The Matroska Multimedia Container, popularly known as mkv, is a file format that can support unlimited pictures, subtitle tracks, video, and audio in a single file. This file format is open-sourced and akin to MP4 and other media containers.
Some of the file formats associated with Matroska are:
- Mkv for video
- Mks for subtitles
- Mka for audio
Albeit the fact that the mkv file format is open source to all, as earlier said, you might ram into systems that don’t support mkv extension or container format. In such instances, it is necessary or recommended that you convert mkv to another system-compatible file format, like the mp4 file format that we will be covering in this guide.
Let us take a step further and discuss the conversion procedures in the next couple of sections.
Converting MKV to MP4 on Ubuntu
Method 1: How to convert MKV to MP4 using a VLC player
You must probably be wondering how it is possible to use the VLC media player to convert a file from MKV to MP4, but yeah, this is one very great approach that we would love you to try out. The VLC media player is a free, cross-platform, open-source media player and streaming media server designed by the VideoLAN project. It is a special playback software for Linux, mac, and Windows. Besides just playing audio and video files, it can also give you detailed info about the video, take screenshots, codec, and metadata, and convert videos from one file format to another because of its versatility.
In this first section, let us cover the installation of this software using the snap package manager.
Install VLC using the snap package manager
To set up VLC using snap packages, run the following command on your terminal and ensure you type your sudo password when asked, and press “y” on the keyboard:
sudo apt install snapd

Install Snapd
The installation process should be underway. Afterward, you can use the following command to set up the program:
sudo snap install vlc
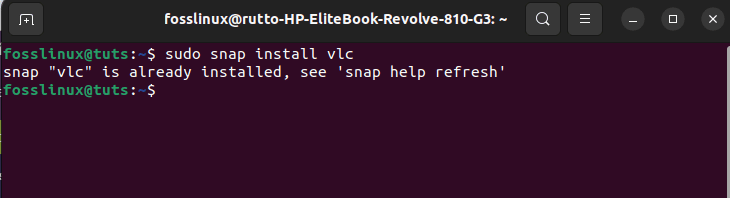
Snap install VLC
Here is an alternative method.
Using the Ubuntu software center to install the VLC media player
On the top-left corner of your desktop, click on the “Activities” button, then use the search bar to look for “Ubuntu software” in the search field. Such an icon will appear. Click on it to open it:
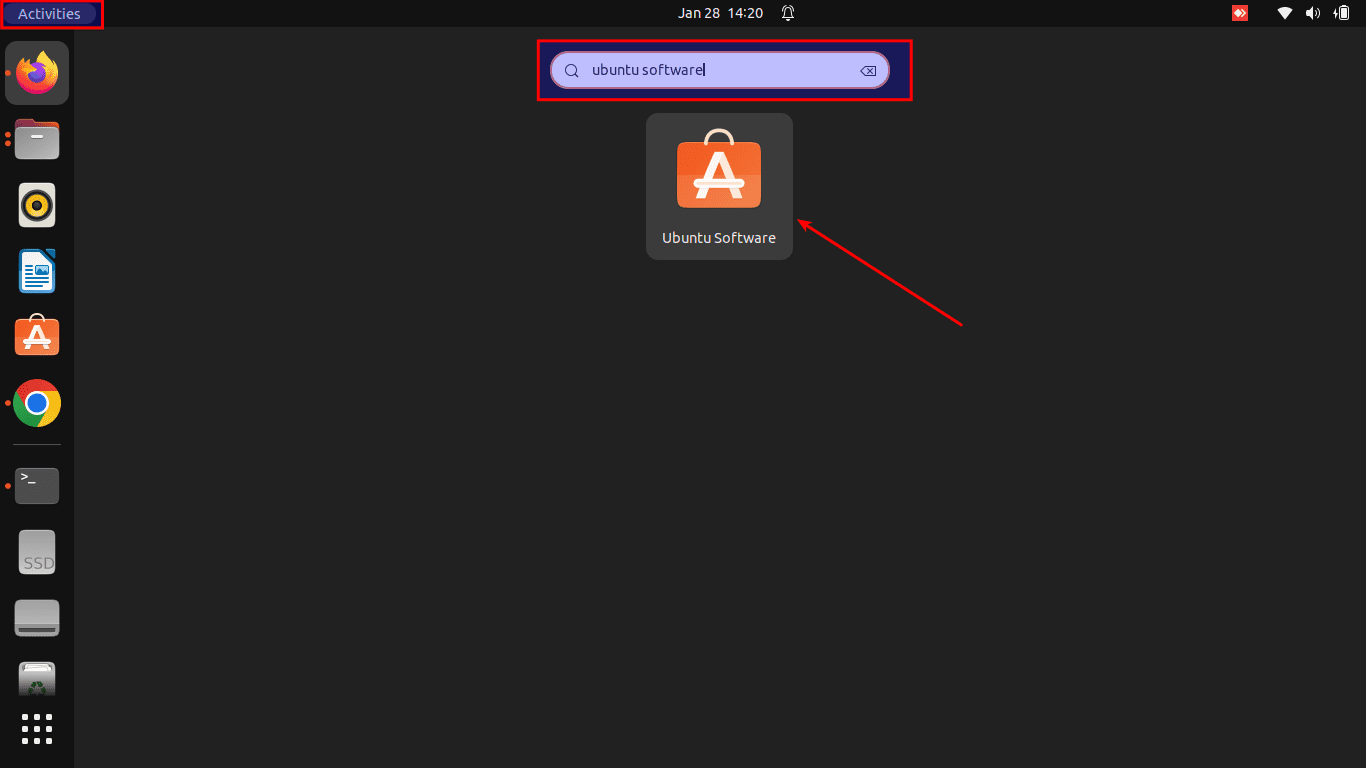
Search for software
After that, use the search icon on the left side of the Ubuntu software to search for “VLC.” After that, you should see the VLC icon; click on it:
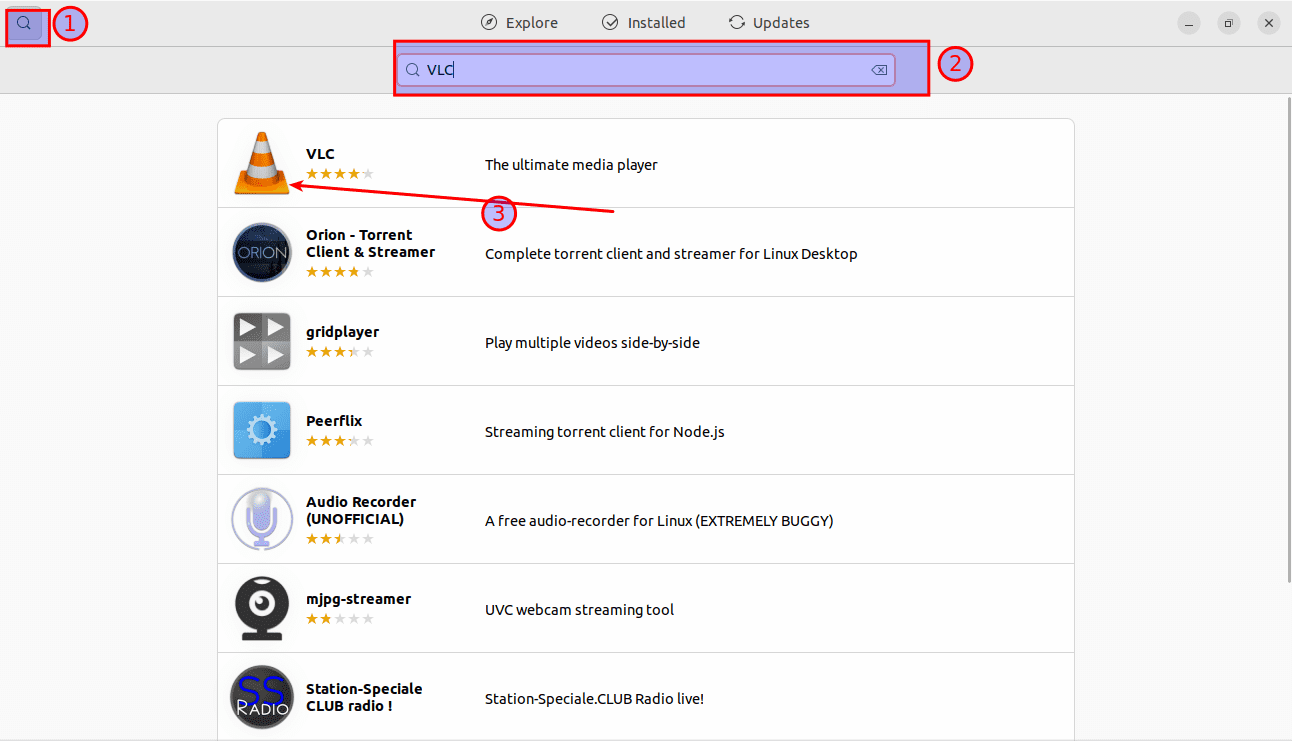
Search for VLC
To set up the program, click on the “Install” button.
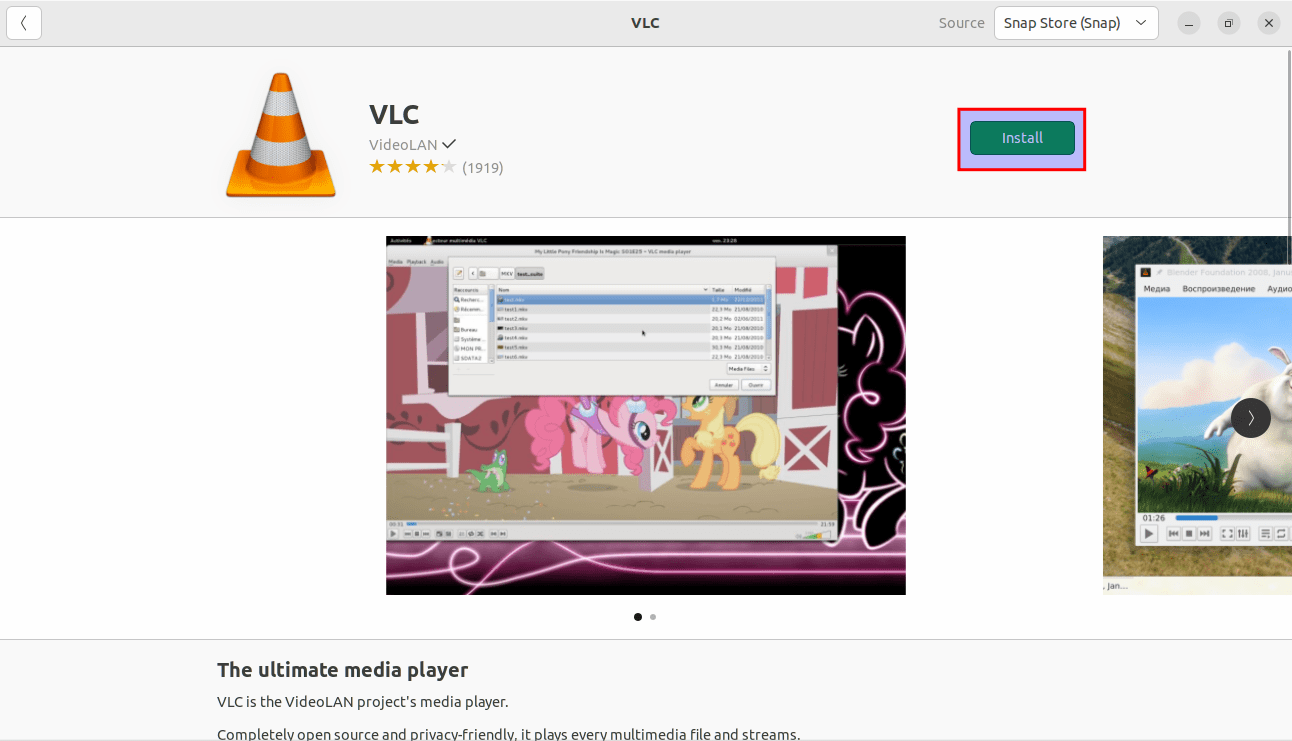
Click on install
Then an “Authentication Required” window will show; input your passcode and press the “Authenticate button to proceed with the setup.
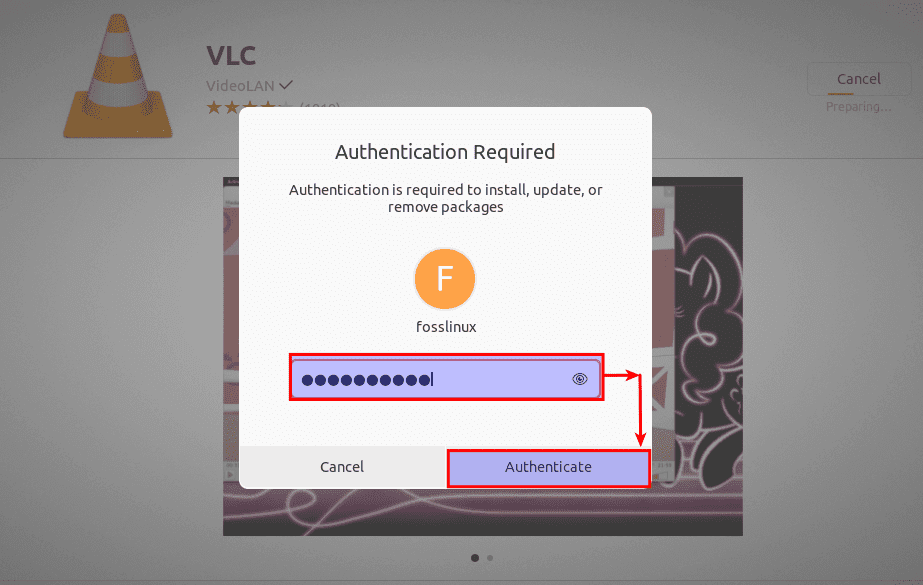
Authenticate
Installation progress:
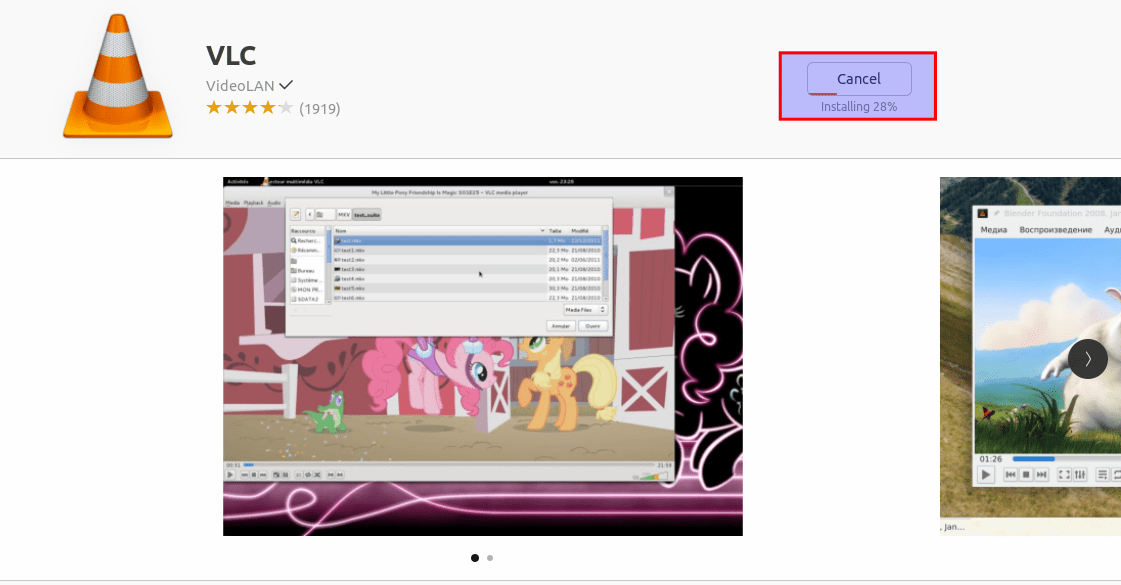
Installation progress
Or use the apt approach.
The deb package included in the official Ubuntu repos may lag behind the latest version of VLC.
To install VLC using the apt approach, open your console and run the following commands as a user with sudo privileges:
sudo apt update

sudo apt install vlc

Install VLC via apt
After setting up VLC on your OS, open it and click on the “Media” tab. After that, select “Convert/Save”:
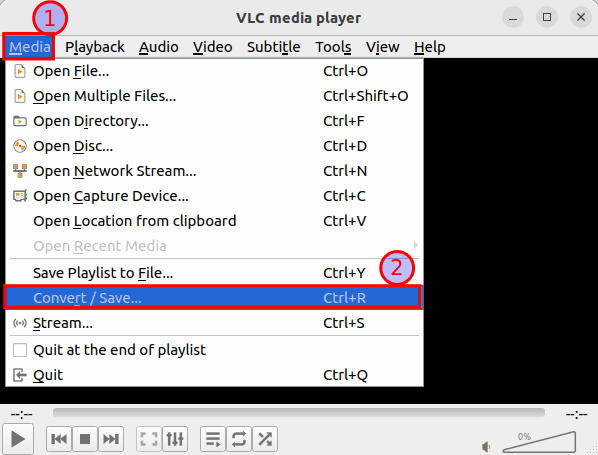
Select convert or save
Then click the “Add” button and select your input mkv file. After appending that File using the Add option, select the “Convert/Save” button at the bottom of the screen, which should be enabled by now:
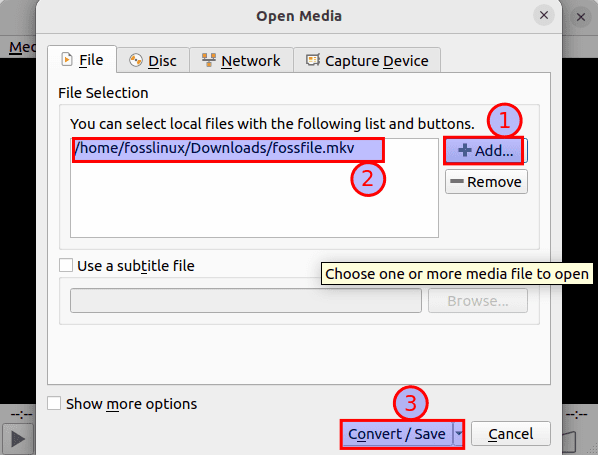
Click on the Add button
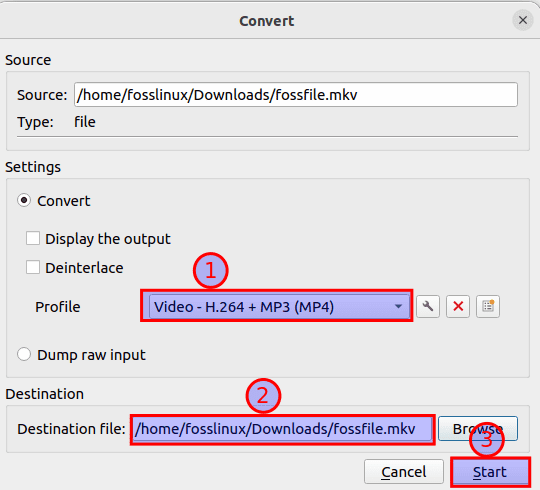
Now, select the “Convert” option and pick the “Video-H.264 + mp3 (MP4)” option as the output profile. Then, select the destination file name and location then click “Start,” as highlighted in the snapshot below:
Pick conversion style
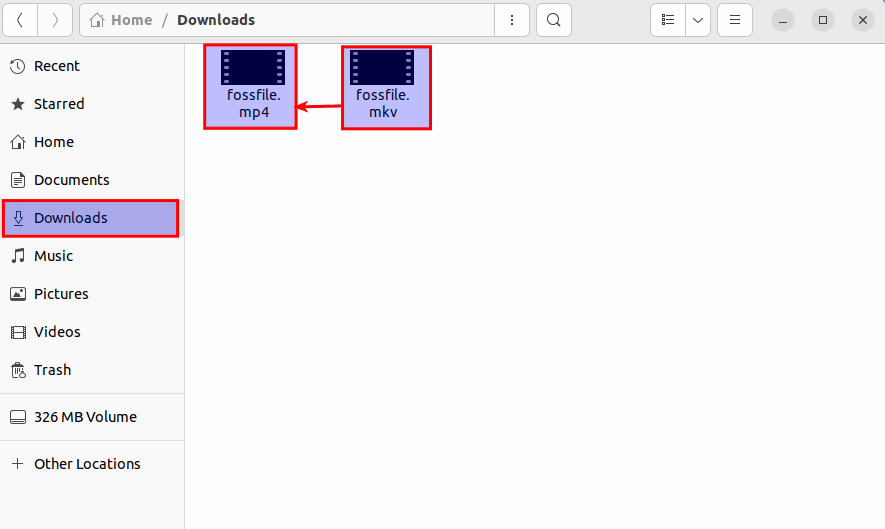
A couple of seconds or minutes later (depending on the size of your mkv video, you will have the converted mp4 File at the location you specified earlier in the conversion section:
File converted
Note that it takes a due amount of time when you utilize the VLC to convert mkv to mp4. This is so because the VLC player initially re-encrypts the video and then bundles it into an mp4 container. In instances where you have larger files, it could take a longer time to complete the conversion.
This seamless way of converting mkv to mp4 does not involve a console. However, other users prefer the command line approach as they might want to run this process on a headless server or merge the conversion process in a shell script.
For such users, the best option is to use FFmpeg, which we will cover in the article’s next section.
Method 2: Converting MKV to MP4 using FFmeg
But before we convert using FFmpeg, let us first cover the installation phase.
How to install FFmpeg on Ubuntu
FFmpeg is free, open-source command-line software for transcoding multimedia files into different formats. It comprises libavformat, libavcodec, and libavutil, which are shared video and audio libraries. You can deploy this software to help convert between different video and audio formats, alter sample rates, and resize videos. Due to its fame, FFmpeg is available directly from the official package repo for a good number of Linux distros, including Ubuntu.
How to install FFmpeg from the default package repo
First, launch your terminal using the “Ctrl+Alt+T” keyboard shortcut combination and then update the apt-cache by issuing the following command:
sudo apt update
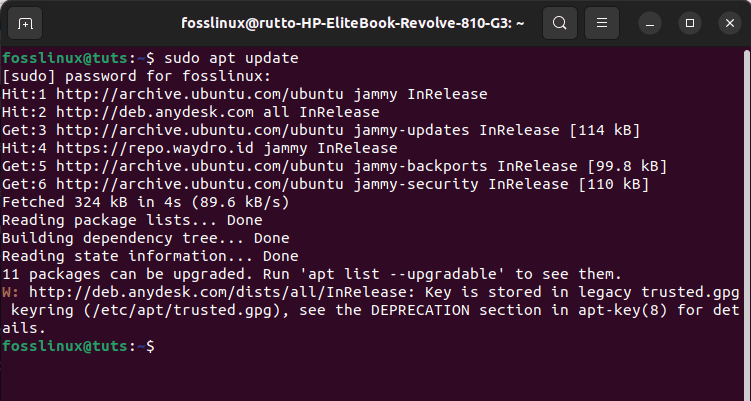
Update system
At the end of the above command, you may or may not be provided with the packages that need to be upgraded depending on the release of the packages installed on your system. In case you are given, run this command to upgrade the packages:
sudo apt upgrade
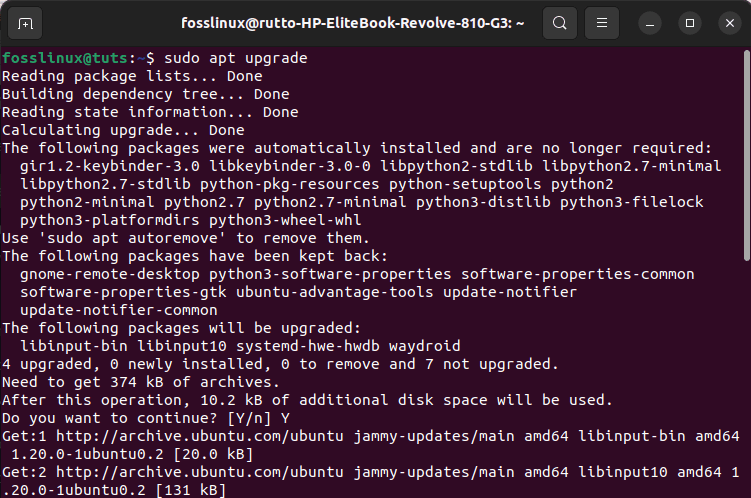
Upgrade system
Next, install the “ffmpeg” package using apt. Apt will spontaneously download and install all the necessary dependencies:
sudo apt install ffmpeg
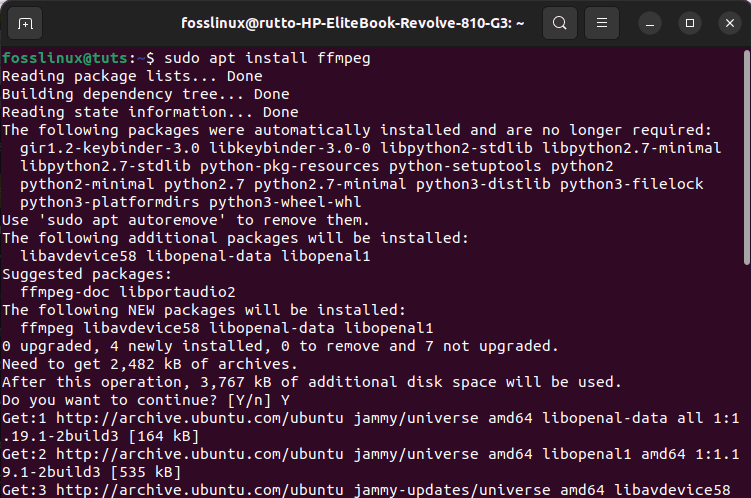
Install FFmpeg
How to install FFmpeg from snapcraft
This is another recommended alternative for setting up FFmpeg. Installing the snap package needs snappy (the snap package manager) to be set up beforehand.
The latest Ubuntu release will have the snap package manager configured by default. Nevertheless, this should be less of an issue if it is not configured, as you can configure the package manager right away using this command:
sudo apt install snapd -y
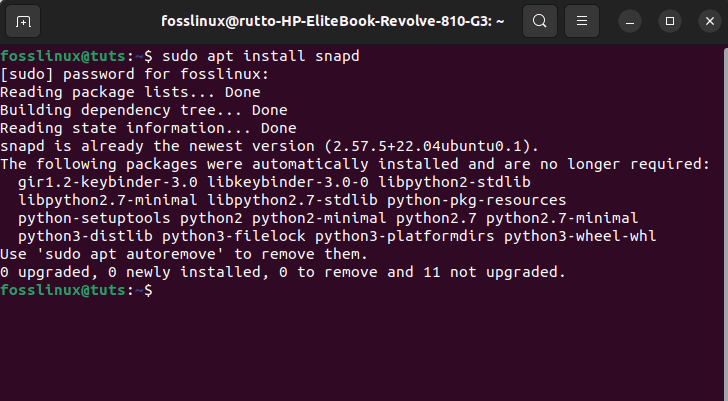
Install Snapd
The system should now be ready to grab and set up the snap package.
Now, install ffmpeg using this command:
sudo snap install ffmpeg
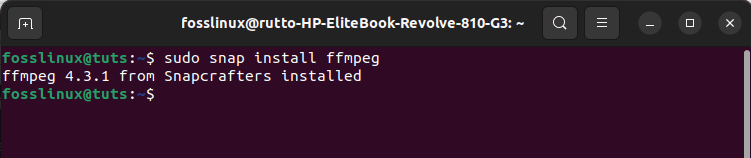
Snap install ffmpeg
Let us now put the just-set-up app into use right away.
How to use the FFmpeg program to convert MKV to MP4
Basic conversion
FFmpeg is a very complex program that supports lots of options. Any FFmpeg command will have the following syntax:
ffmpeg -i <input> <options> <output>
Note: Here, the “-i” flag designates the input file.
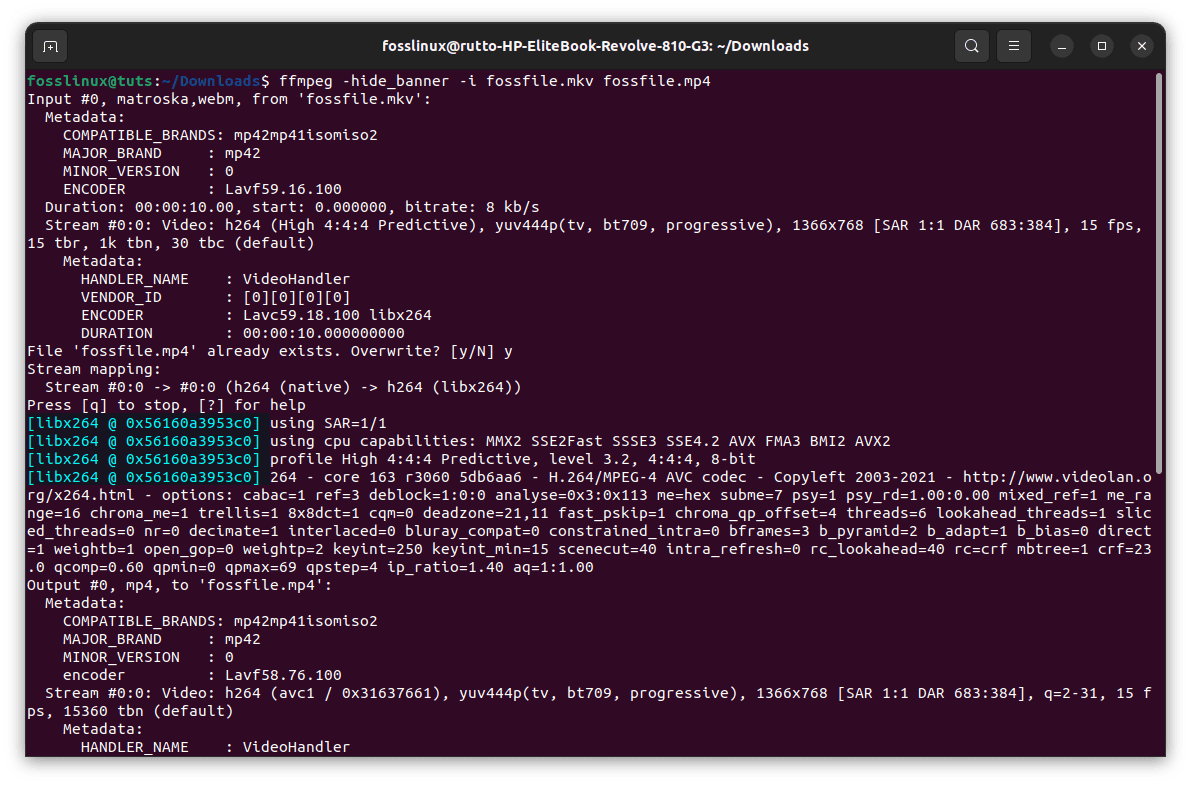
The following command structure is used to convert a media file into a couple of different other formats. In this instance, the File will be converted from the “fossfile.mkv” format to the “fossfile.mp4” format. FFmpeg will automatically allocate all the necessary options for the conversion:
ffmpeg -i fossfile.mkv fossfile.mp4
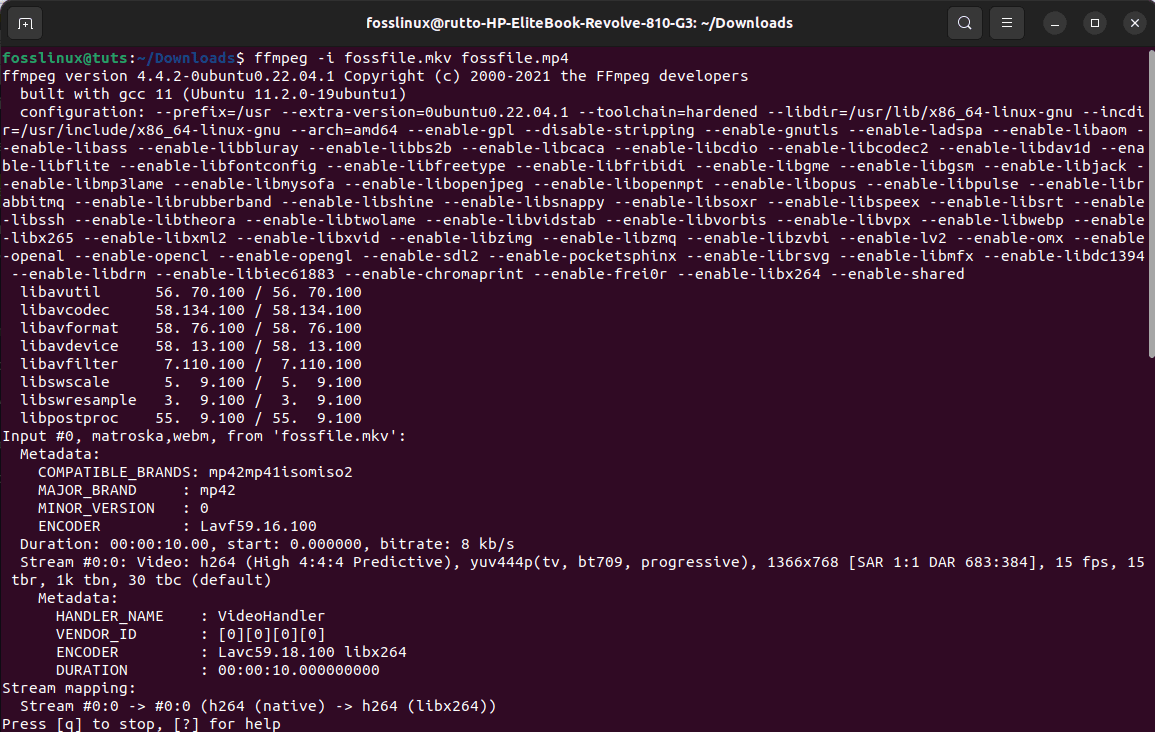
Convert File
File conversion end:
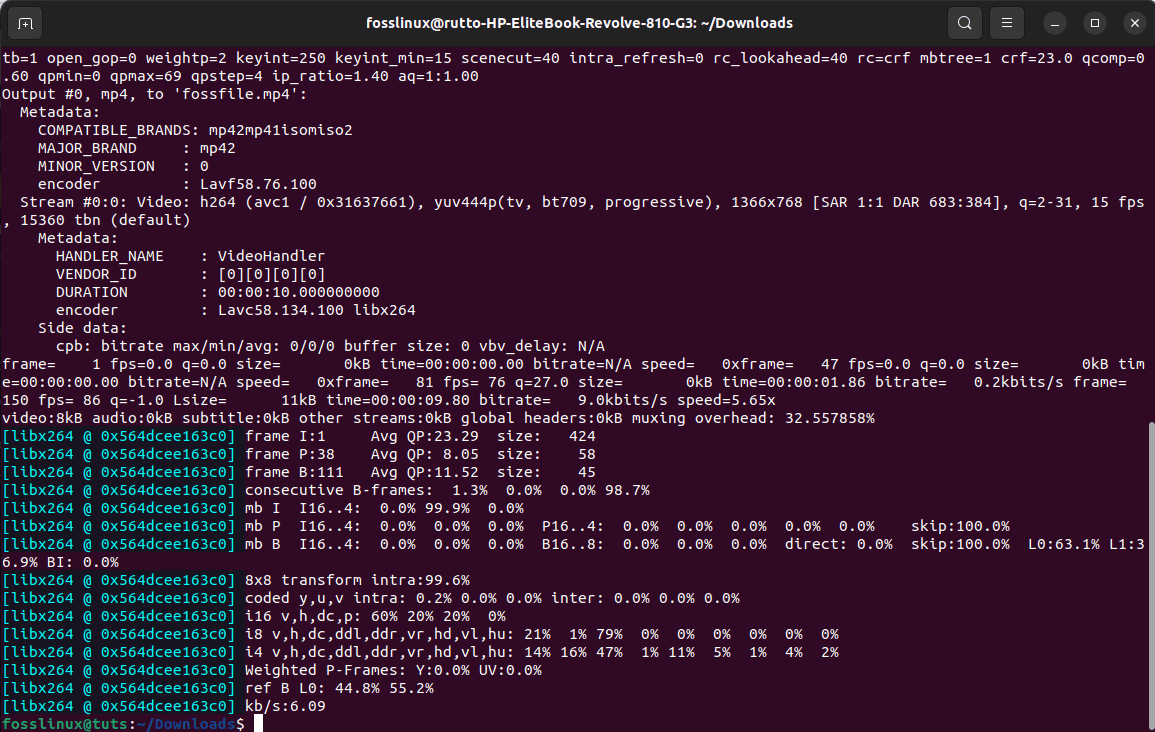
File end
File converted:
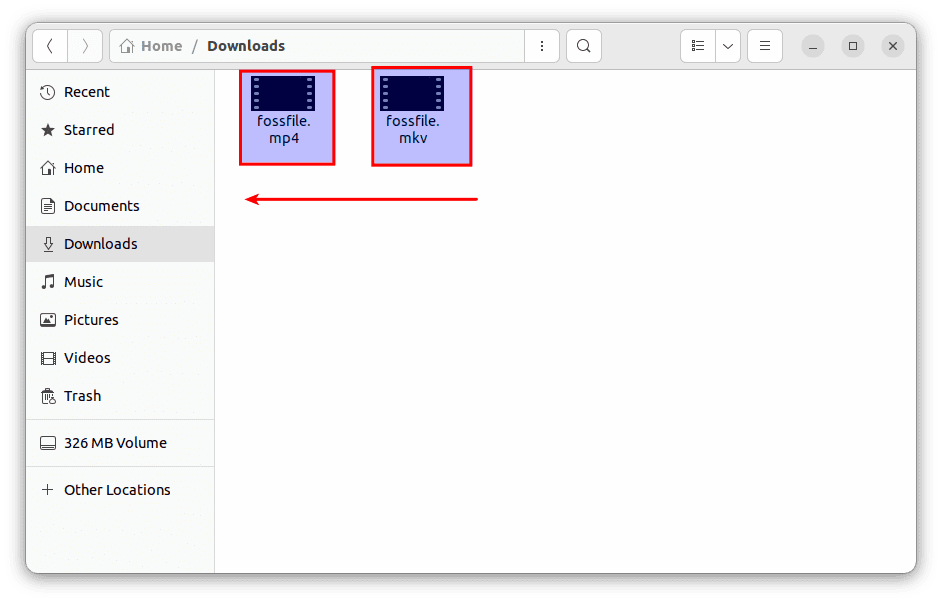
File converted
To disable the redundant outputs (copyright notices, libraries, etc.), add the “-hide_banner” flag.
ffmpeg -hide_banner -i fossfile.mkv fossfile.mp4
Disable redundant output
FFmpeg also gives one full control over individual streams (audio, video and subtitle, and more). For instance, it is possible to select video or audio files particularly to be subject to a specific codec:
ffmpeg -hide_banner -i fossfile.mkv -c:v libx264 -c:a copy fossfile.mp4
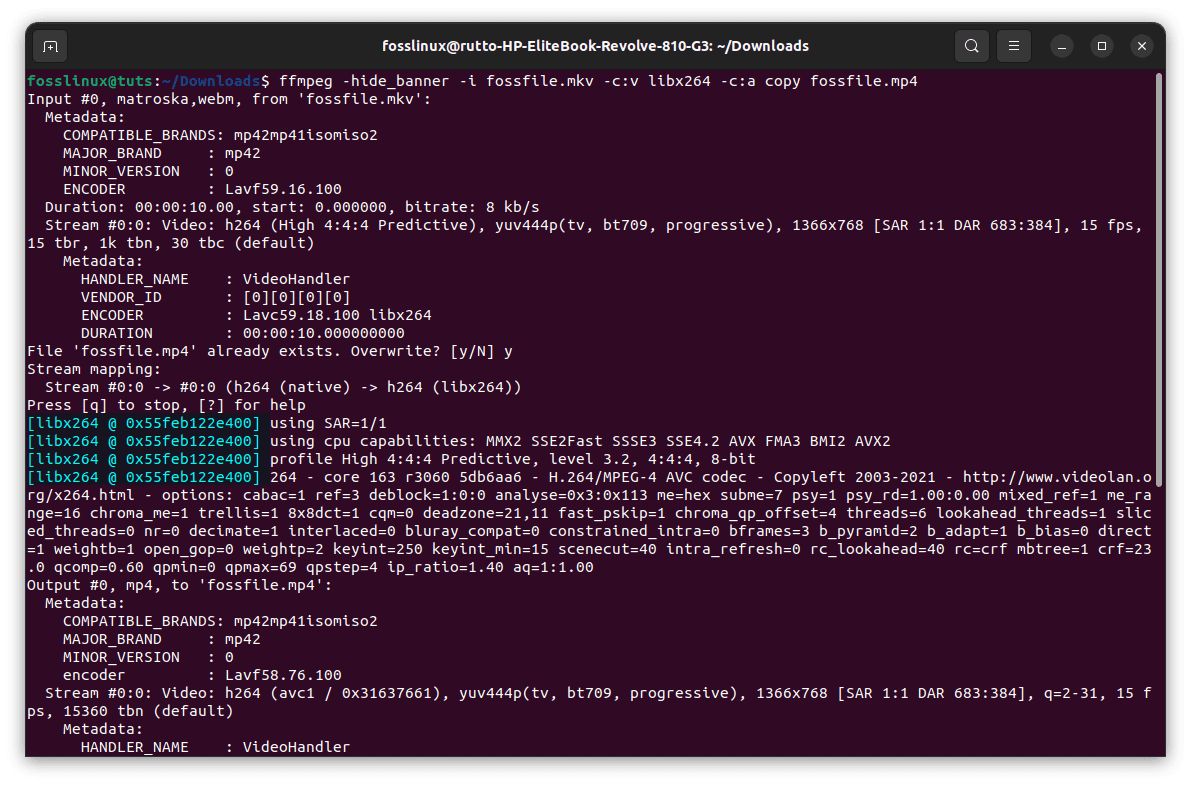
Control over individual streams
Here, the flag “-c:v” designates the codec for the video stream, and the “-c:a” designates the audio stream.
Remember that for the “copy” function to operate as intended, FFmpeg must support mixing the targeted streams into the output container. Otherwise, it will not work.
The following example is another approach to using this feature but using a real codec. We will convert the MKV file into MP4 using the libx264 codec. Note that libx264 is only applicable for video streaming:
ffmpeg -hide_banner -i fossfile.mkv -c:v libx264 fossfile.mp4
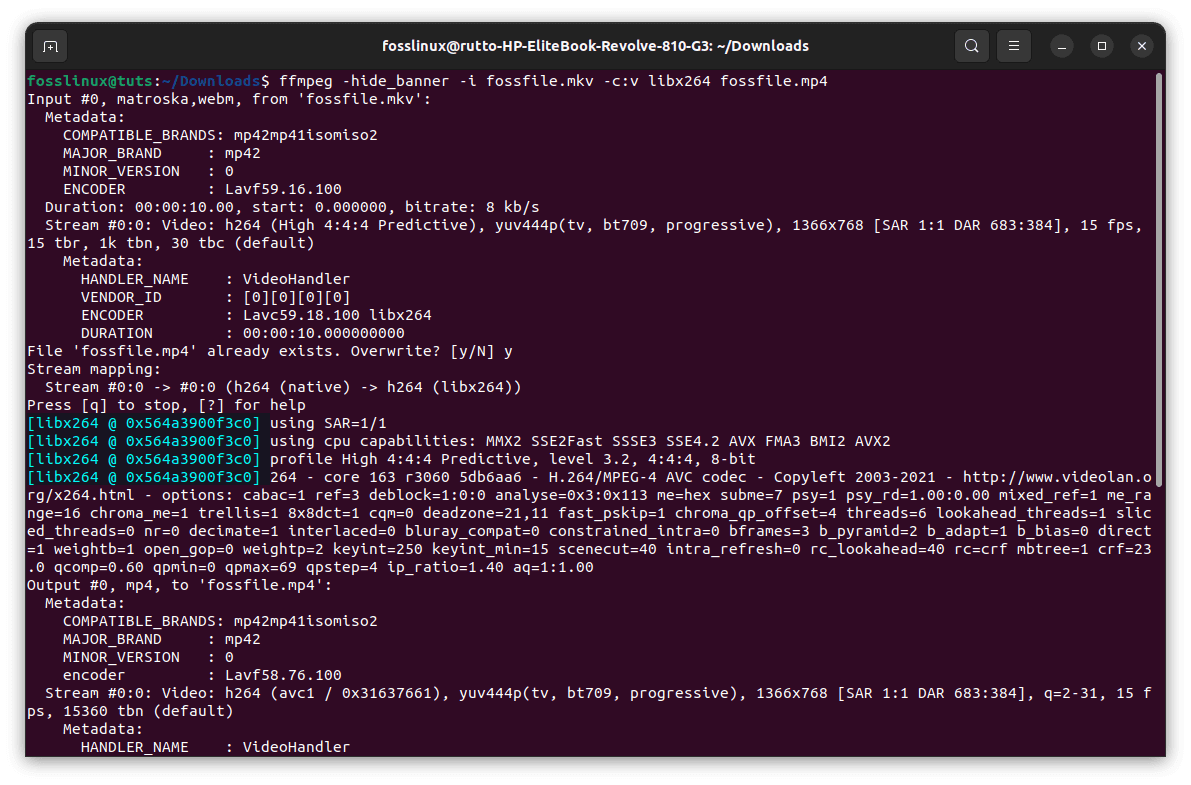
Codec
Let us look at another important aspect.
Influencing content quality
Besides the basic conversion, the FFmpeg program lets users manipulate content quality (width/height, bitrate, framerate, and more). All these features have an impact on the quality of media content. Note that changing any of these media file properties will influence how the viewer listens and sees the media in the File. We all know that a human’s ability to see and hear is not straightforward, Don’t we? So sometimes, small changes can make a dramatic difference in quality.
We will begin with the bitrate. To modify the bitrate of the source video, use the following command syntax:
ffmpeg -hide_banner -i fossfile.mkv -c:a copy -c:v libx264 -b:v 1M fossfile.mp4
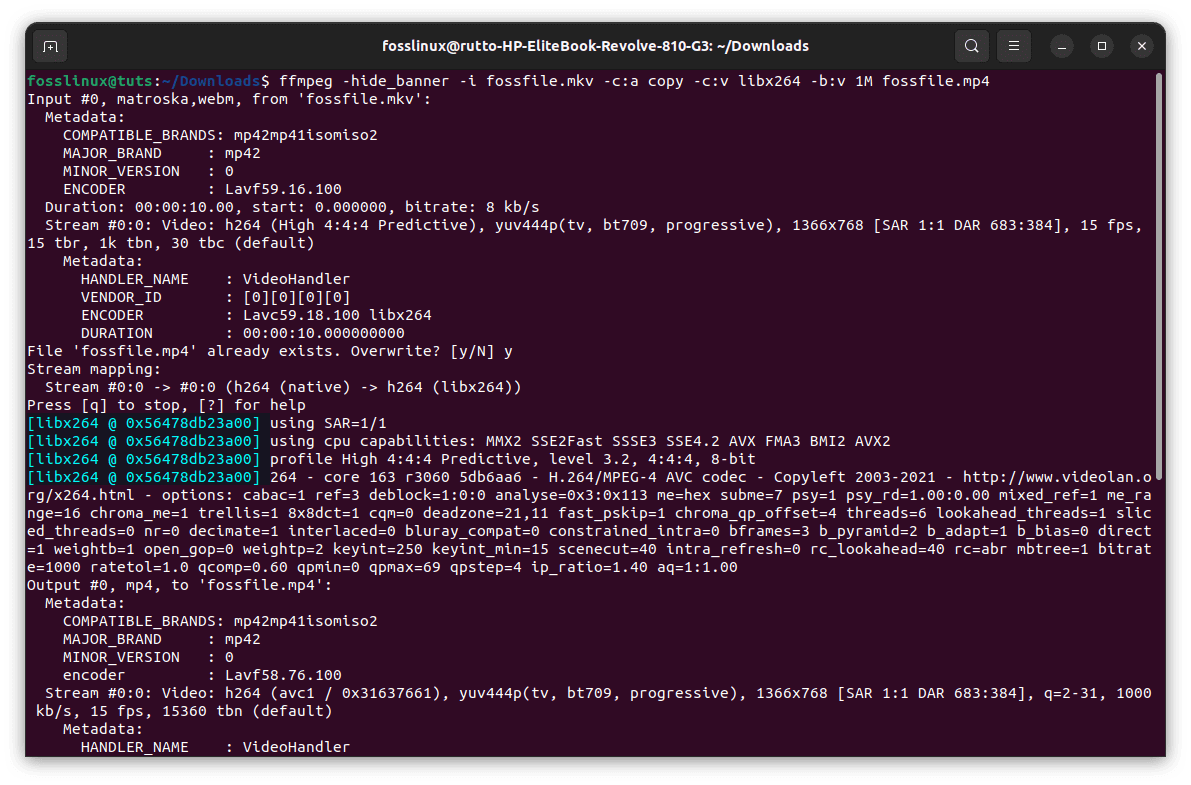
Bitrate modification
Here, the “-b:v” stands for video bitrate.
Frame rate is another vital aspect in deciding content quality. To modify the frame rate of an MKV file, we will use the following command syntax:
ffmpeg -hide_banner -i fossfile.mkv -c:a copy -c:v libx264 -r 30 fossfile.mp4
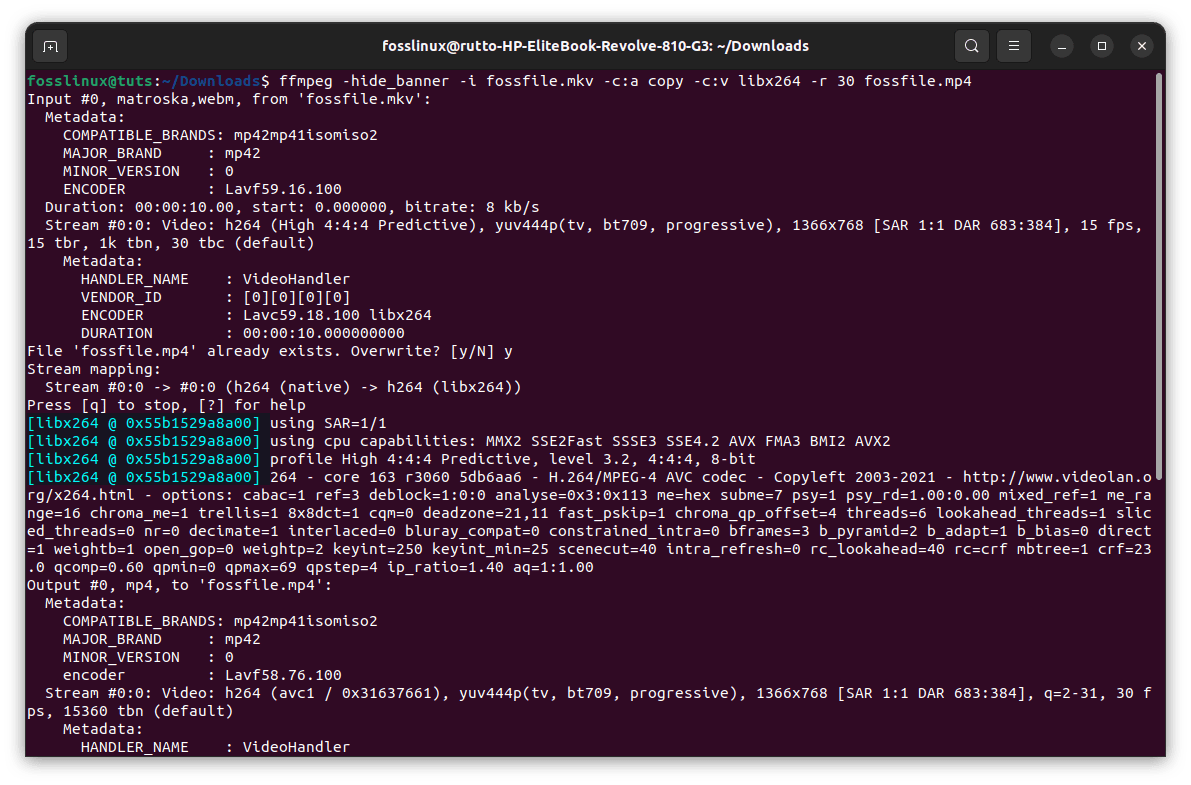
Framerate modification
The “-r” flag here designates the desired frame rate.
Besides the visual changes, changing the video dimension will also affect the output file size. To change the video dimension to, let’s say, 1280x720p, we will use the following command structure:
ffmpeg -hide_banner -i fossfile.mkv -c:a copy -c:v libx264 -s 1280x720 fossfile.mp4

Change video dimension
Let us look at one last option converting MKV to MP4. Here we will be deploying a graphical user interface program called Handbrake.
Method 3: How to convert MKV to MP4 using Handbrake
If you are not a terminal fanatic, you should opt to convert your files using Handbrake. This is a great option for video format conversion and video conversion. Handbrake is a free, open-source app with robust features that users can install on Linux, Windows, and mac.
Install Handbrake on Ubuntu
We can use a couple of installation approaches to set this program on our system.
Using the official PPA
Handbrake DevOps maintains an official PPA for Ubuntu 20.04 LTS and older. Using this PPA, you can, in no time, set up the latest version of Handbrake on your Ubuntu-based distro.
So open your terminal and use the following command to add the PPA repo.
sudo add-apt-repository ppa:stebbins/handbrake-releases
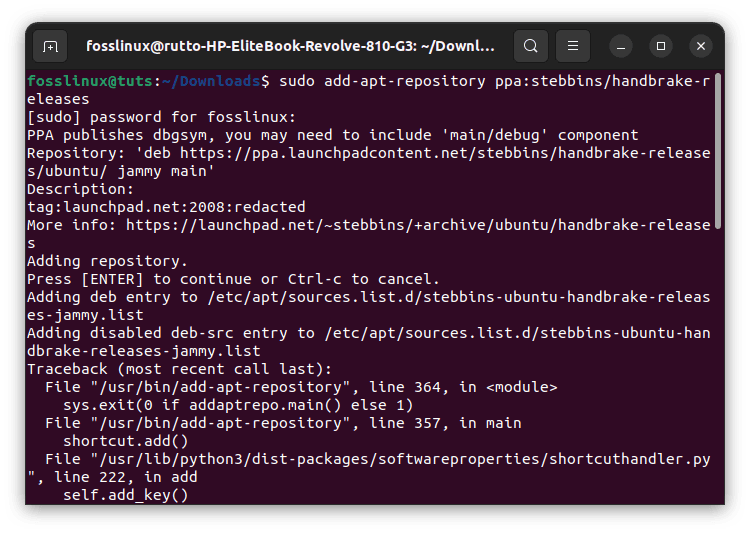
Add PPA repo
After appending the PPA, it is advised that you update the local package, which can be achieved using the following command:
sudo apt update
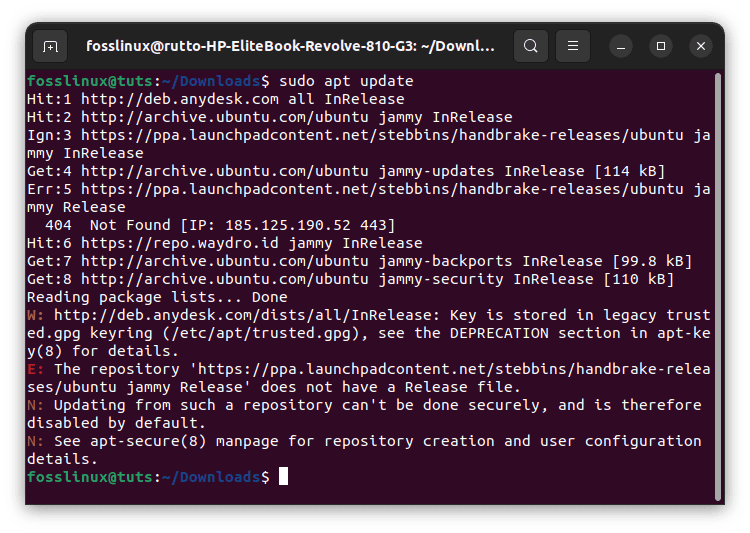
Update system
From there, go ahead and set up the current version of the Handbrake via this command:
sudo apt install handbrake-cli
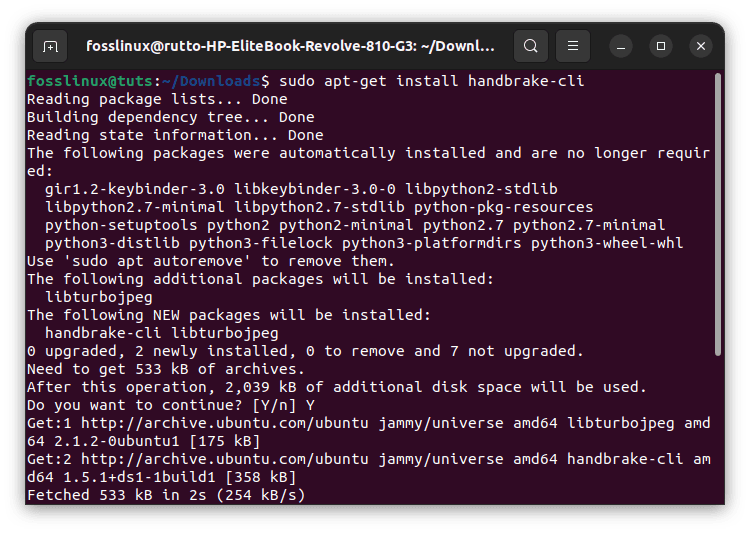
Install using PPA
The best thing about this method is that it deletes the older handbrake package on your system, thus avoiding the installation of two handbrake instances.
Using the Ubuntu repo
You can use this other alternative to install the handbrake package without adding the PPA using the following command:
sudo apt install handbrake
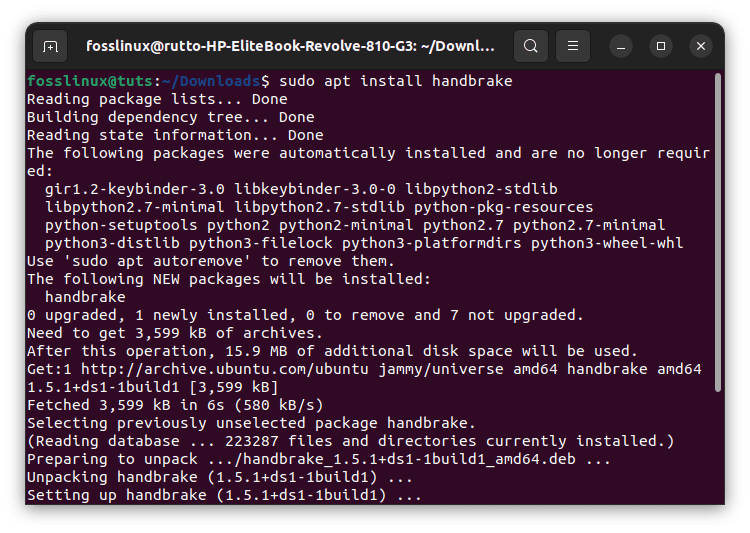
Install Handbrake
Using the Flatpak package
You can go ahead and use the Flatpak package available on Flathub. To attain this, copy and paste the following command on your terminal:
flatpak install flathub fr.handbrake.ghb
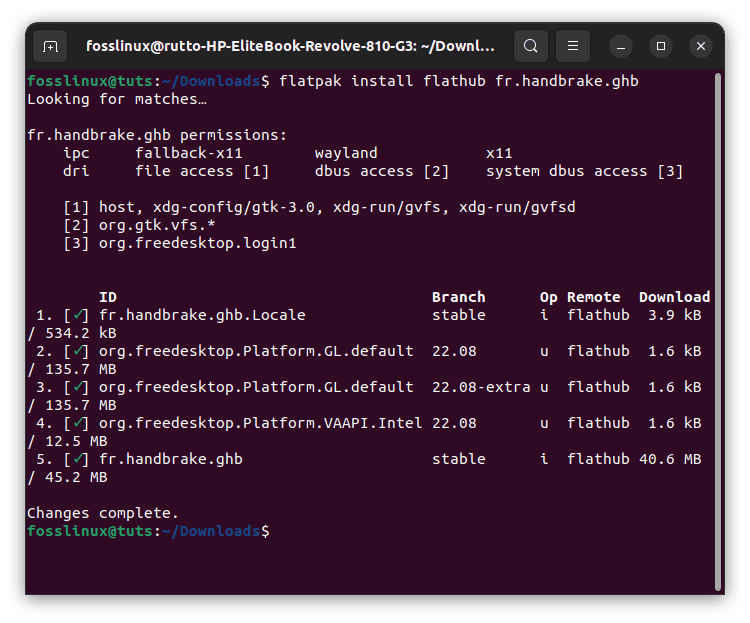
Install using flathub
After Handbrake is set up, open the GUI interface, which should look as the snapshot below:
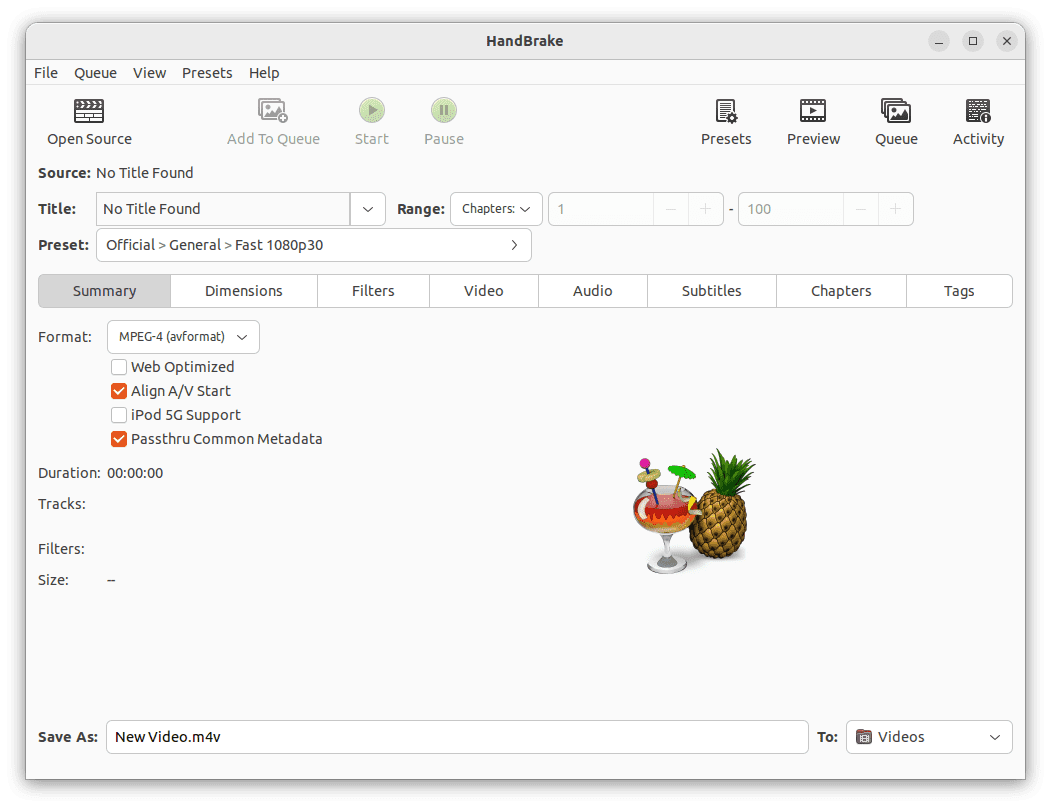
Handbrake GUI representation
Using the File> Open Source menu, open the mkv file:
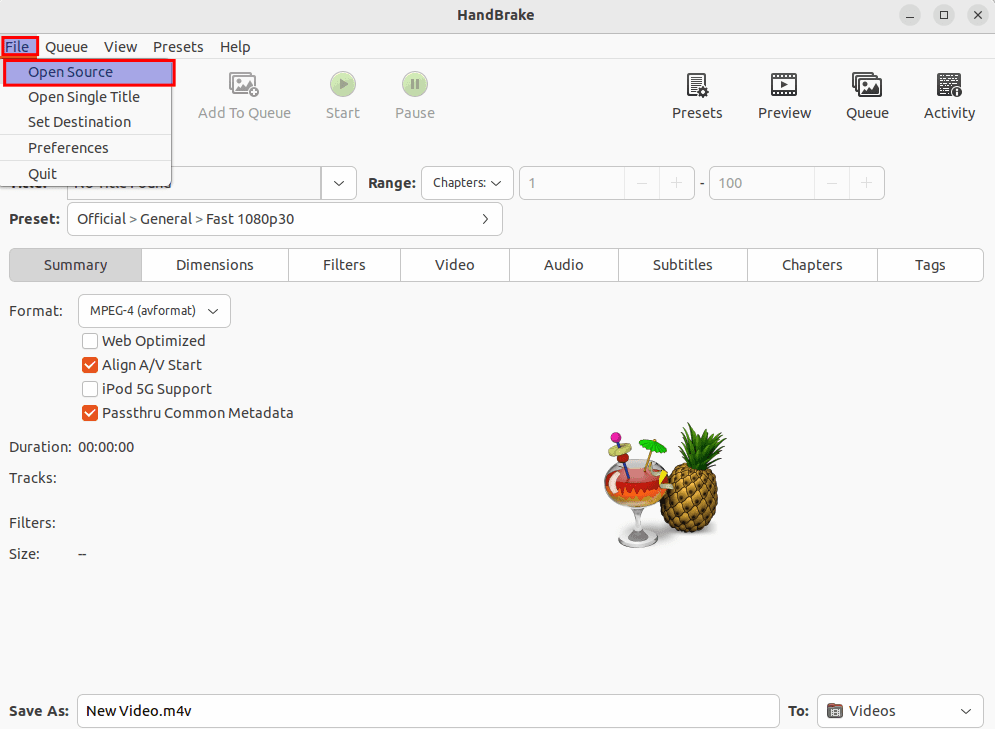
Select File
Handbrake will show all the pertinent information about the mkv file:
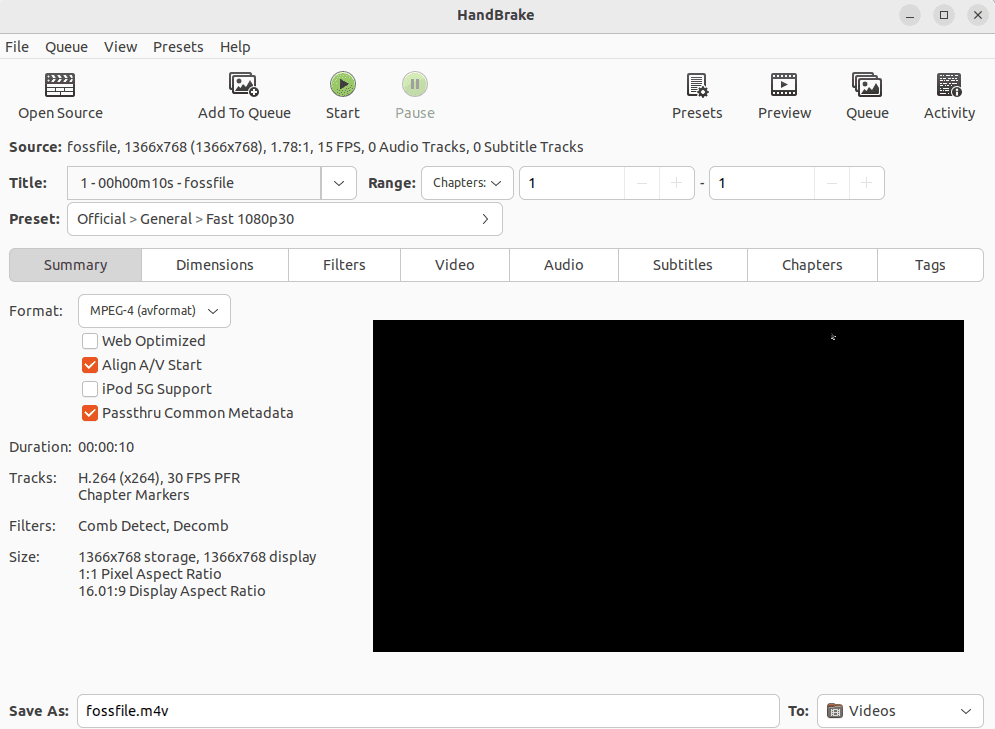
All info
If you want to transform the mkv file into mp4 file format, select MPEG-4 (avformat) in the summary tab. Then select a file name in the bottom “Save As” dialog box and click the “Start” button to start the container conversion process.

Conversion
Using a handbrake to convert mkv to mp4 consumes a lot of time since it re-encrypts the video and then bundles it into an mp4 container. So if your File is longer, expect it to take a long time to complete the conversion. However, it is also vital to note that Handbrake offers you the option of revamping the mp4 File for delivery vias email, WhatsApp, or other messaging platforms.
That is it. After the conversion, you should have the just converted mp4 version of the File in the output folder you specified earlier.
Final Thoughts
We have discussed three simple yet effective ways of converting MKV files to MP4 format using VLC, FFmpeg, or Handbrake. All three techniques should function as expected. Whether terminal or GUI-based, the approach you deploy to get this software up and running does not matter. We hope this detailed info came in handy for those looking for ways they can convert their mkv files to mp4. We recommend you check all three out and give the best a shot, and if you don’t mind, you can let us know which one you found amazing.
2 comments
Thanks for your help
Thank you so much for your great share.
I use iDealshare VideoGo to convert MKV to MP4 with high quality.