
Backup and recovery are crucial components of any data management strategy, regardless of whether you’re dealing with personal files, business data, or mission-critical applications. Accidental deletion, hardware failure, theft, cyber-attacks, and natural disasters are some factors that can lead to data loss. The consequences can be severe, ranging from the inconvenience and financial losses to reputation damage and legal liabilities.
One operating system that is widely used in various contexts is Ubuntu, a free and open-source Linux distribution that offers robust security features, flexibility, and ease of use. However, even Ubuntu is not immune to data loss, and users need to take appropriate measures to protect their files, applications, and system settings from potential disasters.
In this article, we’ll explore some backup and recovery options available in Ubuntu and how you can use them to safeguard your data and minimize downtime in emergencies.
Data backup and recovery tools
You will come across two popular tools when dealing with data backup and recovery on Linux systems.
- Deja Dup
- Timeshift
Deja Dup allows you to back up your files and folders to an external drive, cloud storage, or another location on your computer. It also has a simple restore feature, which makes it easy to recover your data in case of a data loss event. Unfortunately, this tool doesn’t come pre-installed, and you must install it yourself. Luckily, this post will provide the detailed installation procedure below.
On the other hand, Timeshift is a powerful system restore tool that creates snapshots of your system at regular intervals. It allows you to roll back your system to a previous snapshot if something goes wrong, such as a system update that breaks your system.
By using these two tools together, you can create a comprehensive backup and recovery plan that will keep your data safe and make it easy to recover lost data. So, let’s get started!
1. Backup and restore your files with Déjà Dup on Ubuntu
Below is a detailed guide on how to use Déjà Dup to backup and restore your files on Ubuntu:
Step 1: Install Déjà Dup
Déjà Dup comes pre-installed with Ubuntu, but you can easily install it from the Ubuntu Software Center if you don’t have it installed. Search for “Déjà Dup” and click on the install button.
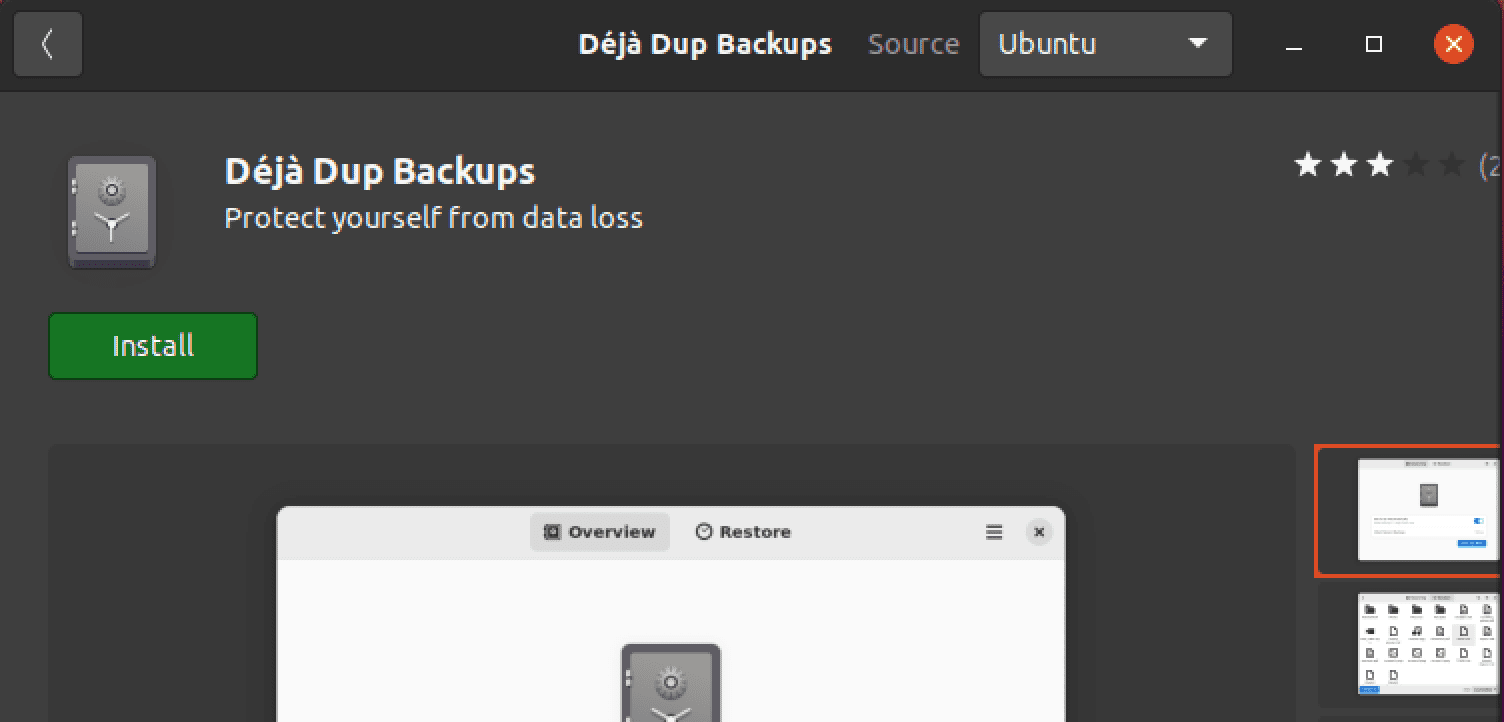
Install Deja Dup
Alternatively, you can install the application from the Terminal using the command below.
sudo apt install deja-dup
Step 2: Launch Déjà Dup
To launch Déjà Dup, open the “Activities” menu in the top-left corner of your screen and search for “Déjà Dup”. Hit “Enter” to launch the application.
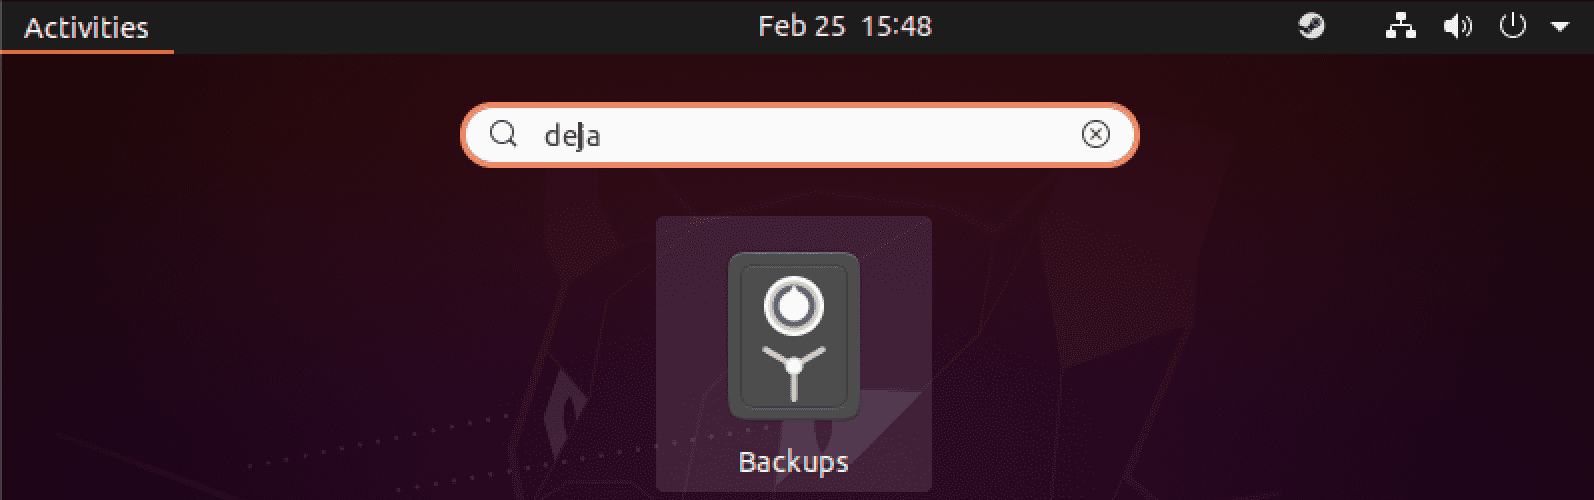
Launch Deja Dup
You can also launch the application from the Terminal using the command below.
deja-dup
Step 3: Configure your backup settings
Once you have launched Déjà Dup, you will see the main window with several configurations on the left side, as shown in the image below.
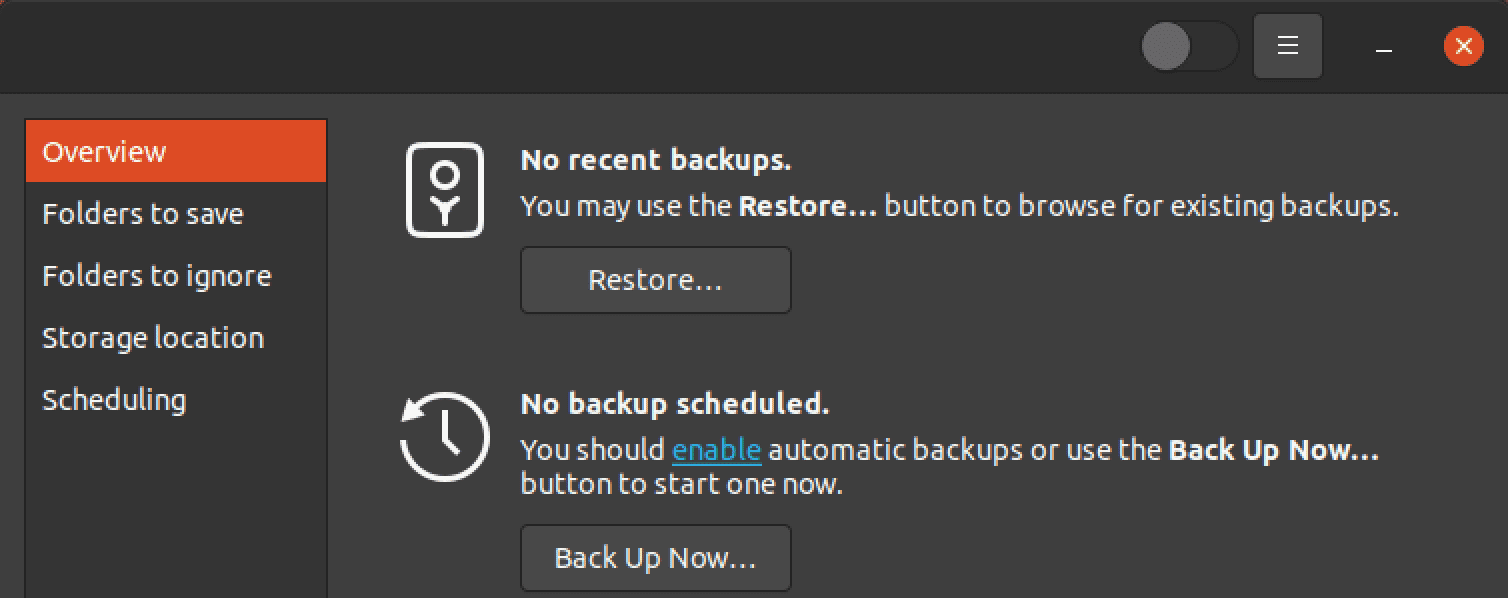
Deja Dup main window
Let’s have a detailed at all these options.
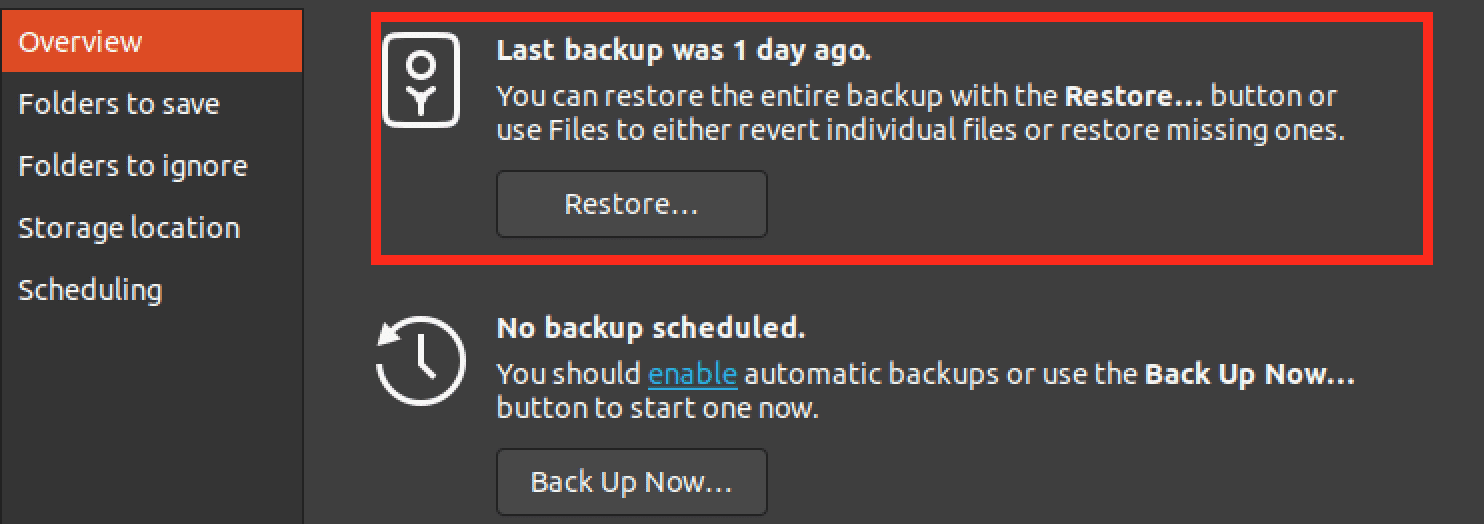
Overview
This is the first screen you will see if you use Timeshift for the first time. It shows you the last time a backup was performed, the size of the backup, and the storage location for your backup. You can also use the Overview section to perform a manual backup or to restore files from a previous backup.
Folder to save
In the Folders to Save section, you can choose which folders and files to include in your backup. By default, Déjà Dup will back up your home folder, which contains your personal files, documents, and settings. However, you can also back up other folders or files by clicking the “+” button and navigating to the folder or file you want to include.
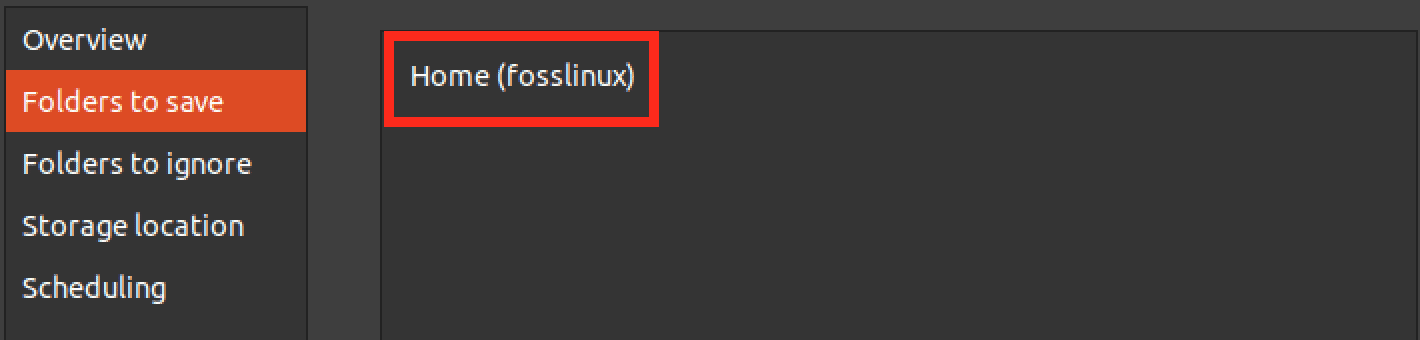
Folders to save
Folders to ignore
In the Folders to Ignore section, you can choose which folders and files to exclude from your backup. This is useful as it enables skipping unnecessary folders and files that might be huge or already backed up in a different location. You can use the “+” button at the bottom to add new folders or the “–” to remove selected folders.
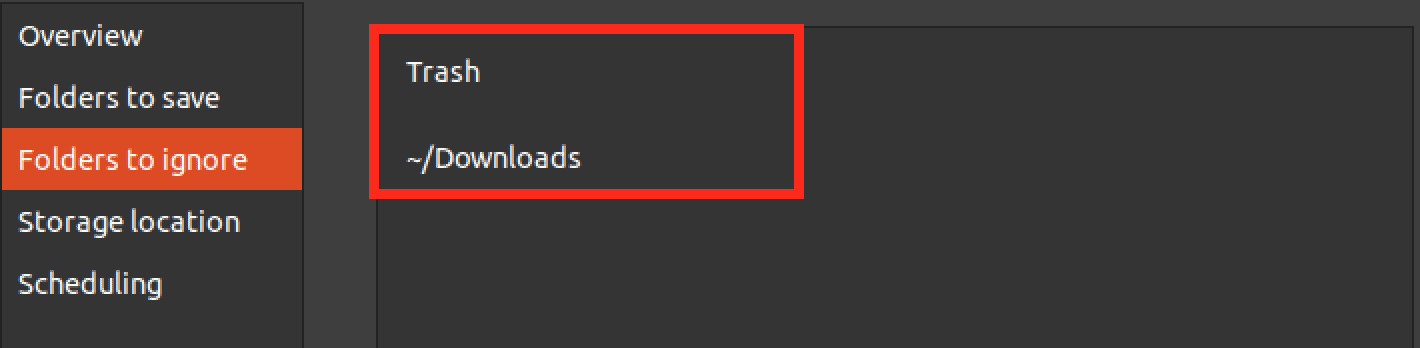
Folders to Ignore
Storage location
You can choose where to store your backup files in the Storage Location section. Déjà Dup supports several storage options, including local folders, external hard drives, and cloud storage services like Google Drive and Dropbox.

Storage Location
Scheduling
In the Scheduling section, you can choose how often Déjà Dup should perform automatic backups. Déjà Dup will perform a weekly backup by default, but you can change the schedule to daily, every two weeks, or monthly. You can also choose the time of day when the backup should be performed.
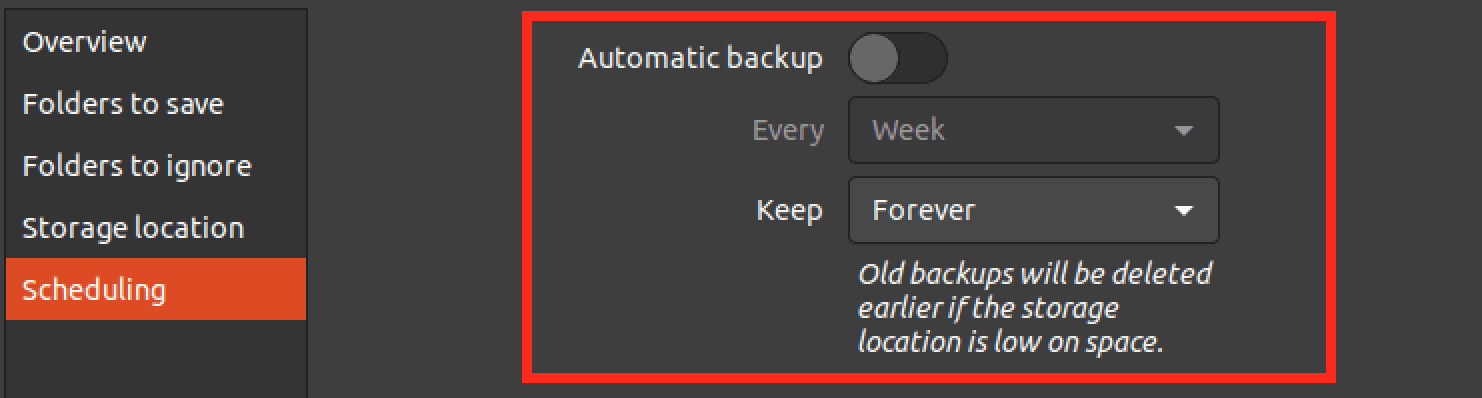
Scheduling
Step 4: Perform a backup
After you have done all the configurations, you can perform a backup. You can find the “Backup” and “Restore” options in the “Overview” tab.
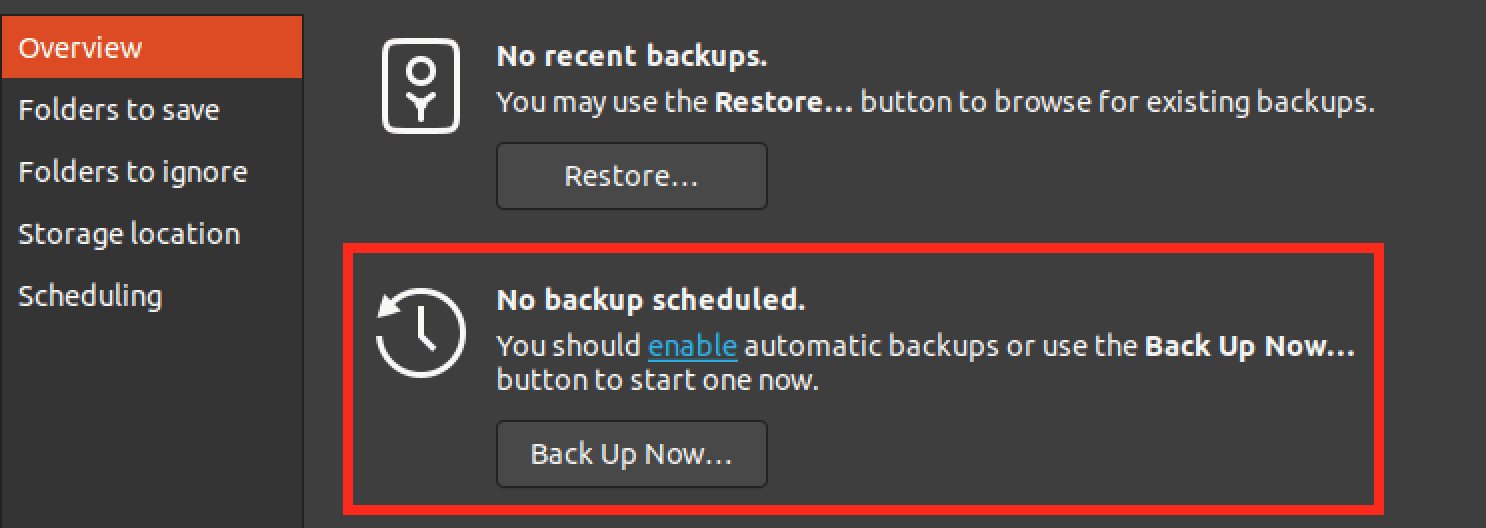
Perform a Backup
A window will pop up, prompting you to set the encryption password. Keep note that you will need this password when restoring your files.
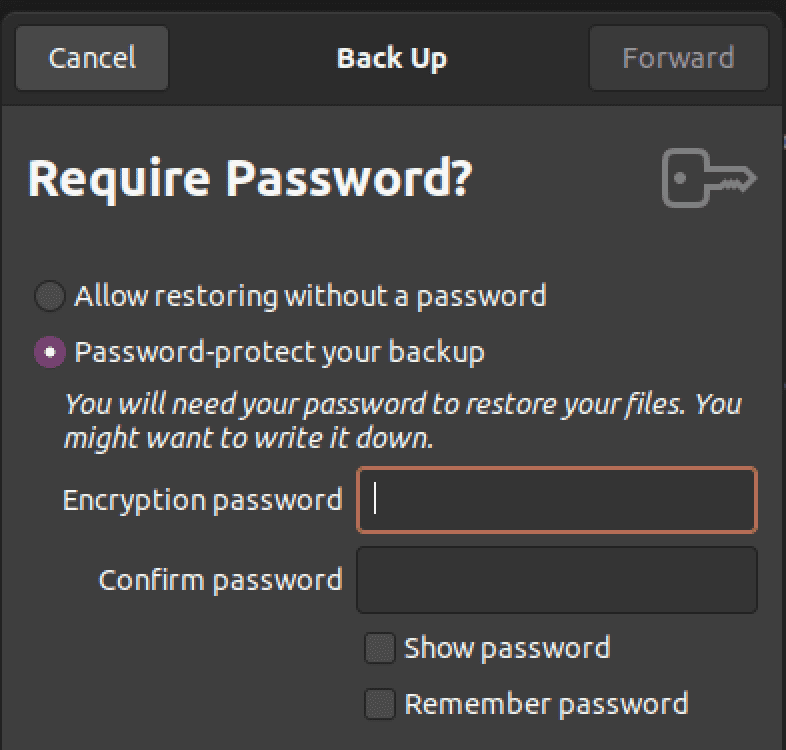
Encryption Password
Once the backup is complete, you will see a message confirming that the backup was successful. You can then close the Déjà Dup window.
Step 5: Restore your files
To restore your files, open Déjà Dup again and click the “Restore” button in the main window. Déjà Dup will display a list of available backups. You will see an option to select the “Backup” location and where you want to restore the files.
Restore backup
Please be patient, as the restoration process can take quite some time, depending on the size of your backup. Once done, you will see a notification on the Deja Dup window.
2. Backup and restore your Ubuntu system with Timeshift
In this tutorial, we’ll walk you through the steps to back up and restore your Ubuntu system with Timeshift.
Note: Timeshift is a system backup and restores utility that creates a complete system snapshot, including the operating system, applications, settings, and user data. By default, Timeshift excludes user home directories from the backup, but you can configure it to include specific directories or files in your home directory if you wish.
Step 1: Install Timeshift
Timeshift is not pre-installed on Ubuntu, so you must install it first. After that, you can install the application from Ubuntu/ Gnome software or execute the command below on your Terminal.
sudo apt install timeshift
Enter your password when prompted and wait for the installation to complete.
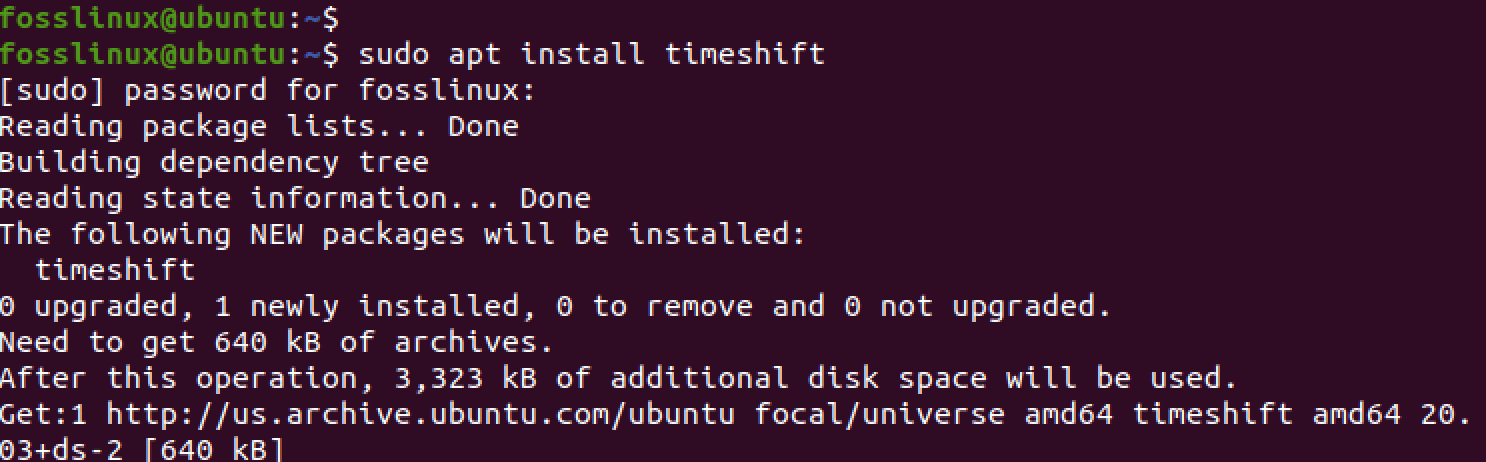
Install Timeshift
Step 2: Launch Timeshift
Once Timeshift is installed, you can launch it by searching for “Timeshift” in the Applications menu.

Launch Timeshift
Alternatively, you can open it by executing the command below on the terminal.
sudo timeshift-launcher
Timeshift requires root privileges to access your system settings and configurations. Therefore, you will see a prompt to enter your administrator password.
Step 3: Select the “Snapshot Type”
The Timeshift main window will open, and you will see an option to select the “Snapshot Type.” There are two options:
RSYNC
RSYNC is a file synchronization protocol commonly used to synchronize files between two systems. In Timeshift, the RSYNC snapshot type creates an incremental backup of your system by copying the differences between the current state of your system and the state at the time of the last backup. This means that RSYNC snapshots are generally smaller than full backups and take less time to create.
Btrfs
Btrfs is a modern, copy-on-write file system with advanced features such as snapshotting, compression, and RAID. In Timeshift, the Btrfs snapshot type creates a read-only snapshot of your system that can be used to restore your system to a specific point in time.
Btrfs snapshots are generally faster to create than RSYNC snapshots, and they take up less disk space since they only store the differences between the current and previous state of the system. However, Btrfs is only compatible with systems that use the Btrfs file system.
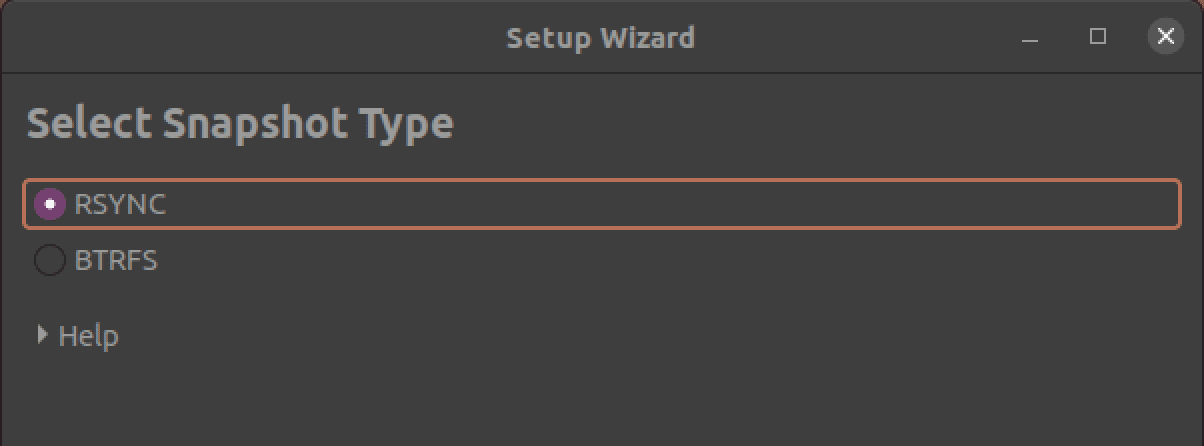
Snapshot Type
We will use RSYNC for this post. Click “Next” to continue.
Step 5. Select Snapshot Location
Timeshift will calculate the size of your backup, and then you will see a window prompting you to select where you want to store the backup.
In our case, we have connected an external hard drive.
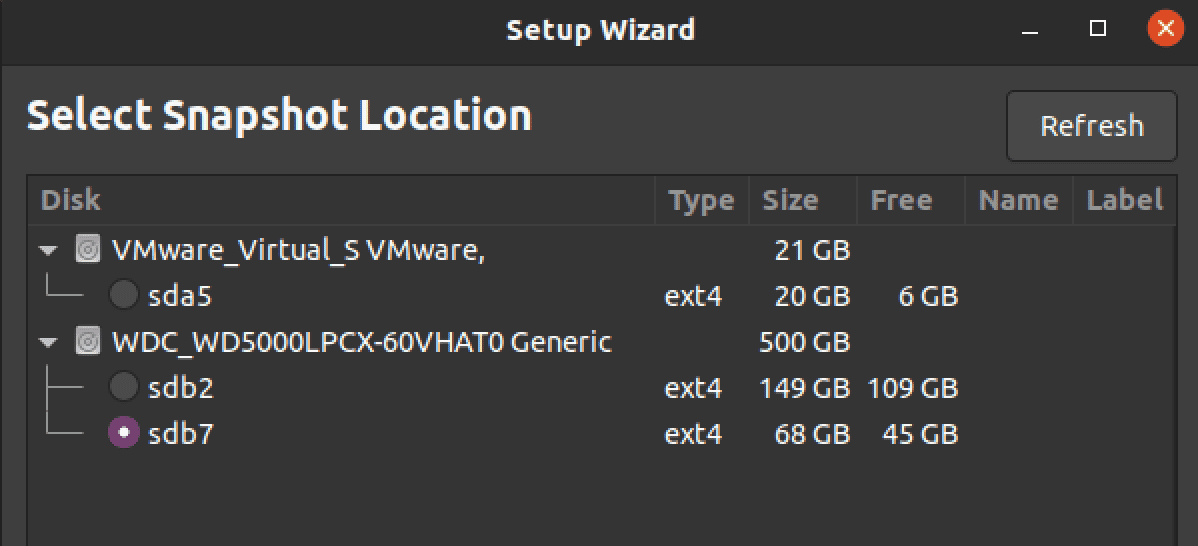
Select Storage Location
Step 6. Select Snapshot Levels
After selecting the location where you want to store the backup, you must set the Snapshot level, which enables you to configure the frequency and retention policies for your system backups on this screen. When you open the Snapshot Levels screen, you’ll see a list of pre-defined snapshot levels that you can use to configure your backups. These levels include:
- Hourly: Creates a backup every hour and keeps the most recent 24 backups.
- Daily: Creates a backup every day and keeps the most recent 7 backups.
- Weekly: Creates a weekly backup and keeps the most recent four backups.
- Monthly: Creates a monthly backup and keeps the most recent 12 backups.
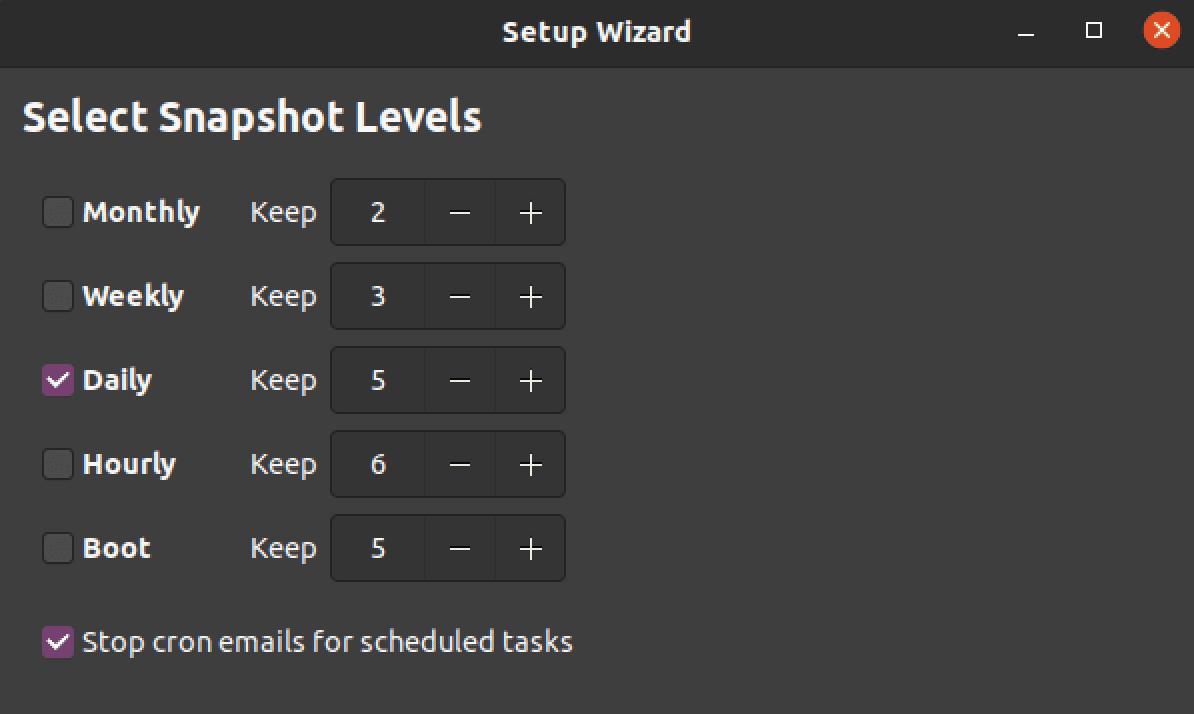
Select Snapshot Levels
You can customize these snapshot levels by adjusting the frequency and retention settings to suit your needs. For example, you might want to create a backup every 30 minutes instead of every hour or keep more than 12 monthly backups.
Step 7. Configure User Home Directories
Timeshift excludes user personal files from the backup. However, if you want to back up your personal files, you can configure them on this screen.
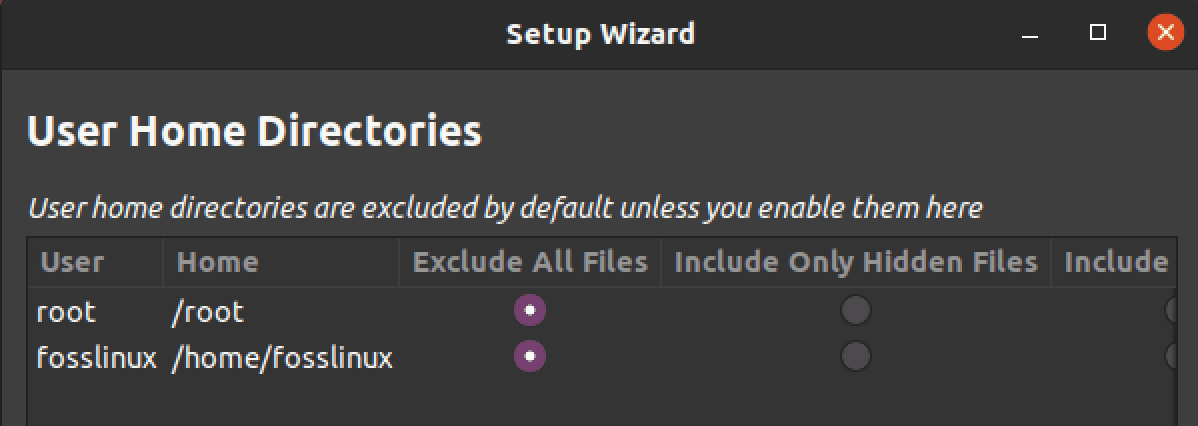
User home directories
Once done, click “Next” or “Finish” to close the configuration window. A new window will open where you can manage your backups.
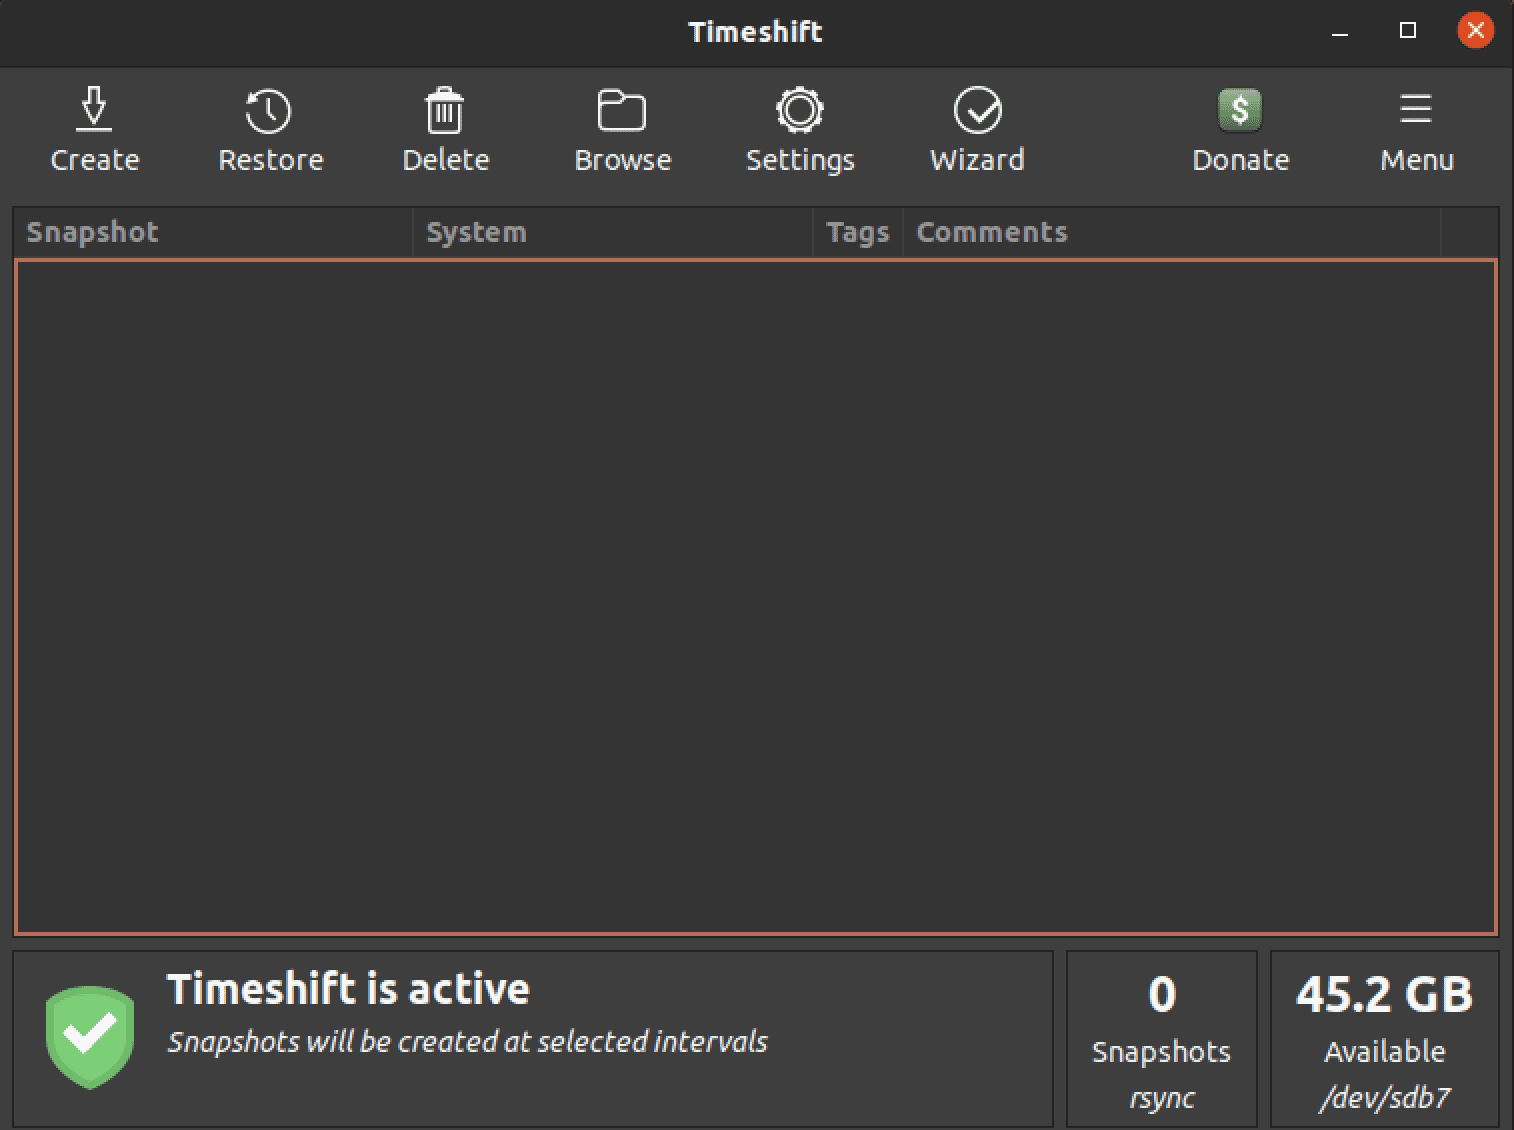
Timeshift
Step 8: Create a snapshot
When you click the “Create” button, Timeshift will start the backup process. This may take some time, depending on the size of your system and the speed of your computer.
Once the backup is complete, Timeshift will display a backup summary, including the time and date of the snapshot, the size of the backup, and any errors or warnings.
Step 9: Restore your system
If you ever need to restore your system to a previous state, you can use Timeshift. Here’s how:
- Launch Timeshift and click on the “Restore” button.
- Choose the snapshot you want to restore and click the “Next” button.
- Review the settings and click the “Restore” button.
Wait for the restore process to complete. This may take some time, depending on the size of your system and the speed of your computer. Once the restore is complete, your system will be restored to its state at the time of the snapshot. You can then continue using your system as usual.
Conclusion
Data loss is a severe issue with various consequences, such as financial loss, reputation damage, and legal liabilities. Therefore, it is crucial to have a backup and recovery plan in place. Ubuntu offers various options for backup and recovery, including Deja Dup and Timeshift. Deja Dup is a simple backup tool that allows you to back up your files and folders, while Timeshift creates system snapshots that can be used to roll back the system to a previous state.
Ubuntu users can use these two tools together to create a comprehensive backup and recovery plan that ensures data safety and minimizes downtime. Of course, it is always better to have a backup and recovery plan before disaster strikes, and Ubuntu users can take advantage of the built-in tools to secure their data.